
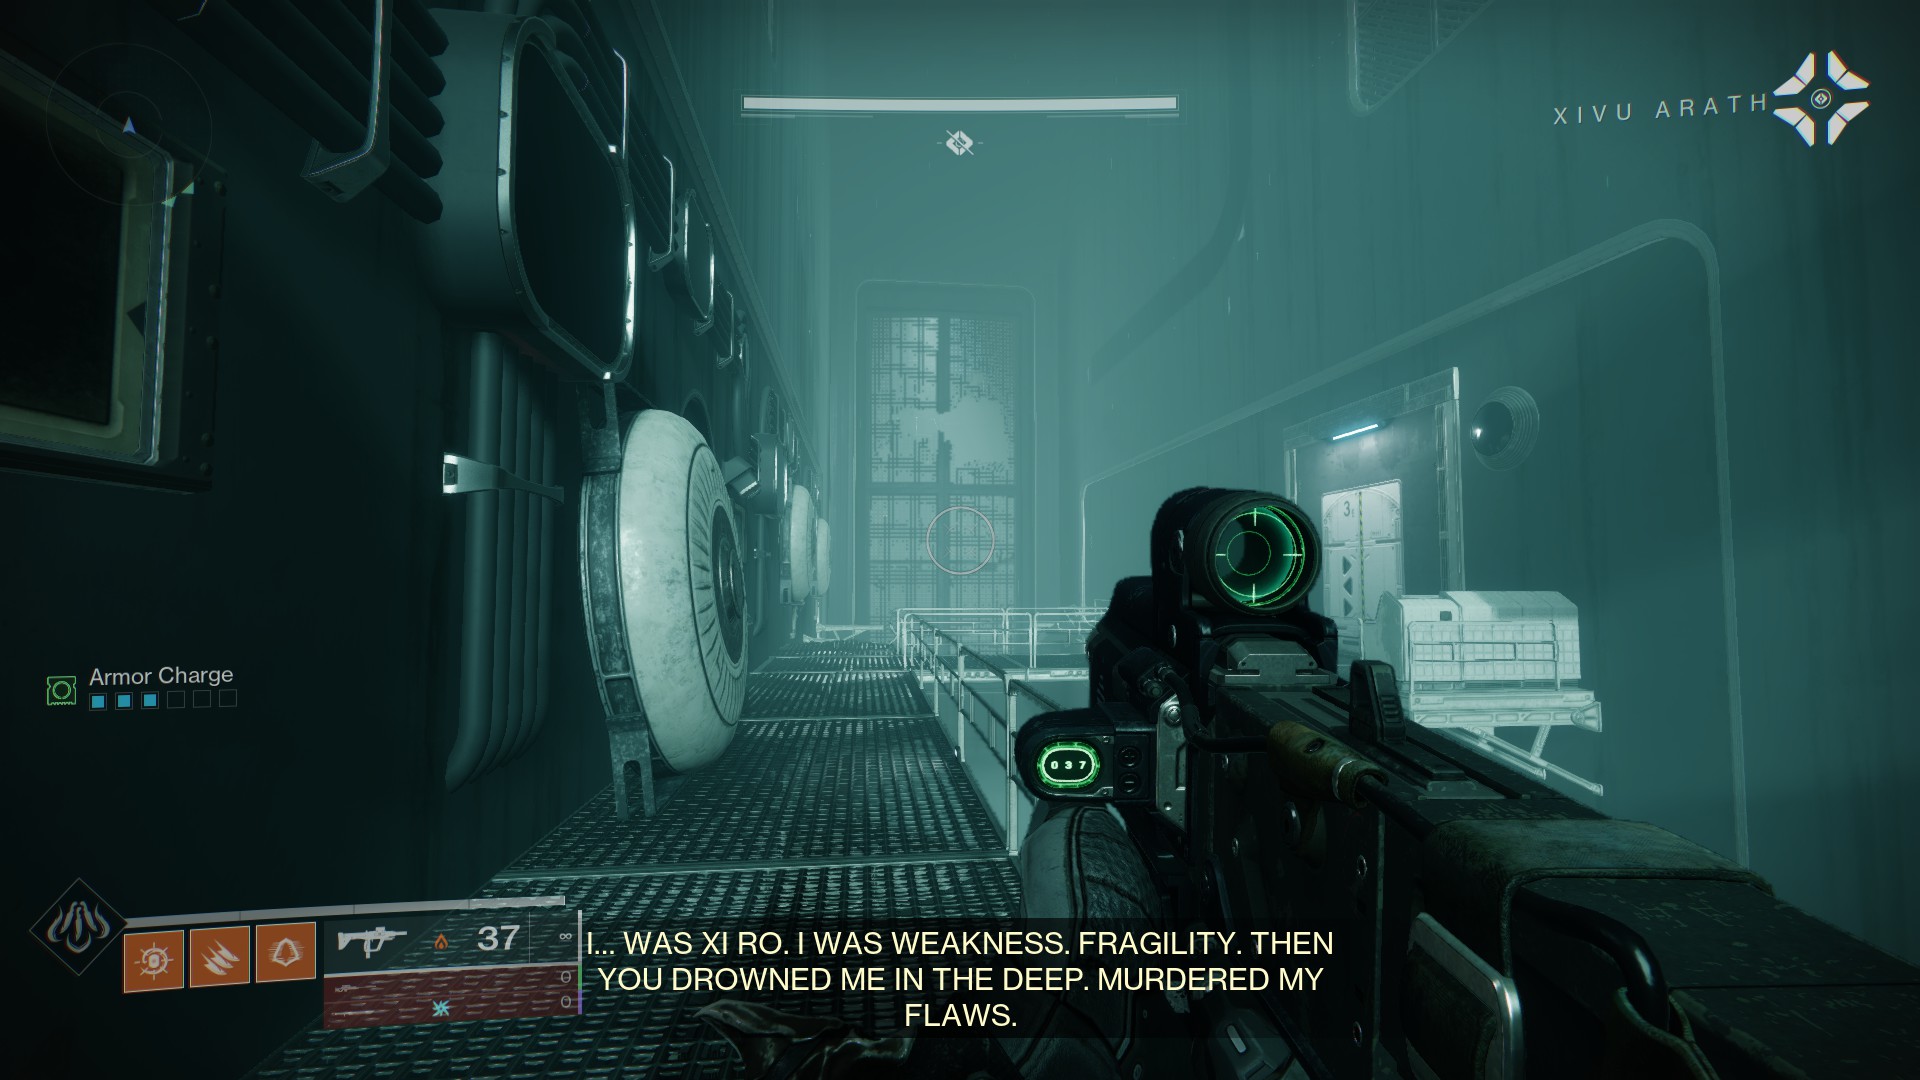
Players took down Oryx in the King’s Fall raid, but that’s not the last they’ll see of the Taken King if they delve into the Ghosts of the Deep dungeon. Like other Destiny 2 dungeons, it brings an overarching storyline enhanced by the several collectibles spread out over the area, from the entrance to the final boss. The Memories of Darkness give players more exposition in the form of an unlikely voice: Xivu Arath herself.
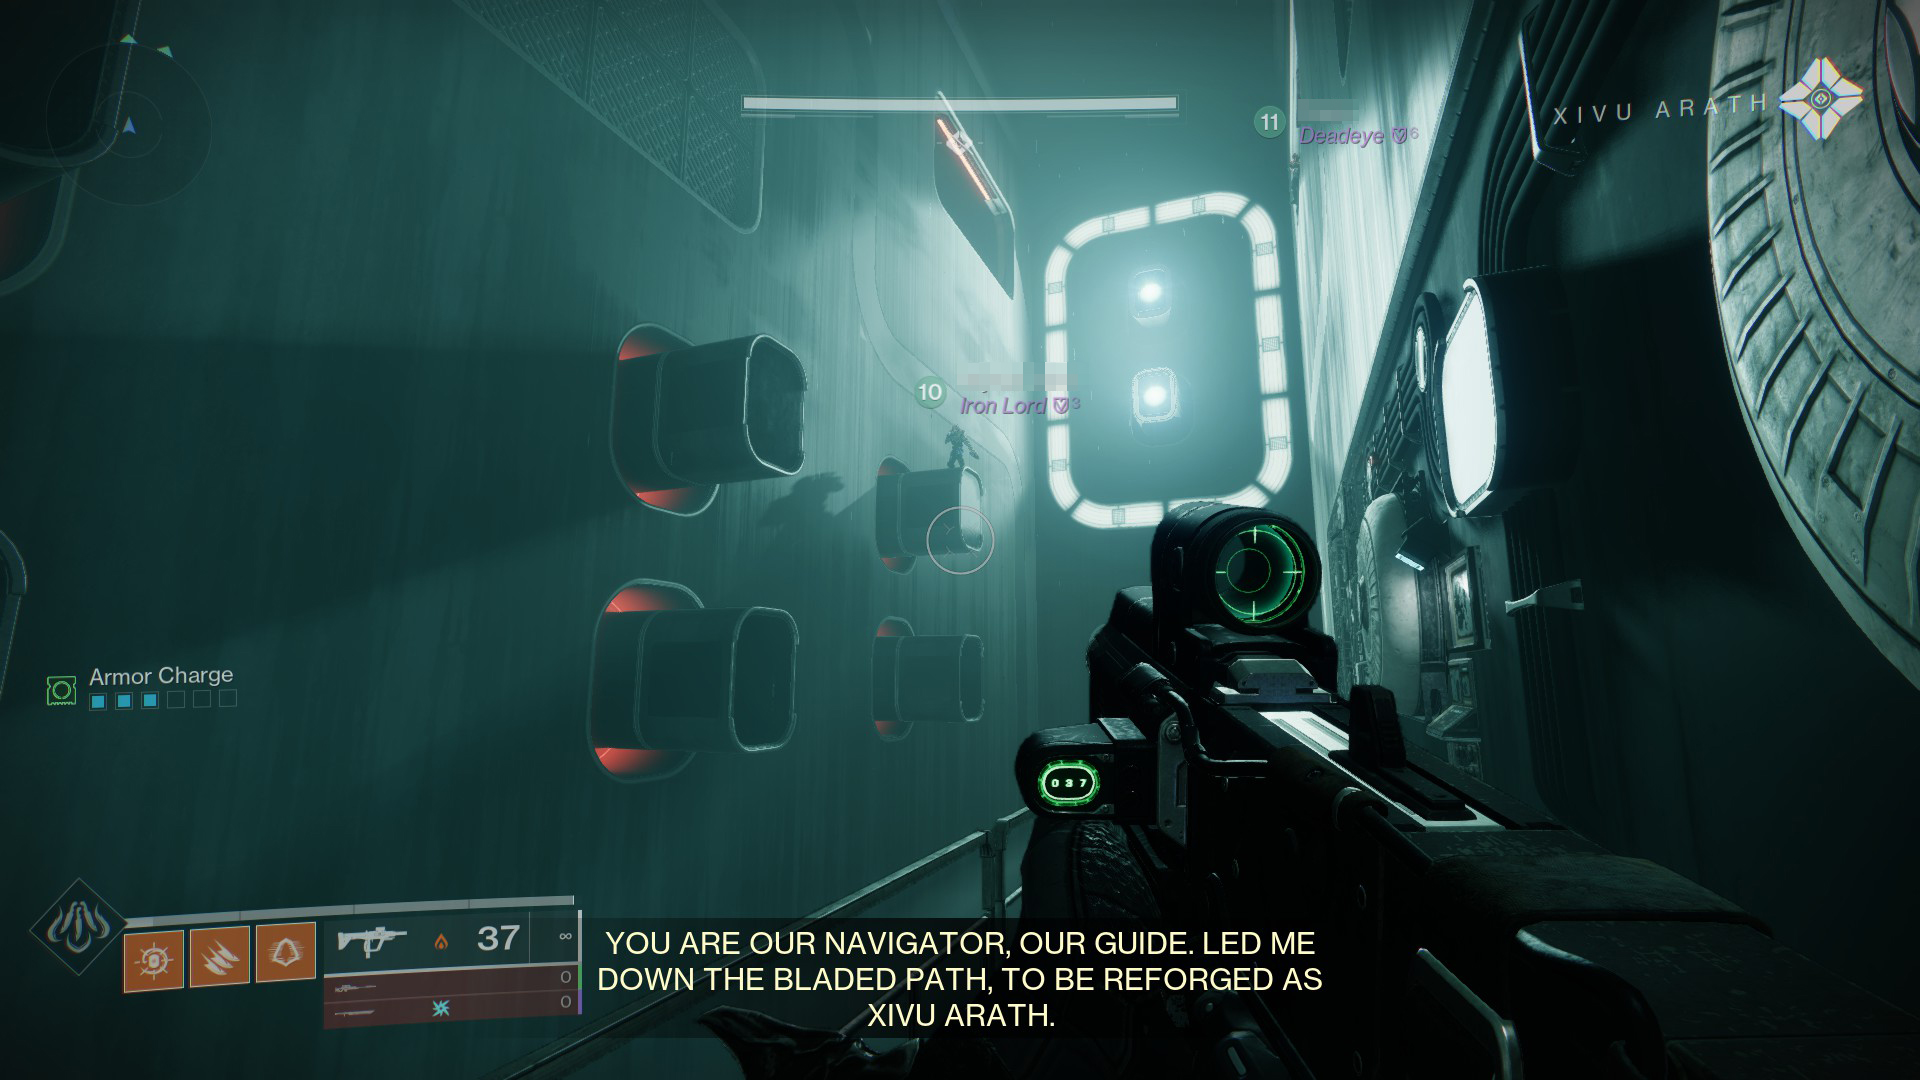
The Hive God of War, Xivu Arath, left behind some memories in the dungeon, which relate to the fall of her brother Oryx, the Taken King. It’s an unlikely yet compelling set of memories drenched in Hive mythology, alluding to the pact at Fundament and the Sword Logic.
Related: Here is the Ghosts of the Deep dungeon loot table in Destiny 2
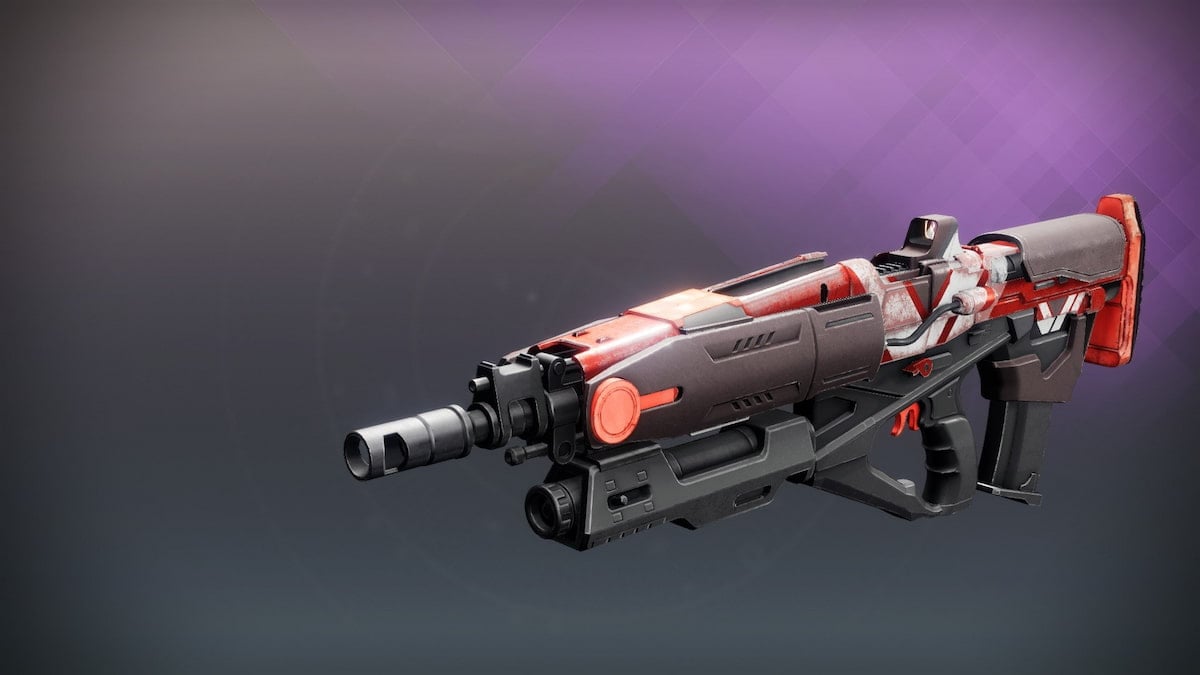
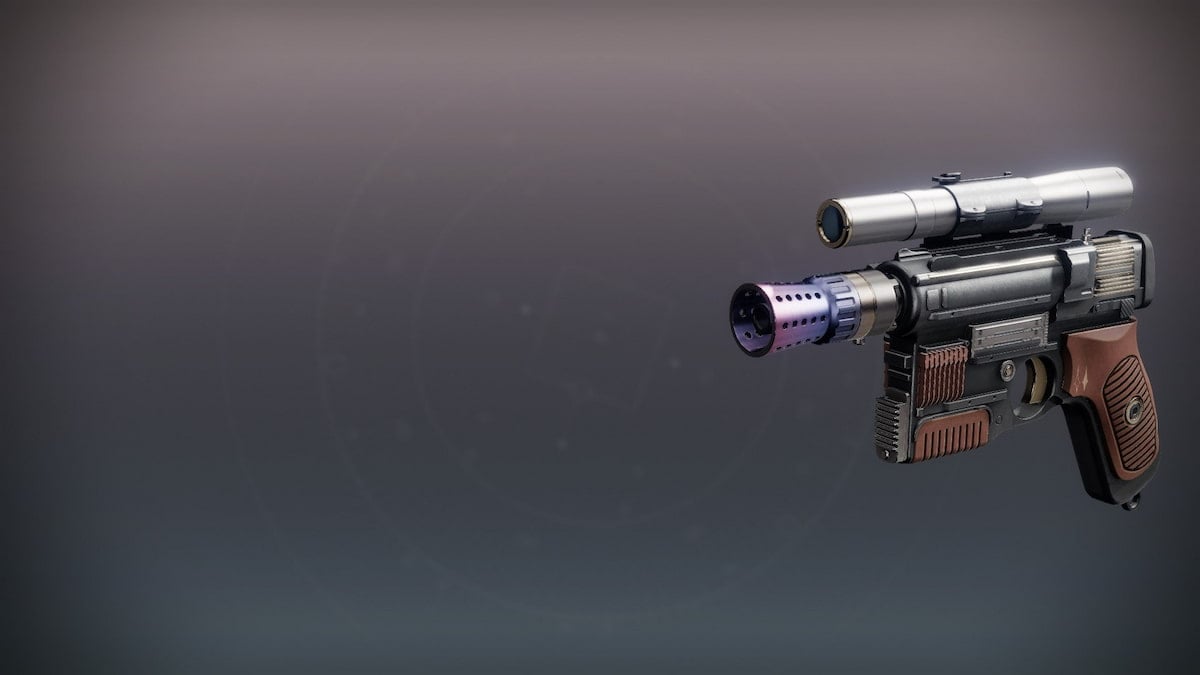
The Memories of Darkness have a use greater than just lore, though: finding all of them allows you to claim the In Memoriam triumph, which permanently increases your chances of getting the Navigator Exotic trace rifle. Bungie hasn’t explicitly stated how much that triumph will boost your drop rate, though the May 4 This Week at Bungie blog post breaks down the values of specific raid triumphs, which can serve as a direction toward the exact values of the increase.
Related: How to get the Ghoul title in Destiny 2’s Ghosts of the Deep dungeon
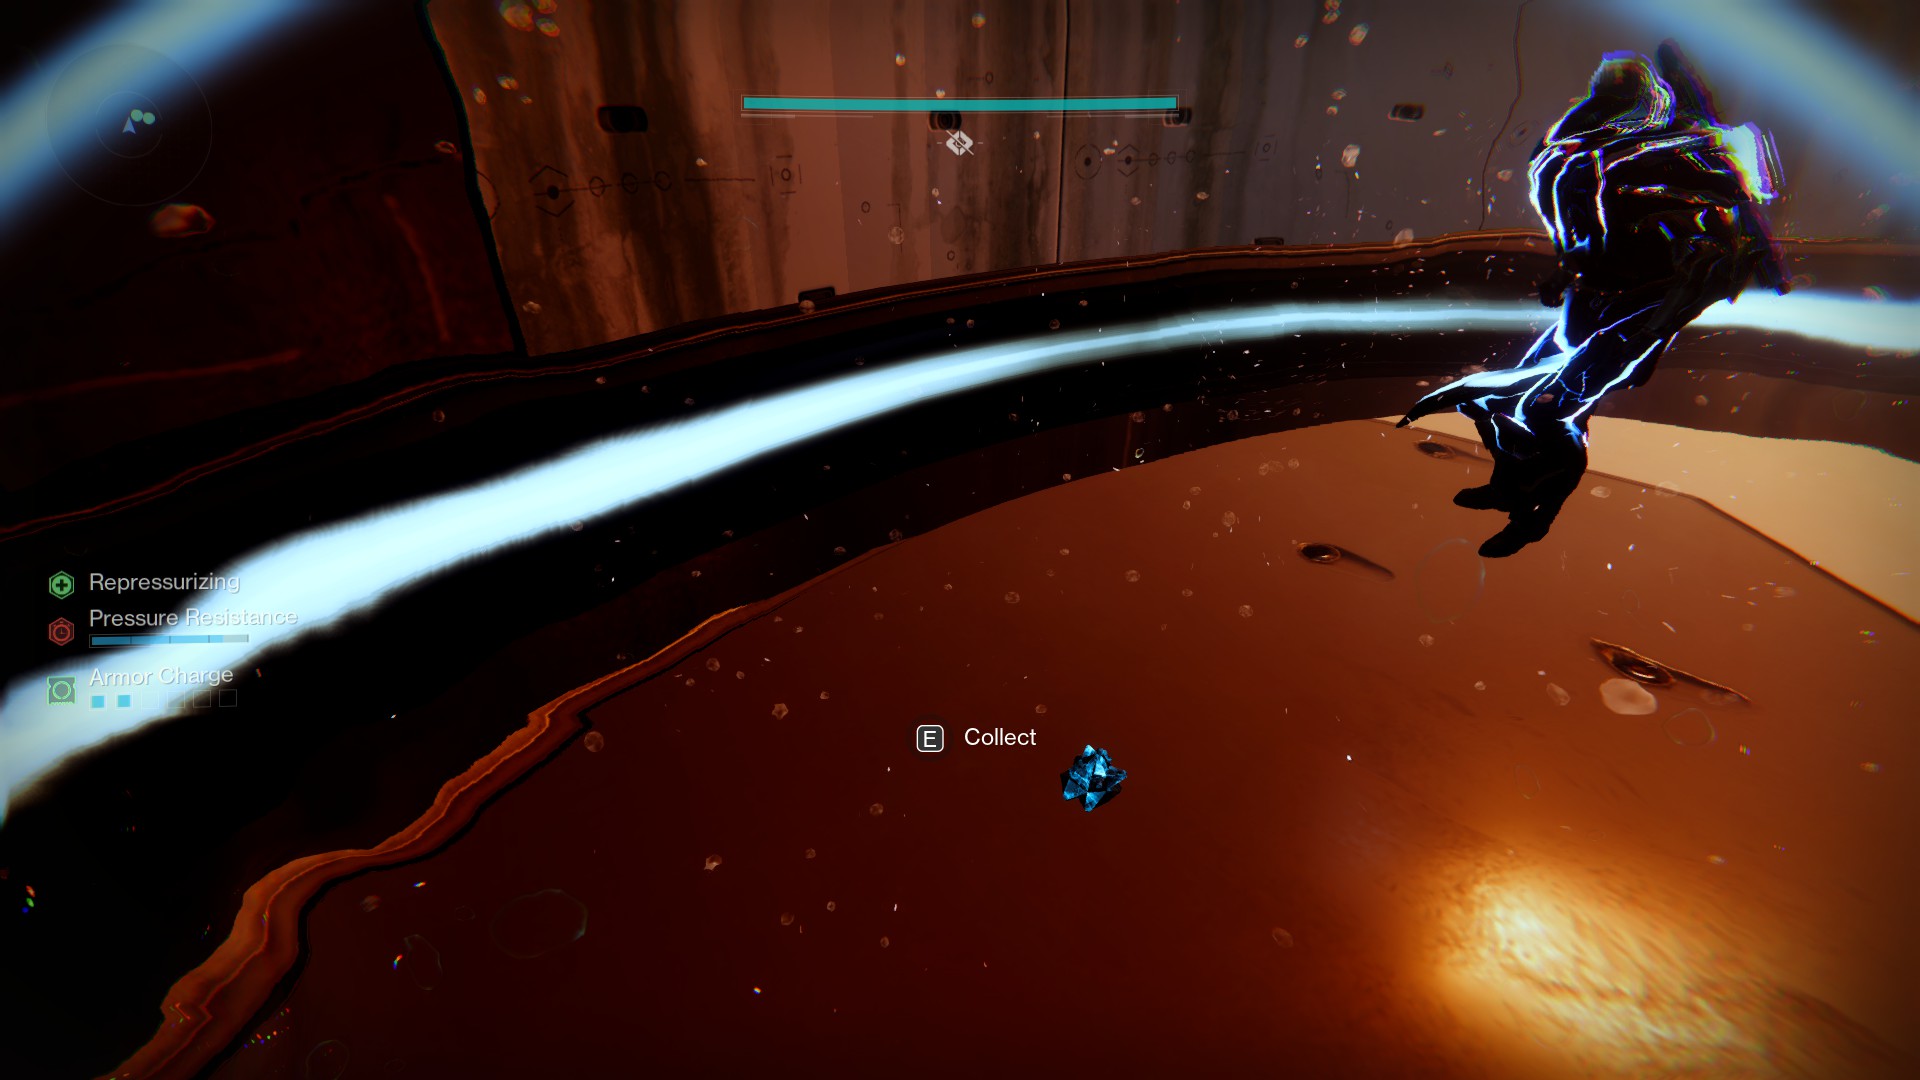
There are twelve collectibles scattered over the dungeon, and they range from the entrance area in the Arcology to the last room after taking down the dungeon’s final boss. Whether you’re chasing them down for the lore or for the story, here’s where to find all Memories of Darkness, based on our findings and on the brilliant compilation by content creator 360GameTV.
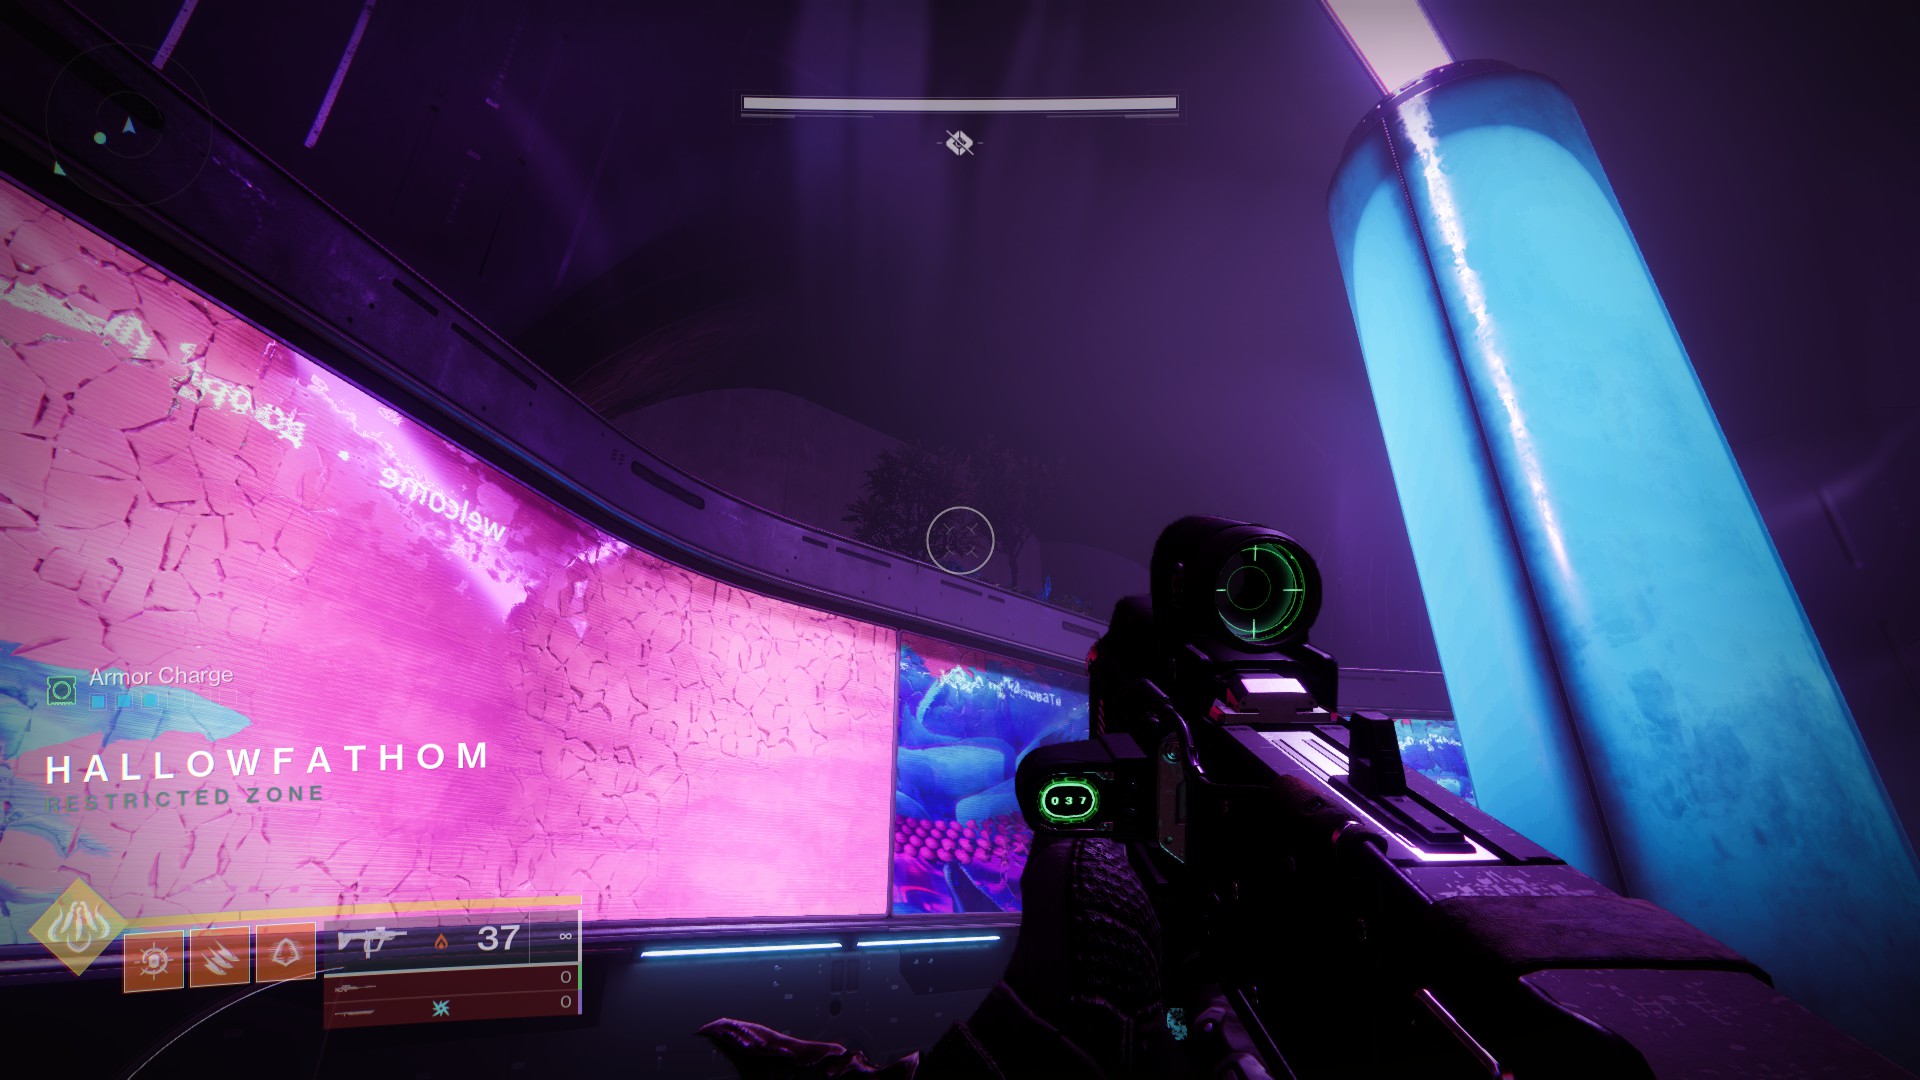
Where to find all Memories of Darkness for the In Memoriam triumph in Ghosts of the Deep
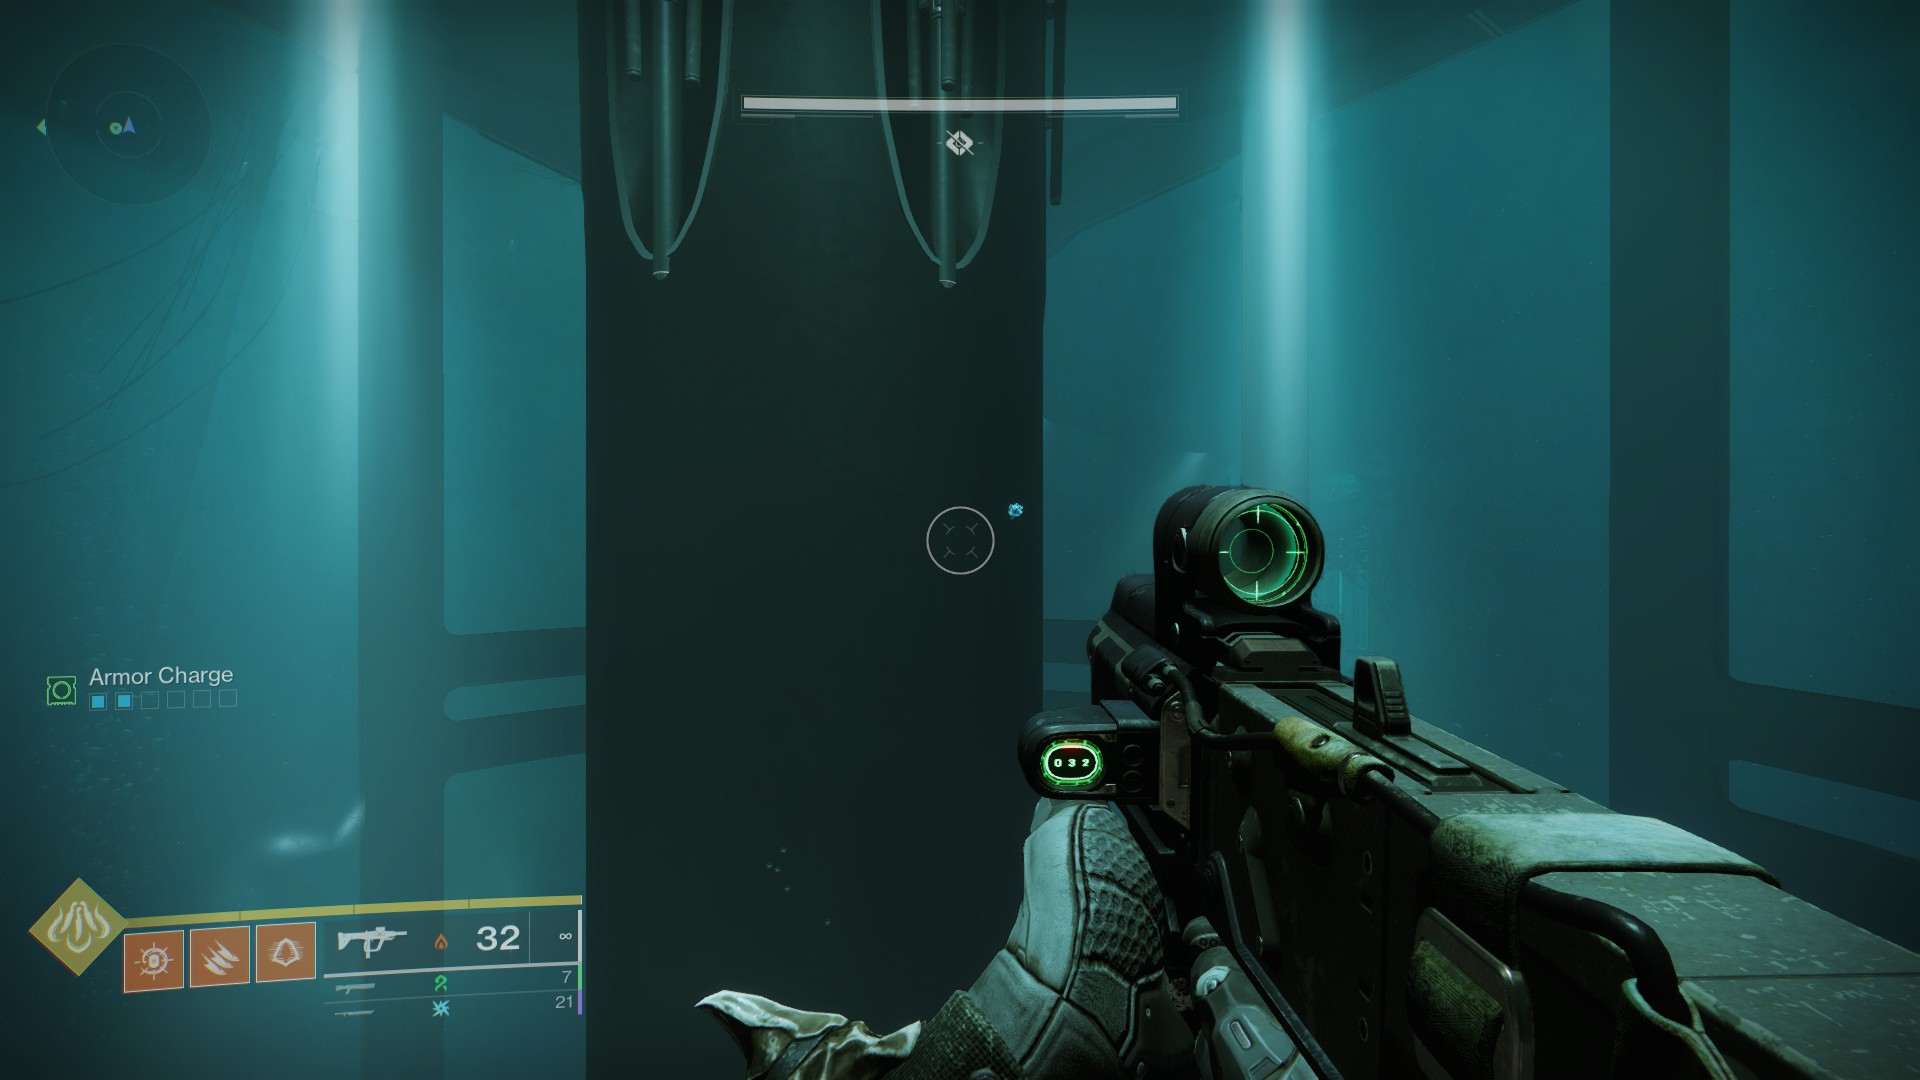
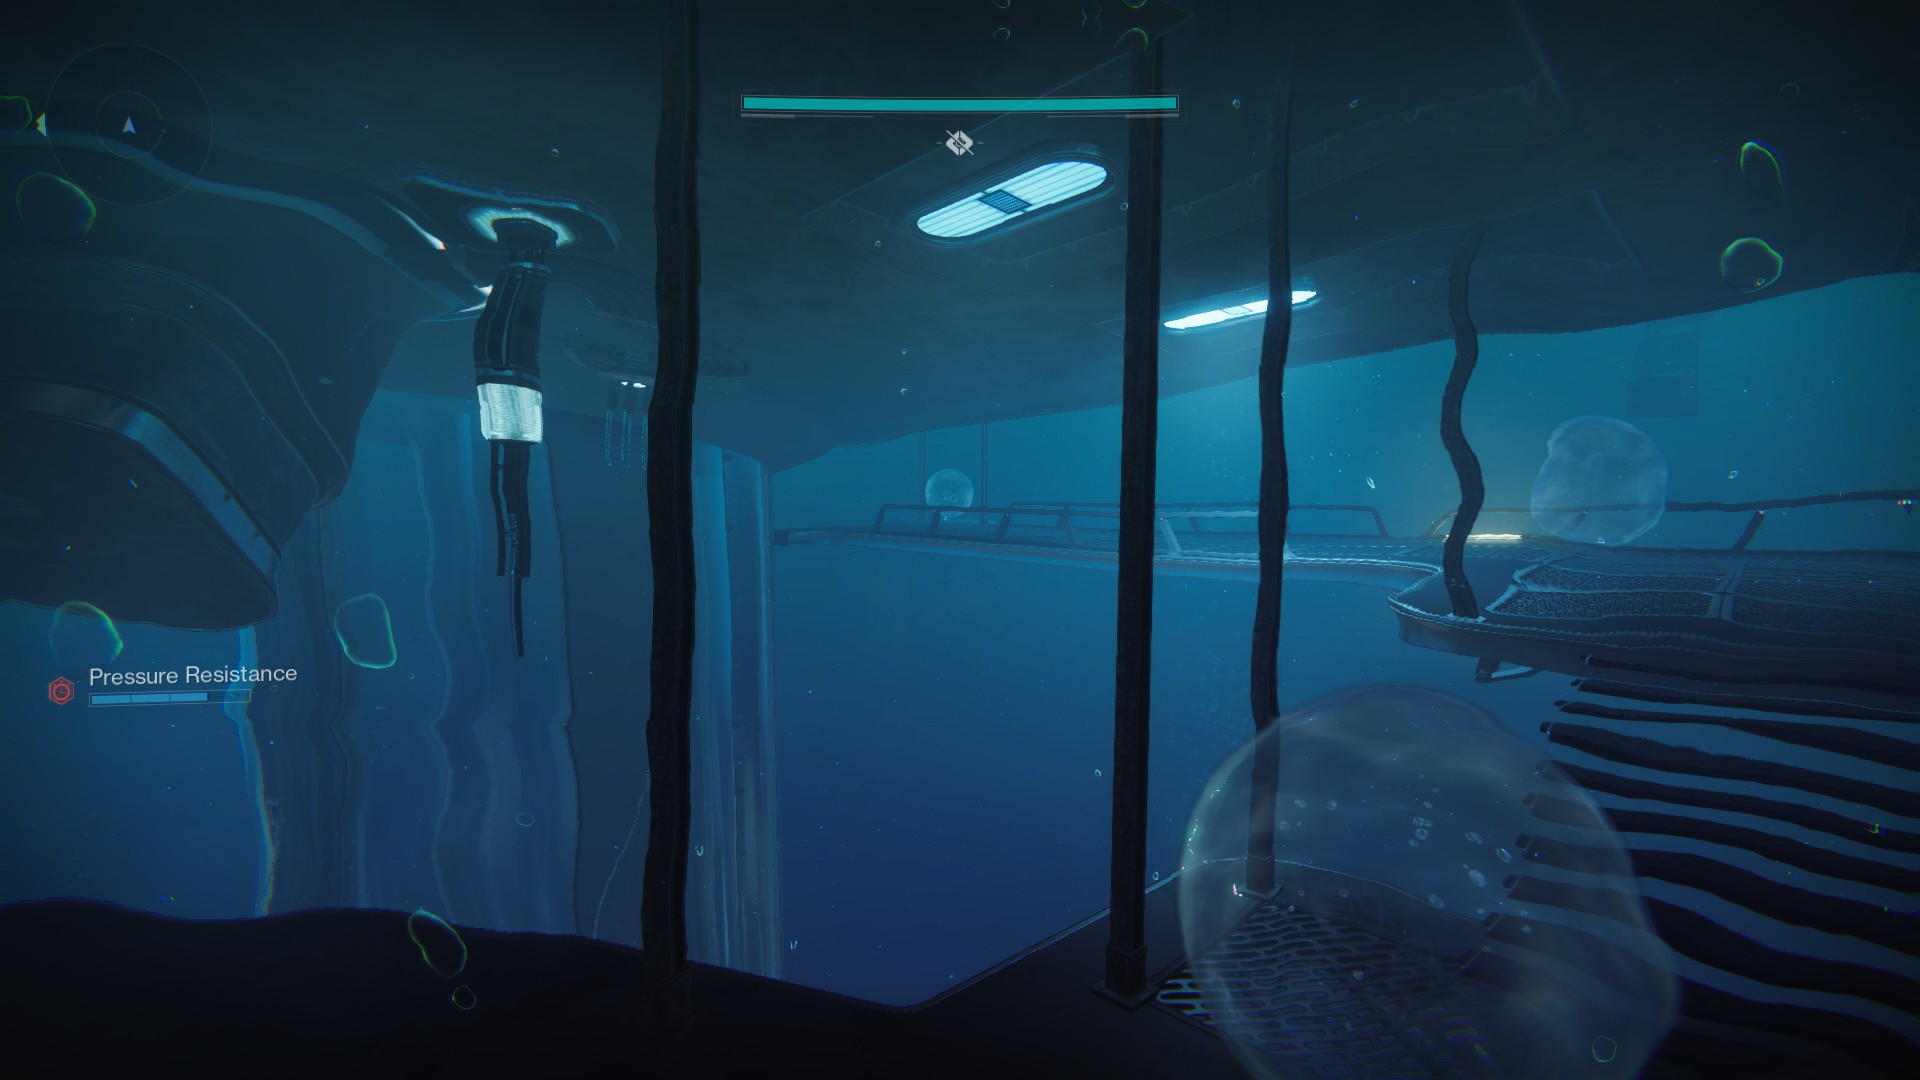
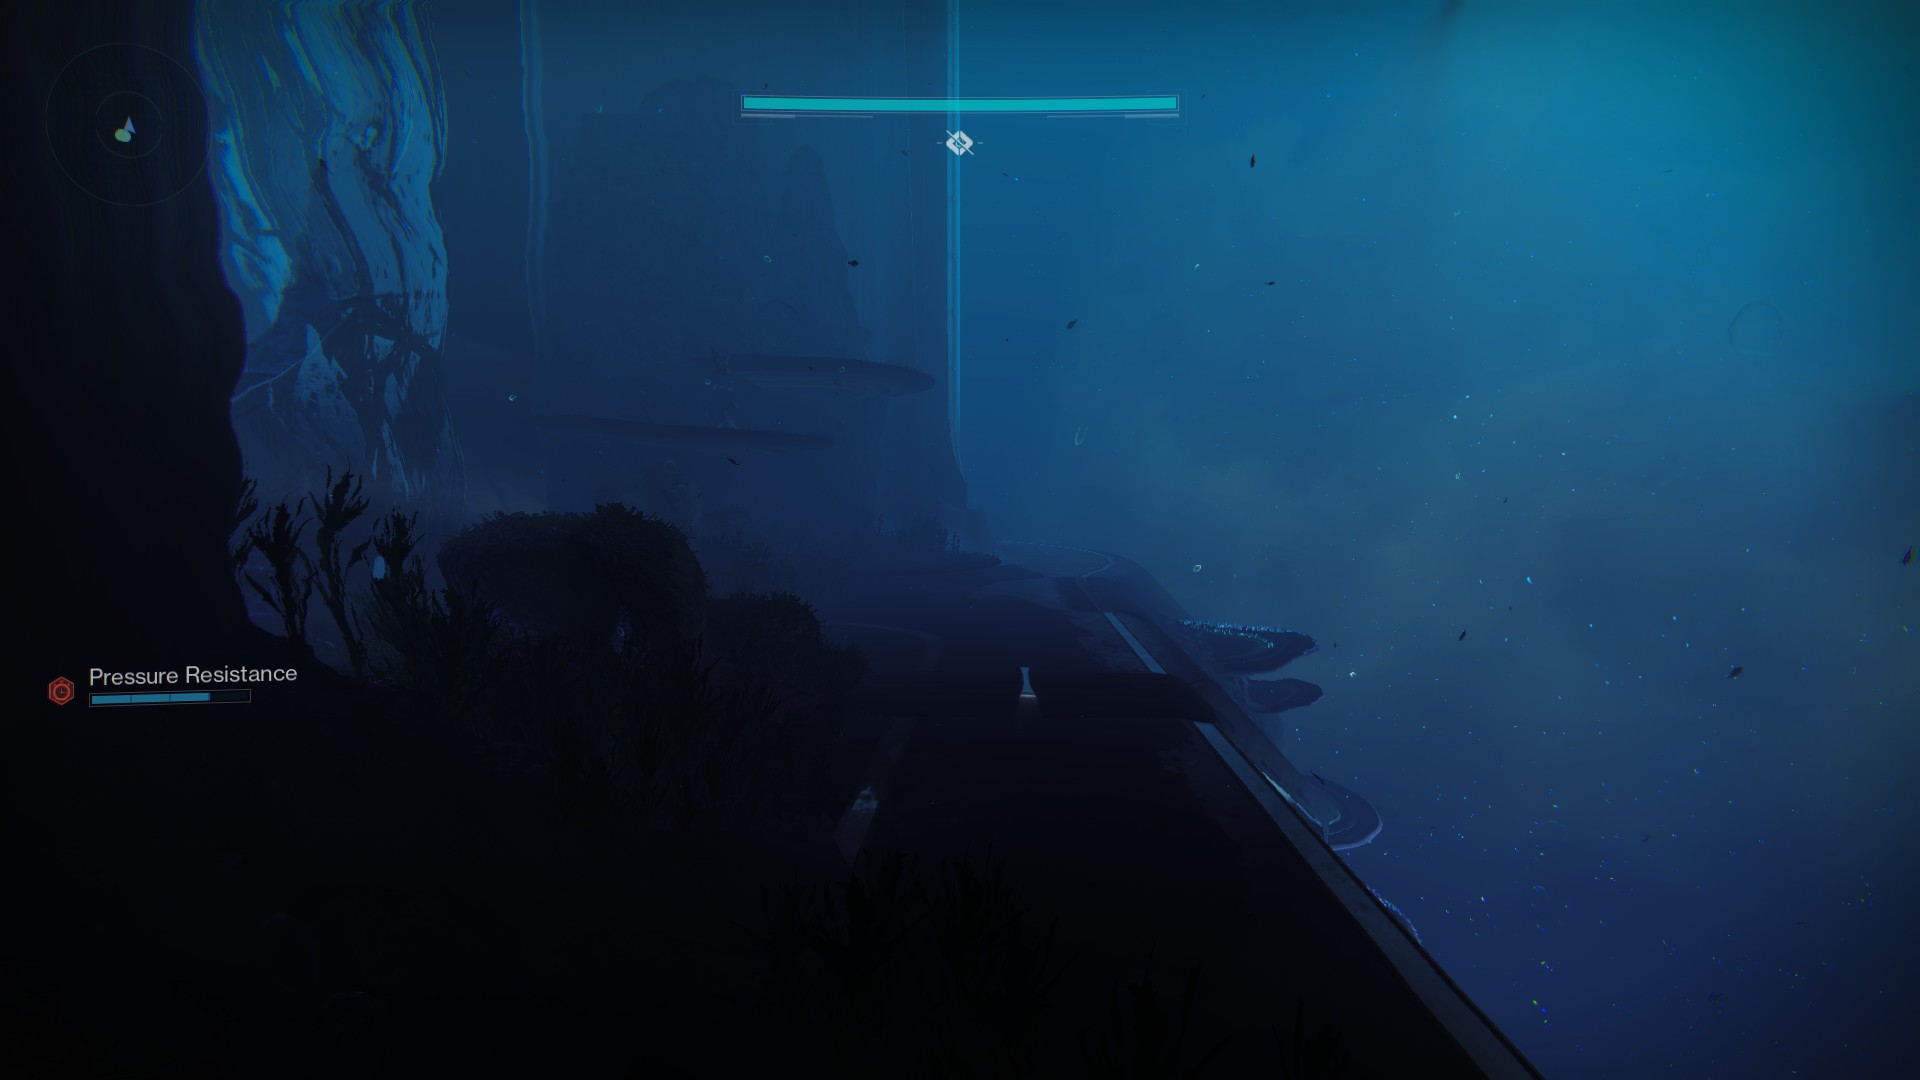
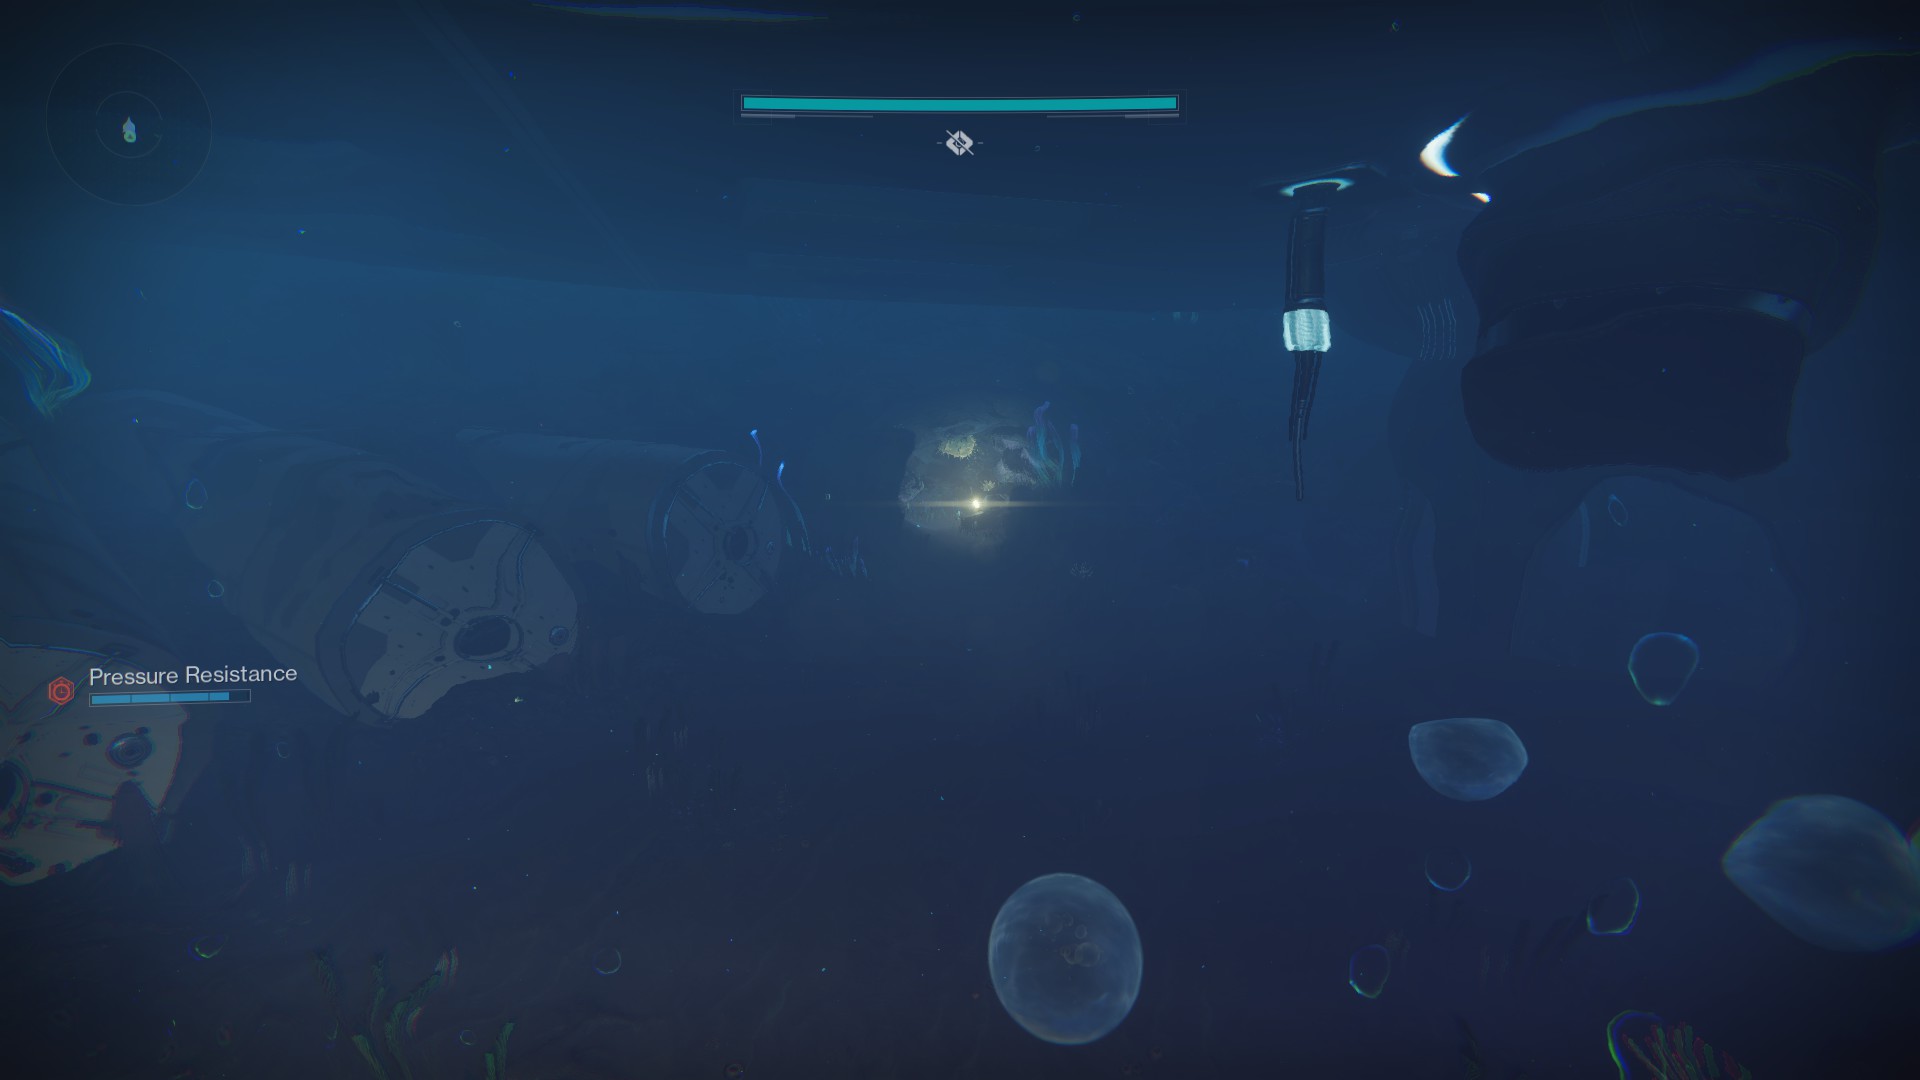
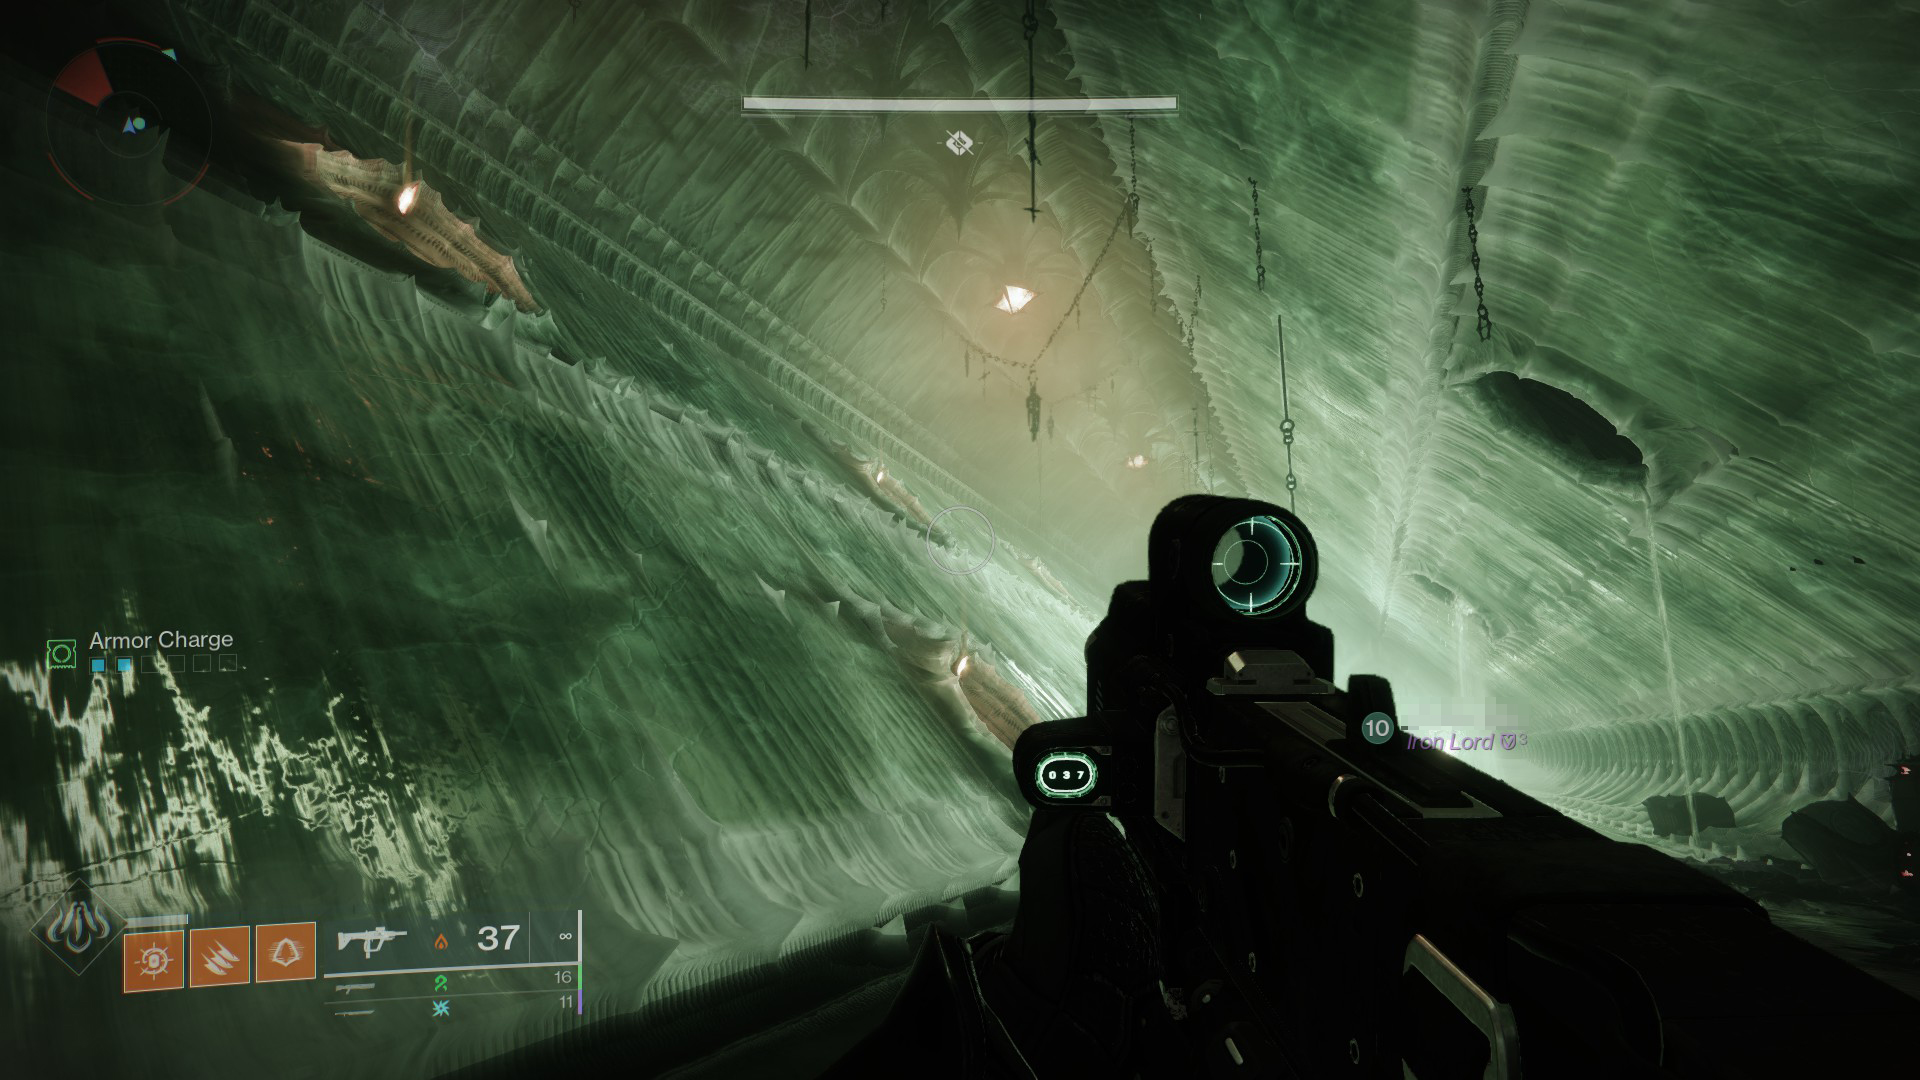
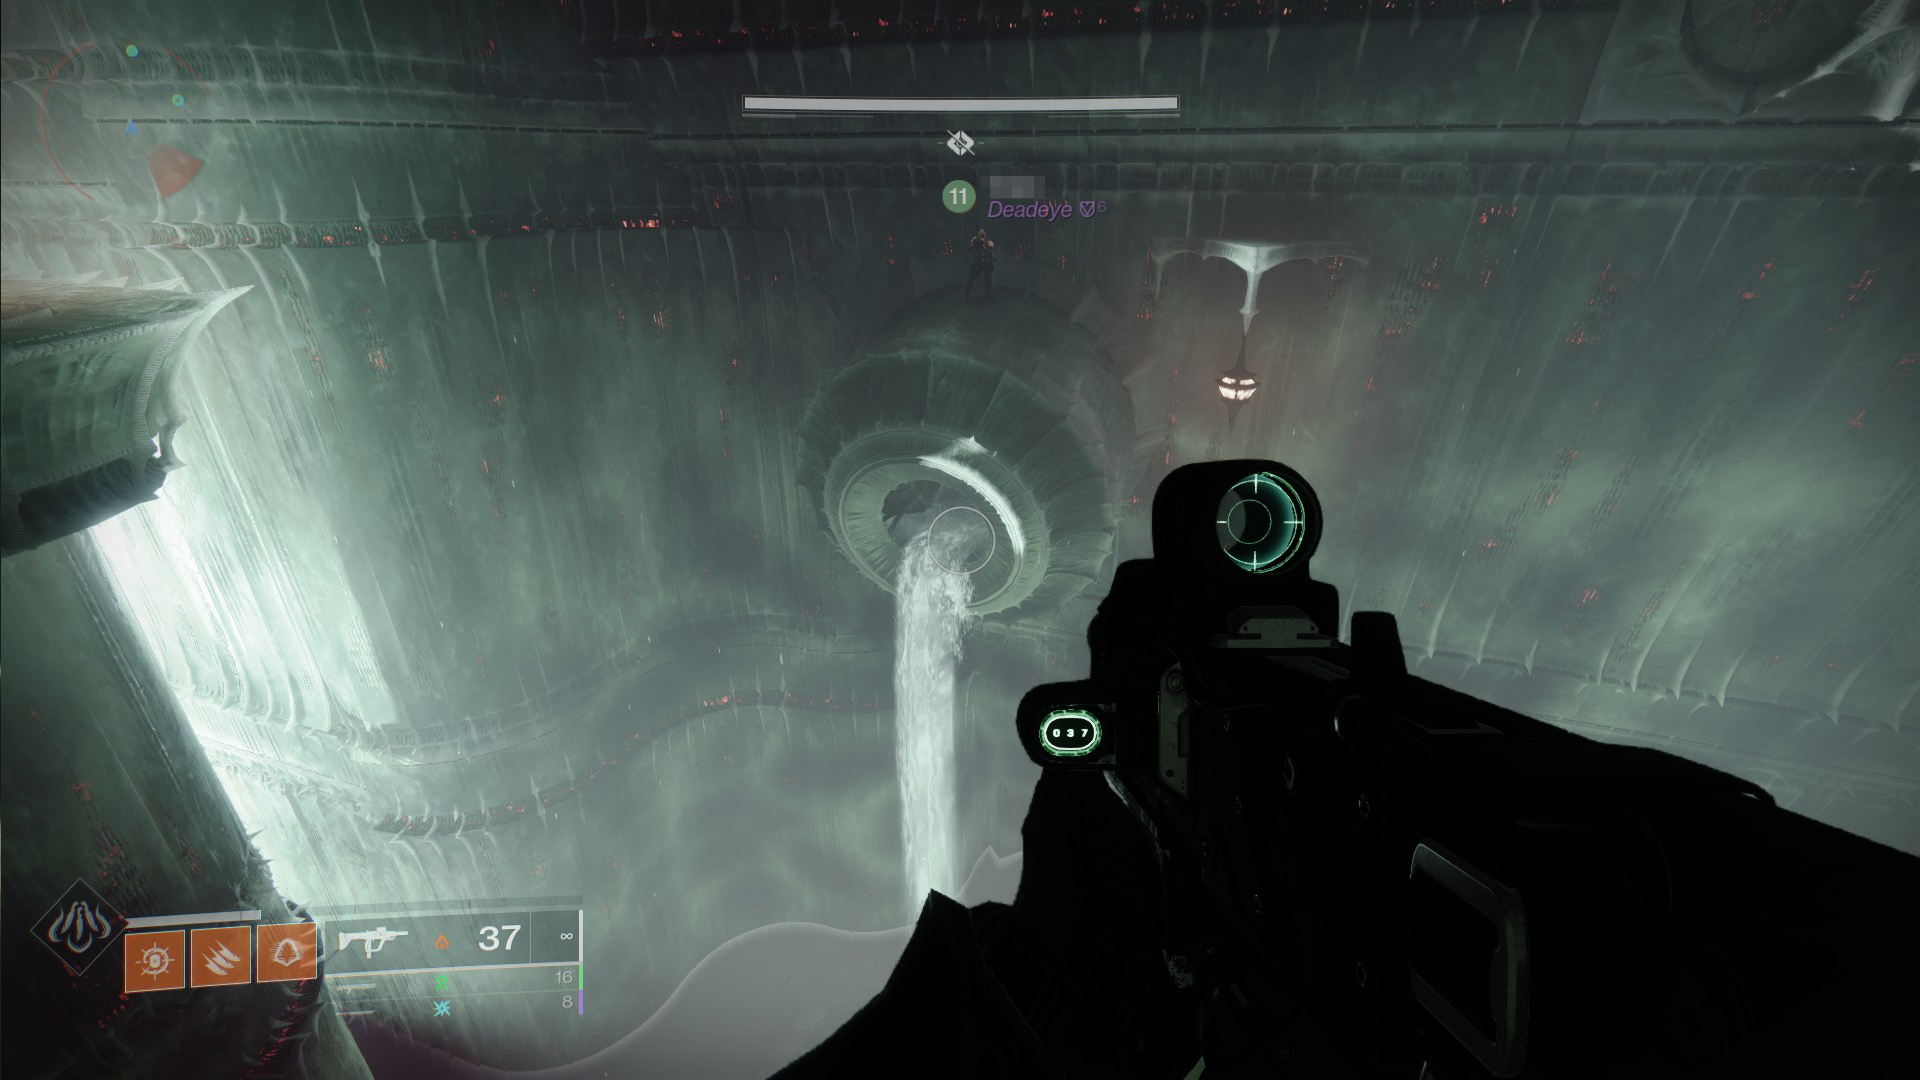
The Memories of Darkness are spread out over the dungeon. The lion’s share is scattered between the first and second encounters in the long underwater area that connects the Arcology to the derelict Hive wreckage. There is one collectible in the area with the first encounter, plus another after taking down Ecthar, Shield of Savathûn. The final one is after the end of the dungeon.
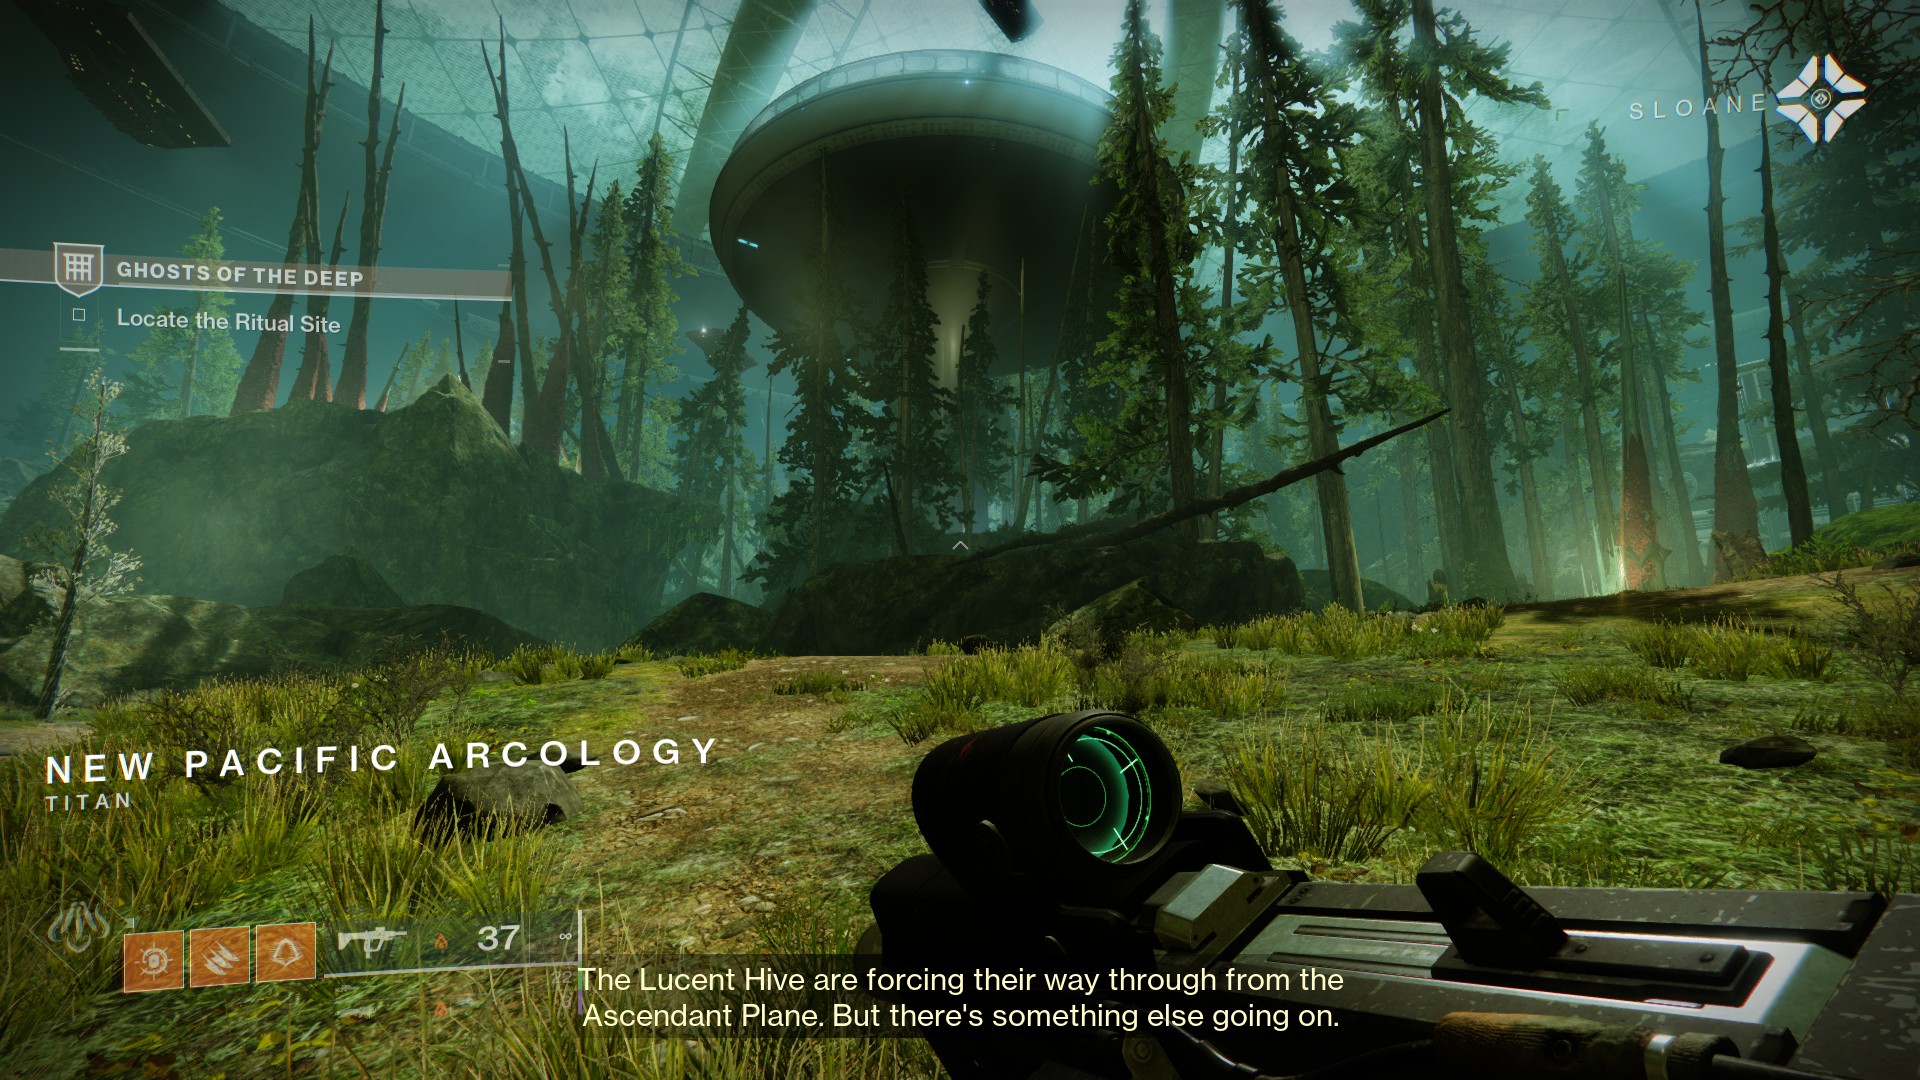
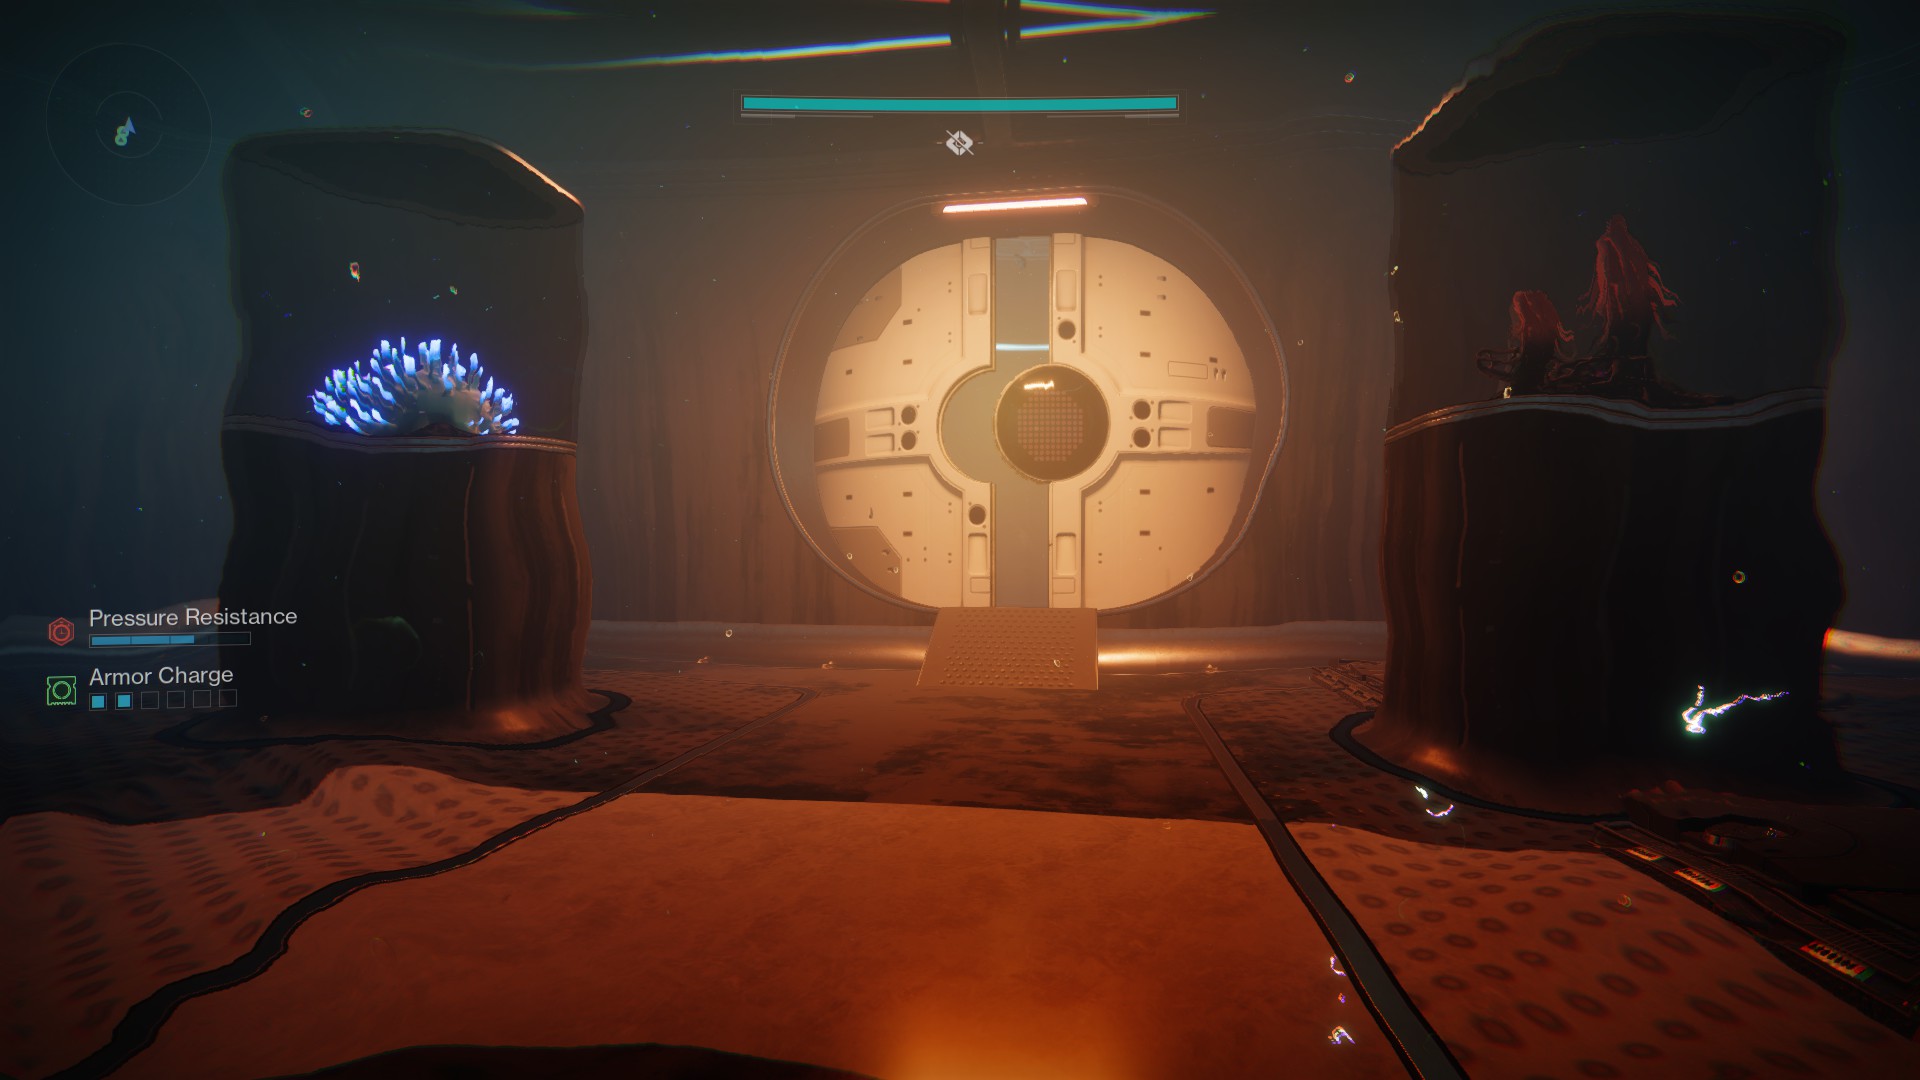
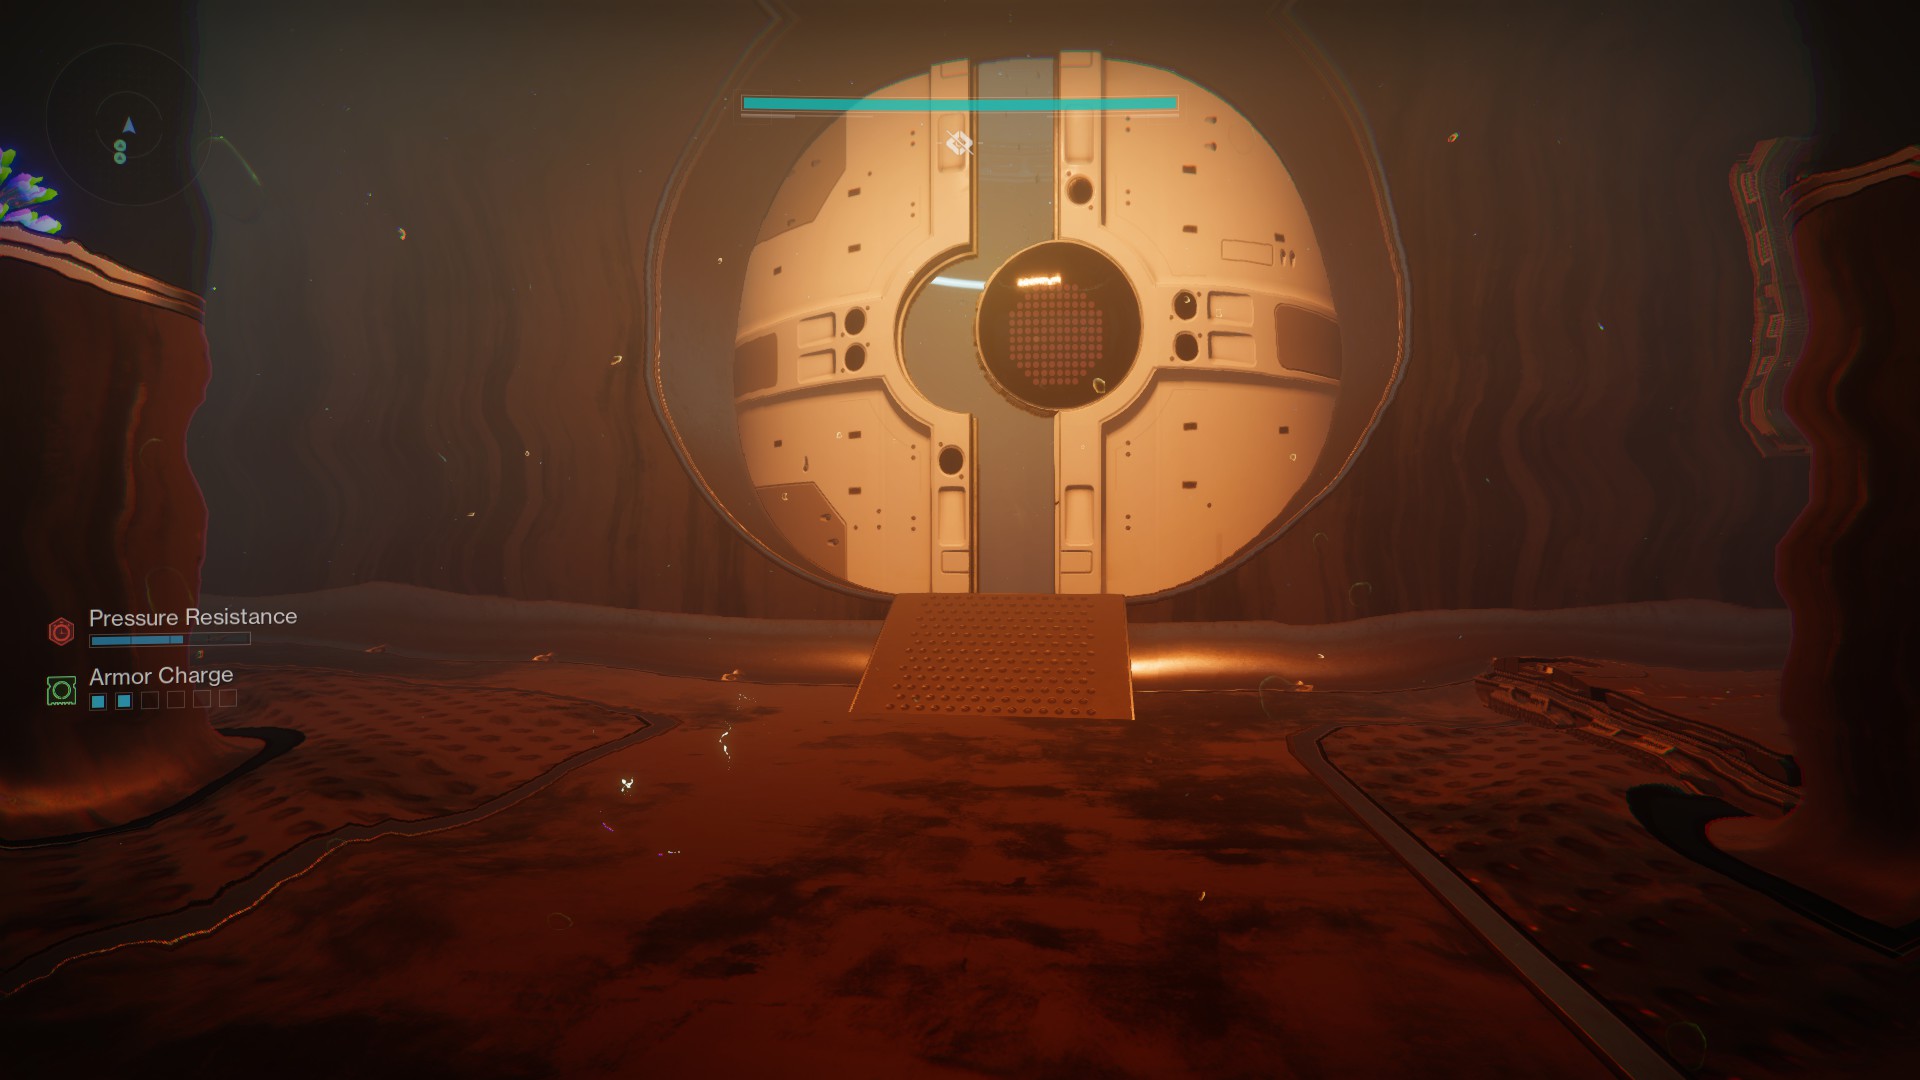
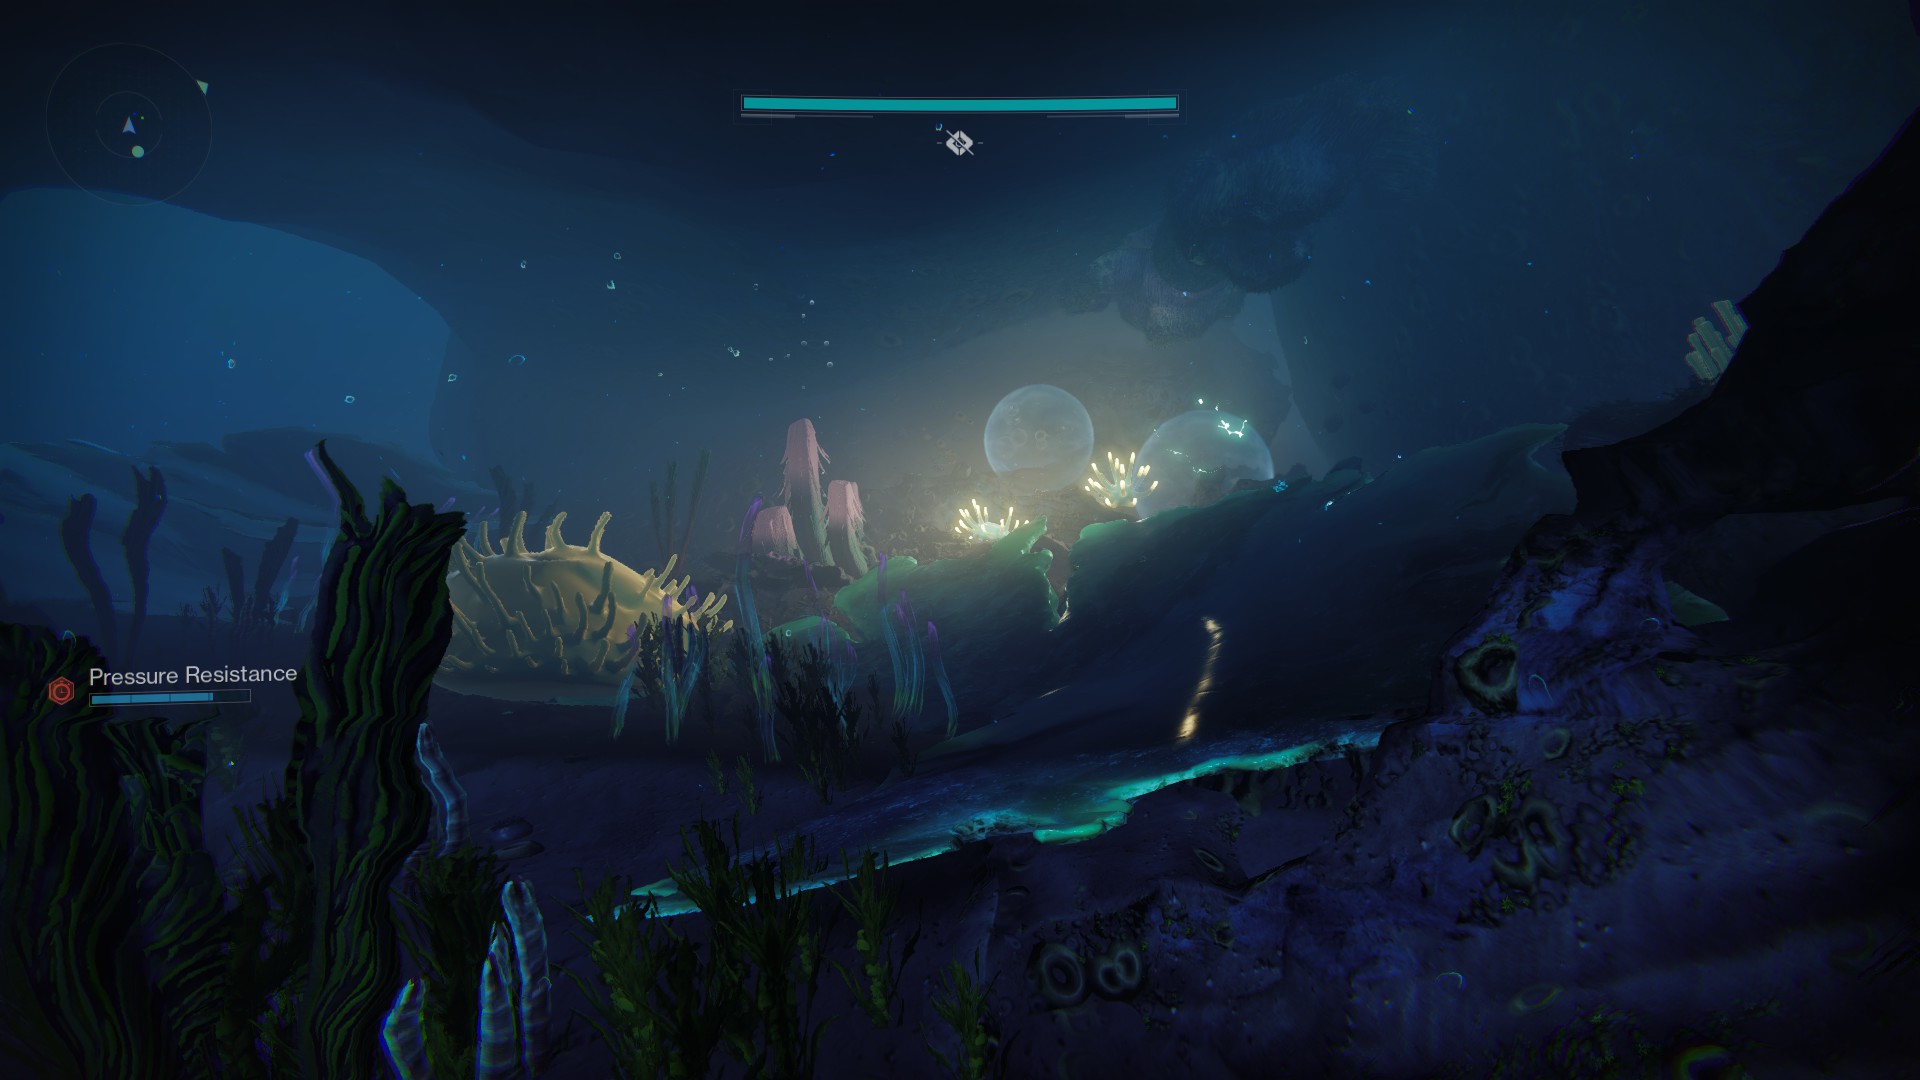
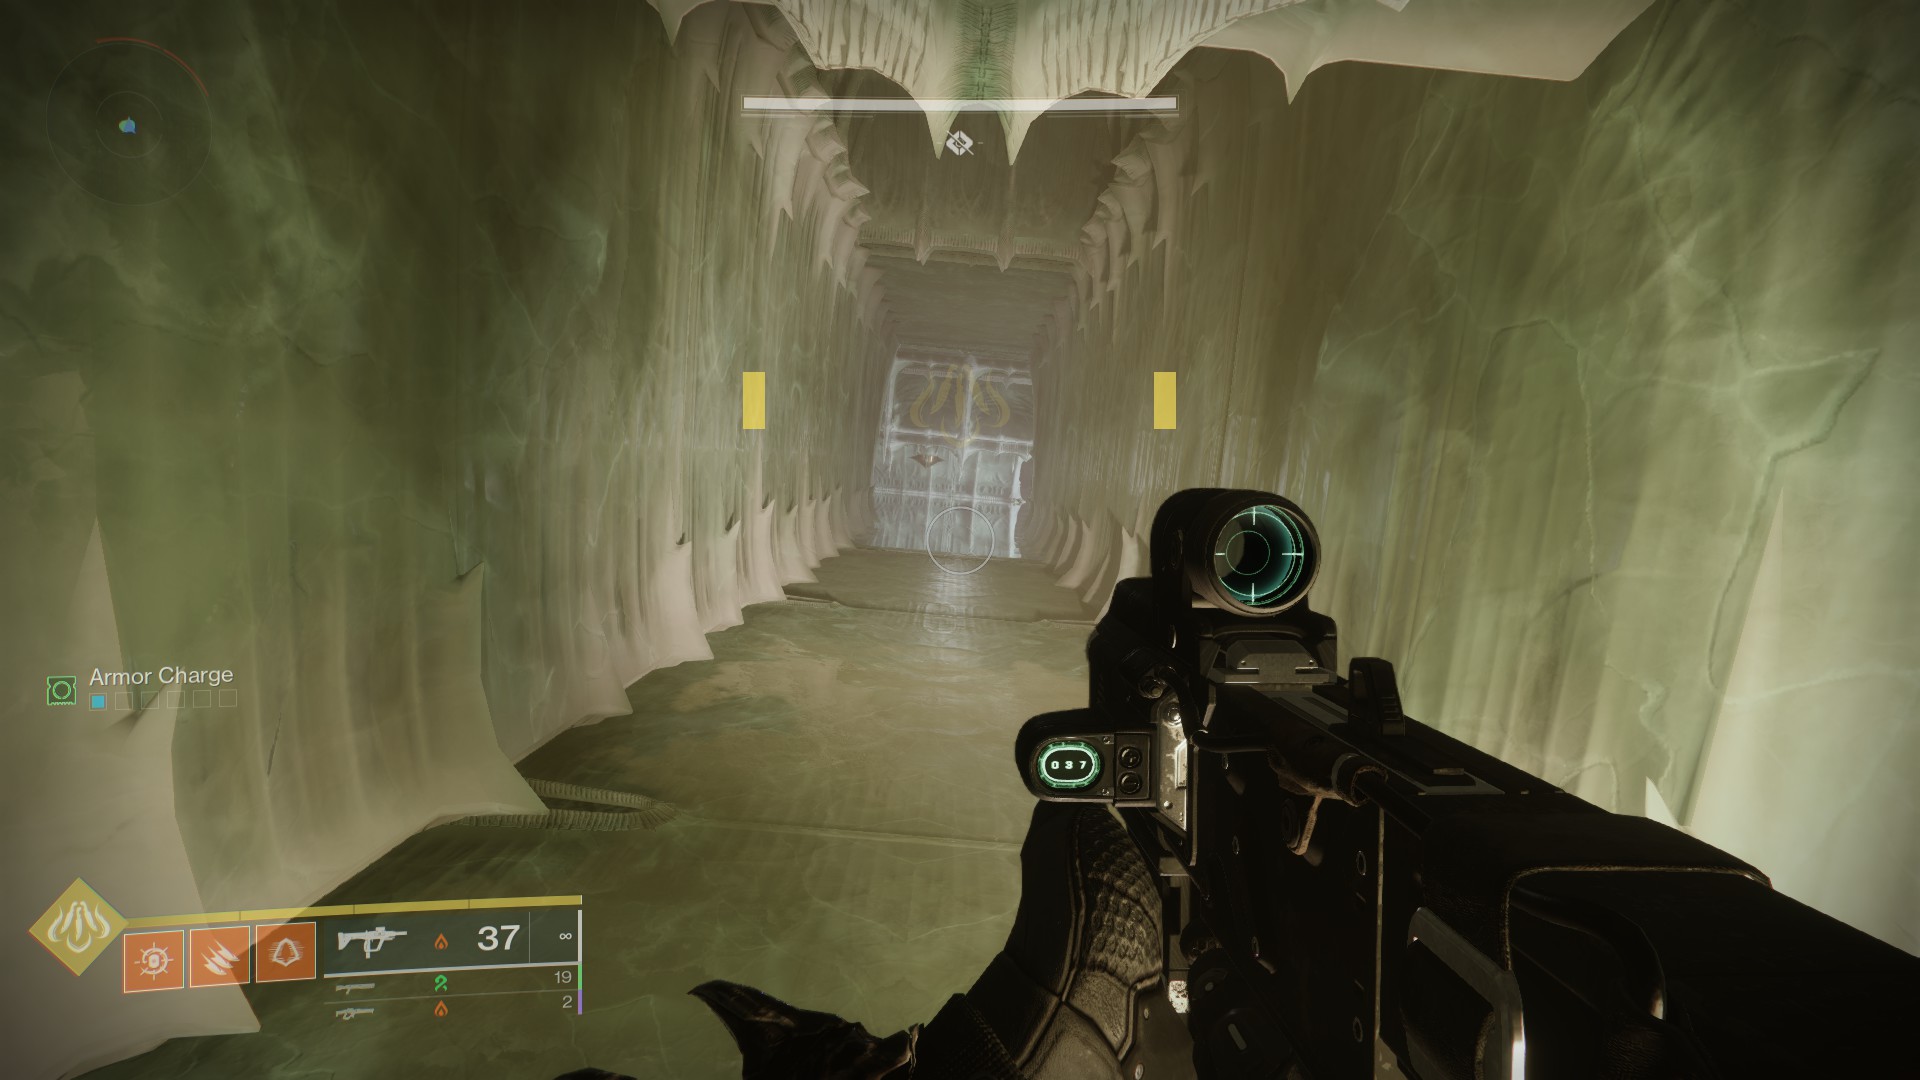
First collectible: in the entrance to Arcology
As soon as you spawn in, head to the small knoll before you. Look for a small entrance below the branches and head inside. Go through a red door to find this collectible on the other side of the room. Look for a small platform that lets you jump to a different exit.

Second collectible: after passing through the hole in the grate
Once you cross the hole in the grate, you’ll have to find a small hole in the wall on the right side of the room to continue your way through the dungeon. Instead, look for some platforms on the left side of the room and climb on them. Then, jump to another platform to your left (across from the entrance), turn around, and look to your right to spot an opening in the wall.
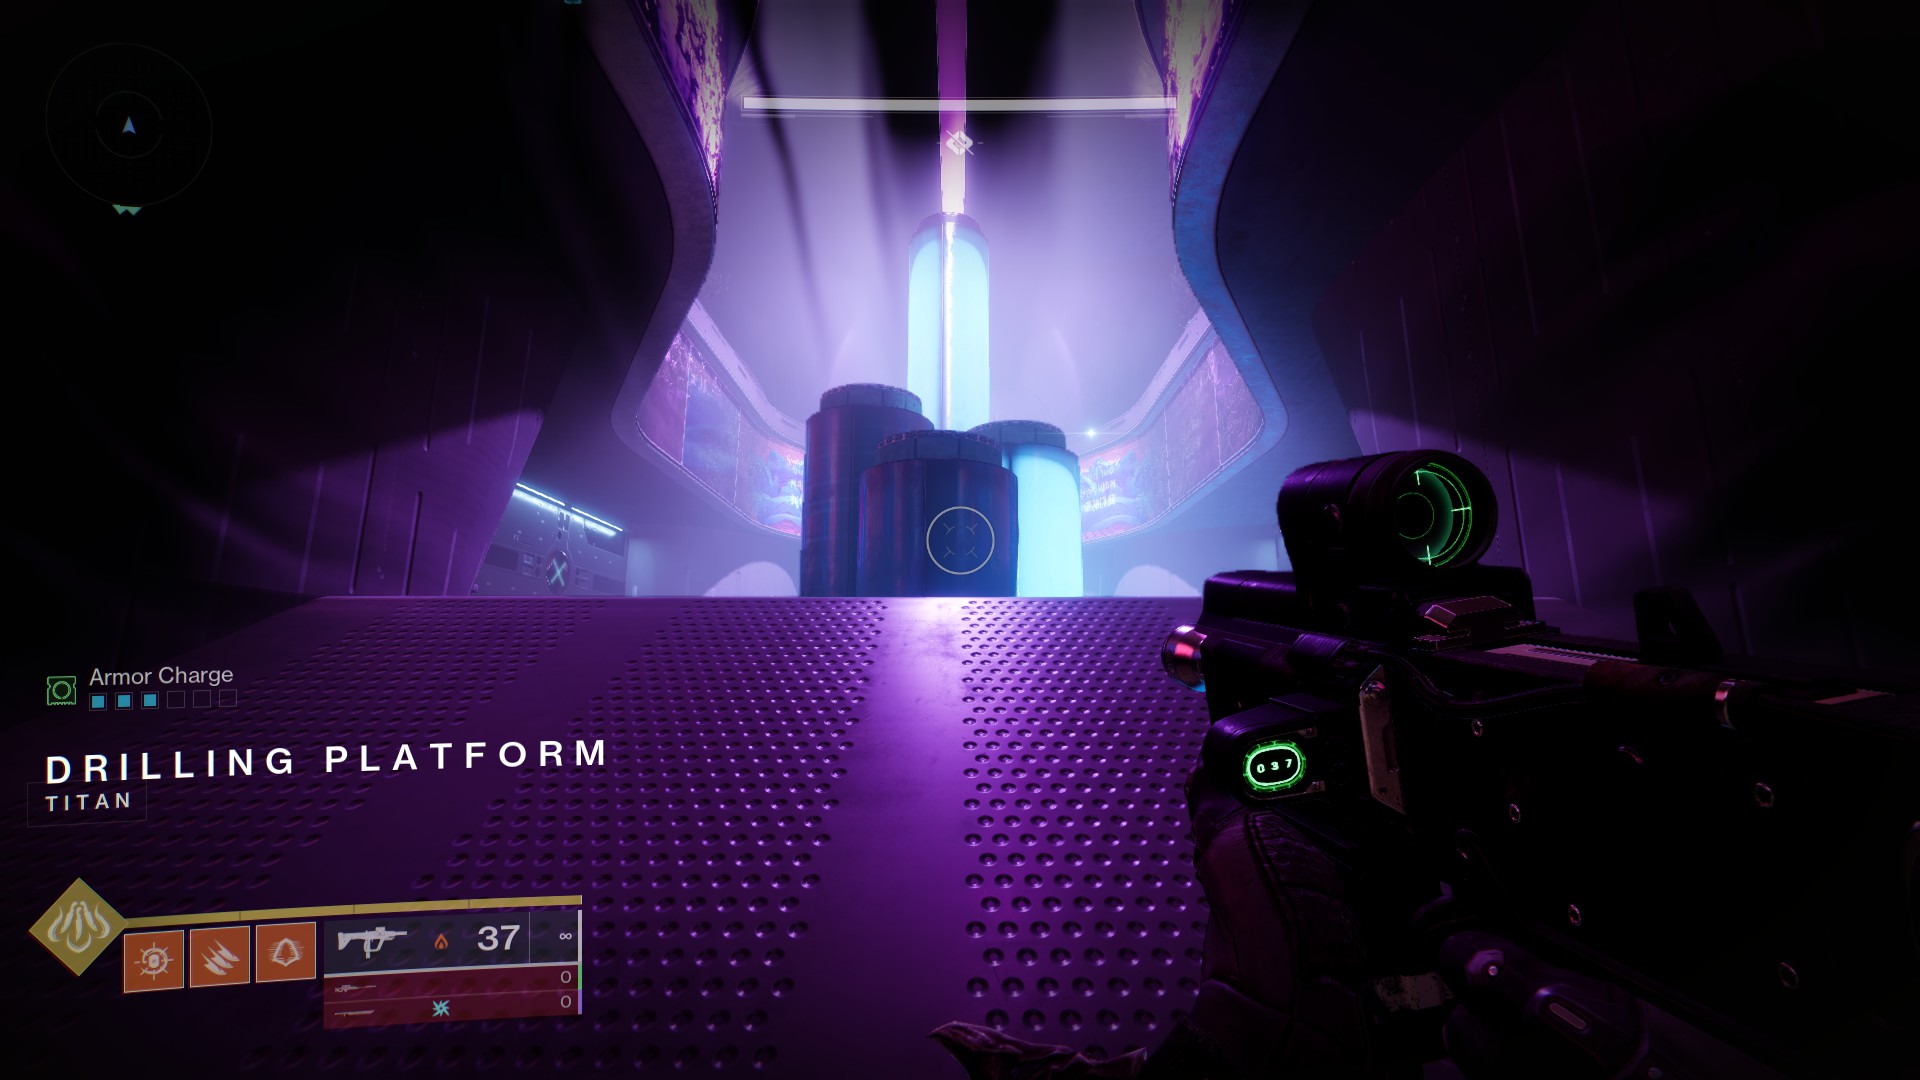
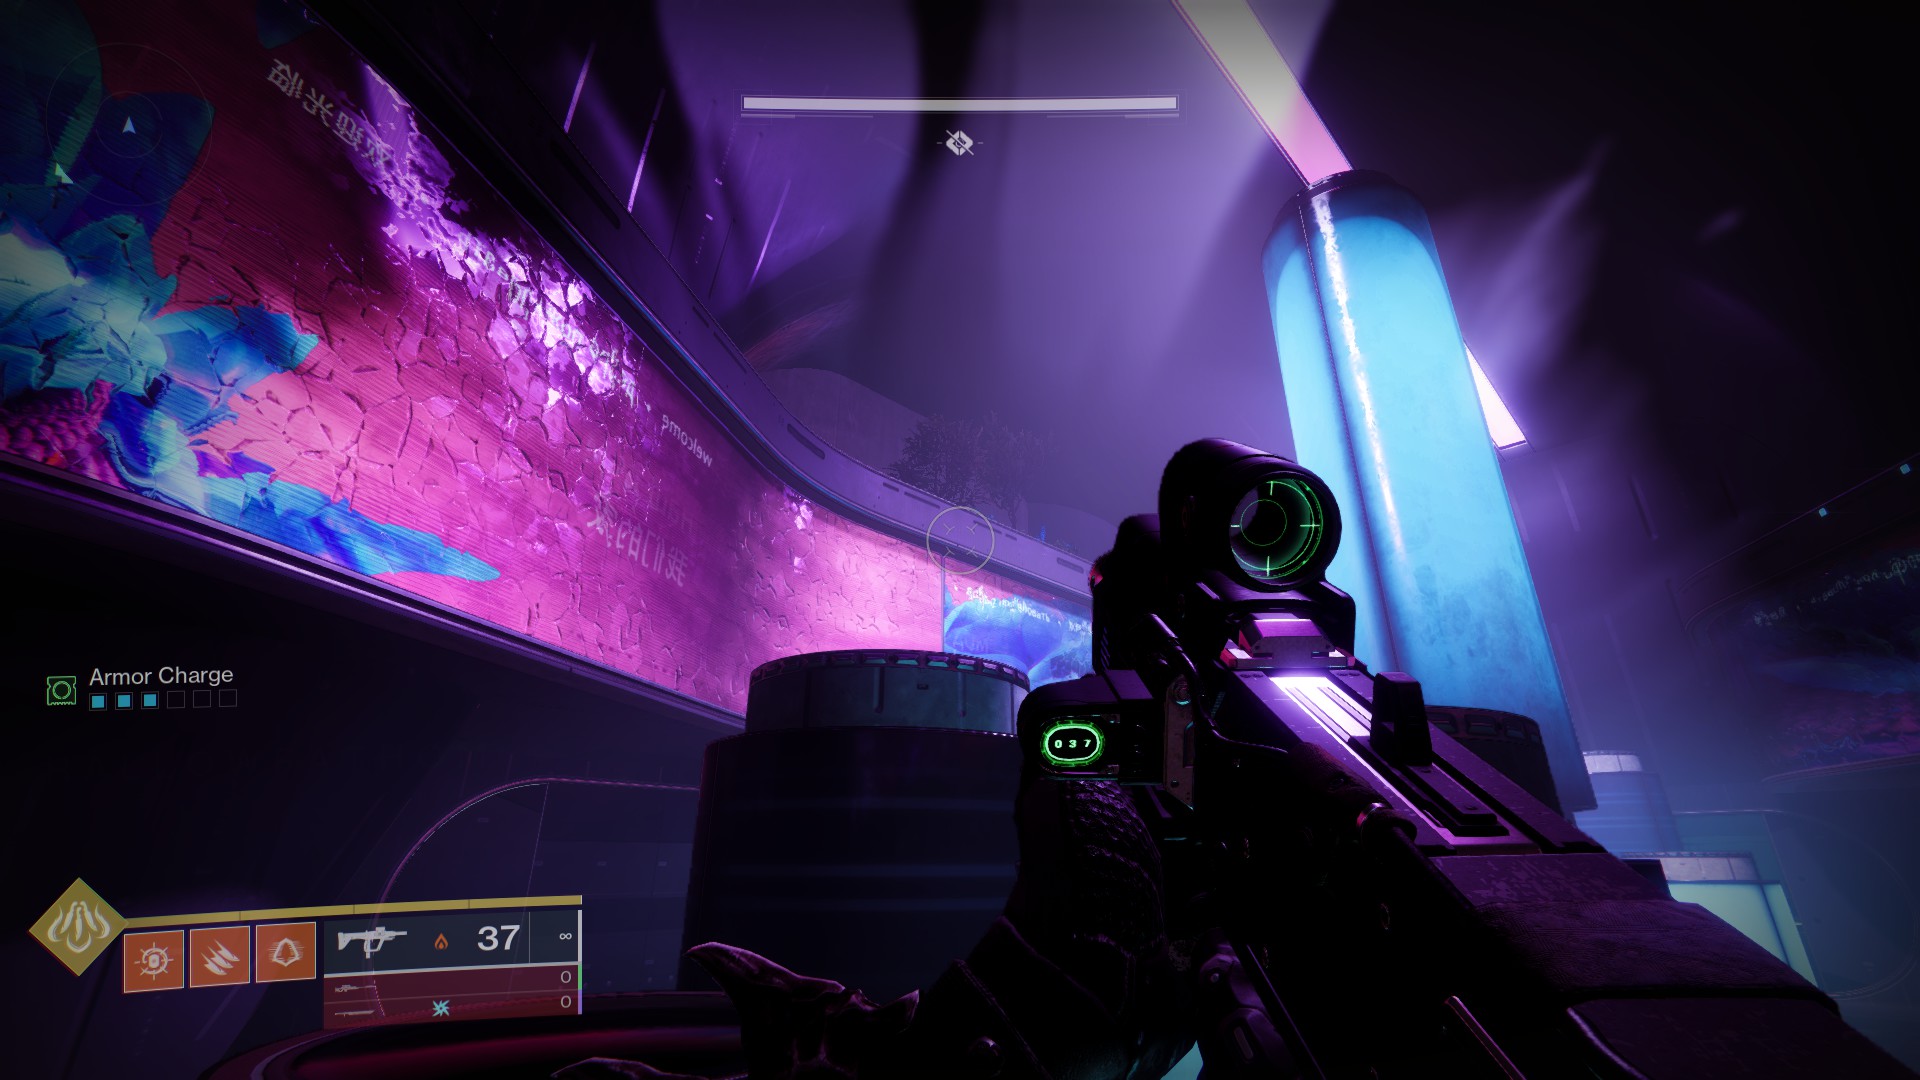
Third collectible: Drilling Platform, after going dropping from the ceiling
Continue through, and you will drop from the ceiling into an area with some vegetation. Continue until the area changes to Drilling Platform, and you’ll spot a few glowing blue tubes. Jump on top of them, then look for a ledge on the left (the one with a tree) to find another collectible.

Fourth collectible: Stuck on a wall after a long drop
Continue along the dungeon, and you’ll find an area with spawning Hive enemies, which will block your progress. Take them down to open up a hole leading to another, bigger drop with a floating platform just below you. Jump to the platform and look to the wall to spot this Memory of Darkness glued to the wall. You can grab it from the platform, so don’t worry about picking it up mid-air.
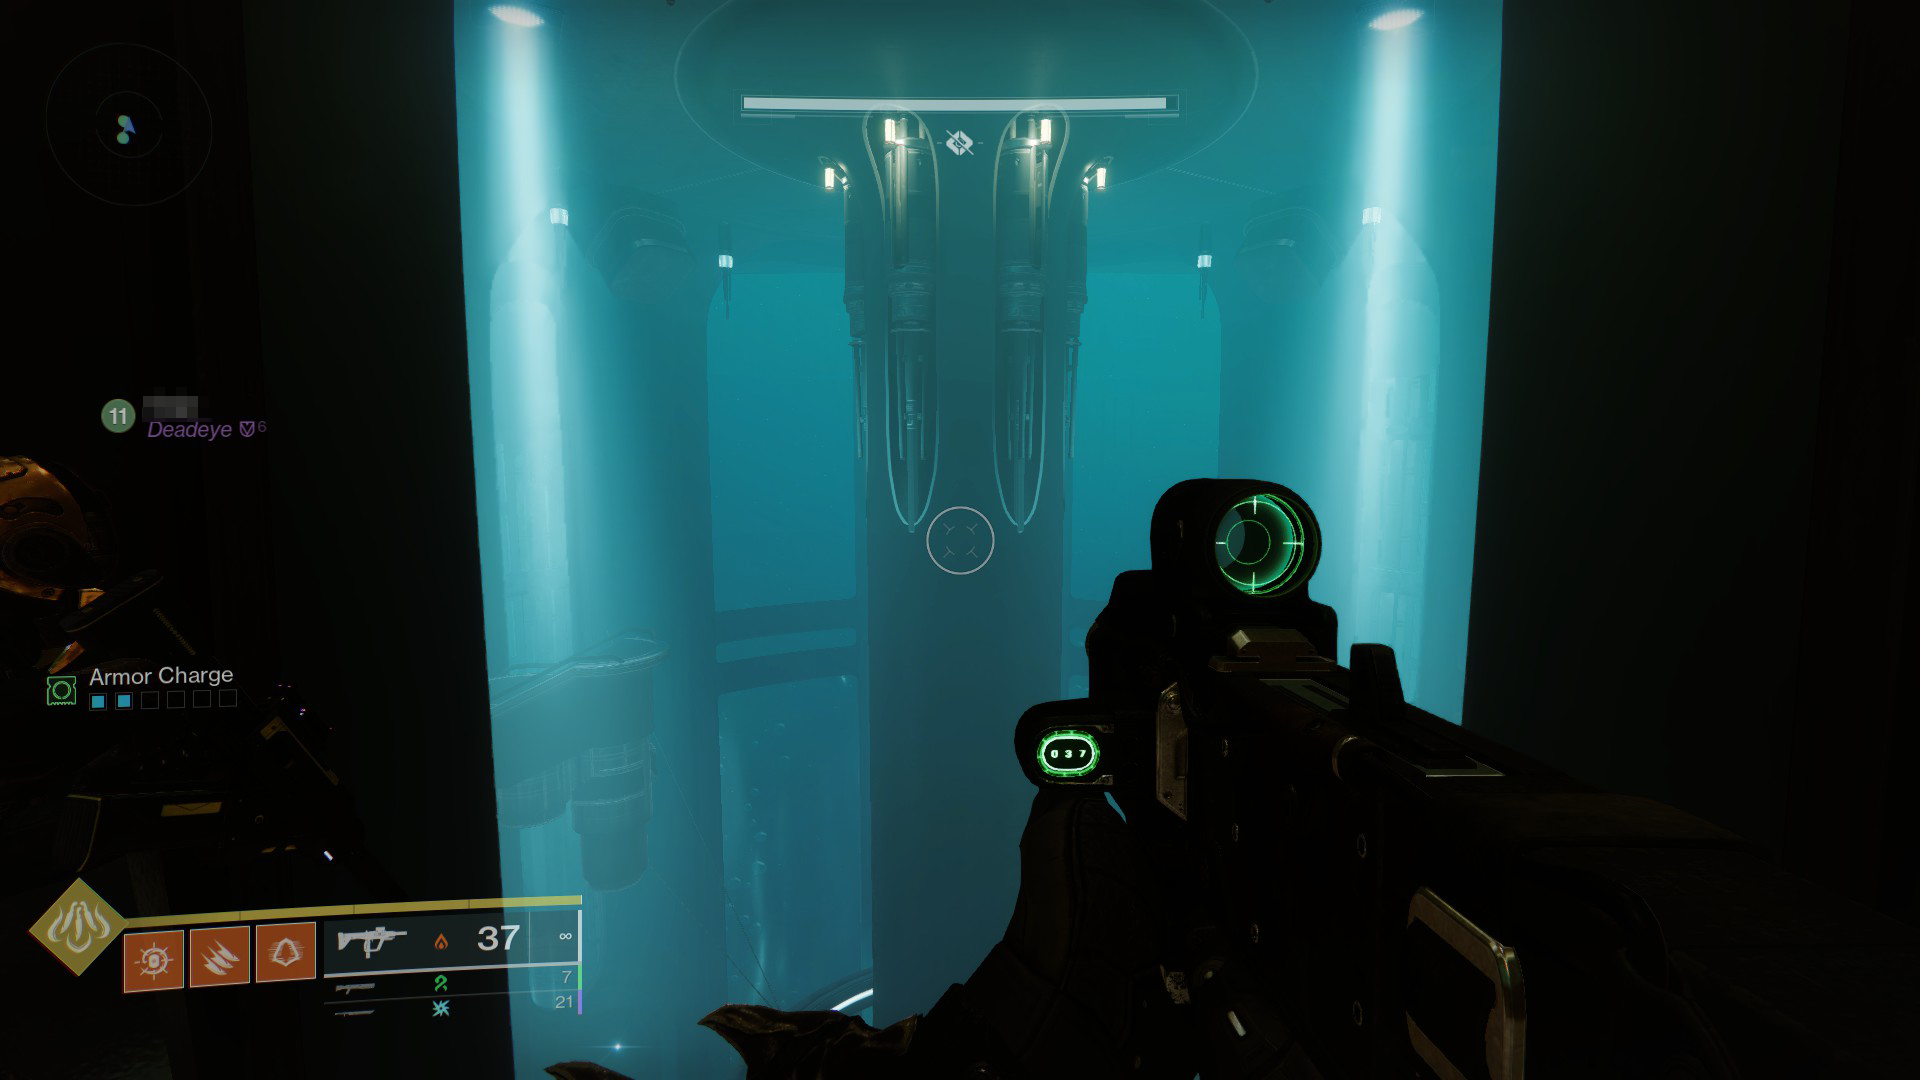
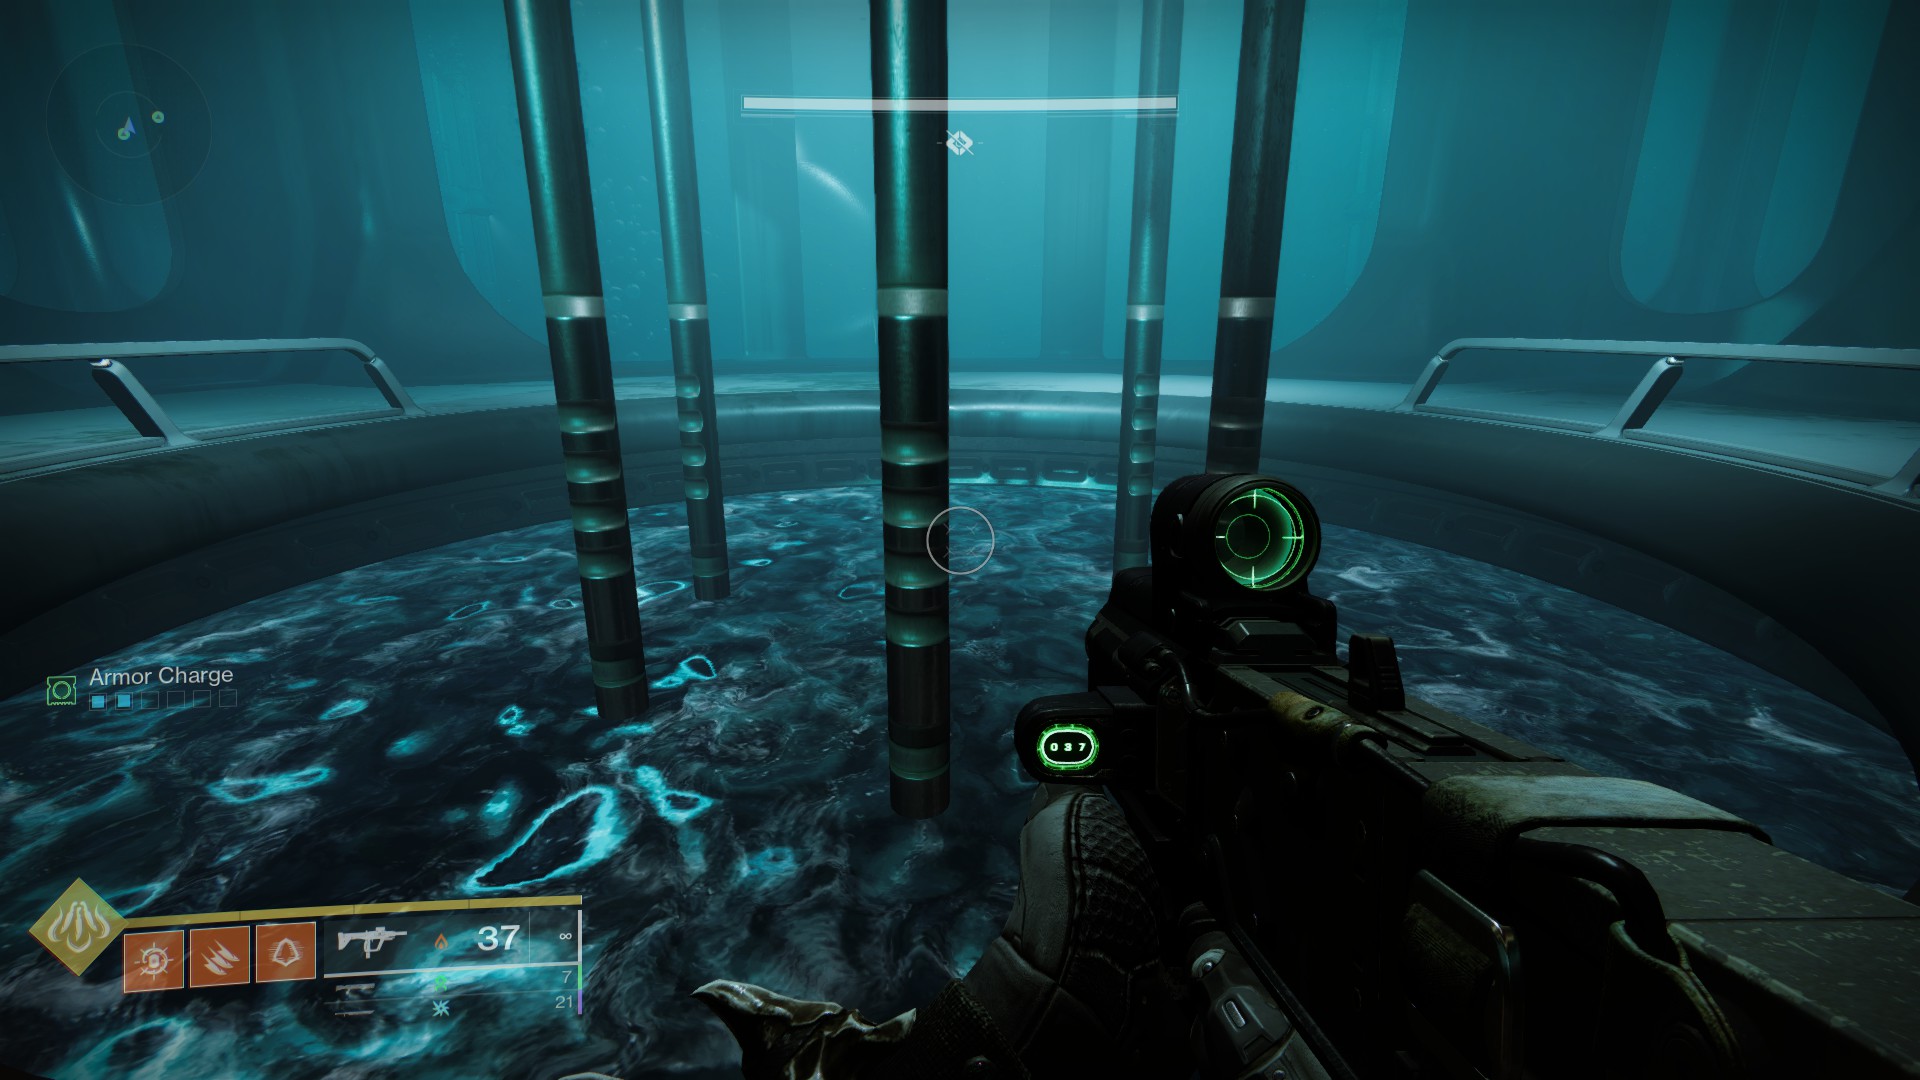
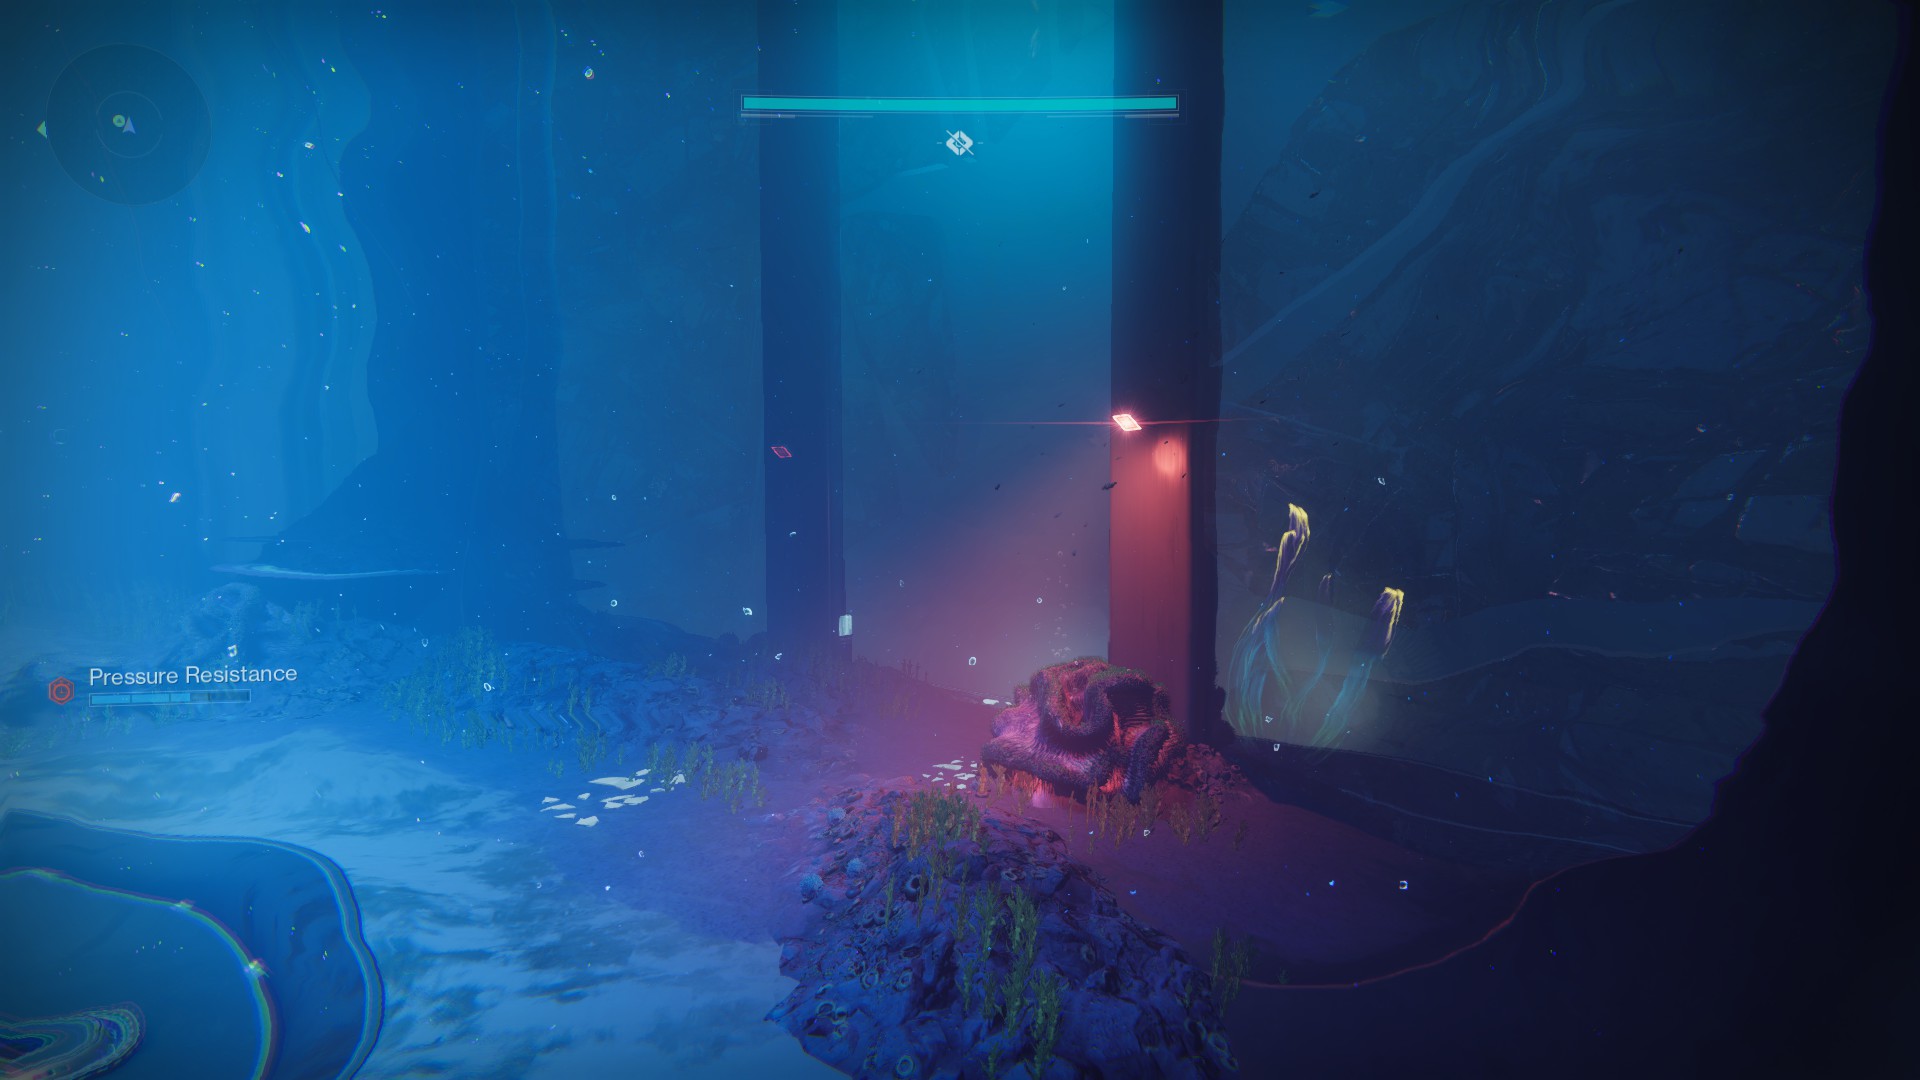
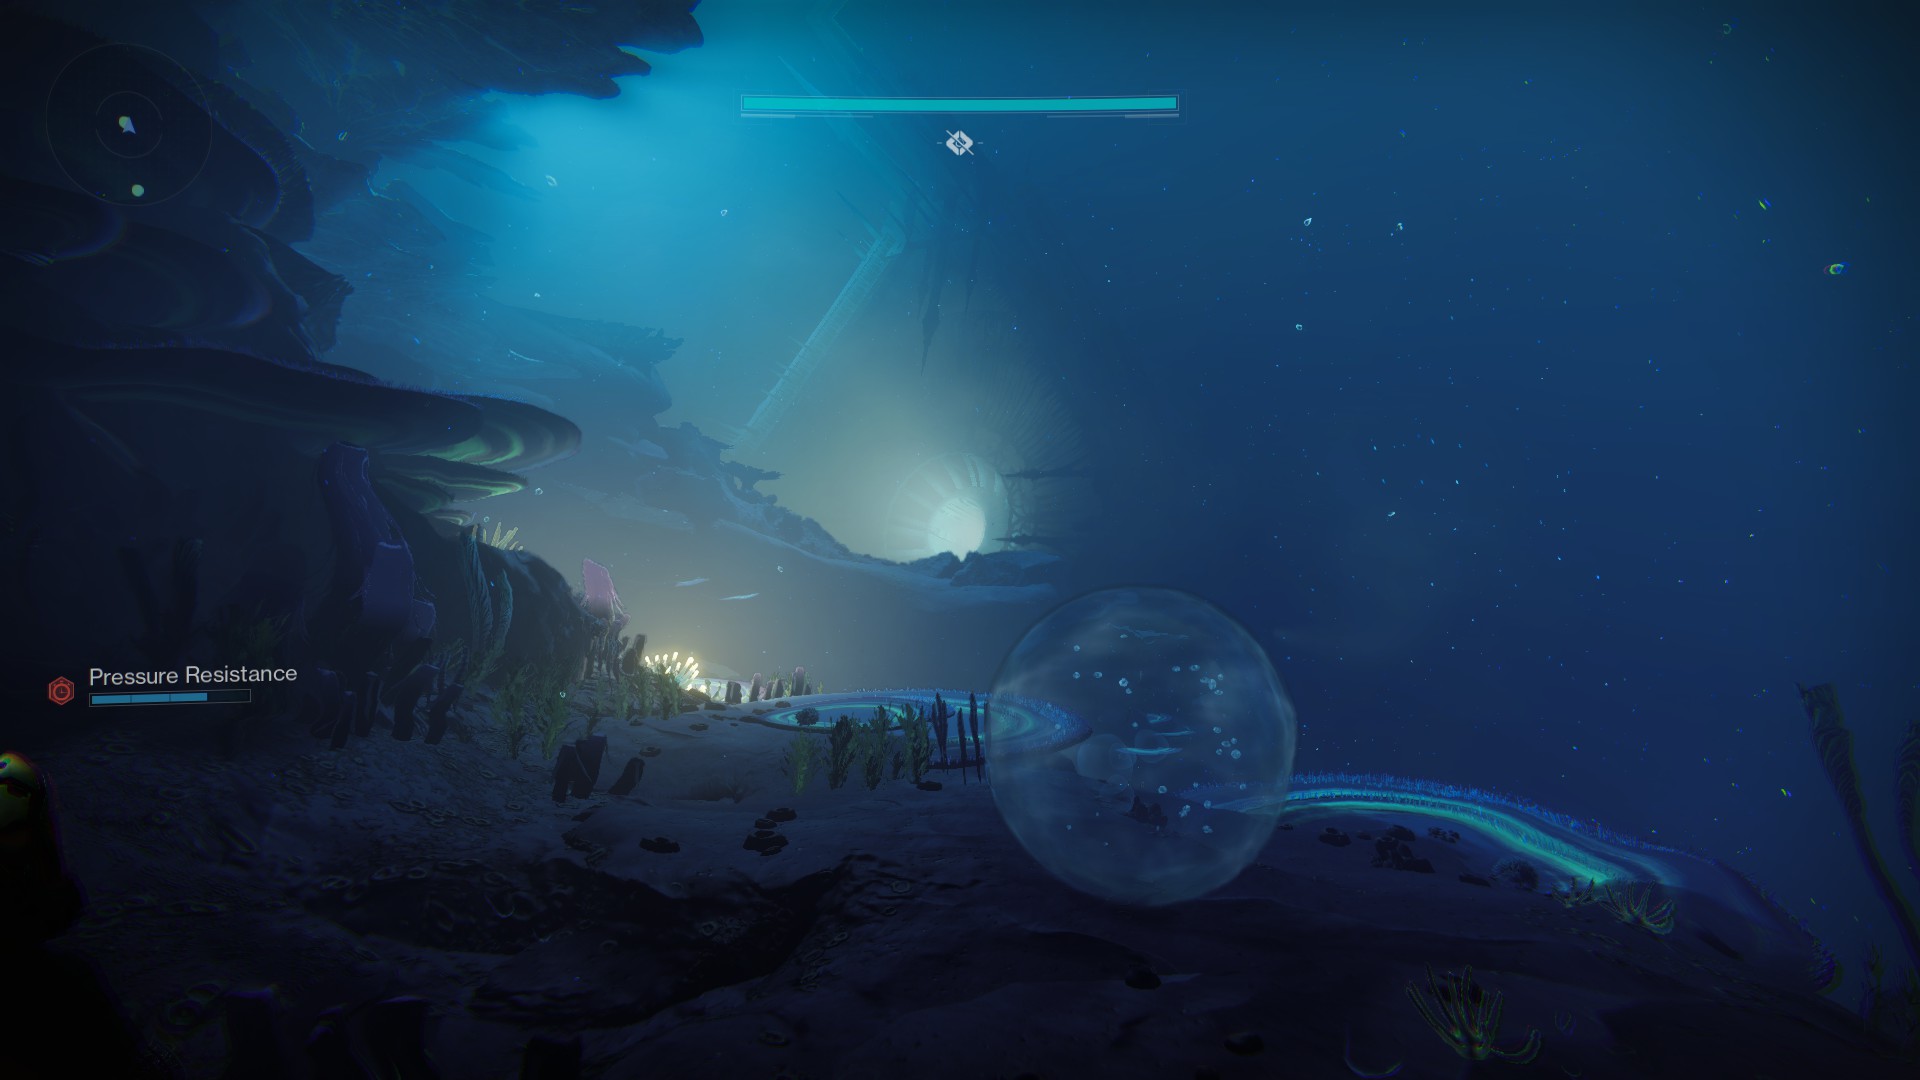
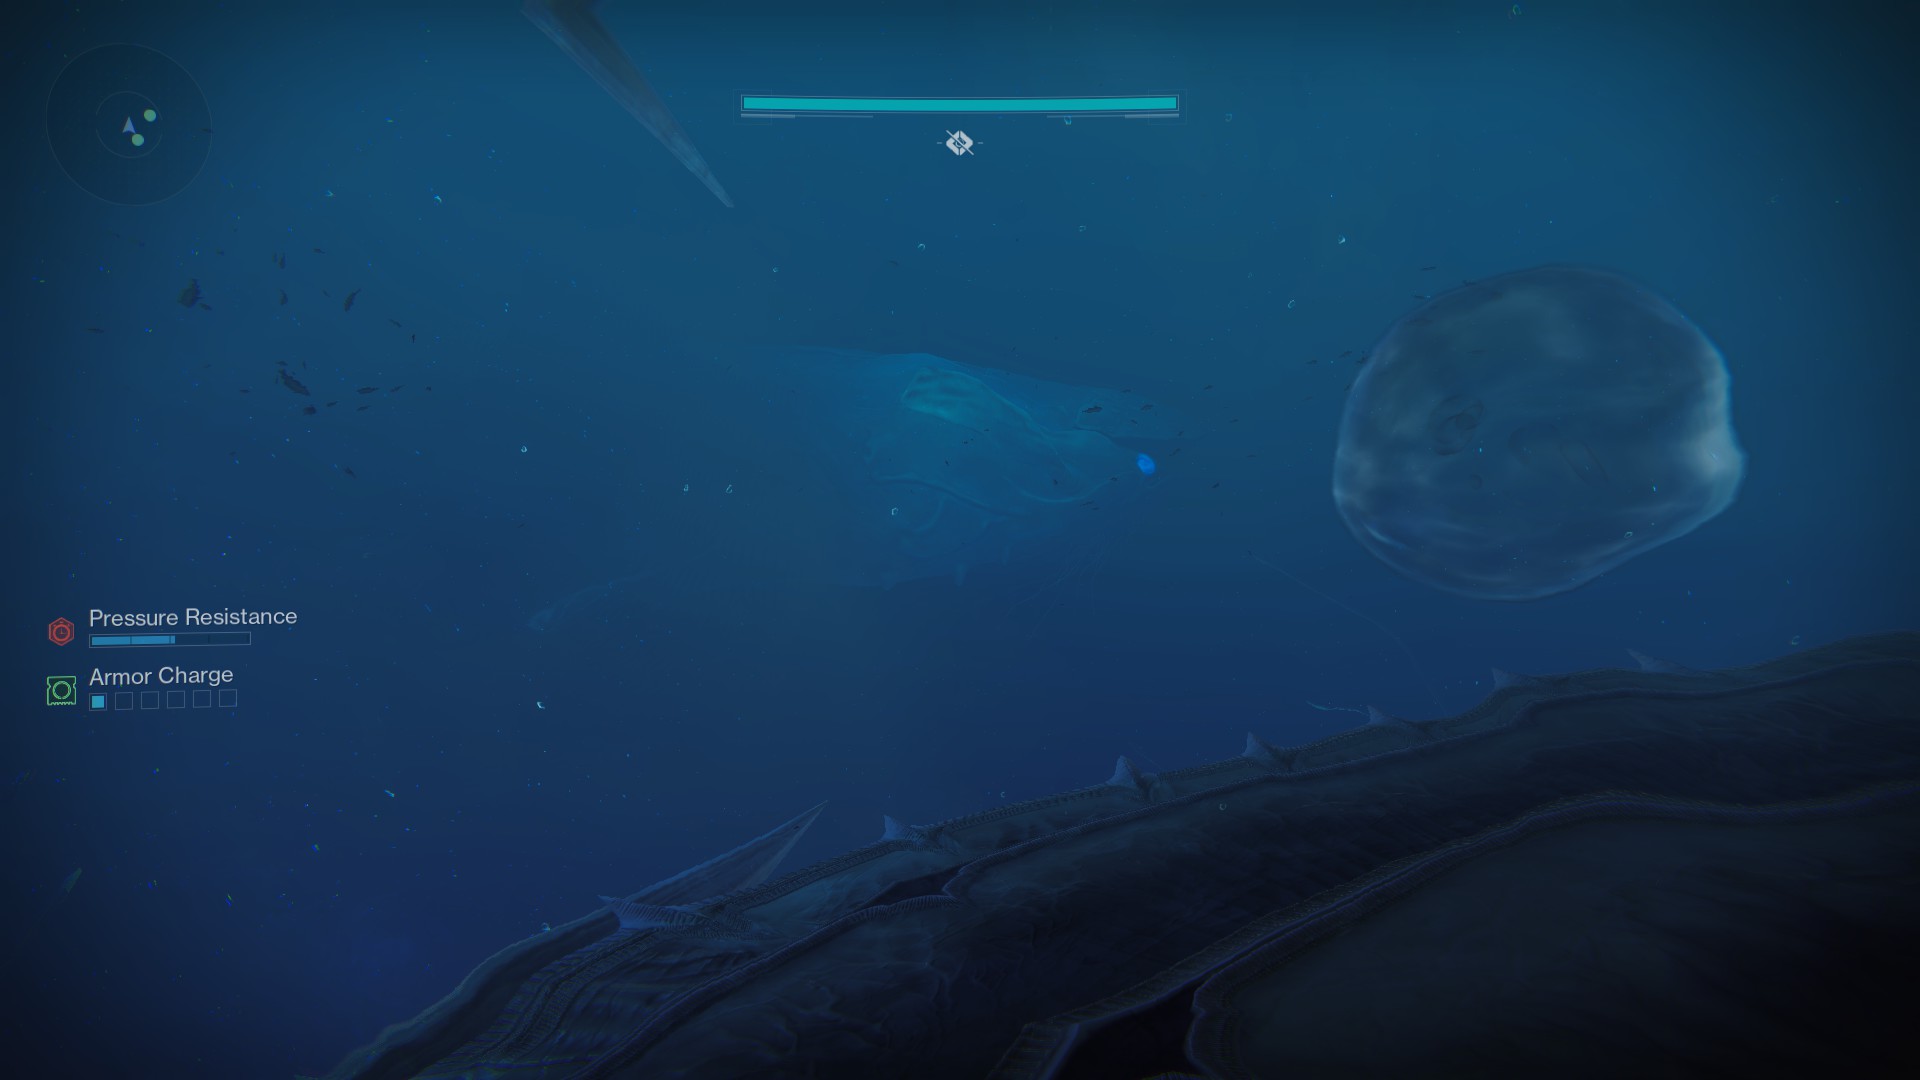
Fifth collectible: In a hidden room underwater
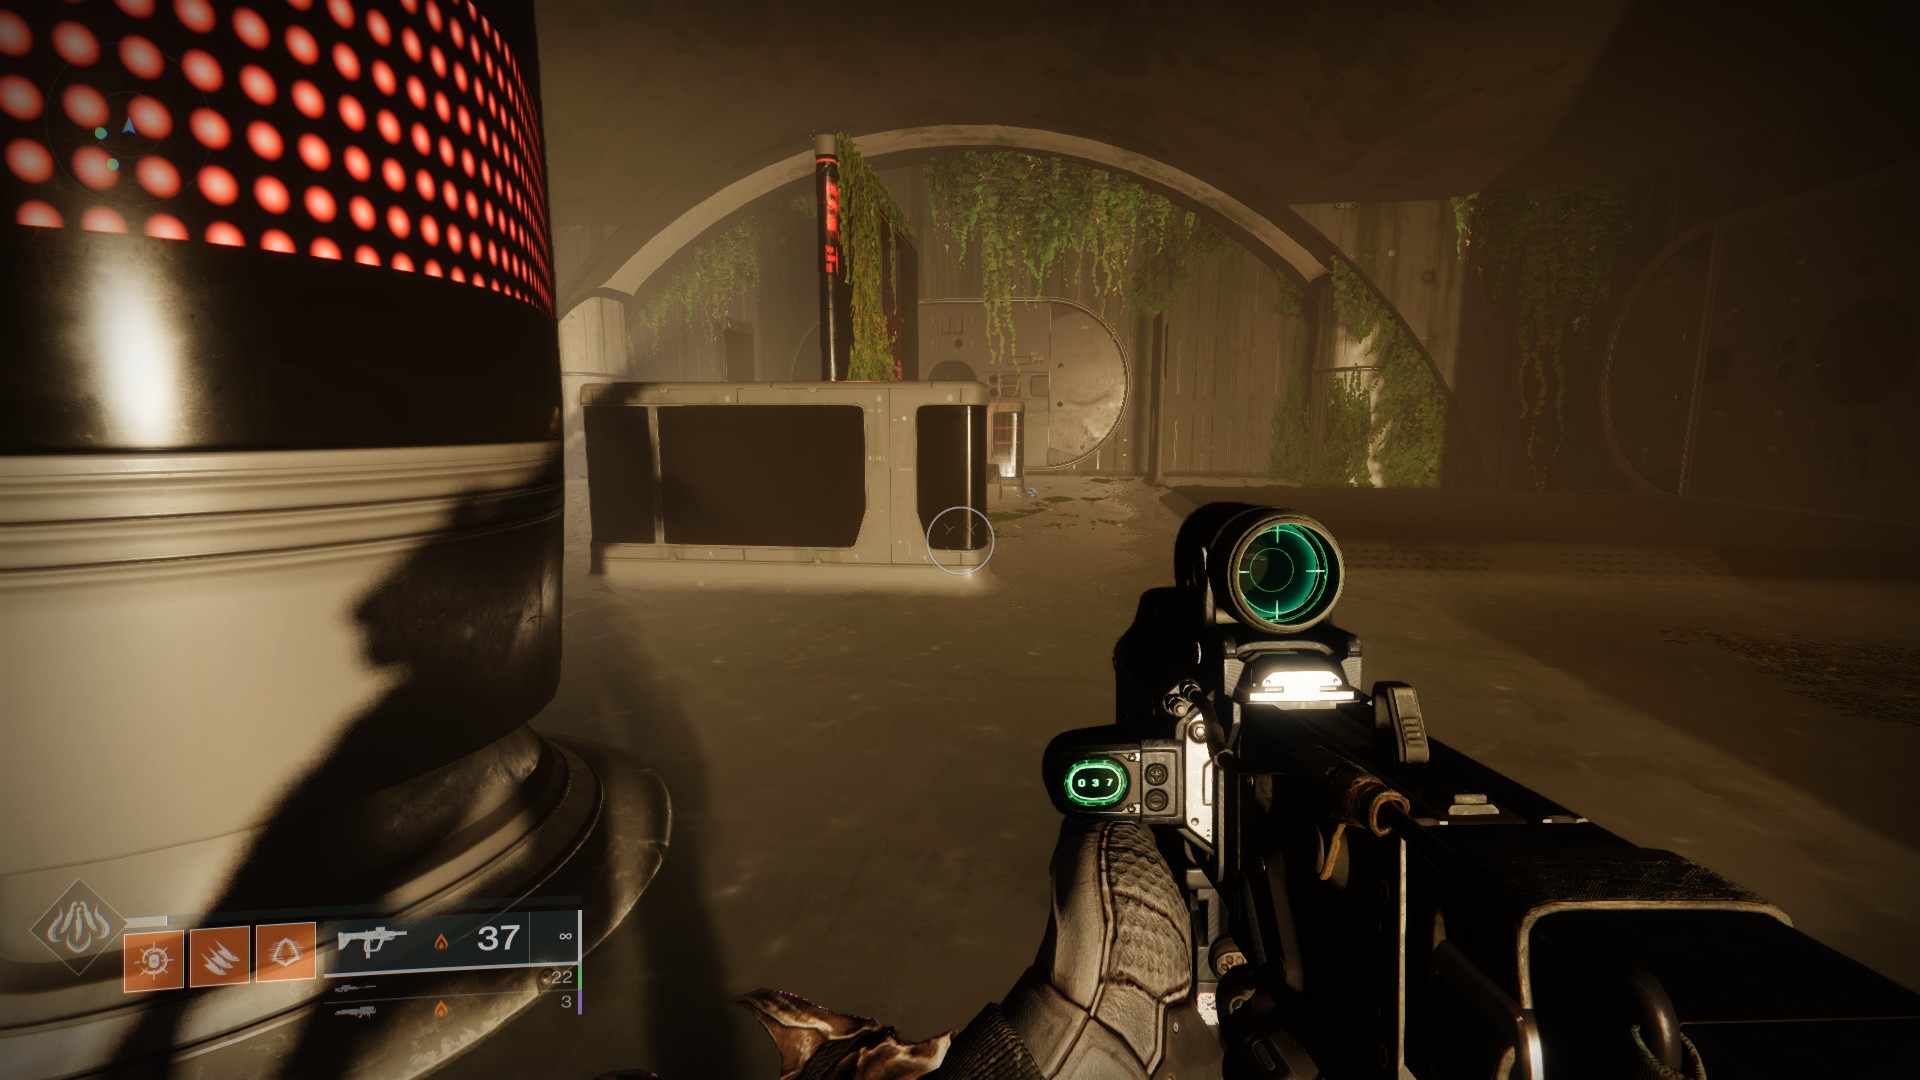
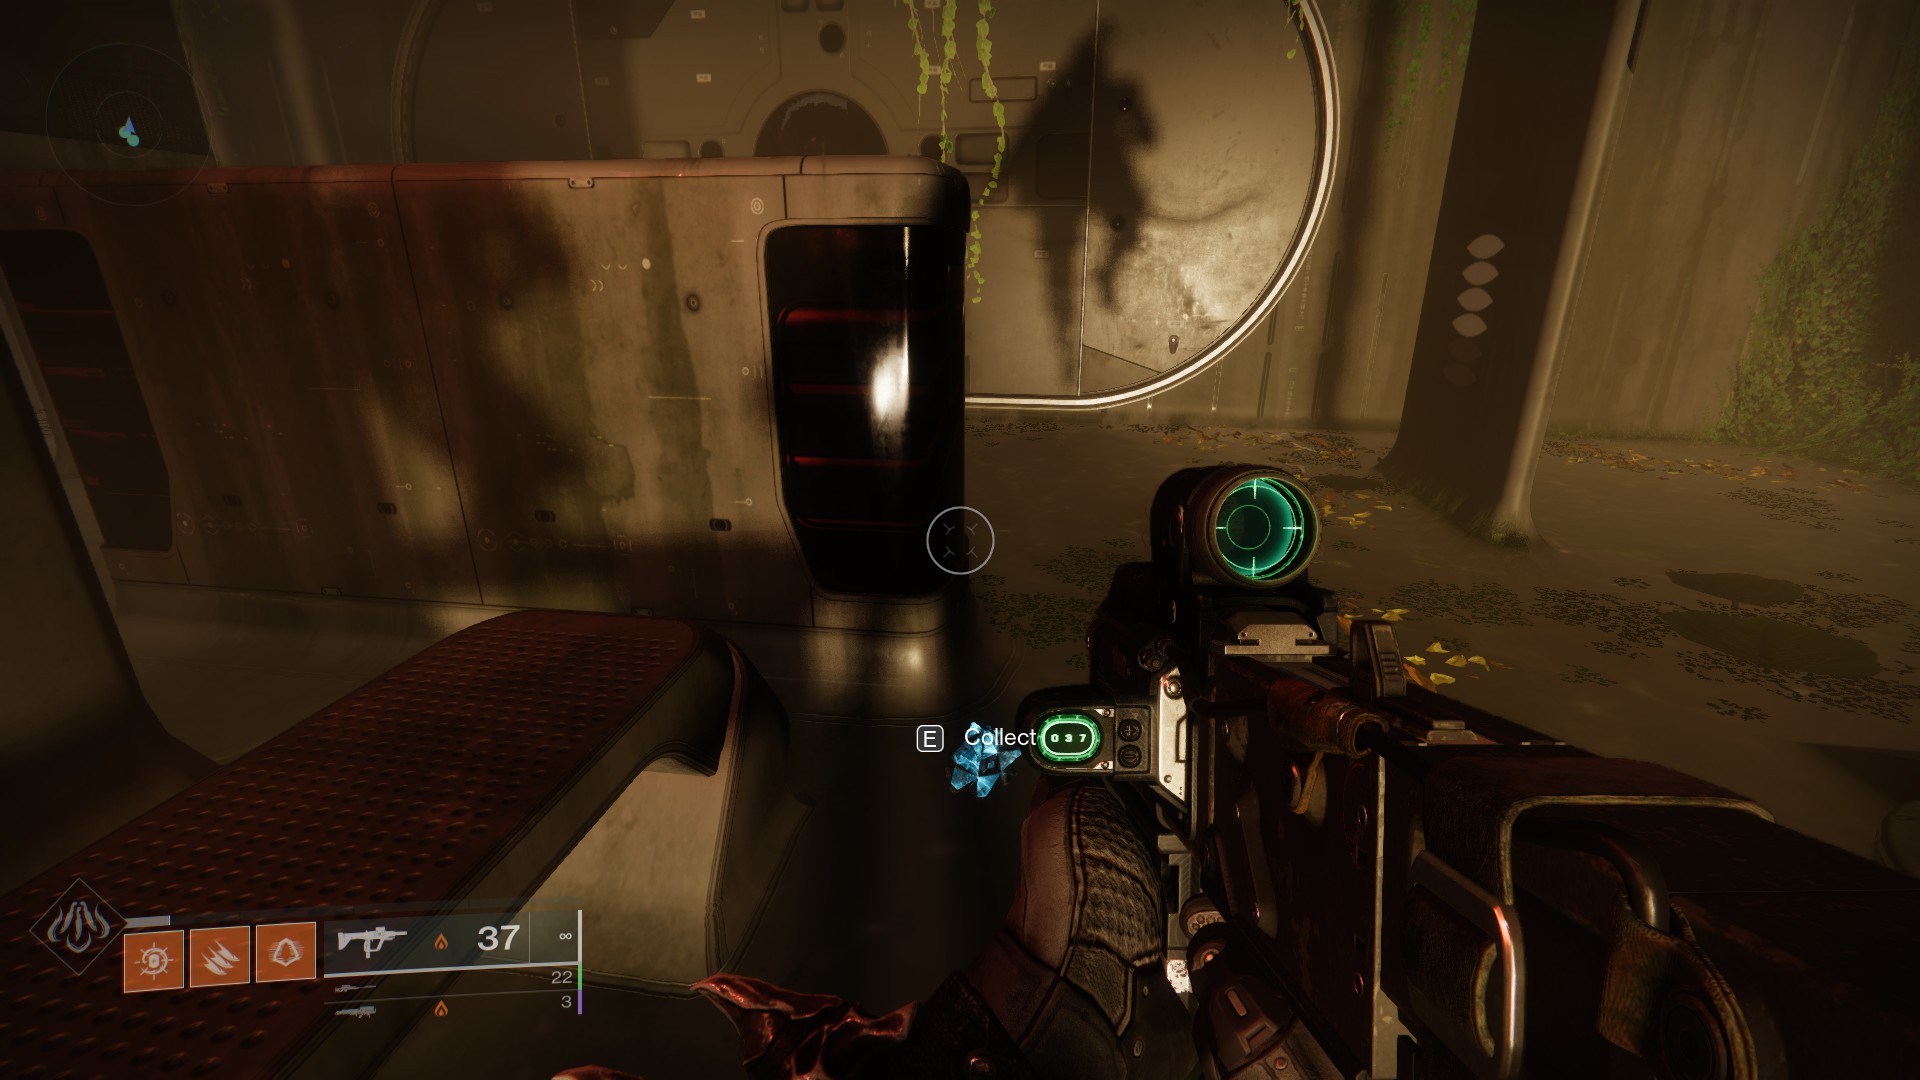
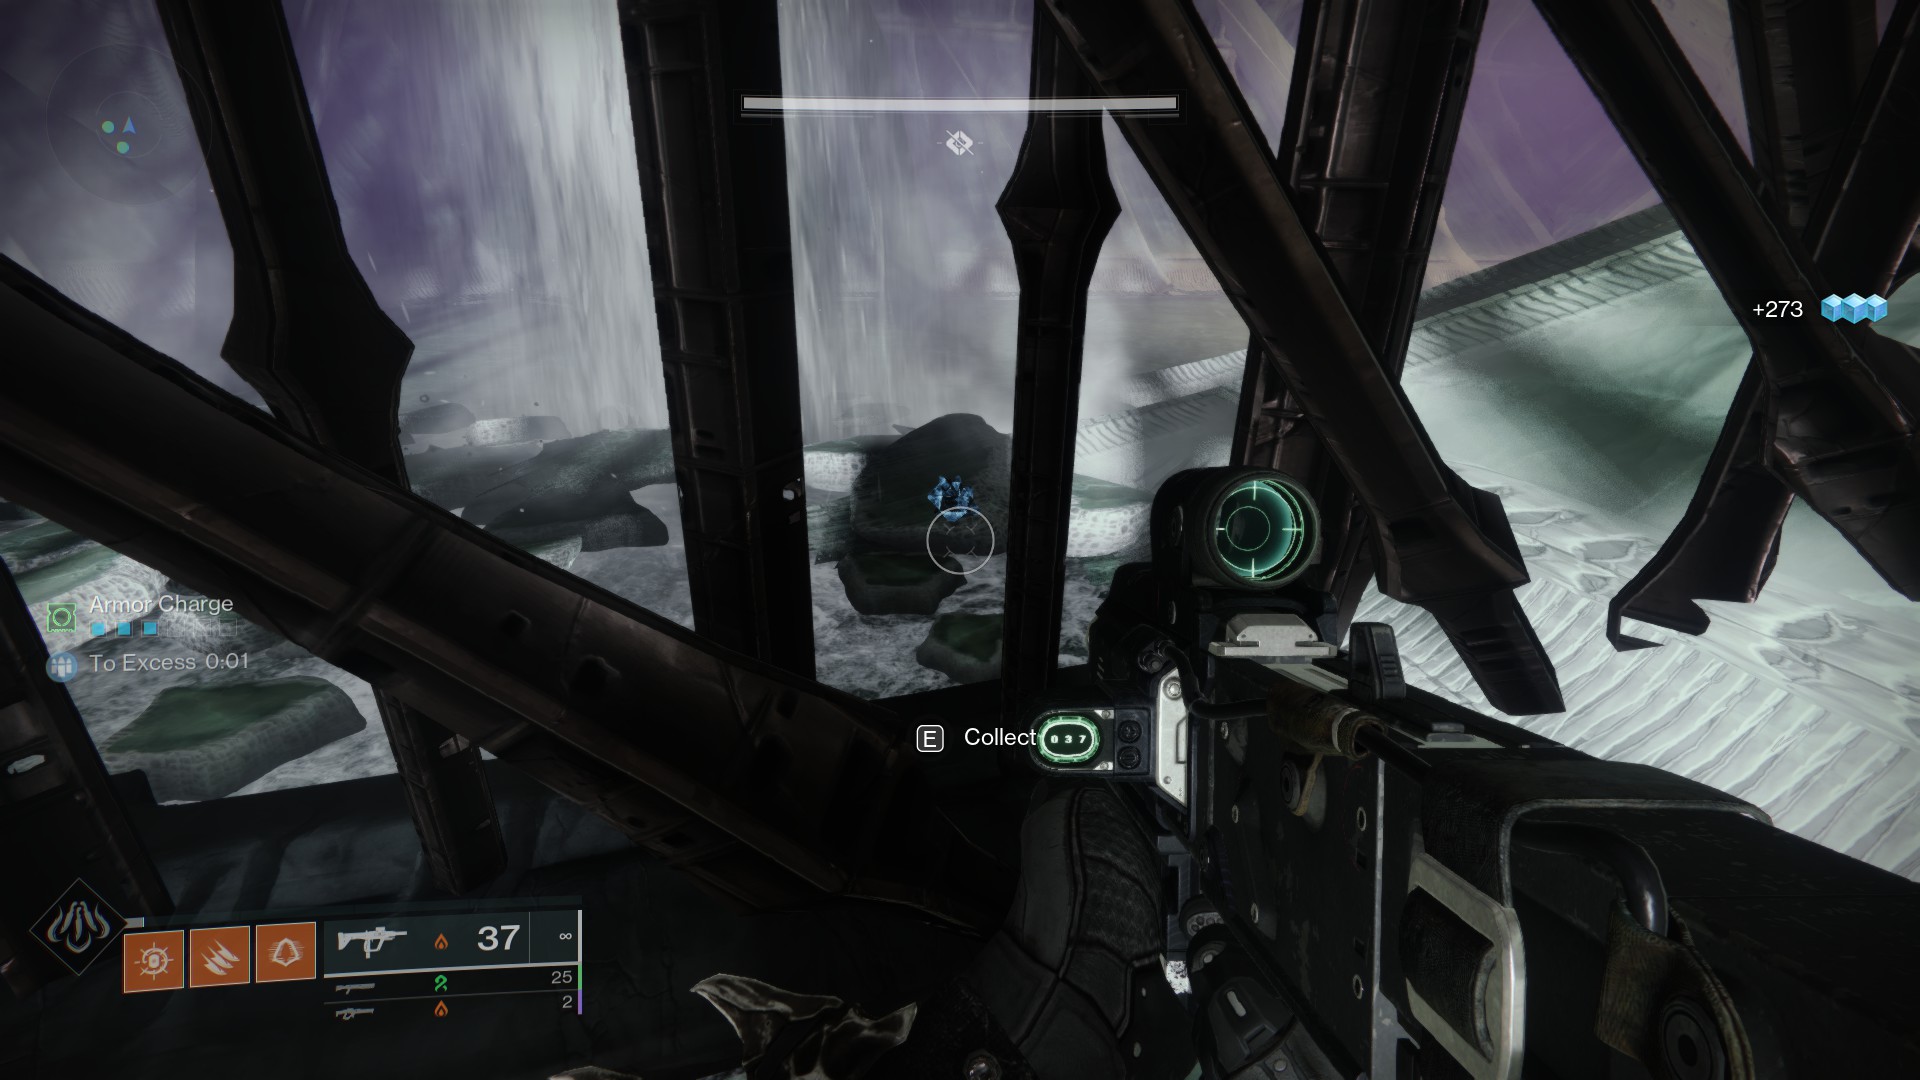
Continue along the way right after this collectible, and you’ll soon see a pool with six beam-like structures leading to the ocean below. Inside, you will find a room with a clearly marked door that drops down below and leads to the rest of the dungeon. Before you continue, look around for a half-open door below a red light. It’s not fully closed, so it’s large enough for your guardian to pass through—and you’ll even find some air bubbles on the other side in case you need them.
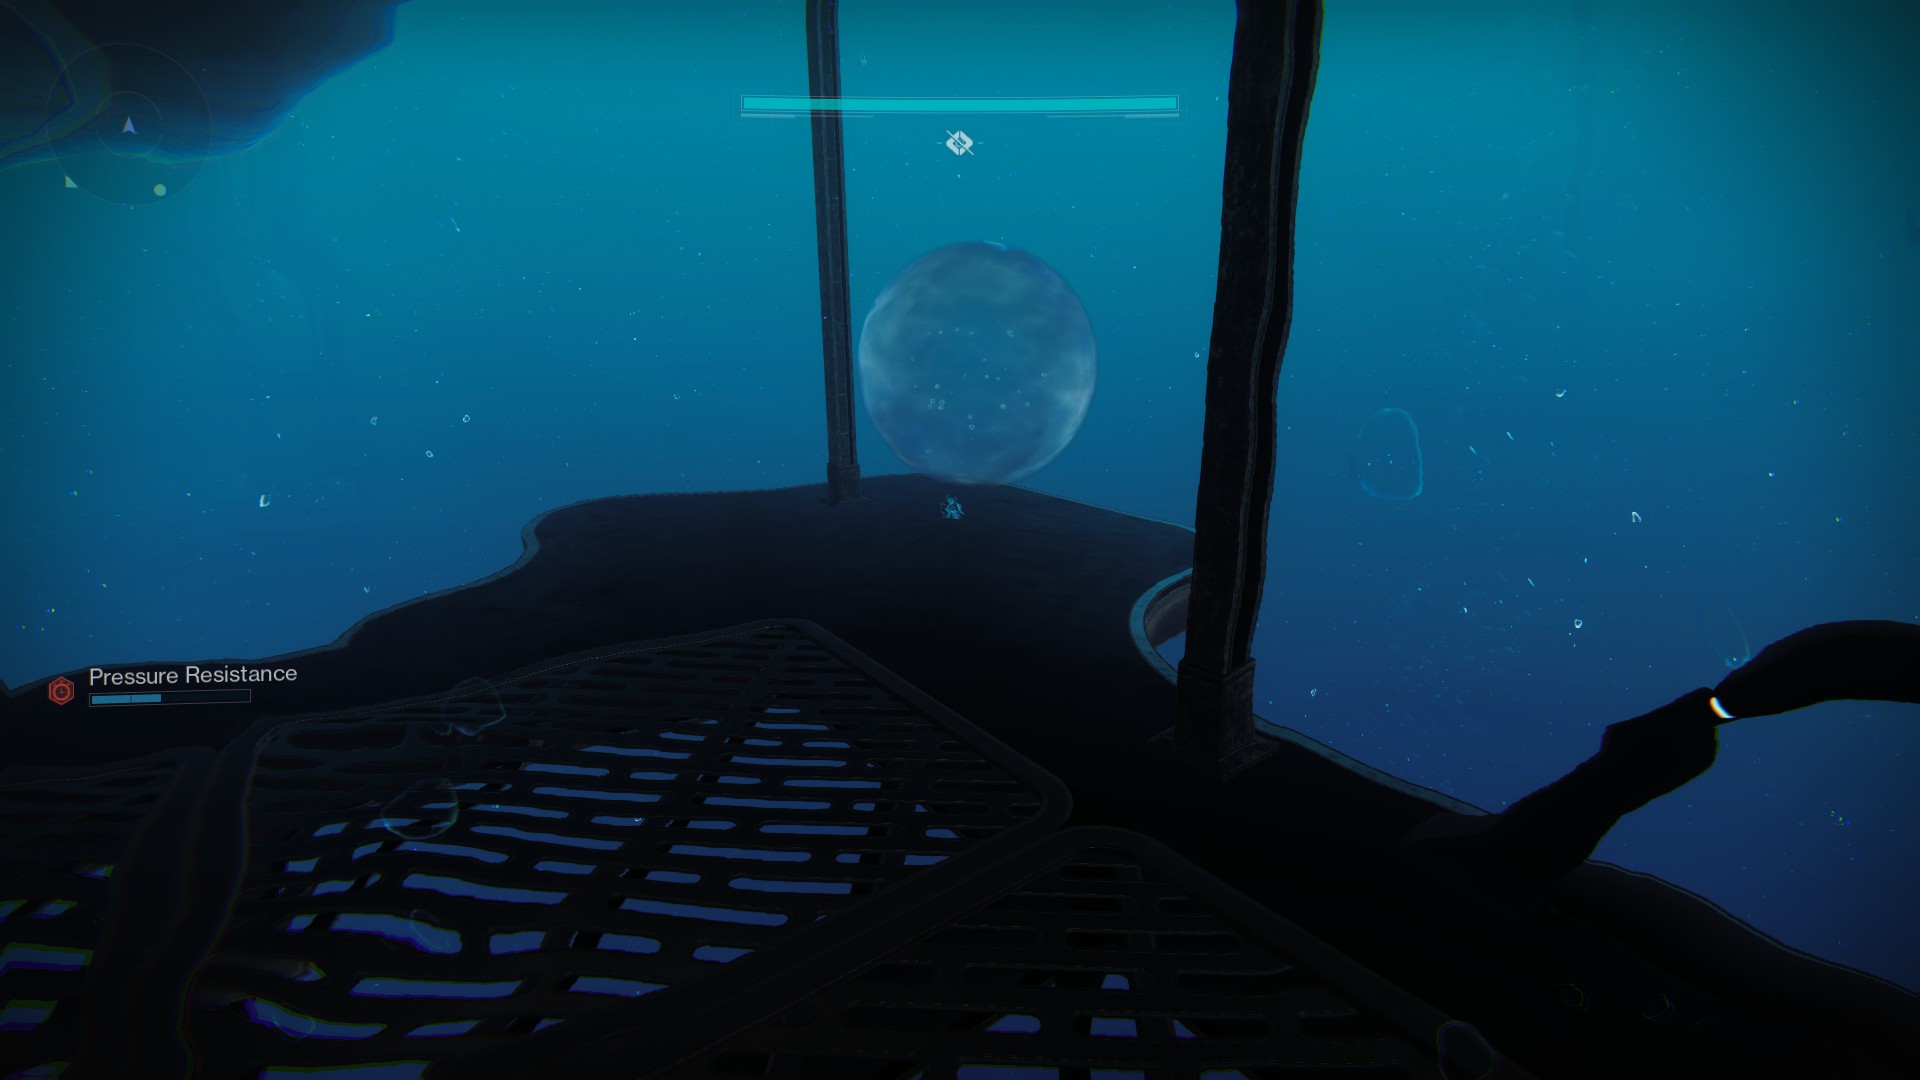
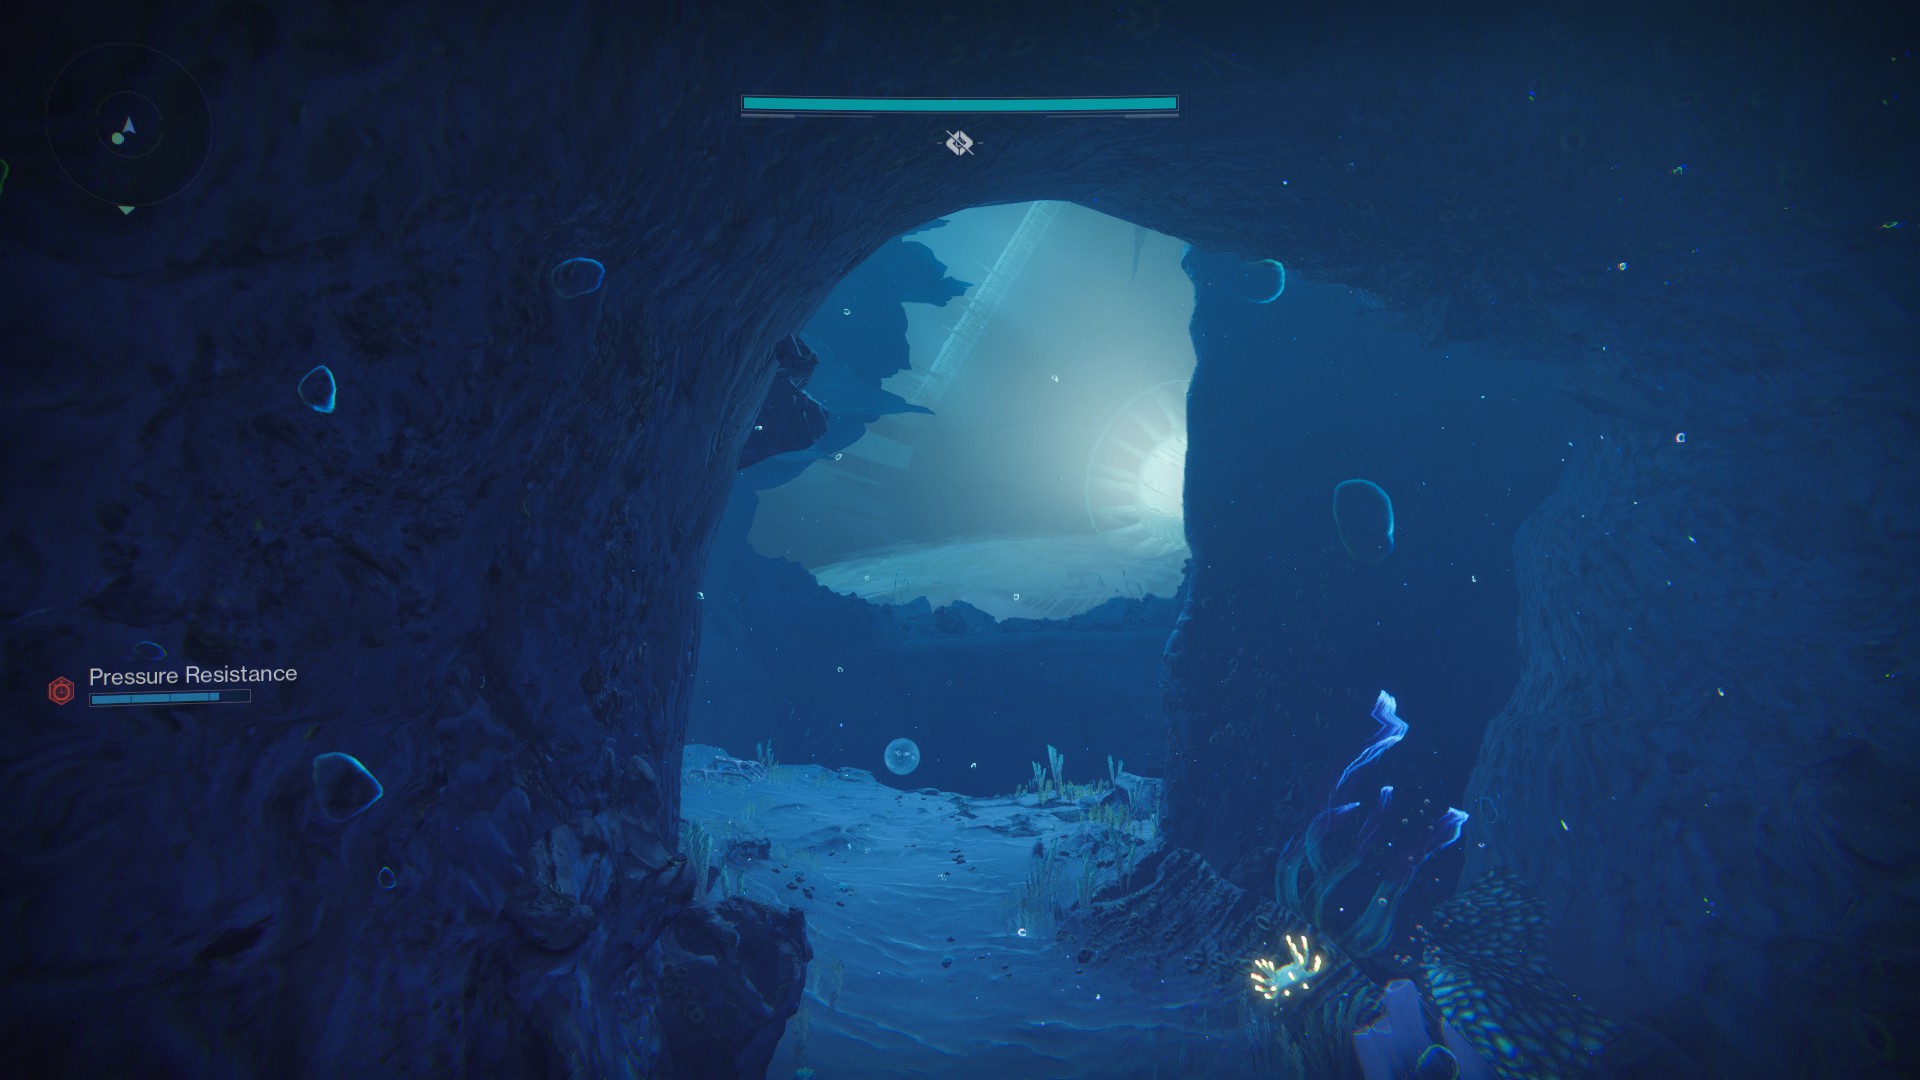
Sixth collectible: Underwater, by the first fan that pushes you up
Wade through another water section, and once you get to the end of it, you’ll find a high-powered fan that will propel you into the room above you. Instead of heading inside, look around for a walkway with an air bubble at the far end of it, and you’ll spot a collectible below it. The blue glow could be visible just below the bubble, though it may be hard to distinguish it from the deep blue of the ocean. If you need to pinpoint the exact location, head into the room and look for a door between a blue panel and a red light, which should indicate where the bubble will be (to the right of the door).

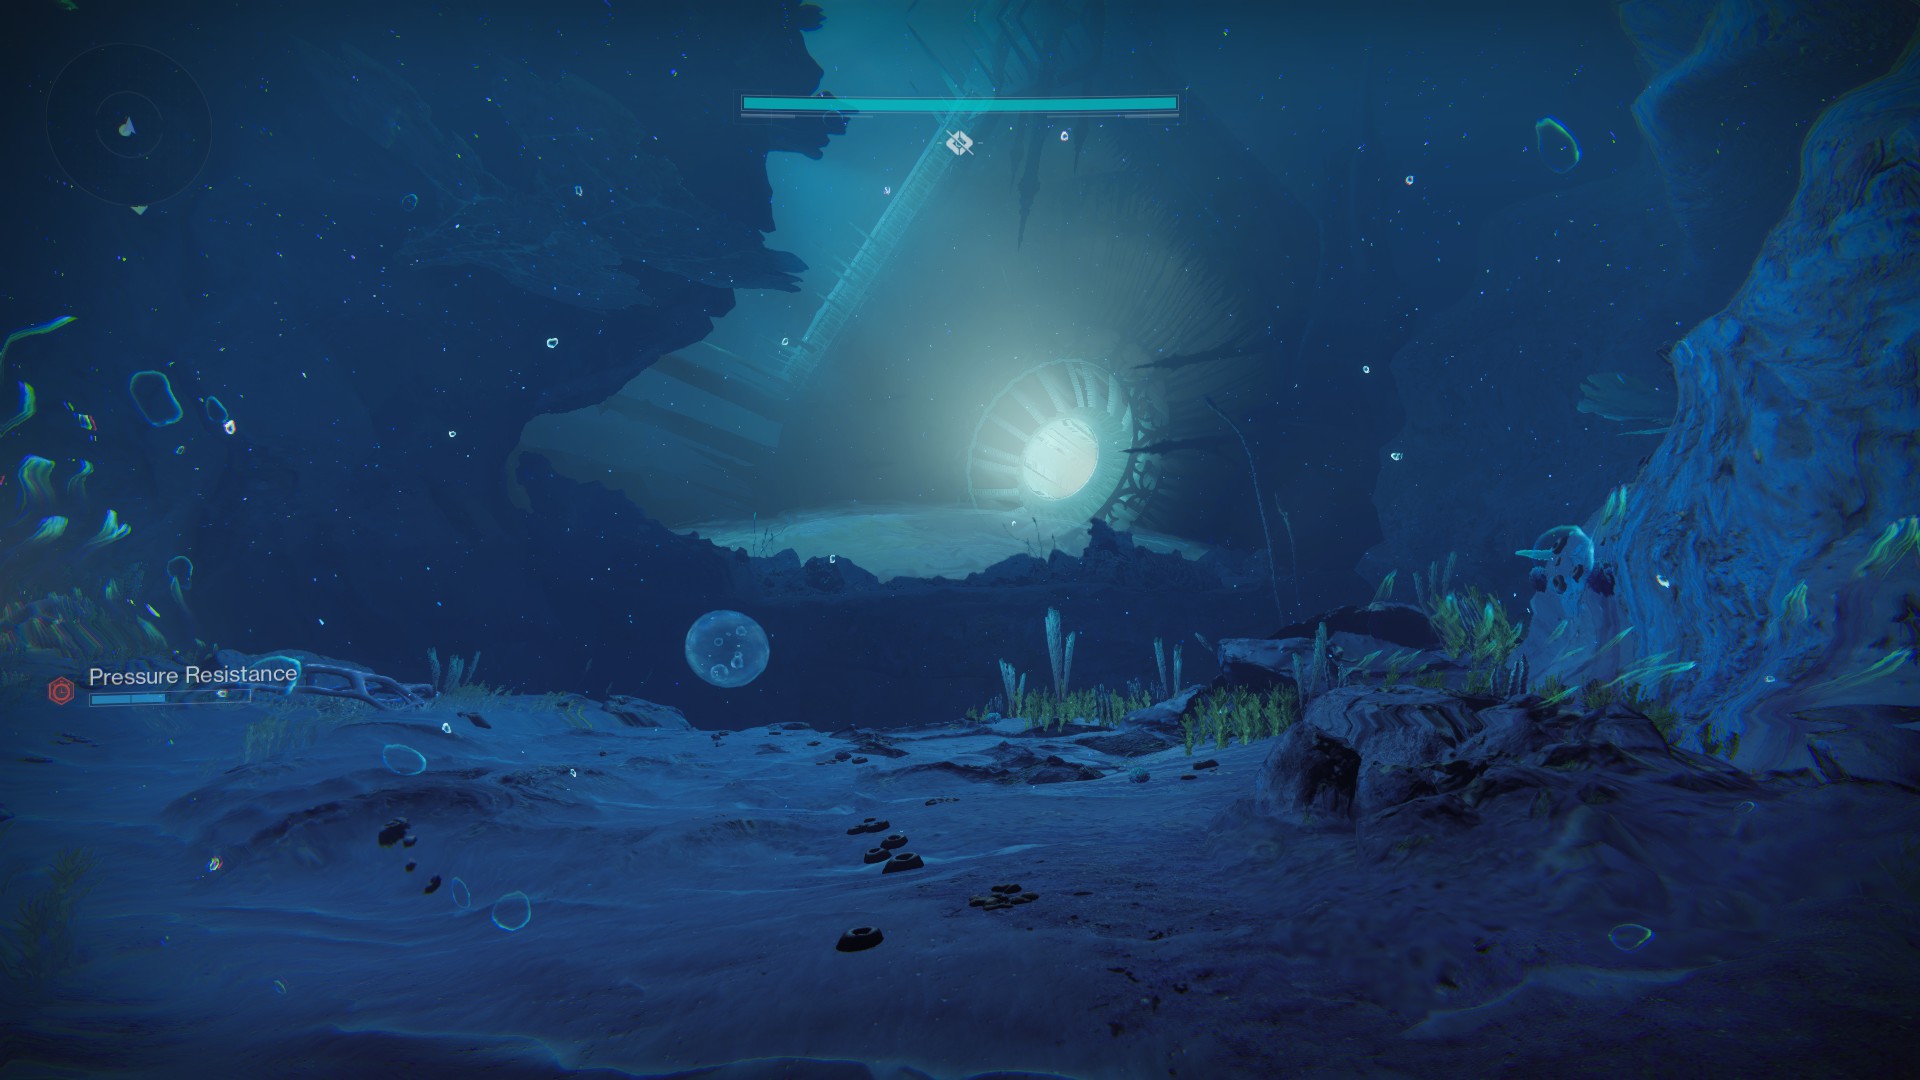
Seventh collectible: In a walkway between two red lights, before “reach the wreckage”
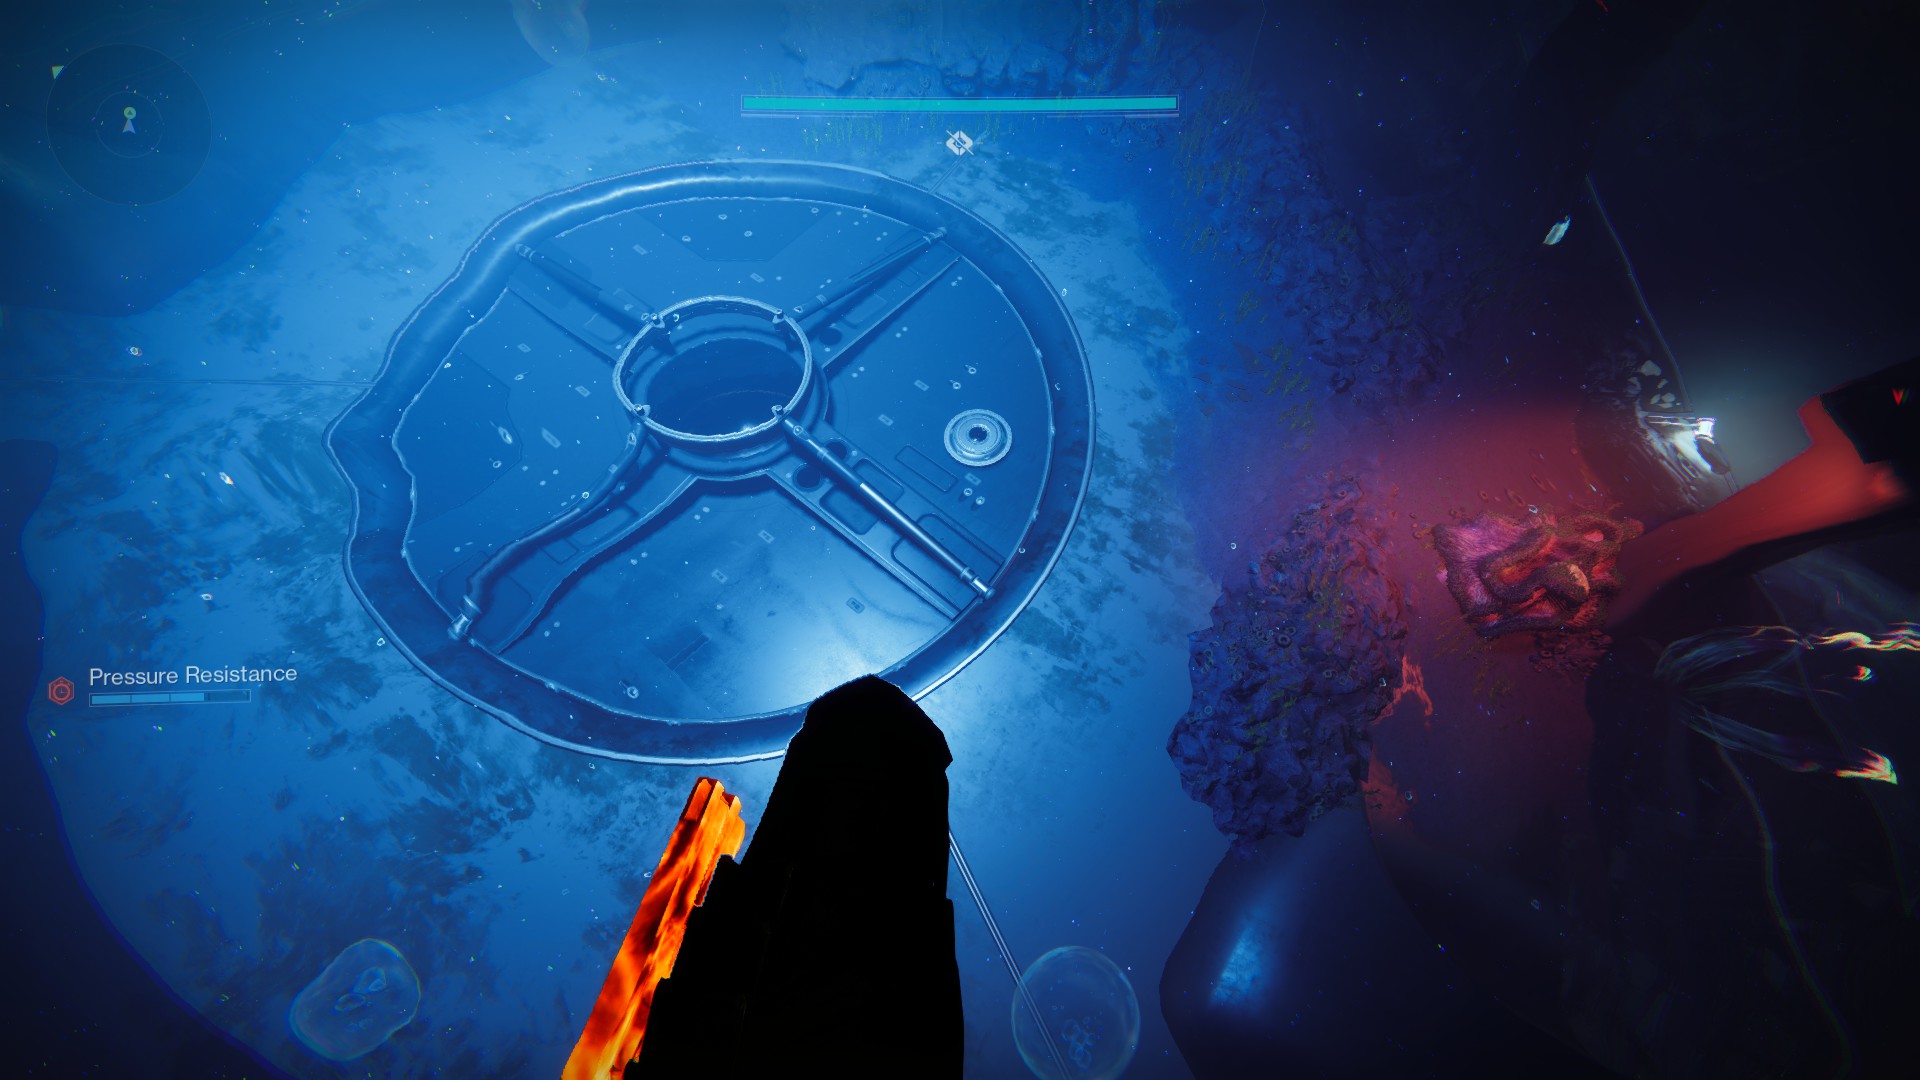
Shortly after the sixth collectible, continue dropping down until you reach an area just above the seabed, with a large hatch and some coral-like formations illuminated by a couple of red lights (which should be on your right side when you drop in). Follow the path between the two lamps until you find a walkway with a window on it. This Memory of Darkness will be on the windowsill on your side of the glass.
Eighth collectible: On the seabed, to your left
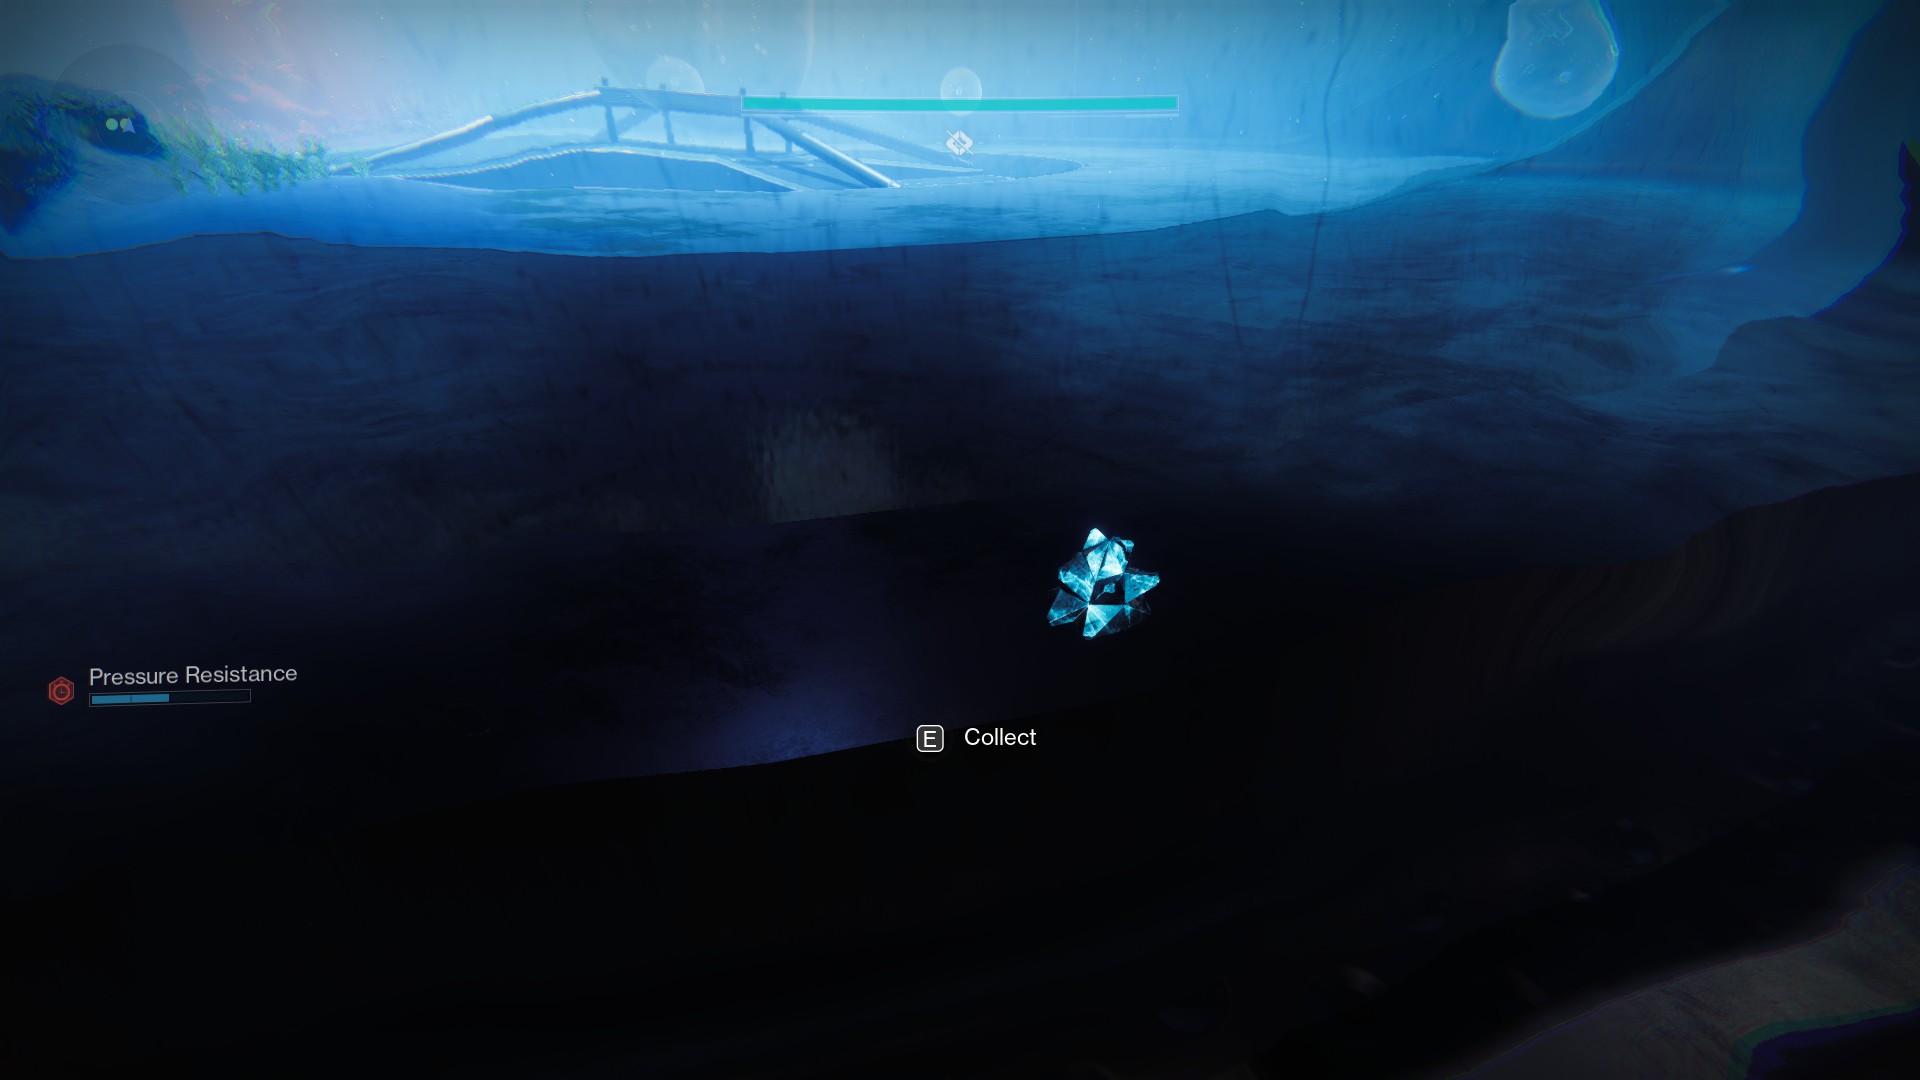
Once the objective changes to “reach the wreckage,” you must drop down into the actual seabed. Hop through a hole in the ground, then look to your left to find an area with some corals and a lamp. You’ll find the collectible here, by some barnacles.
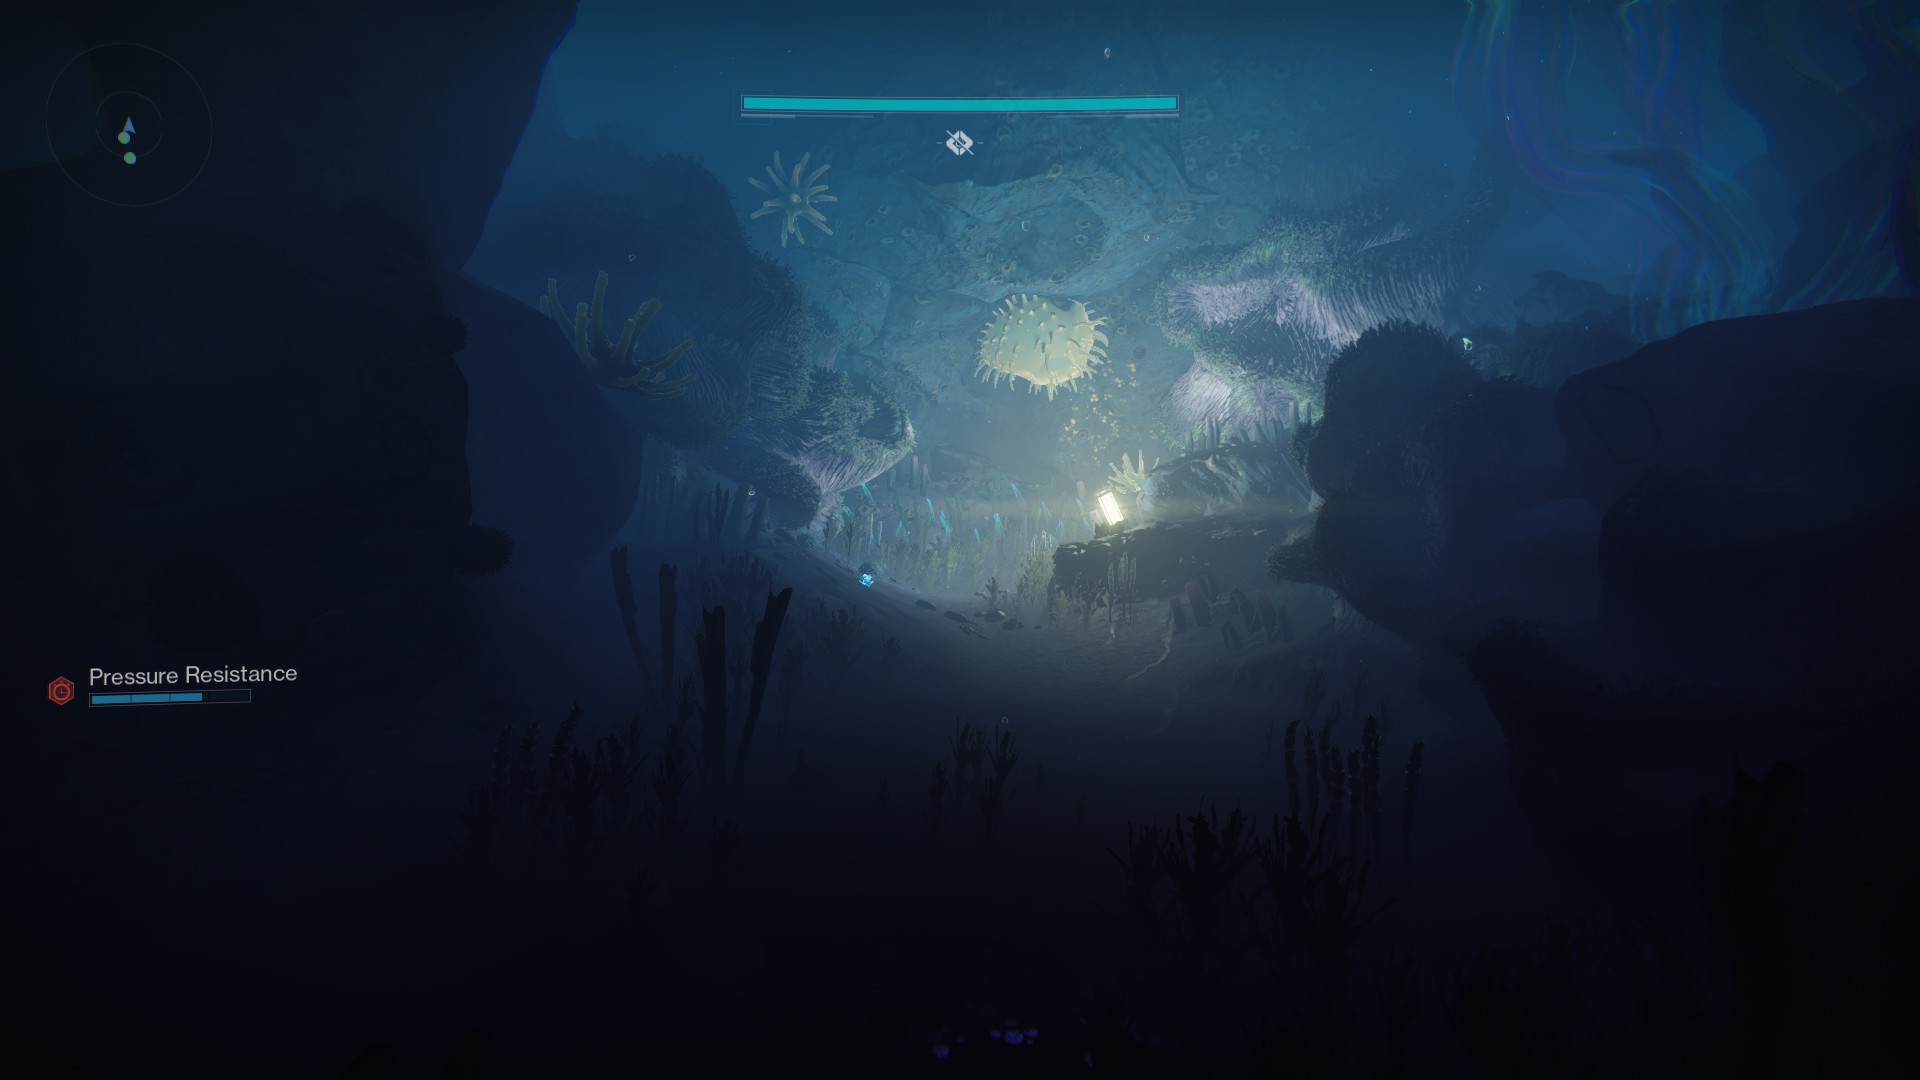
Ninth collectible: Before reaching the wreckage
Wade through the water until you can spot the wreckage of the Hive ship from afar. Keep going toward the remains of the ship, and you’ll come out on a hallway that faces the wreckage directly, with a bubble in front of you. Look for a coral on the right to spot an alcove, then find another collectible inside.

10th collectible: Inside the wreckage, before the second encounter
Continue into the wreck until you find an area filled with holes in the walls. Go to the far end of the corridor and jump through the second hole closest to the wall, on the top part of the wall. From there, look to your right for the Hive equivalent of a sewer grate with water coming out of it, close to a small ledge. This Memory of Darkness is inside the hole.
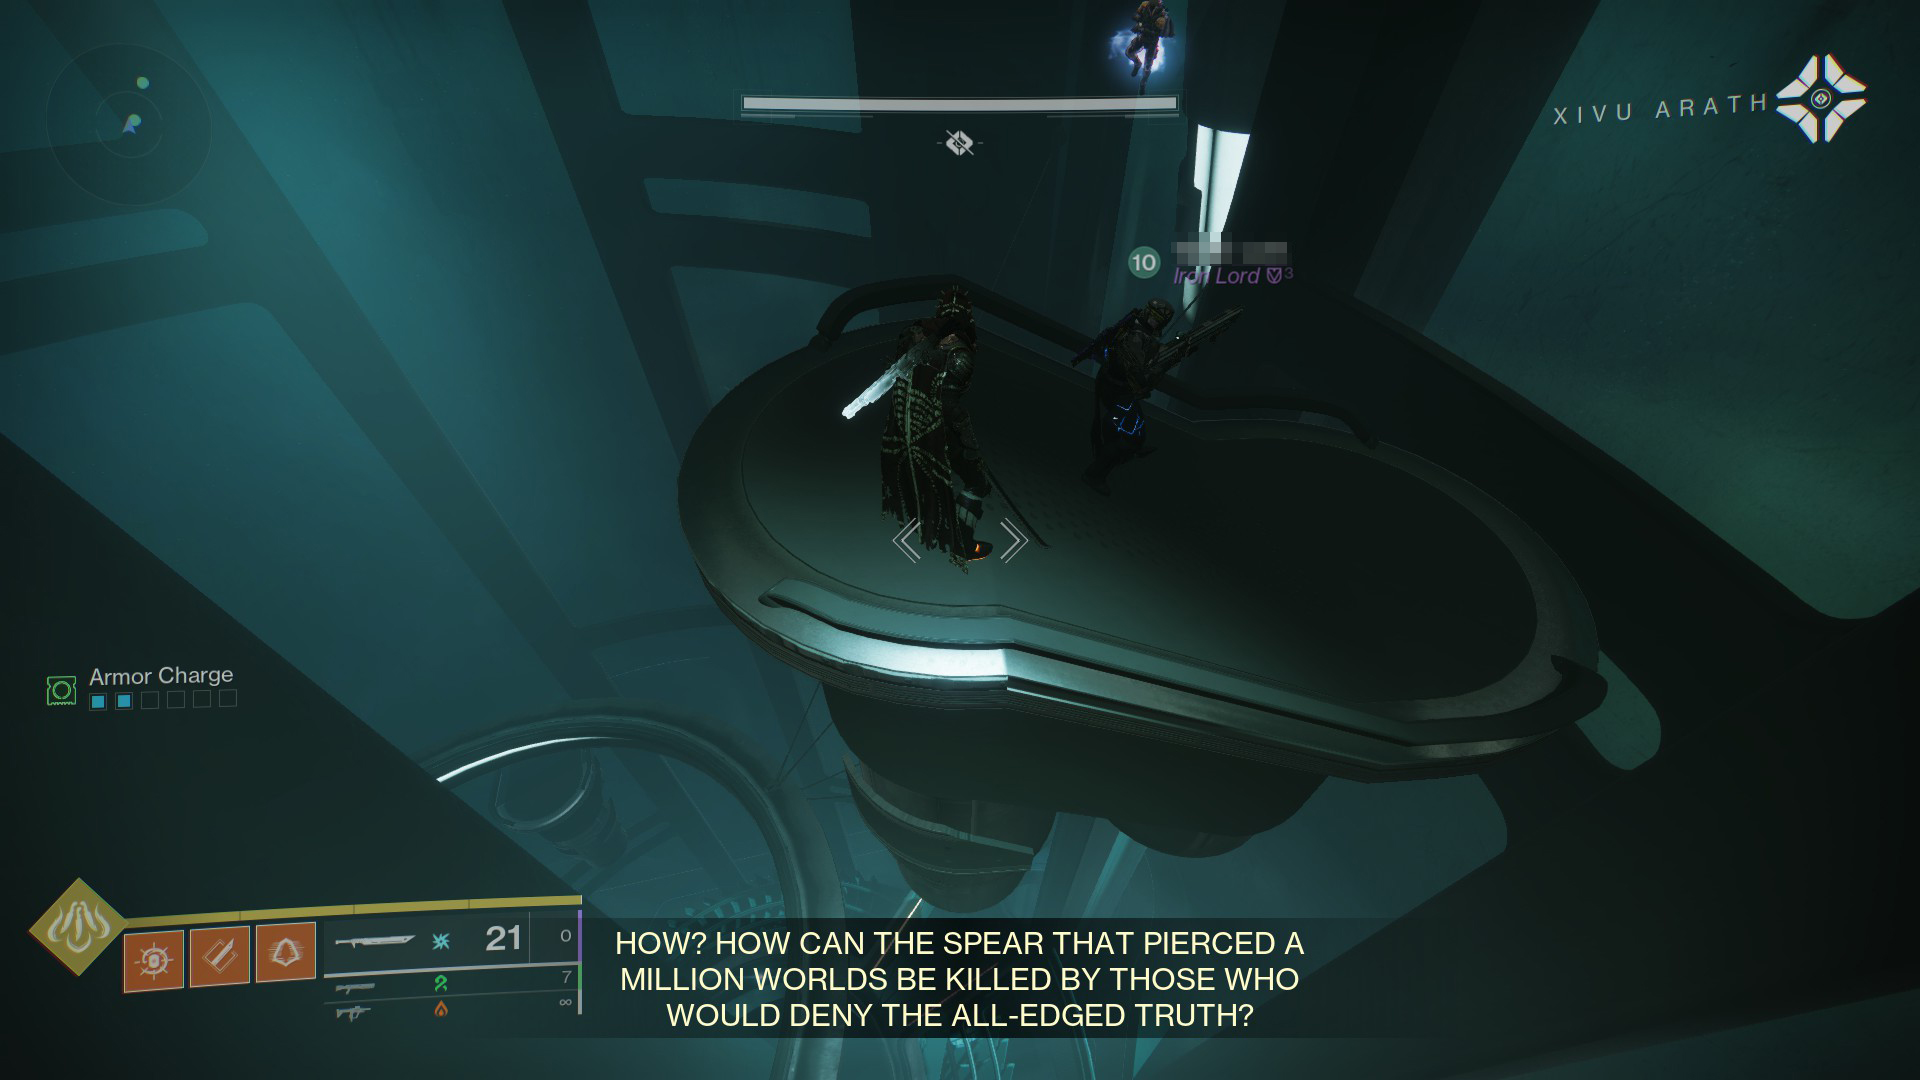
11th collectible: After the second encounter, past the sea monster
Take down Ecthar, Shield of Savathûn, and you’ll come out on the open sea with a gargantuan maritime creature in the distance. Follow the path until you drop into a small hallway leading to a small room with Hive enemies and a Blistering Knight. Clear the area, then look for a grate on the left side of the hallway (from where you came in).
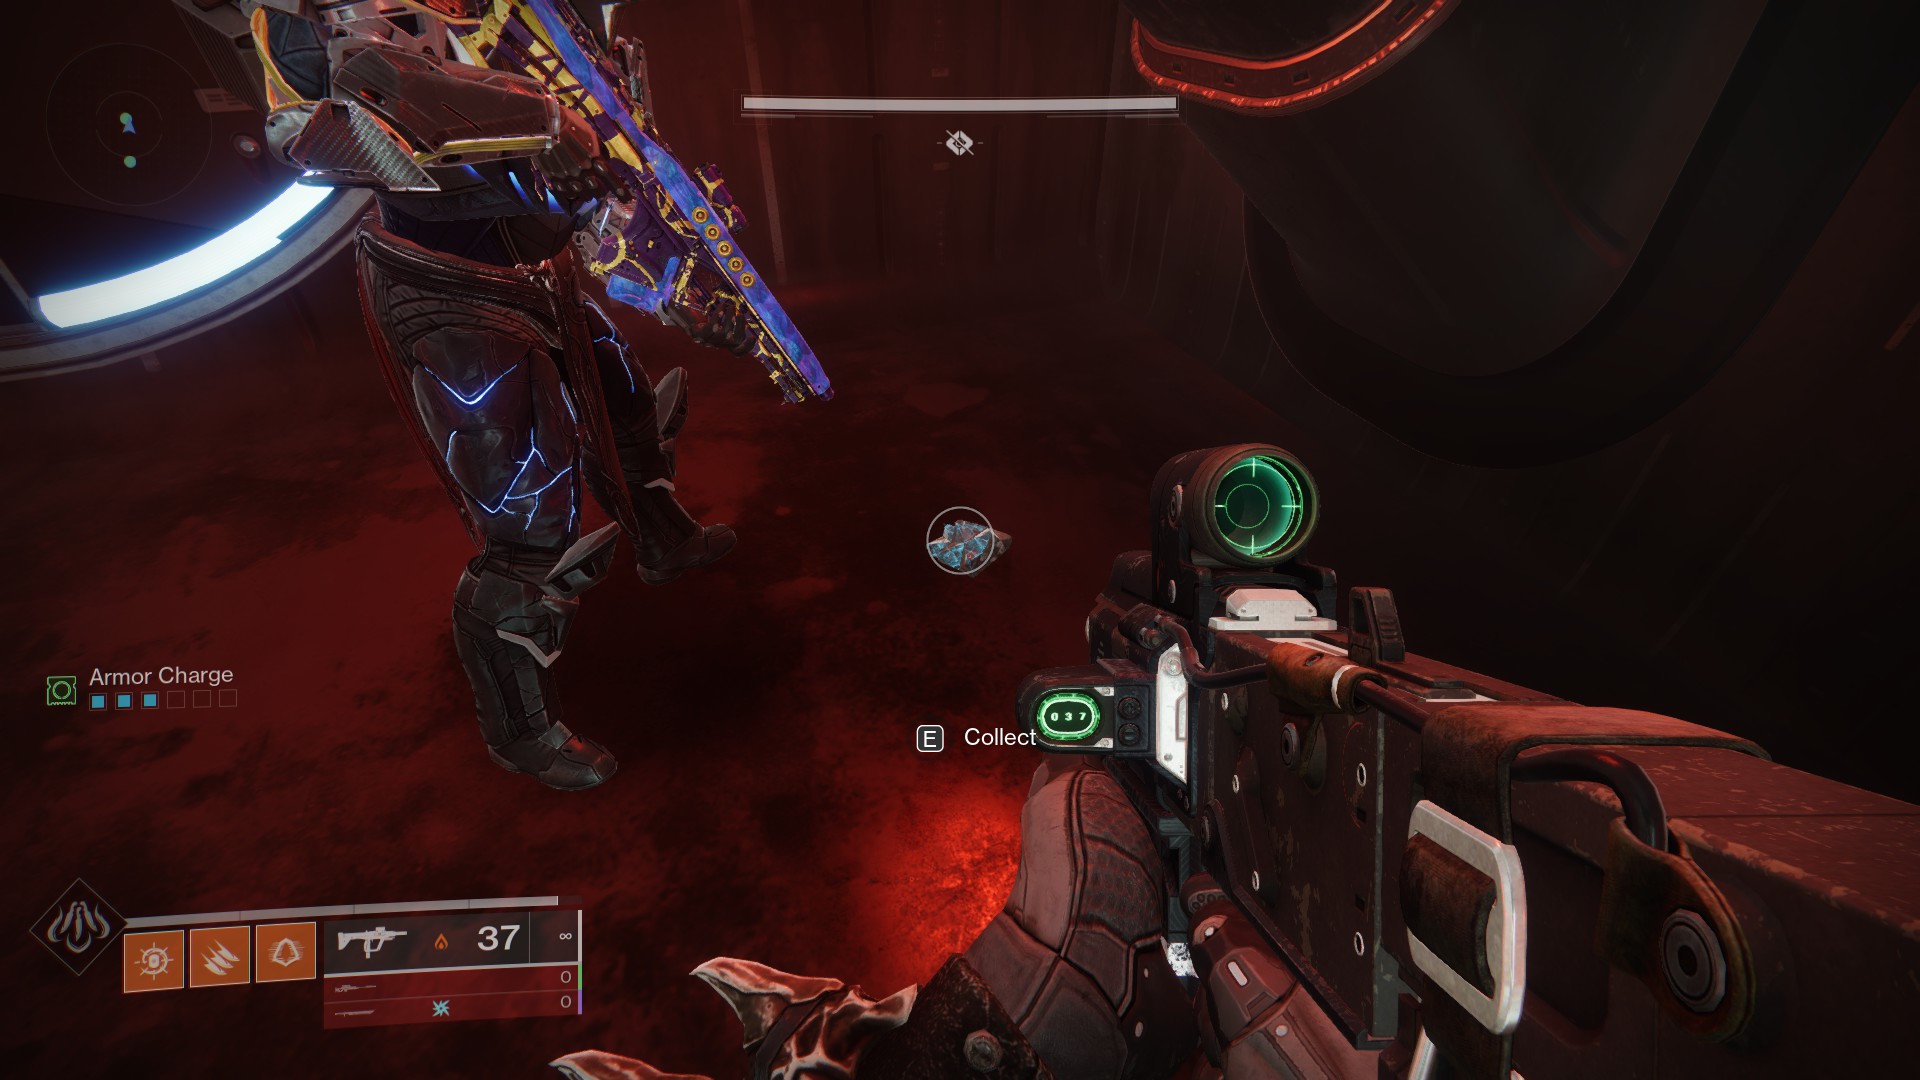
12th collectible: After the final boss
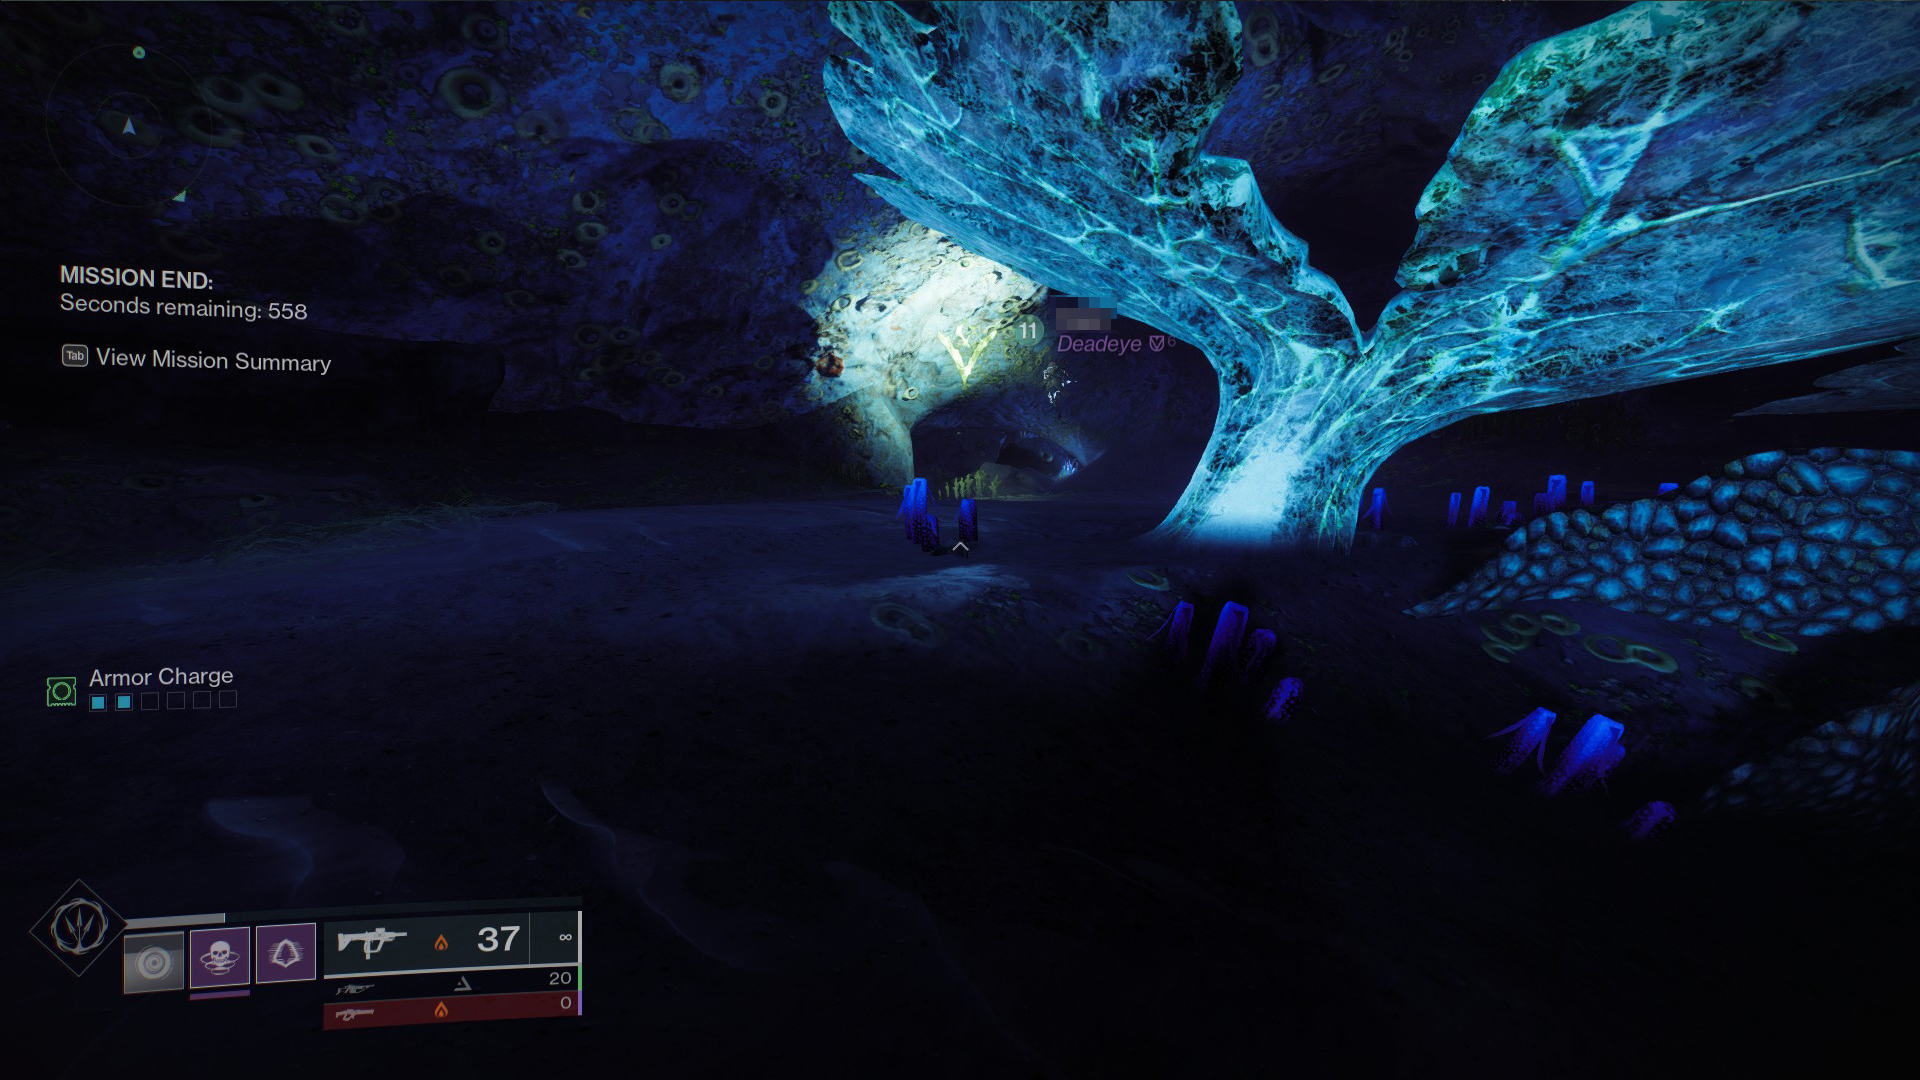
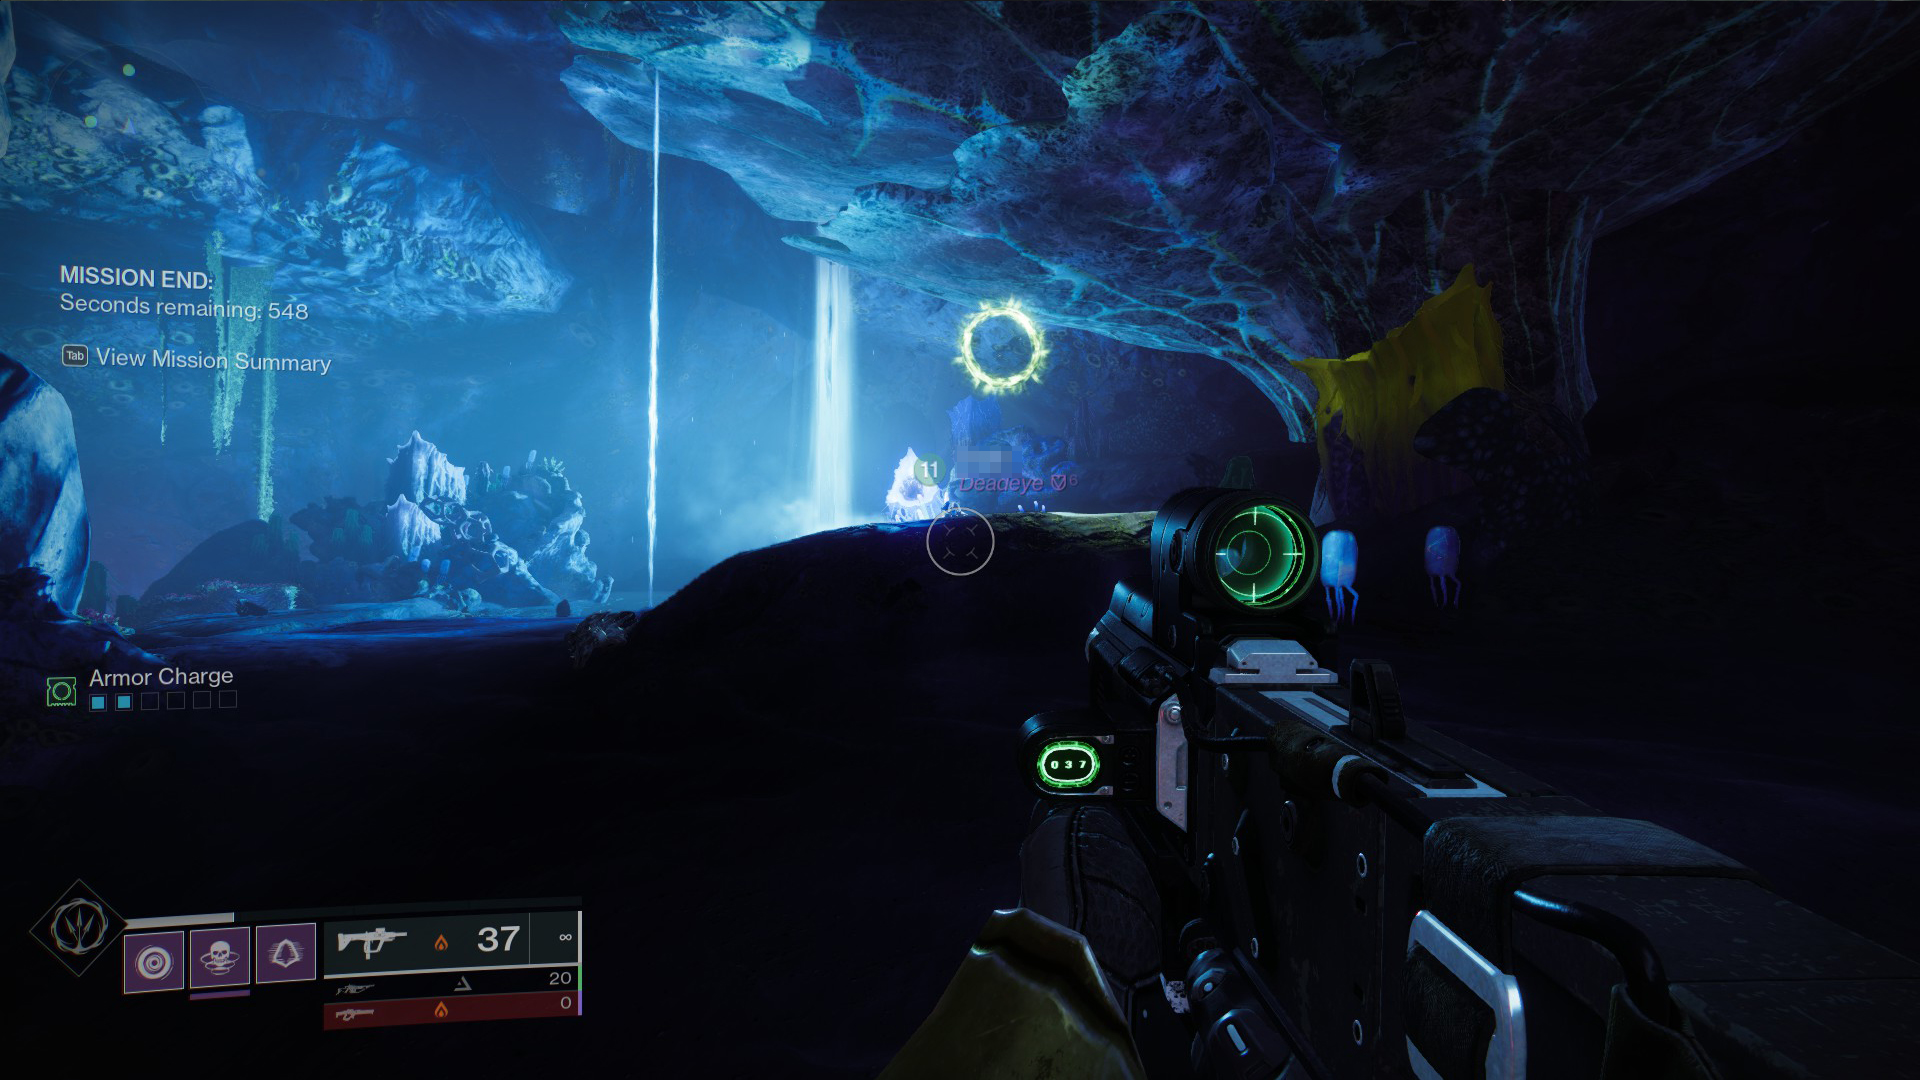
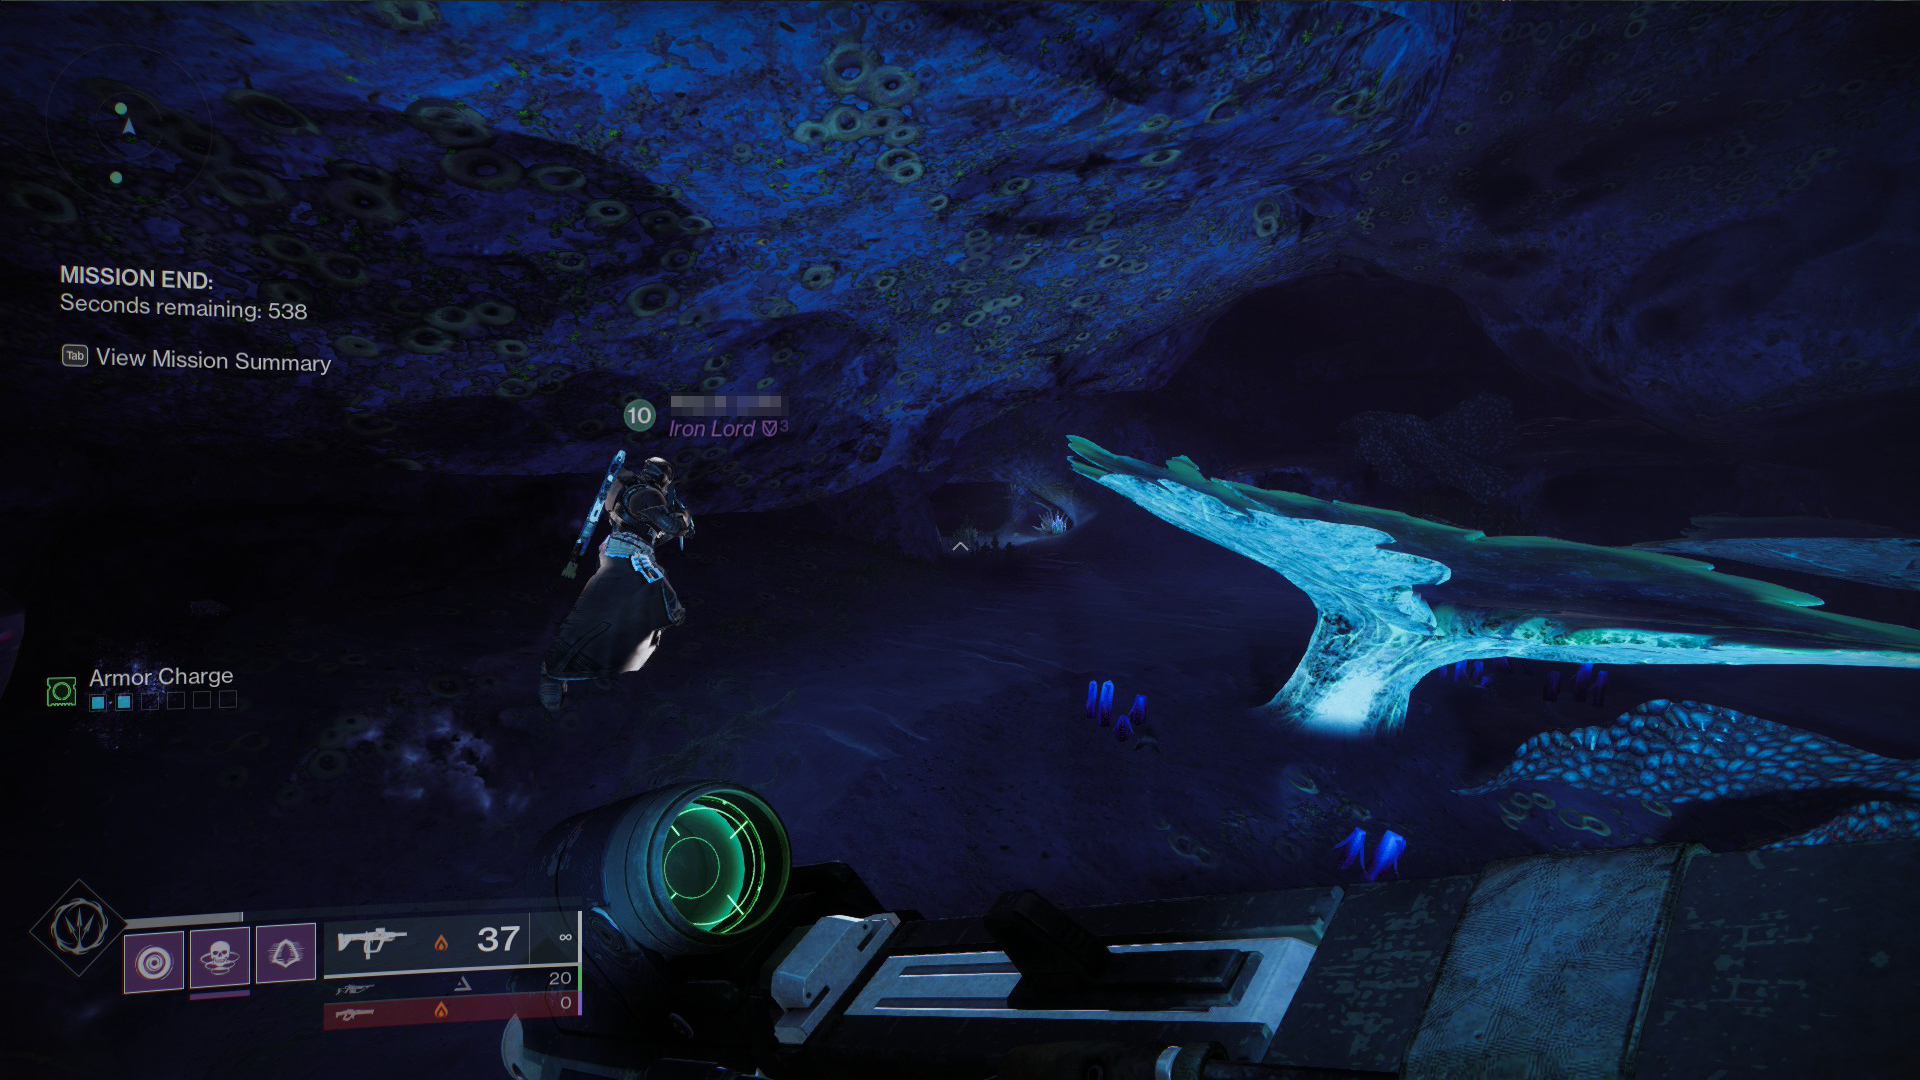
The last Memory of Darkness requires you to kill Simmumah ur-Nokru and wrap up the dungeon. Once you do, the chest will spawn at Oryx’s heart. Take a left and head through the water, like you would for the encounter. There will be a small cave at the far end of the room, marked with some light by it and buried under some rocks. Look for an Oryx symbol in the room and shoot through the hole near it, which will clear the debris and let you take this final collectible home. The countdown will start once you finish Simmumah’s Ghost, but fortunately for guardians, the game gives you almost 10 minutes before booting you out.


Published: May 28, 2023 10:09 am