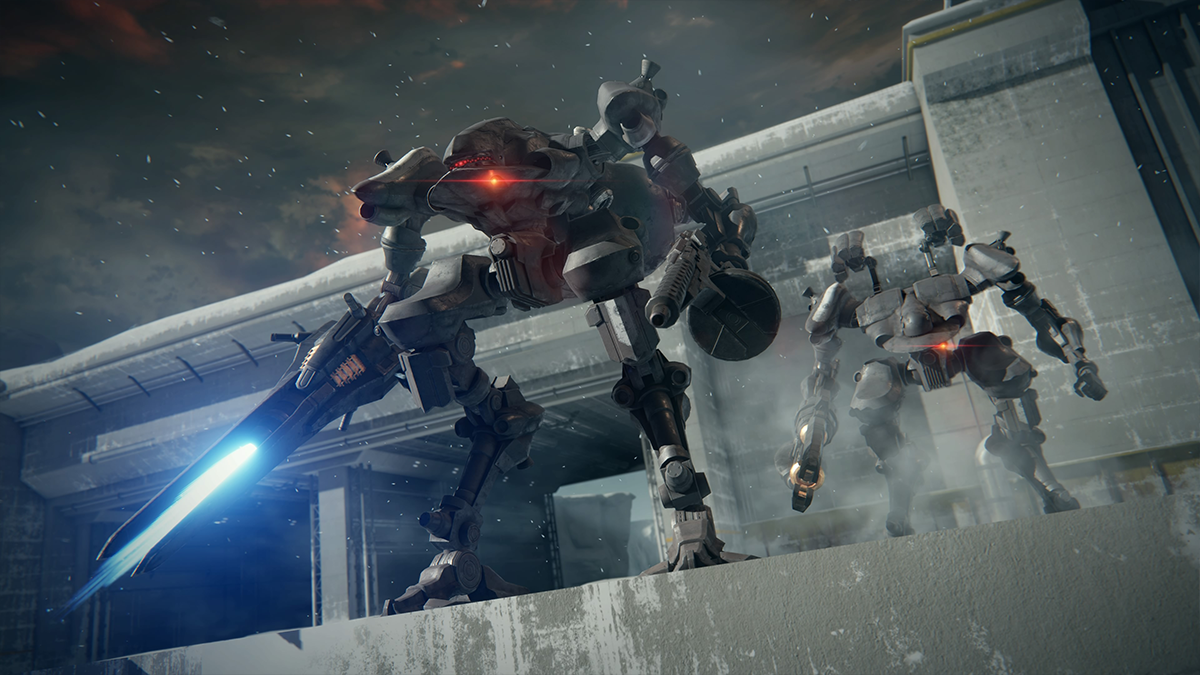
As with most parts of Armored Core 6: Fires of Rubicon, you have a variety of missile types to choose from when installing launchers onto your AC’s shoulders. By default, missile launchers are equipped to your right shoulder, but you can purchase duplicate units in the Parts Shop to equip to the left shoulder as well if you decide that shields aren’t your thing.
Today, we’re going to be breaking down every missile type, their potential use cases, and the builds that might benefit best from each.
All Missile types in AC6, explained
Regular
Although these are your “basic” missiles, that’s no reason to disregard them. They’re your typical high-yield homing missiles, and their straightforward ease of use and lack of quirks make them an ideal choice for a variety of builds, as they’ll be decent in almost any situation. If you’re the kind of person who rocks with the Melander frames the whole game, the standard homing missiles are the choice for you. Just fire and forget.
Vertical
The Vertical missiles, as the name implies, launch vertically before coming down on their target, as opposed to simply firing directly at them. While this may seem like it’s adding more steps to what should be a simple process, this unorthodox firing path means that these missiles are perfect for bypassing cover.
This makes them ideal for taking down bosses that rely on cover, such as the Juggernaut, as well as more standard enemies that hide behind environmental cover. These pair well with Tetrapod builds, as you’ll more than likely be hovering above your enemies already and can quickly fire off a salvo or two on the move.
Plasma
Plasma missiles aren’t quite as powerful as their kinetic counterparts but boast an impressive blast radius for far-reaching splash damage. More impressively, however, the plasma explosions will linger on the battlefield for a brief duration, making this a great choice for area denial.
This makes them ideal for use against slower enemies that won’t be able to escape the plasma field as quickly, but they aren’t the best at close range. Heavier builds that can’t pivot as effectively will benefit from the area of effect damage, especially when paired with long-range weapons to take advantage of those crucial moments where you have the enemy pinned down.
Related: Why tank builds are the best in AC6
Split
Split missiles arc around to either side in a pincer formation, meaning that enemies are going to have a very hard time dodging them. They’re fast and nimble, so builds that use them to their fullest potential will need to be as well. When jetting around the battlefield is your chosen tactic, it can be hard to land a solid hit with any of the other varieties of missiles. Split, naturally, has you covered, and their light EN load means they won’t be taking up much space on your AC either.
Multilock and why it matters
As an aside, understanding the Multilock mechanic is key to getting the most use out of your missiles, especially when you’re facing down more than one foe. For everything it does right, though, AC6 doesn’t do a particularly good job of explaining one of its most crucial techniques. While your missile launchers will target only a single enemy by default, they can wipe out entire swarms of enemy MTs when used correctly.
To target more than one enemy, hold down the right shoulder weapon attack button, which is R1/RB on the default control scheme. After a few seconds of target acquisition, you can release the attack button to let loose, targeting the enemies closest to your central reticle.
The exact amount of enemies you can target this way varies from missile launcher to missile launcher—look to see which ones are identified as “quad” or “dual” launchers in their Parts Shop descriptions. These designations exist independently from missile type, so you can fulfill almost any need as you continue to progress through the main story and unlock new parts.
You should now be fully equipped to judiciously use missiles to suit your preferred playstyle—but if you need any help putting together the rest of your AC, our handy build guides will arm you with the knowledge you need to keep taking on Rubicon’s many, many dangers without so much as breaking a sweat.


Published: Aug 27, 2023 04:03 pm