
There are a lot of numbers in Armored Core 6. Assembling your AC can feel a bit like looking at a spreadsheet: What do all those numbers mean? Which are the most relevant to you? It’s hard to know for sure how FromSoftware stats work before a game is datamined, but after spending around 40 hours with it, I’ve got them as sussed out as they can be.
AP
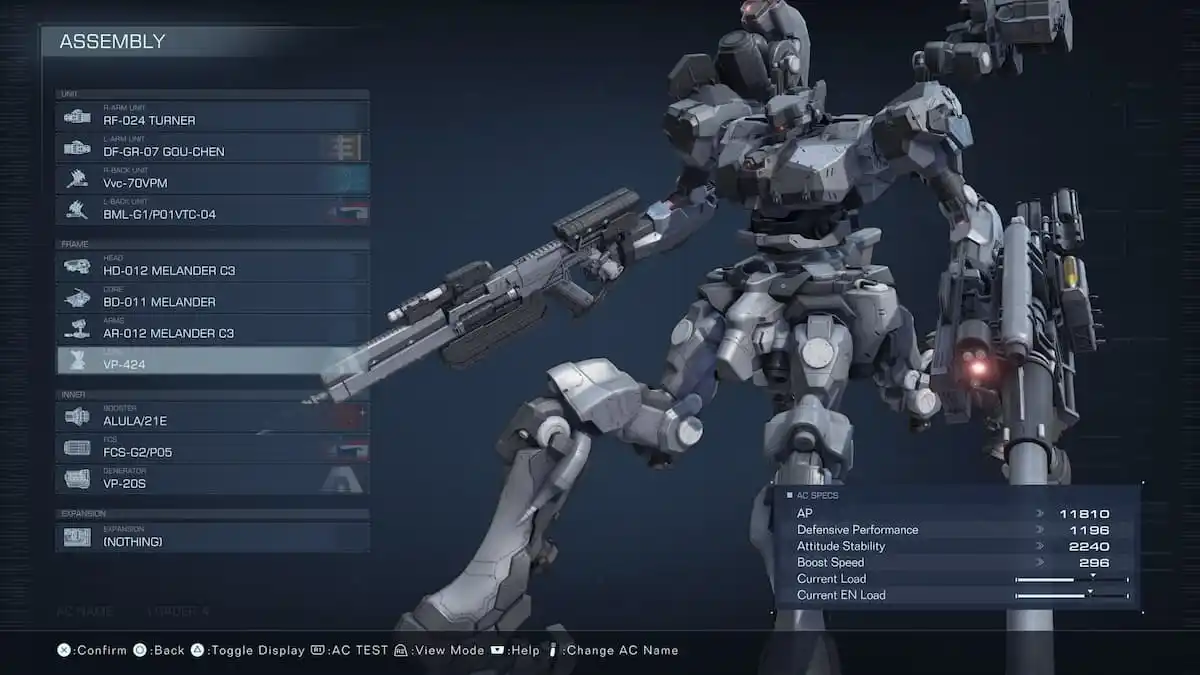
AP is your health, and it stands for armor points. Generally, bigger, heavier limbs, heads, and torsos will give you more AP. I’d recommend aiming for at least 10,000 AP. Sure, you could go lighter so you can zip around the battlefield, but you’ll be a glass cannon, so only go lower if you’re sure of your skills. You can sort-of boost your AP by buying defensive OST upgrades and upgrading your repair kits. Your AP will technically stay the same, but you’ll survive for longer in each fight.
Defensive Performance
Defensive performance is the average of your anti-kinetic, anti-energy, and anti-explosive defenses. Different body parts will provide different levels of protection. Which you prioritize should largely be based on which boss you’re stuck on. If they’re hammering you with plasma and pulse weapons, a higher anti-energy defense is best, even if your overall defensive performance is lower.
Related: Armored Core 6 – Beginner tips and tricks for AC6
Attitude Stability
Attitude stability is a measure of how effective your ACS, attitude control system, is. The higher it is, the harder you are to stagger. Tank treads and tetrapod legs raise this a lot, as do heavier limbs and torsos.
Attitude recovery
This measures how quickly you’ll recover from a stagger and how quickly your ACS meter will go back down after you’ve been hit. Standing still will get your ACS to recover quickly, but it also leaves you open to attacks, so time it carefully. As always, experiment with parts to get this number up. There doesn’t seem to be a fixed formula for this. Some heavy parts make it worse, some make it better.
Boost Speed

This determines how fast you’ll go when your boosters are on. The higher it is, the faster you’ll skate around. It’s got a fair few subcategories though, so pick the best booster for the kind of movement you prefer. The heavier you are though, the worse all these stats will be. Different generators have an effect too, but they vary, so be sure to check before you buy one.
QB Speed
This determines how fast your quick boost will be. This is your dodge, so you want it to be pretty damn fast because there’s a lot to avoid in Armored Core 6.
QB EN Consumption
This tells you how much energy your quick boost will use up each time you dodge. Your energy does recover, but you’ve got to manage it like a stamina bar in Dark Souls. The lower this number is, the better, as it means you can dodge more before needing to recharge.
QB Reload Time
You know when you want to just dodge, duck, dip, dive, and dodge? The lower this number is, the more you can do that. This number is the time, in seconds, that you have to wait between quick boosts. It’s partially determined by weight, but mostly affected by the type of generator you have, so shop around for the best one to fit your needs.
Current Load

This shows how much your AC can carry. You’ll see a little marker on the stats screen, and that’s your limit. If you go above it you’ll be overburdened and unable to go on missions unless you buy the Weight Control upgrade in the OS Tuning shop. The bar itself is how heavy you actually are. This is determined by which legs you use. Bigger legs allow for higher load limits, with tetrapod and tank leg types offering the highest limits overall.
Arms Load Limit
This is different from your overall load limit. Your arms can only take so much weight, and this is determined by the type of arms you’ve got equipped. If you’re rocking small guns and blades, almost any arms will do. But if you want to blast your foes away with dual bazookas and missile silos, you’ll need to hit the gym. Or the parts shop.
Current EN Load
Similarly to weight, you’ve got an energy limit. This is mostly determined by your generator, but many limbs and torsos also modify the efficiency of your generator. Sometimes, even if a part consumes more energy, it can actually make you more energy efficient to compensate.
Your EN load is how much energy your AC needs, and your EN Output is how much energy your AC can produce. Just keep load below output and you’ll be fine.
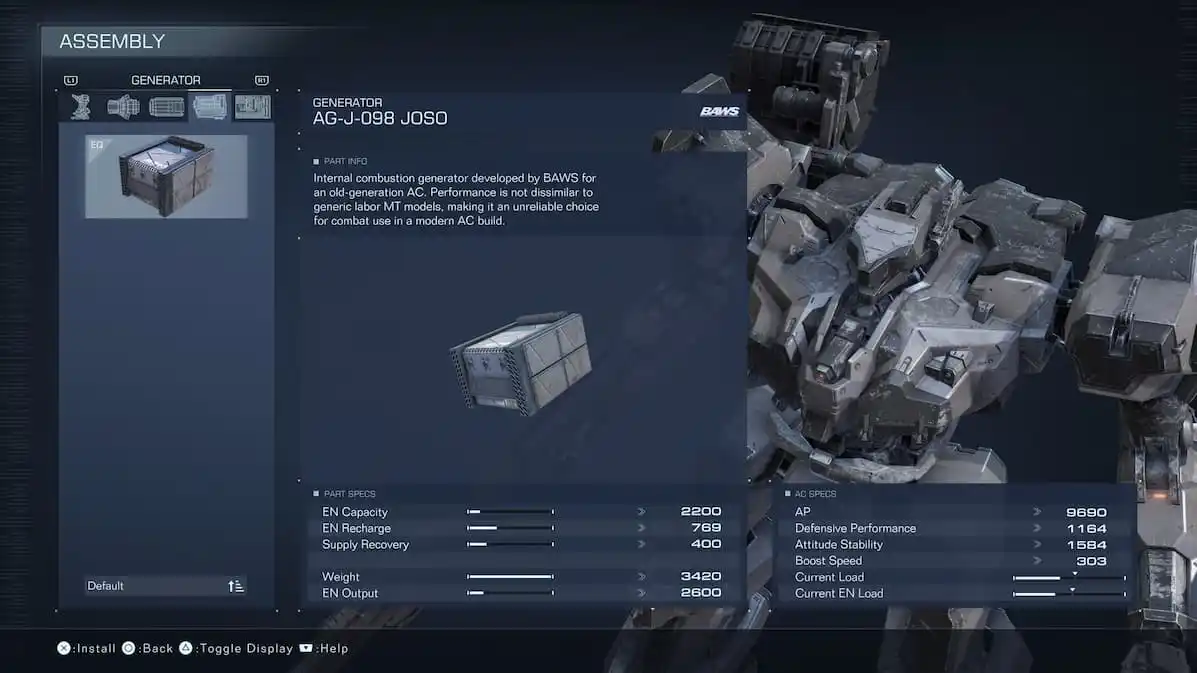
EN Capacity
This is the standard capacity of your generator. It will be modified by your parts, as many of them alter the efficiency of it. Generally though, the higher the better, as you’ll have more energy for dodging and flying—but this means a heavier generator, so you’ll move slower, and need heavier boosters to compensate.
EN Supply Efficiency
This stat is a little confusing. The higher the efficiency, the more juice you’ll get out of your generator, but there’s no standardized way to know how a part will affect it. This number isn’t as important as your energy capacity or output, so don’t worry about it too much unless you’re really fine-tuning your build.
EN Recharge Delay
This is a very important number. It determines, in seconds, how quickly your energy will start to replenish. The lower this is, the better. It means you’ll need to wait less time for your boost and flying to become available again.


Published: Aug 24, 2023 10:24 am