Apex Legends’ newest game mode lets fans play as Loba as she explores a Hammond Robotics facility. The mode, named Kill Code: A Thief’s Bane, is relatively short and follows the events of the battle royale’s most recent Stories from the Outlands video released on July 17.
In this game mode, you’ll need to use Loba’s bracelet to maneuver the facility. And while it sounds easy enough, the facility’s layout can be a little tricky, and some players may have difficulty finding exactly where they need to go.
Here’s how you can complete the Kill Code: A Thief’s Bane game mode in Apex.
Related: Apex Legends fans convinced leaked season 18 rework is real after teasers in new trailer
First room with broken walkway
To play through the story, select the game mode from the lobby and ready up. After you load into the game, you’ll be greeted with a cutscene of Loba entering the Hammond facility and approaching a terminal. Valkyrie then makes a fashionable entrance before Loba shoos her away.
Once the cutscene ends, interact with the terminal, which will begin descending to a lower level. After the terminal comes to a stop, use Loba’s bracelet to jump across the gap in the walkway.
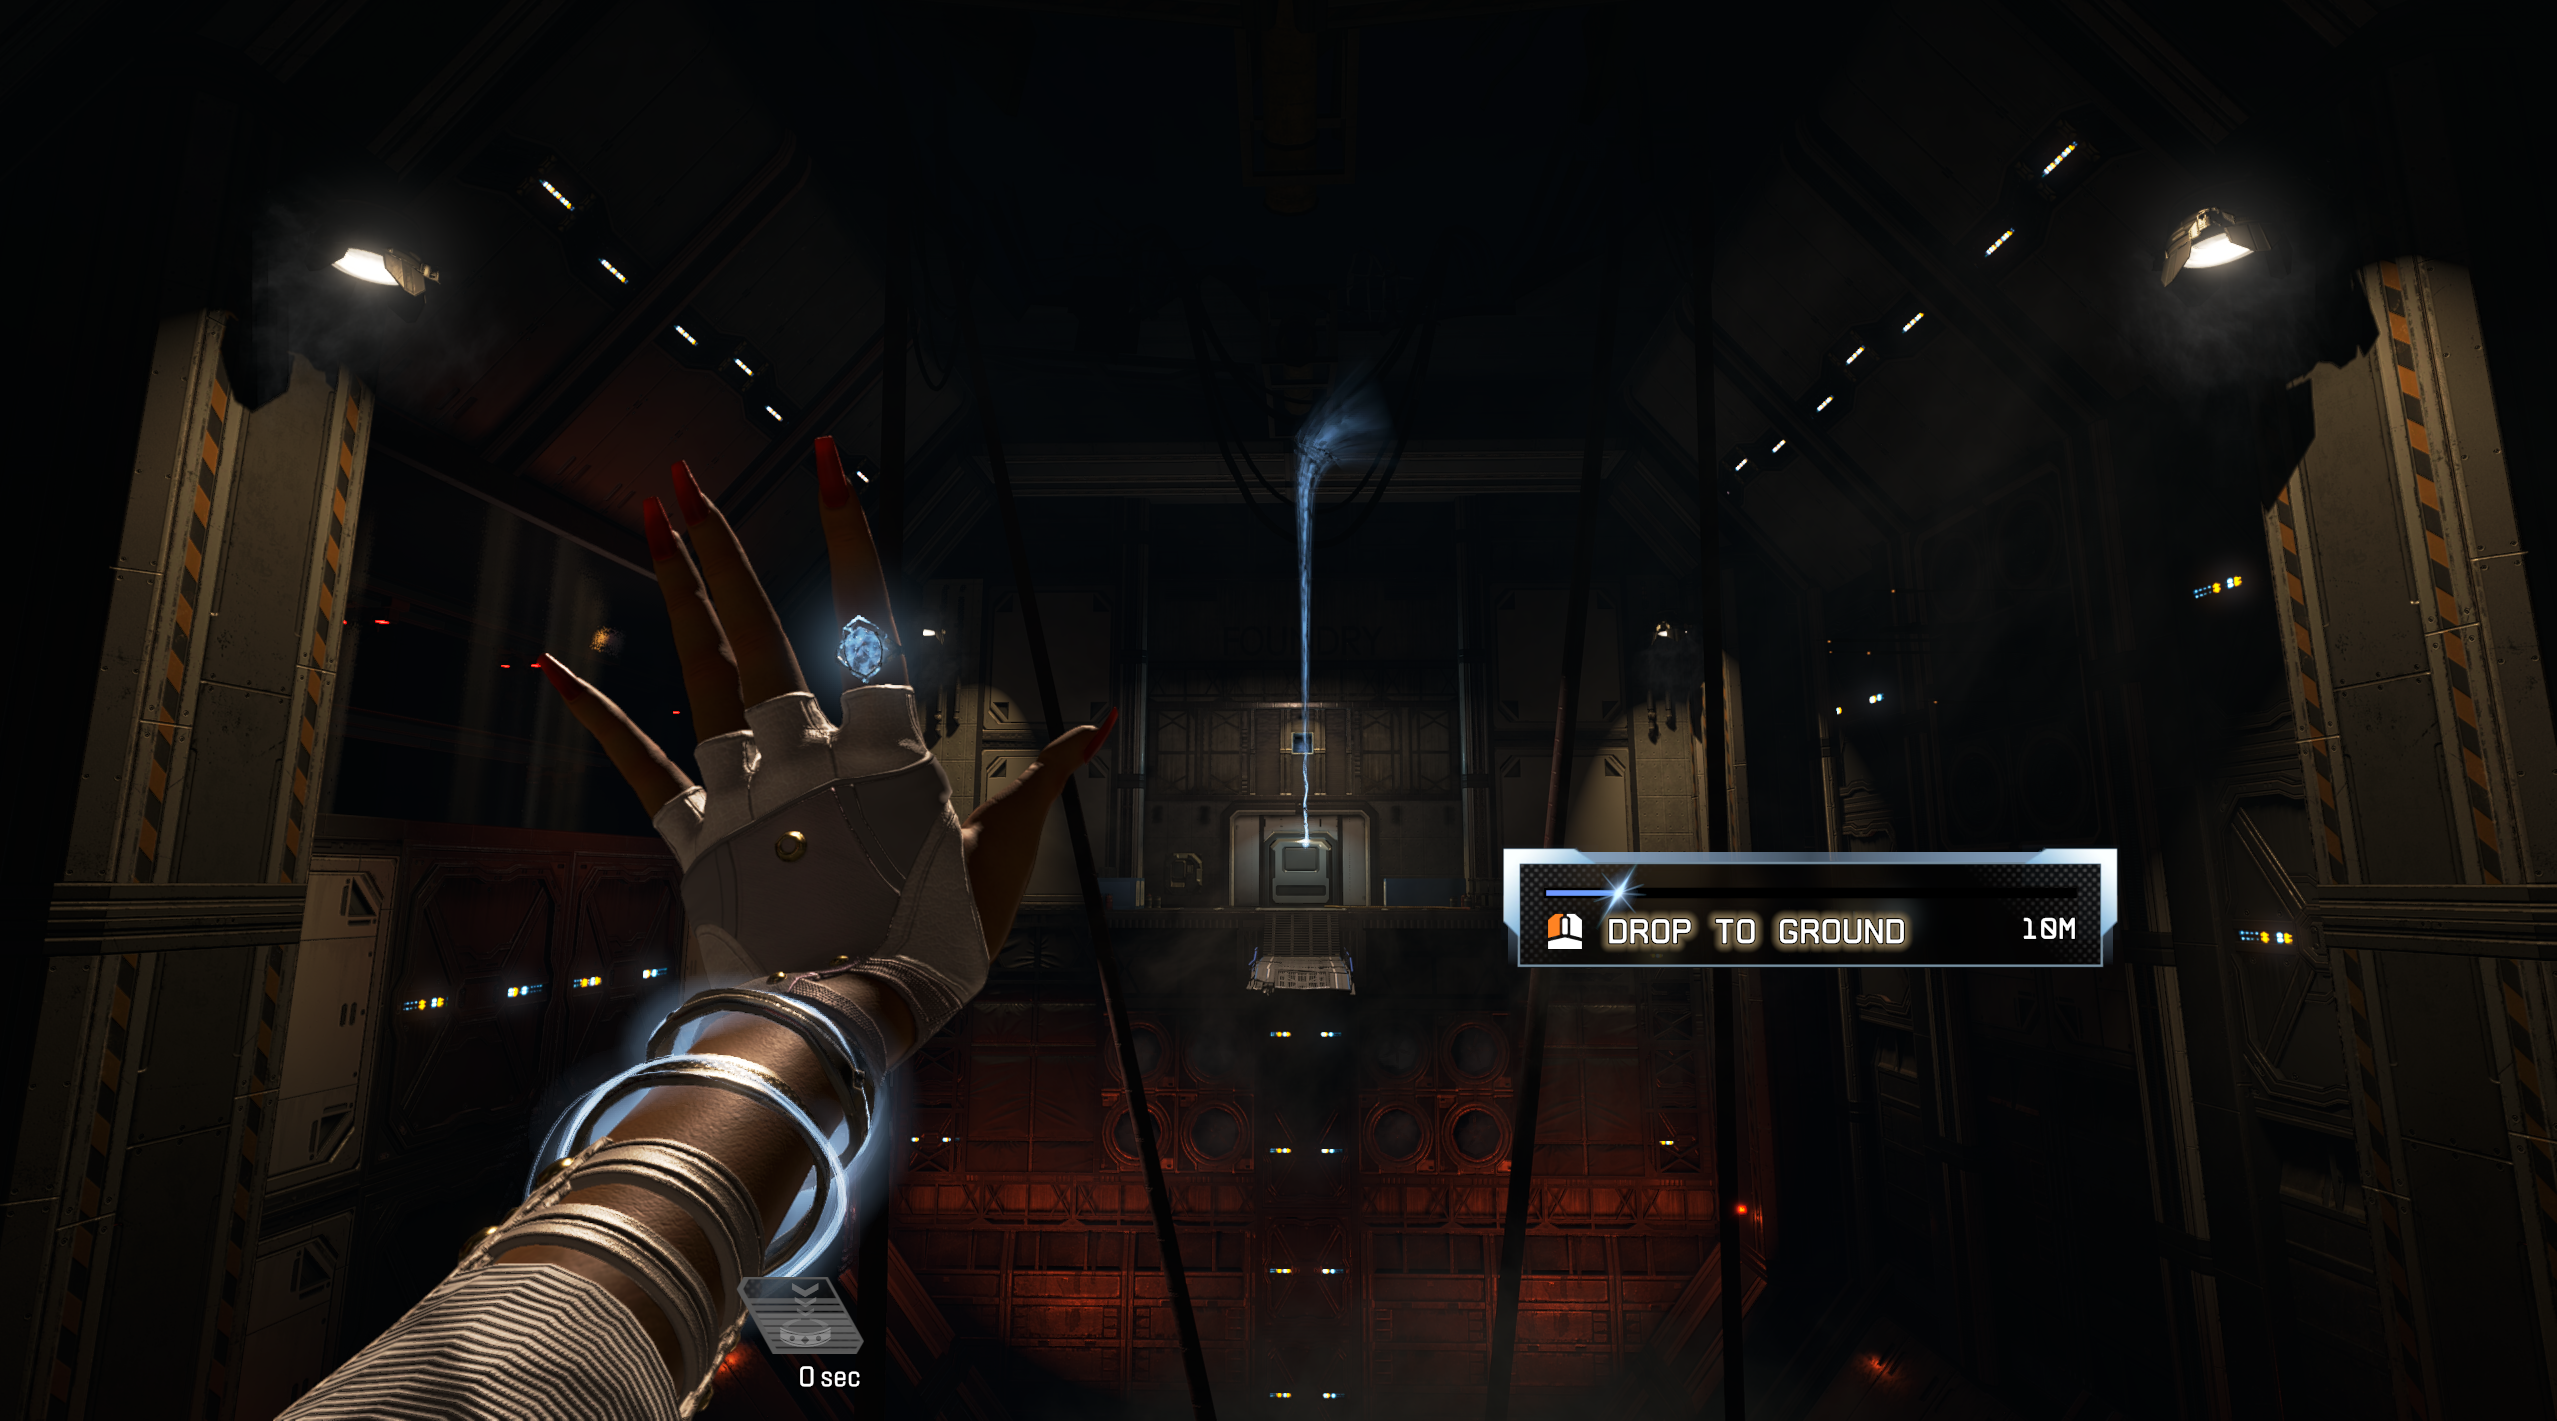
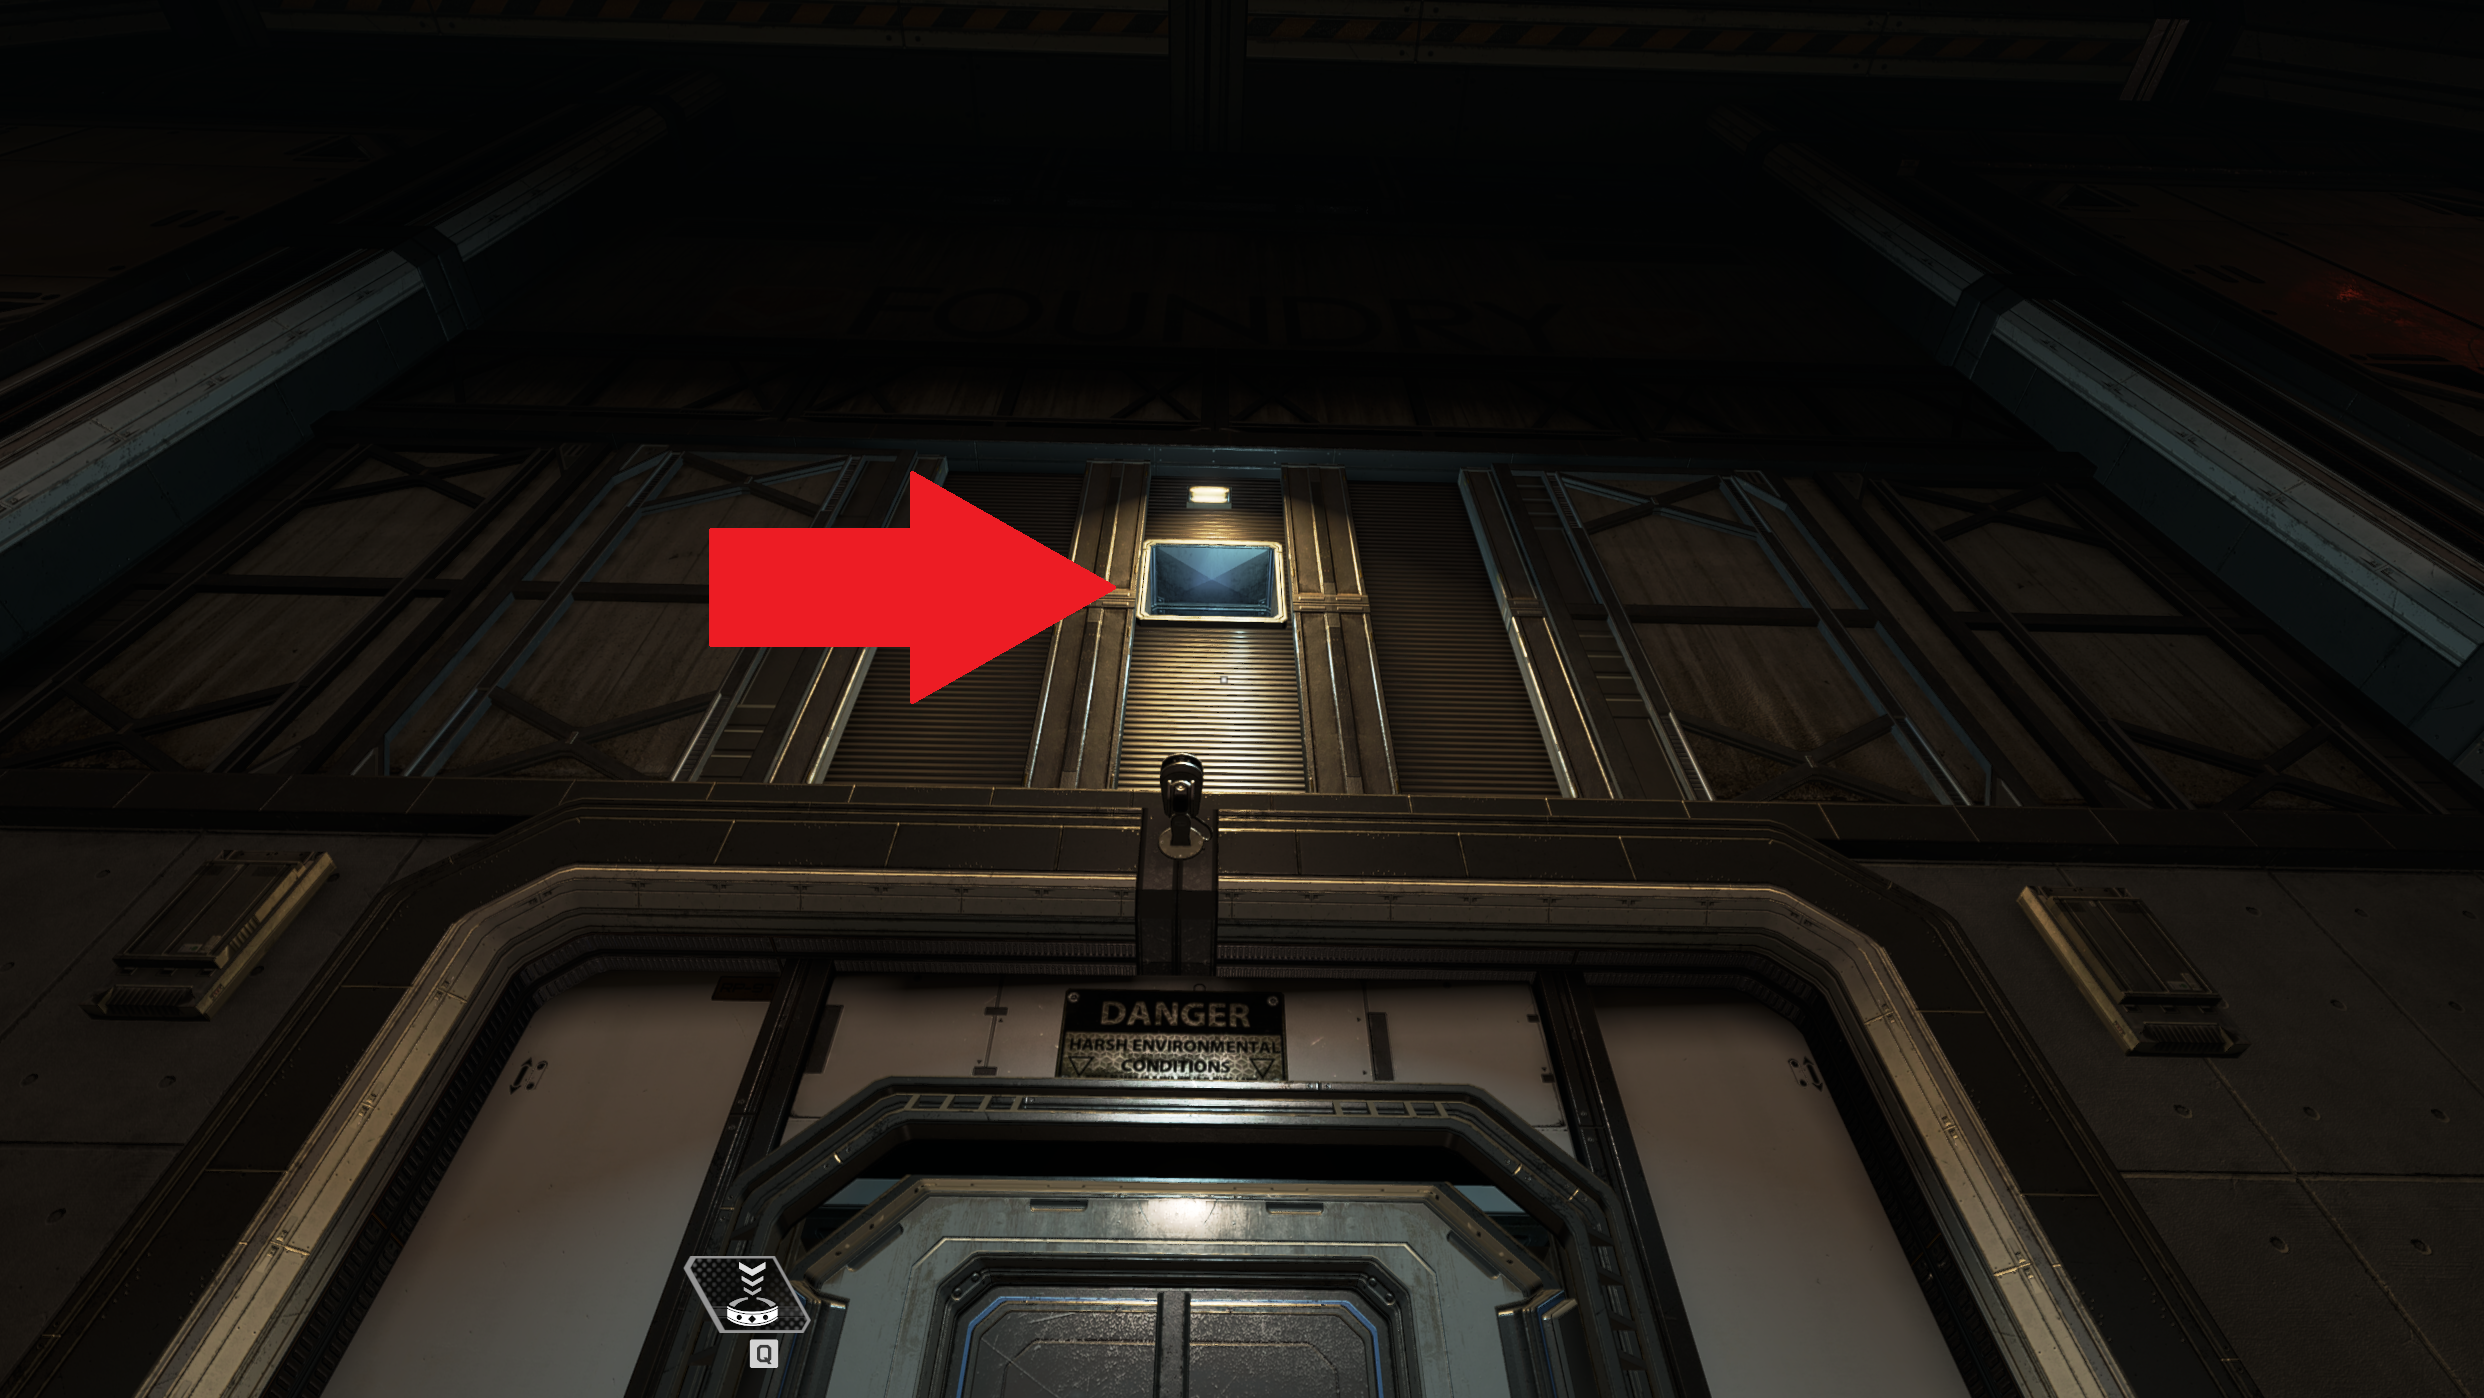
Once you’re facing the door on the other side of the room, use your bracelet to reach a vent above the door. Follow these vents into an open area.
Second room after vent
When you drop out of the vents, you’ll land on a platform. Look to your left, and you’ll see a second platform with a door. You won’t be able to go through the door, but to the right of it will be a round opening in the wall, leading to a tunnel.
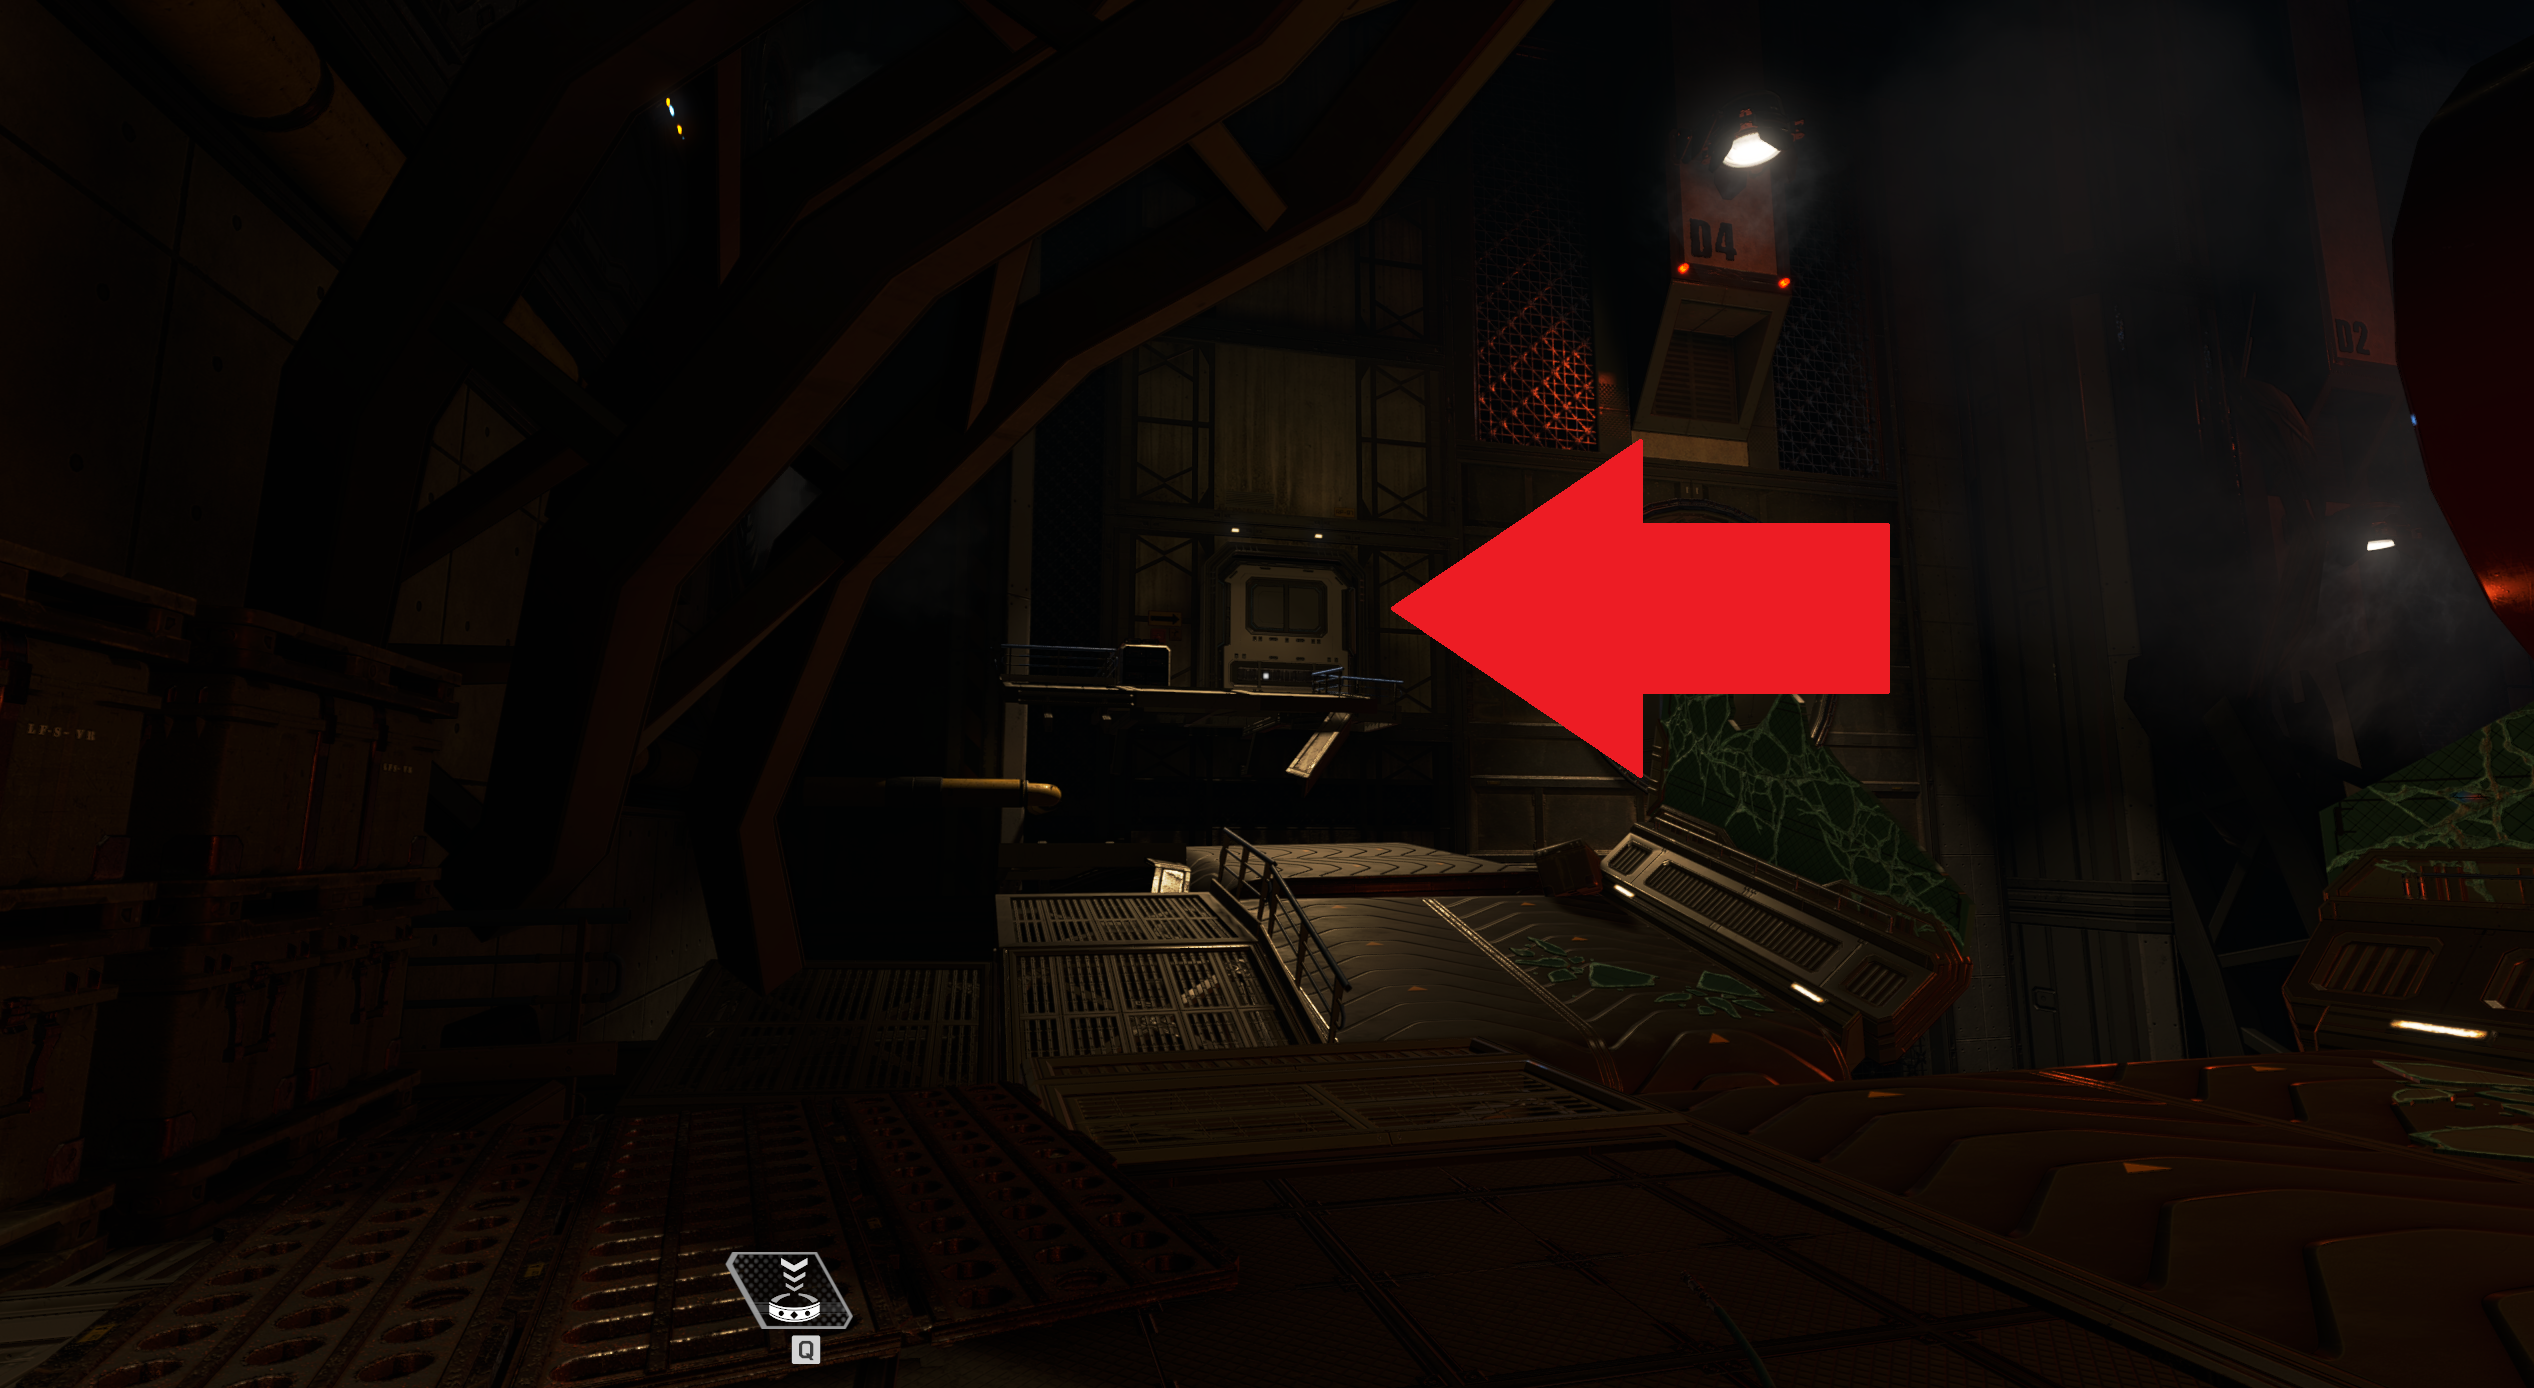
You can choose to translocate to the platform, or if you want a more direct path into the next area, you can translocate directly into the tunnel’s opening.
Head through the tunnel and into the next room.
Third room: Broken walkways galore
At the end of the tunnel, you’ll find a broken walkway below you to your left. Using your bracelet, translocate to the furthest platform and then follow its path forward. You’ll need to translocate in several locations where the walkways are broken.
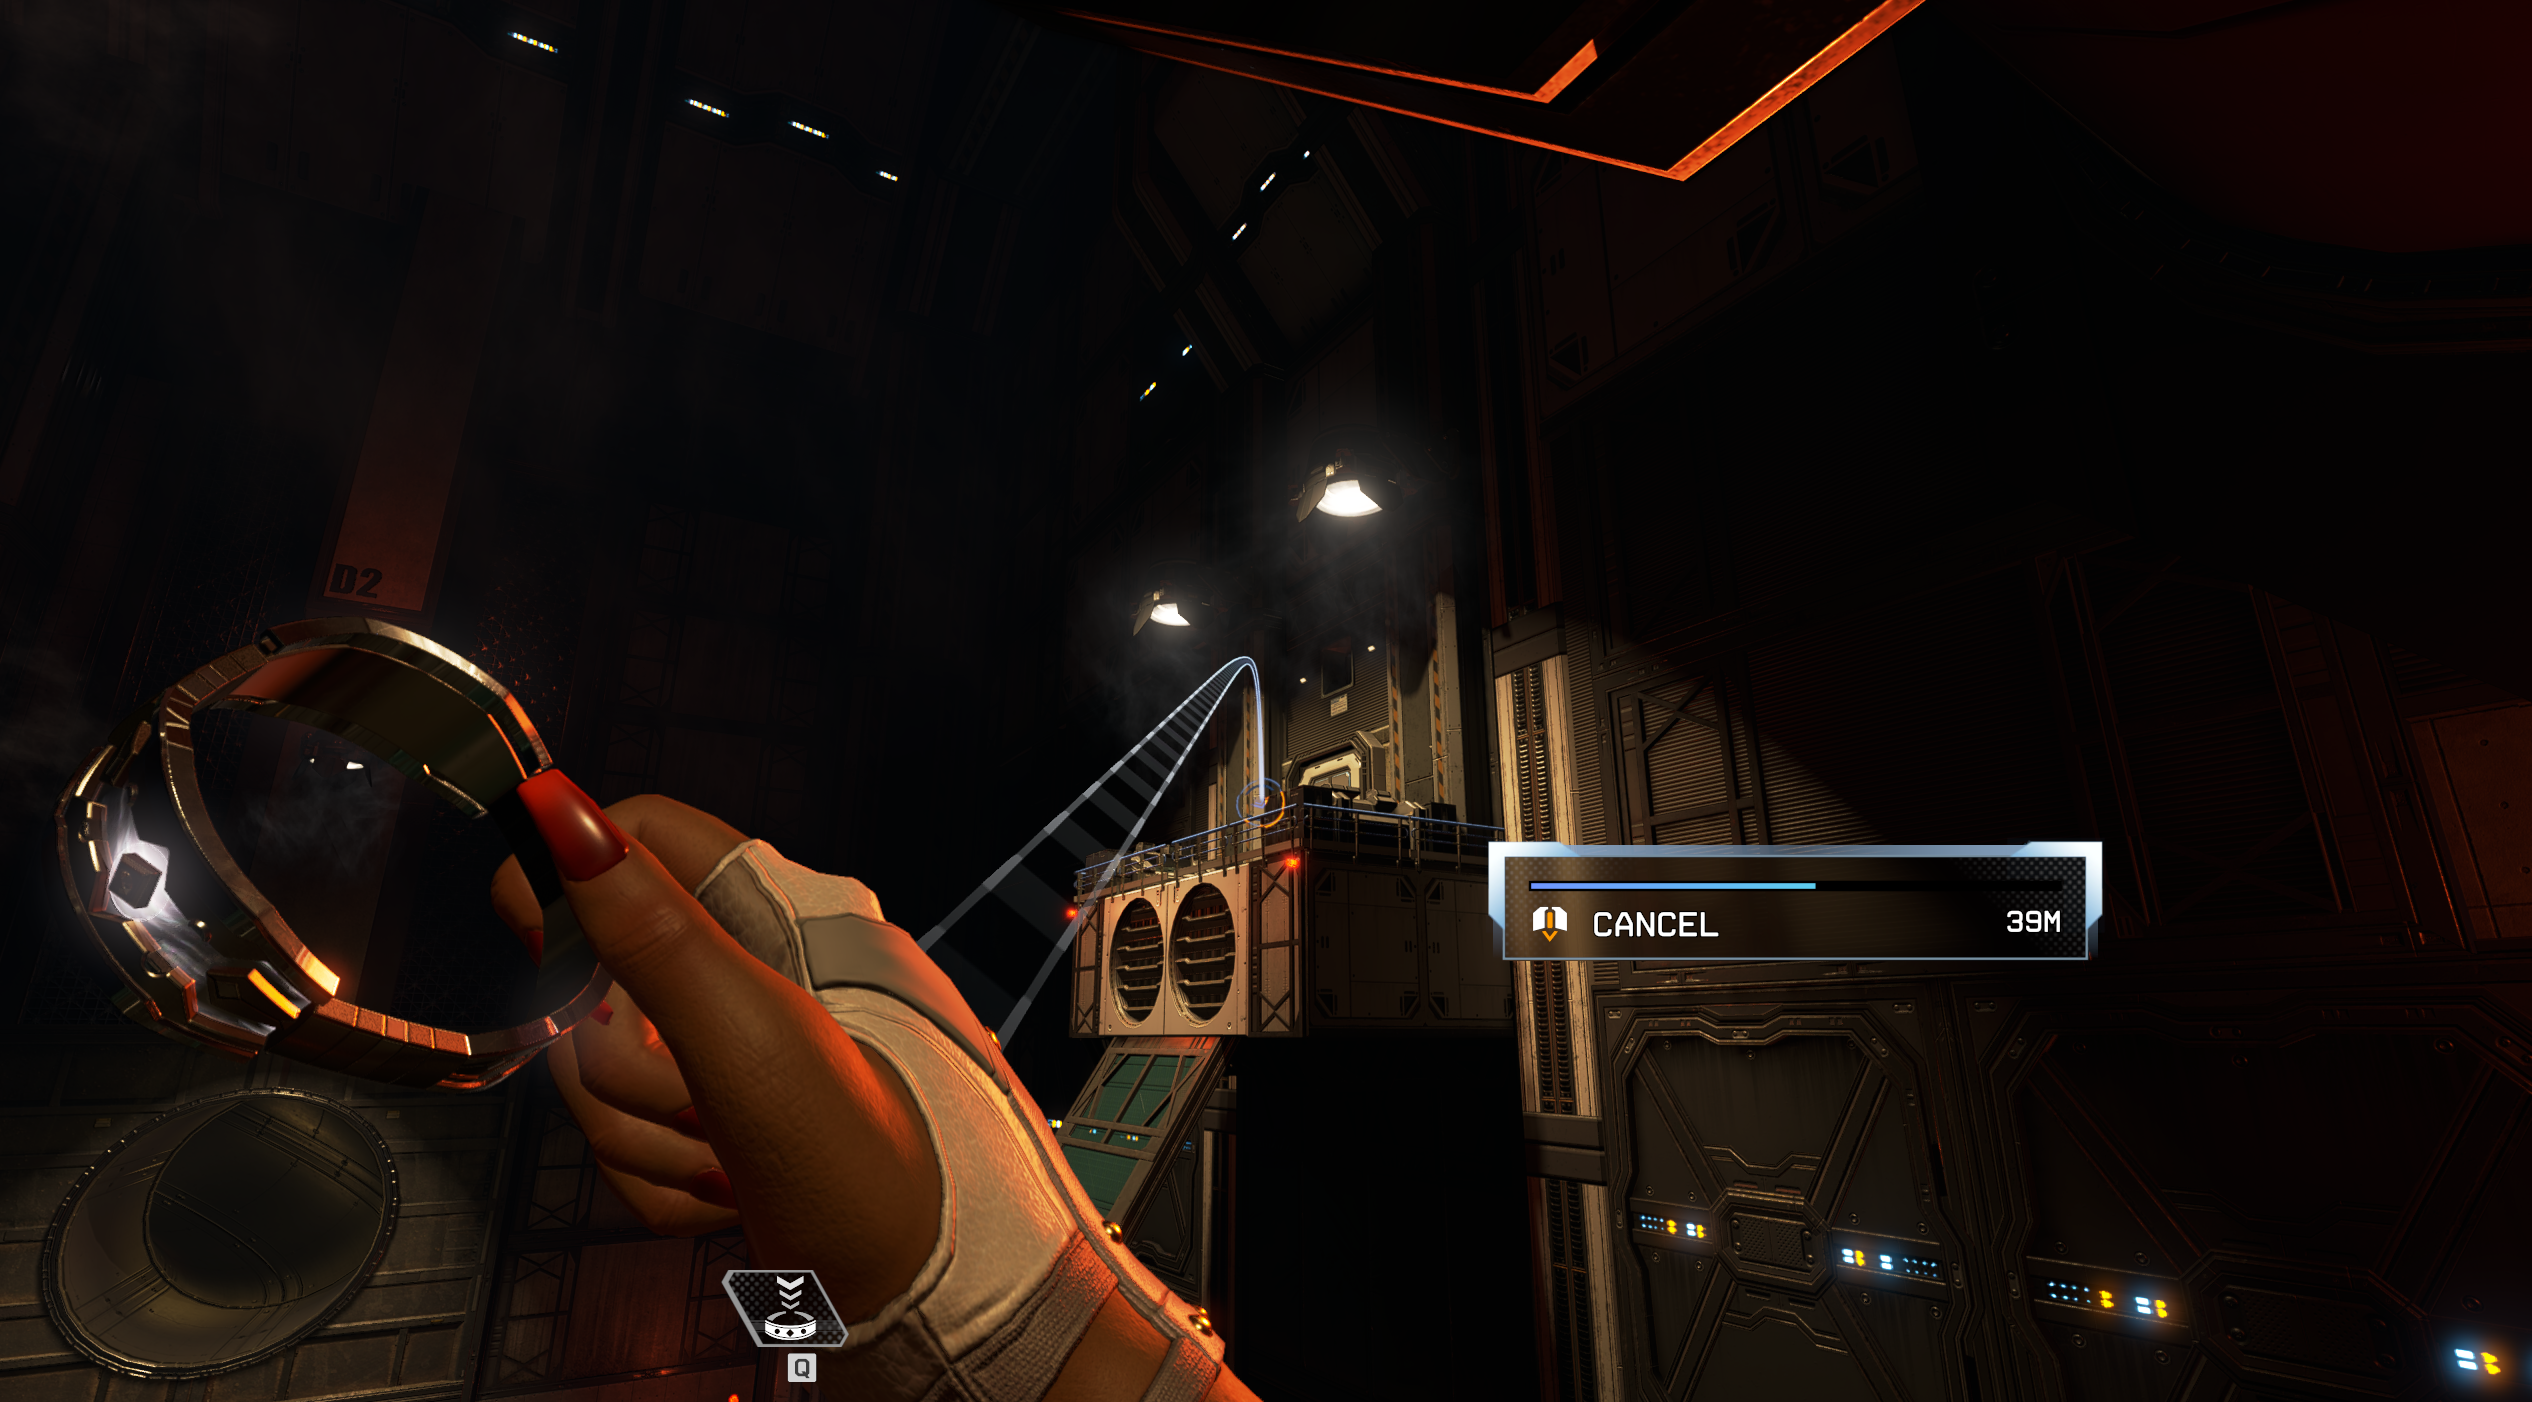
Continue following the path and eventually, you’ll see a raised platform with a yellow ladder. Climb up the ladder and immediately look up to your right. You should see two yellow pipes with yet another walkway atop them. You’ll need to throw your bracelet onto the walkway—which may take a couple of tries. Once you’ve reached the higher platform, you’ll need to crawl over one pipe and then under a second before translocating to another steep platform.
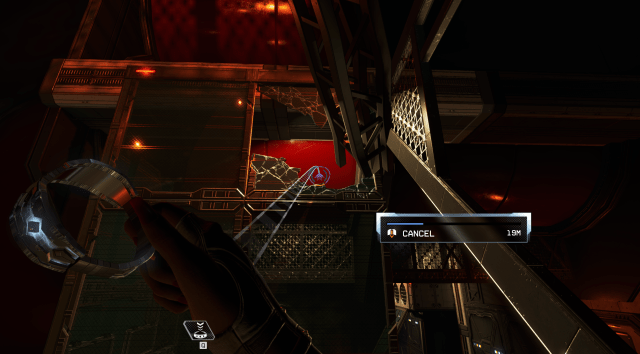
At the top of this platform, you’ll see a red wall behind broken glass. Throw your bracelet into this broken window.
Fourth room with the chasm
After translocating through the window, you should come to a massive room with an open area. Look for the platform with the door to your right, and use your bracelet to jump across the chasm. Then, once you’ve landed close to the door, it’s back to the vents. You’ll find another vent above the door.
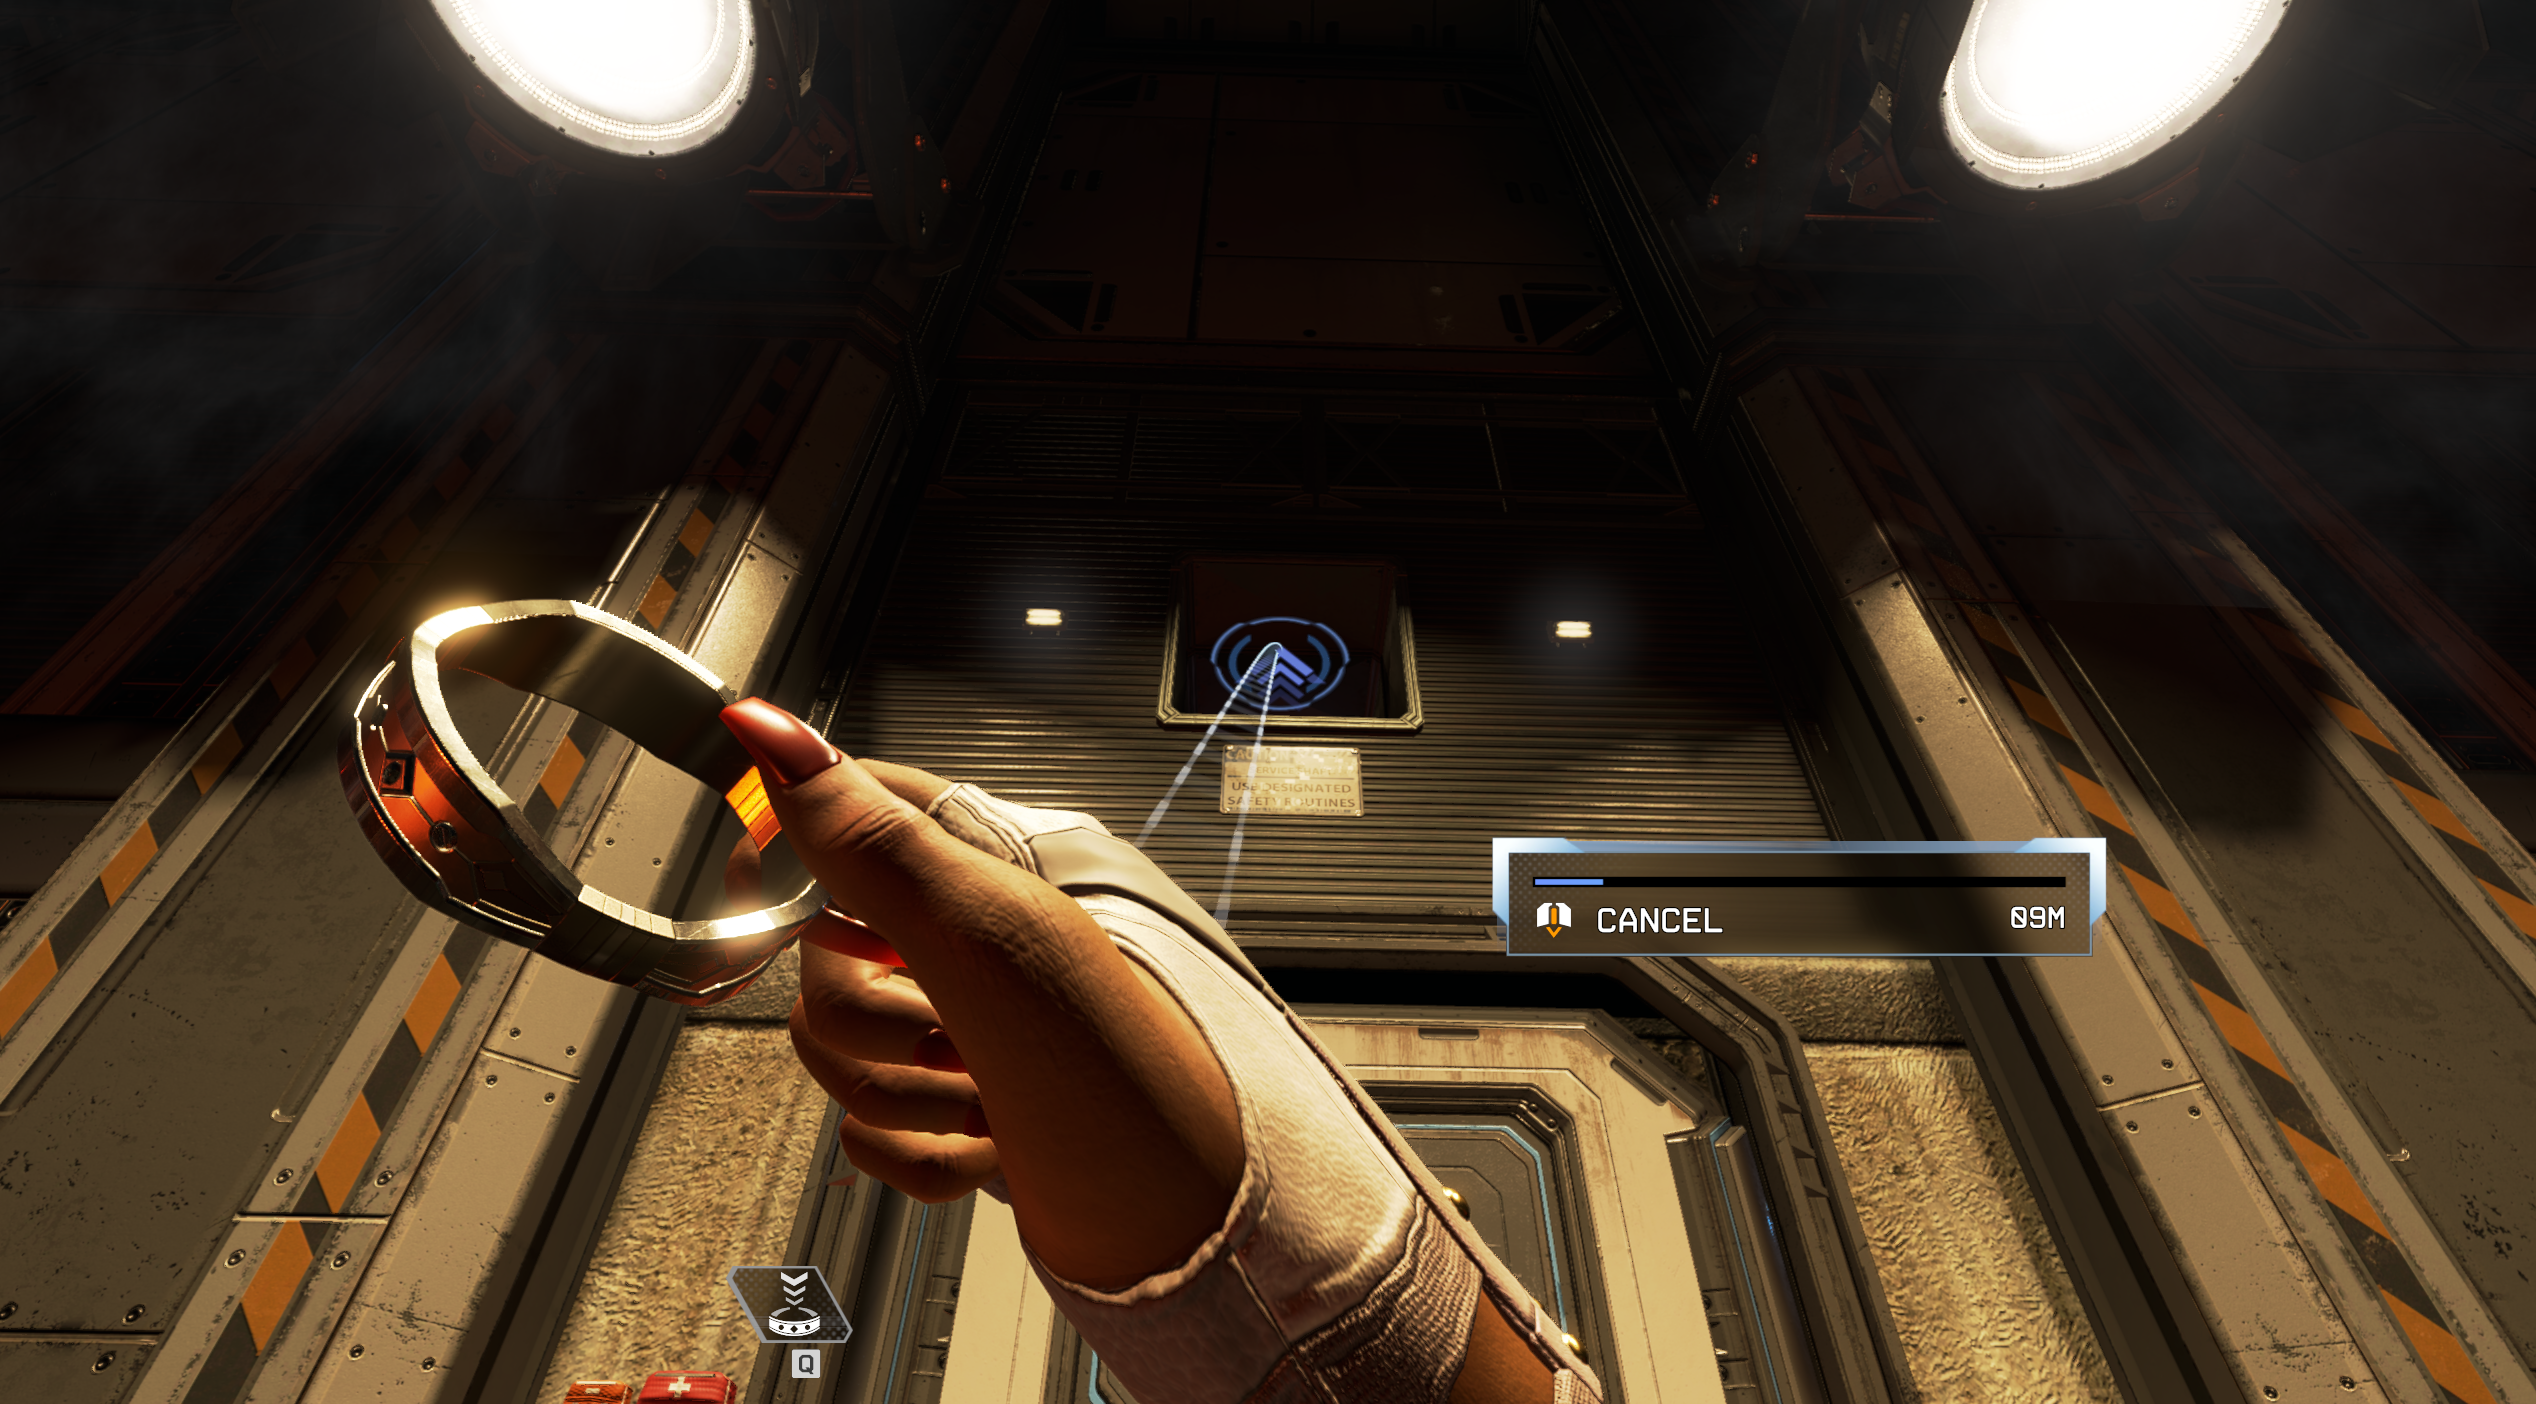
Follow the vents to another set of platforms. You can jump from platform to platform, or if you’re like us, translocate directly to the other vent. Once you’re on the other side of the vent system, it may seem like you’ve reached a dead end at first. Look up to find a ledge, and throw your translocator at this spot. You’ll need to do this twice.
Once you’ve reached the end of the vents, you’ll be met with a grated wall. Throw your bracelet directly across from you, and you’ll drop down into an open hallway.

Head down this hallway to find yet another vent in the wall and climb up.
Room with the ziplines
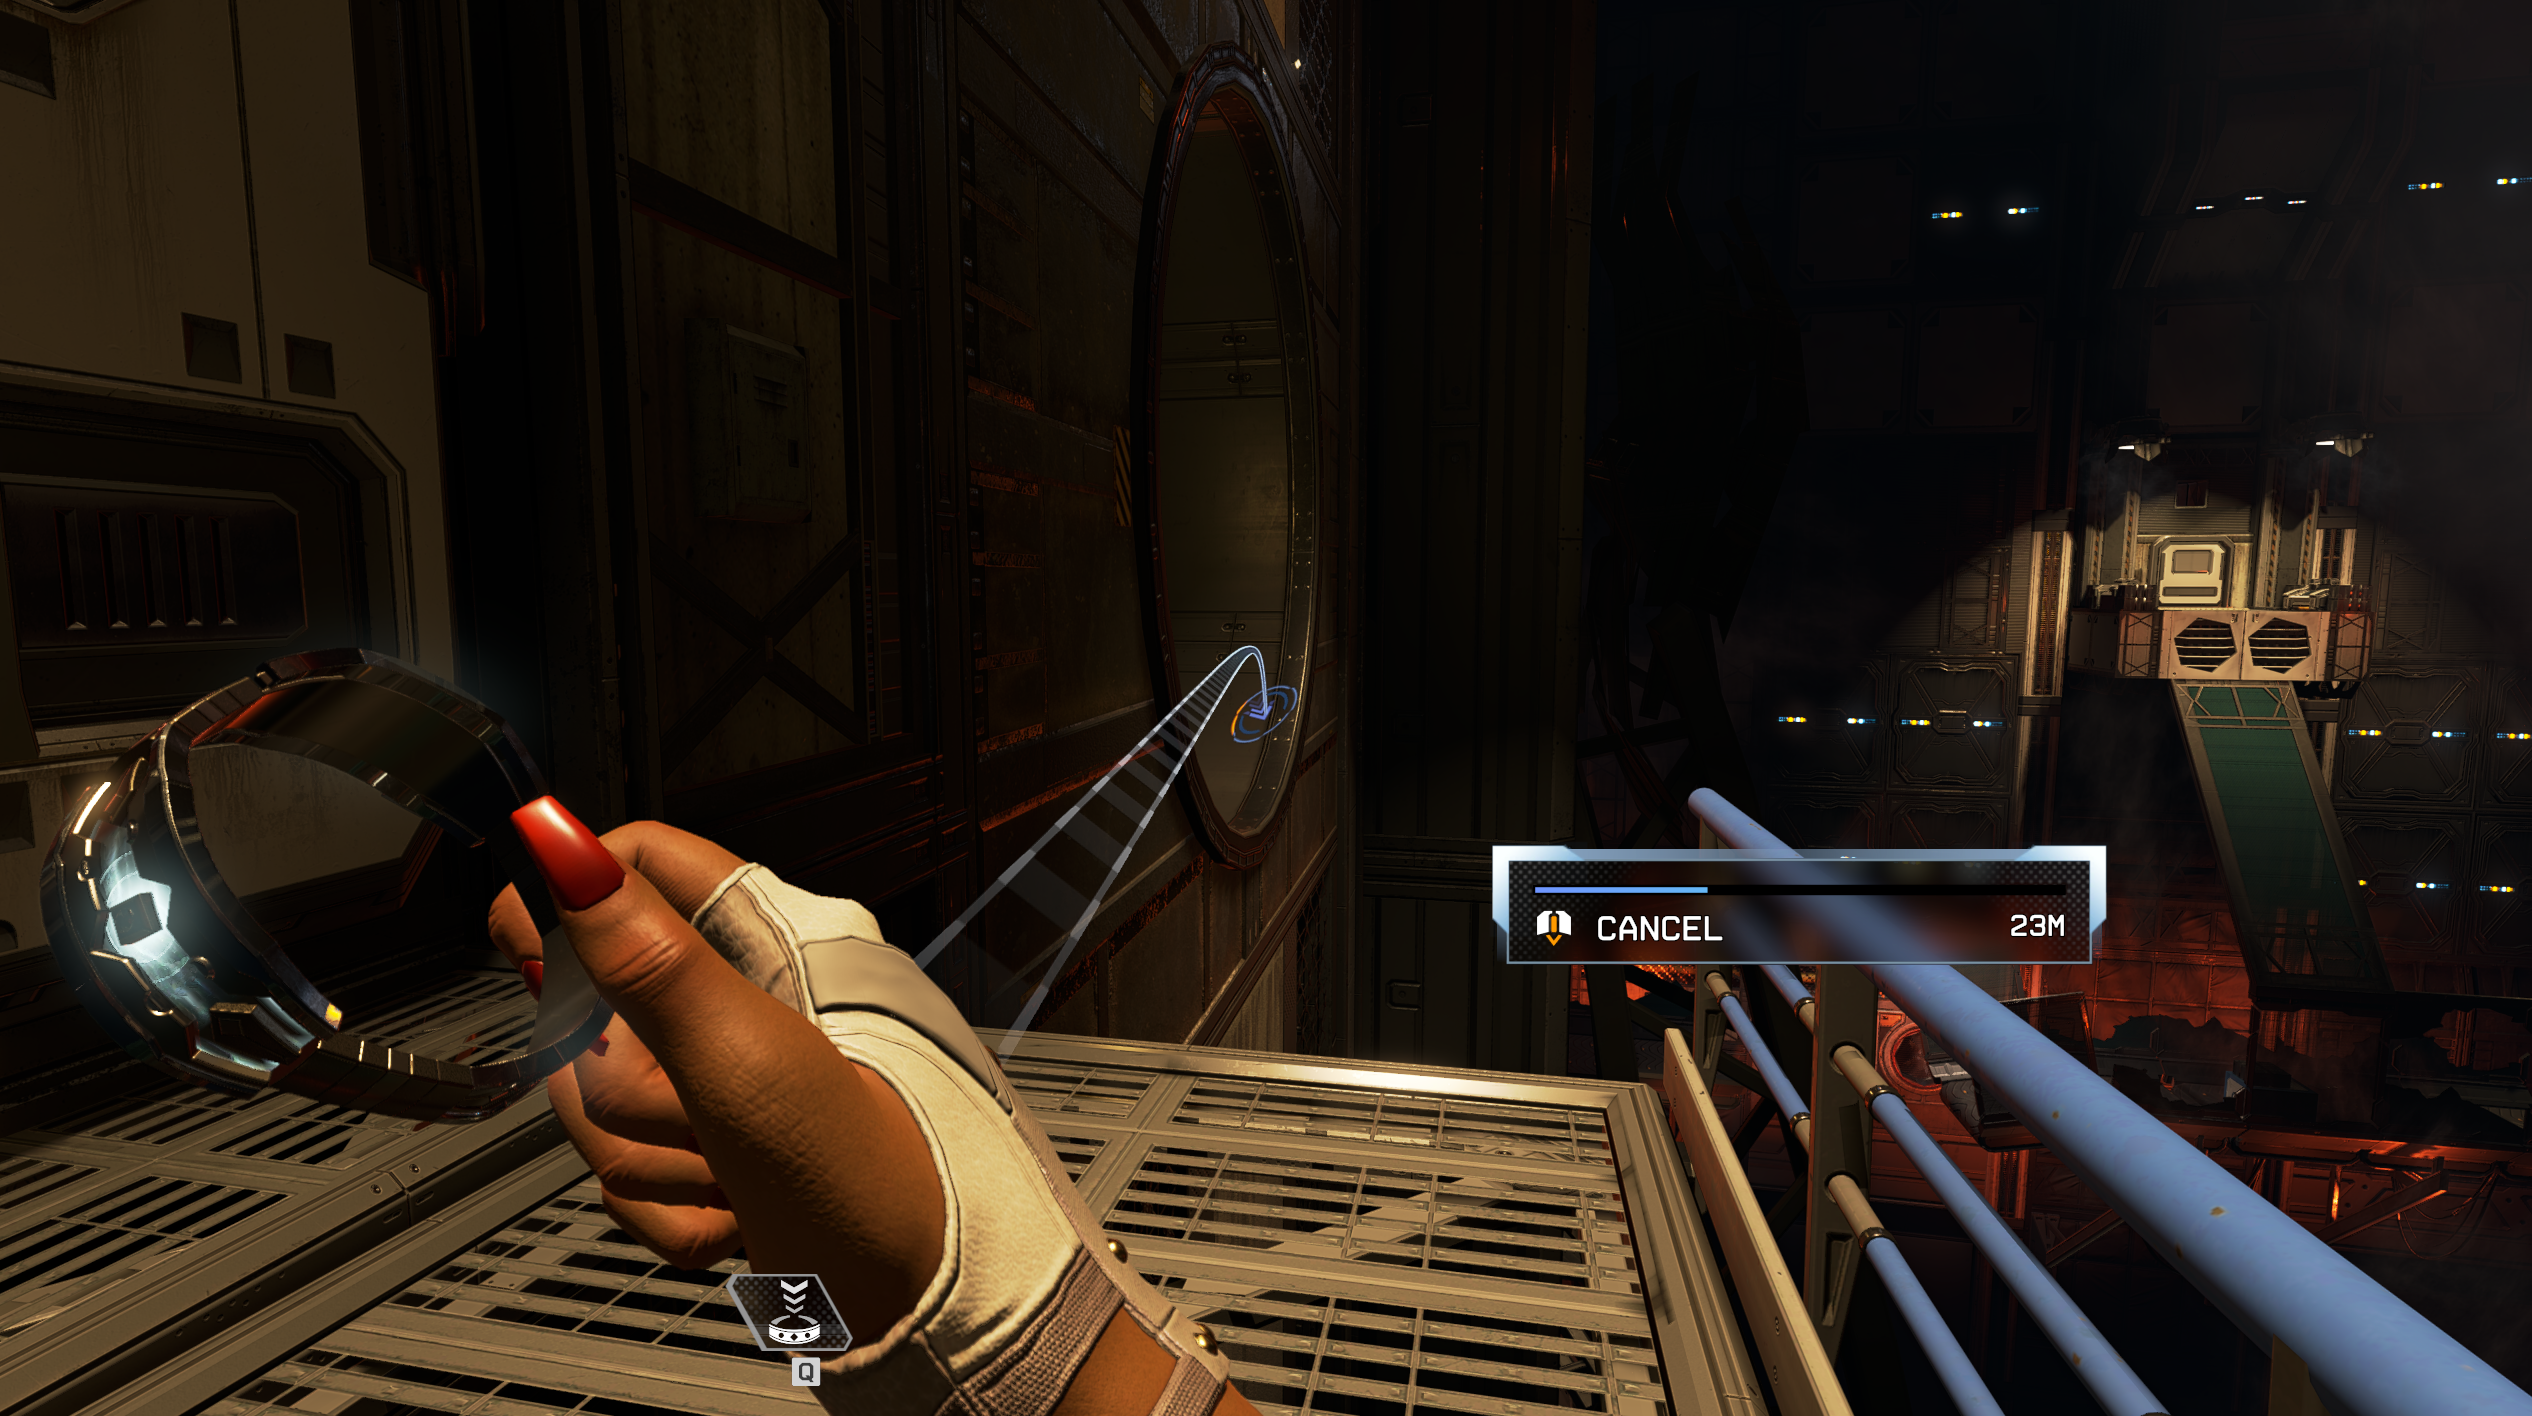
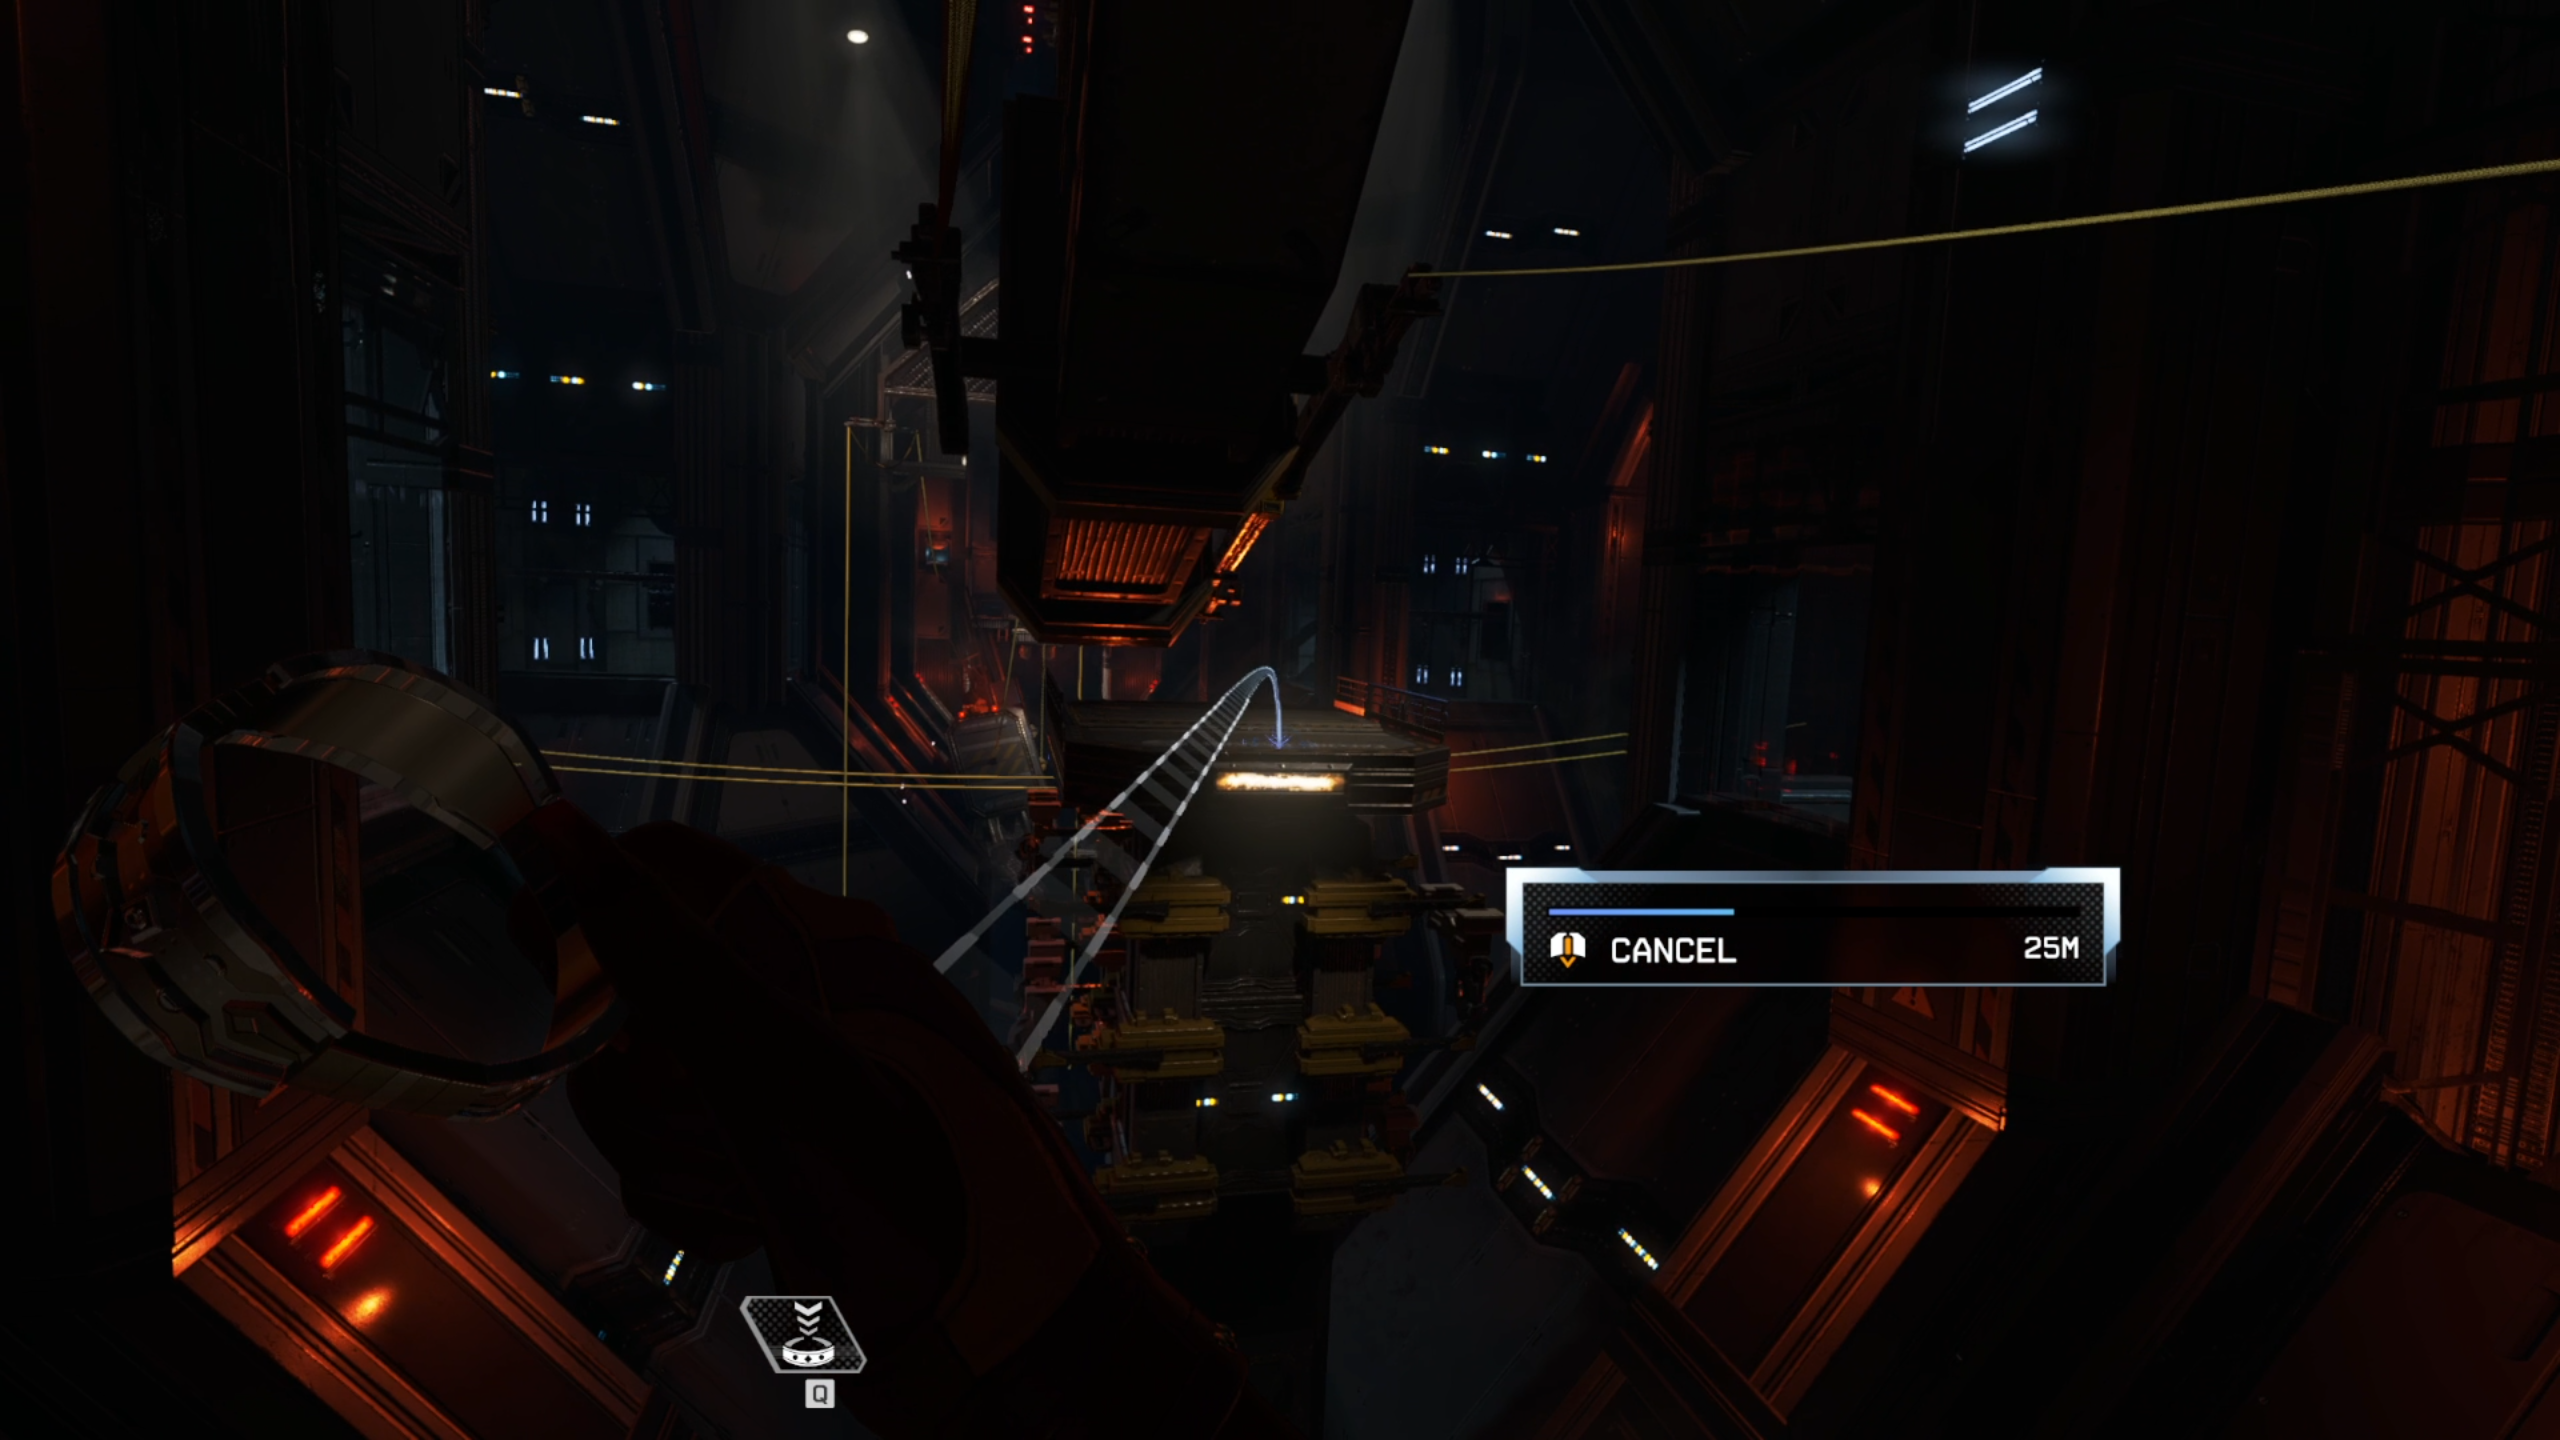
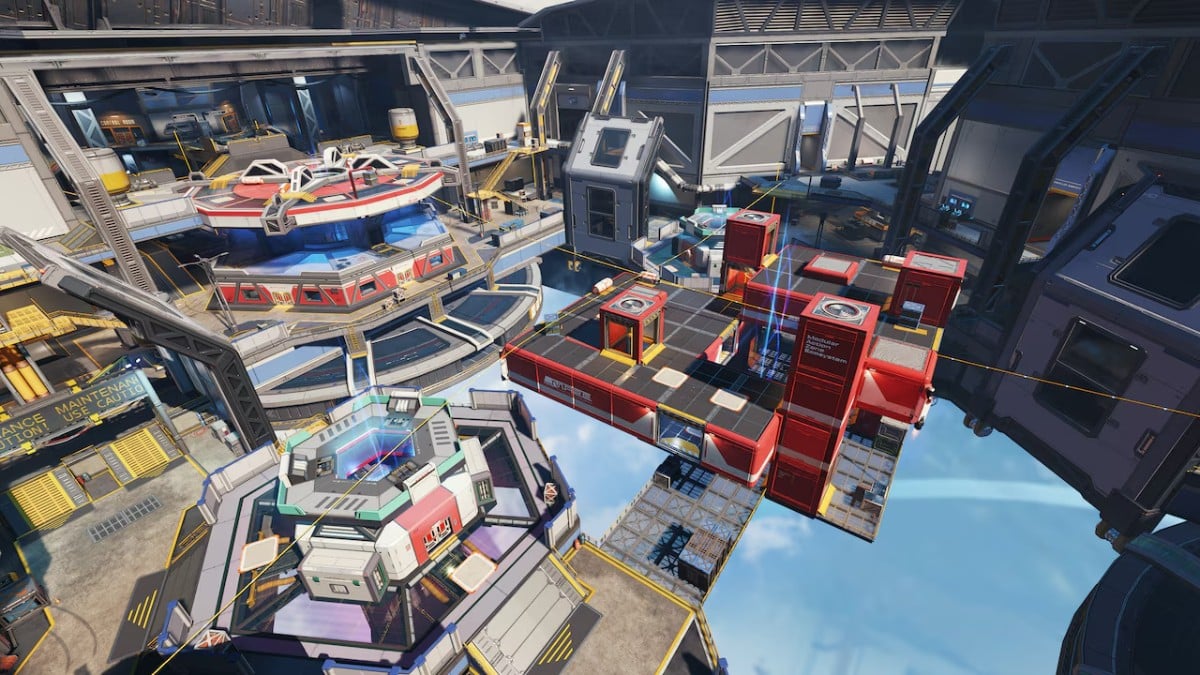
Jump down into the room below, and use your bracelet or slide beneath the metal door that’s propped up with a container. You should come to a room with multiple yellow ziplines. This was the most difficult area of the facility for us; you’ll need to time your translocator correctly while riding ziplines throughout the facility.
As you approach the first set of ziplines, take the one on the left. Before you’ve reached the end of this first zipline, aim your bracelet at the platform in the middle of the room. Once you see your bracelet’s trajectory lined up with the platform, cast the ability to translocate.
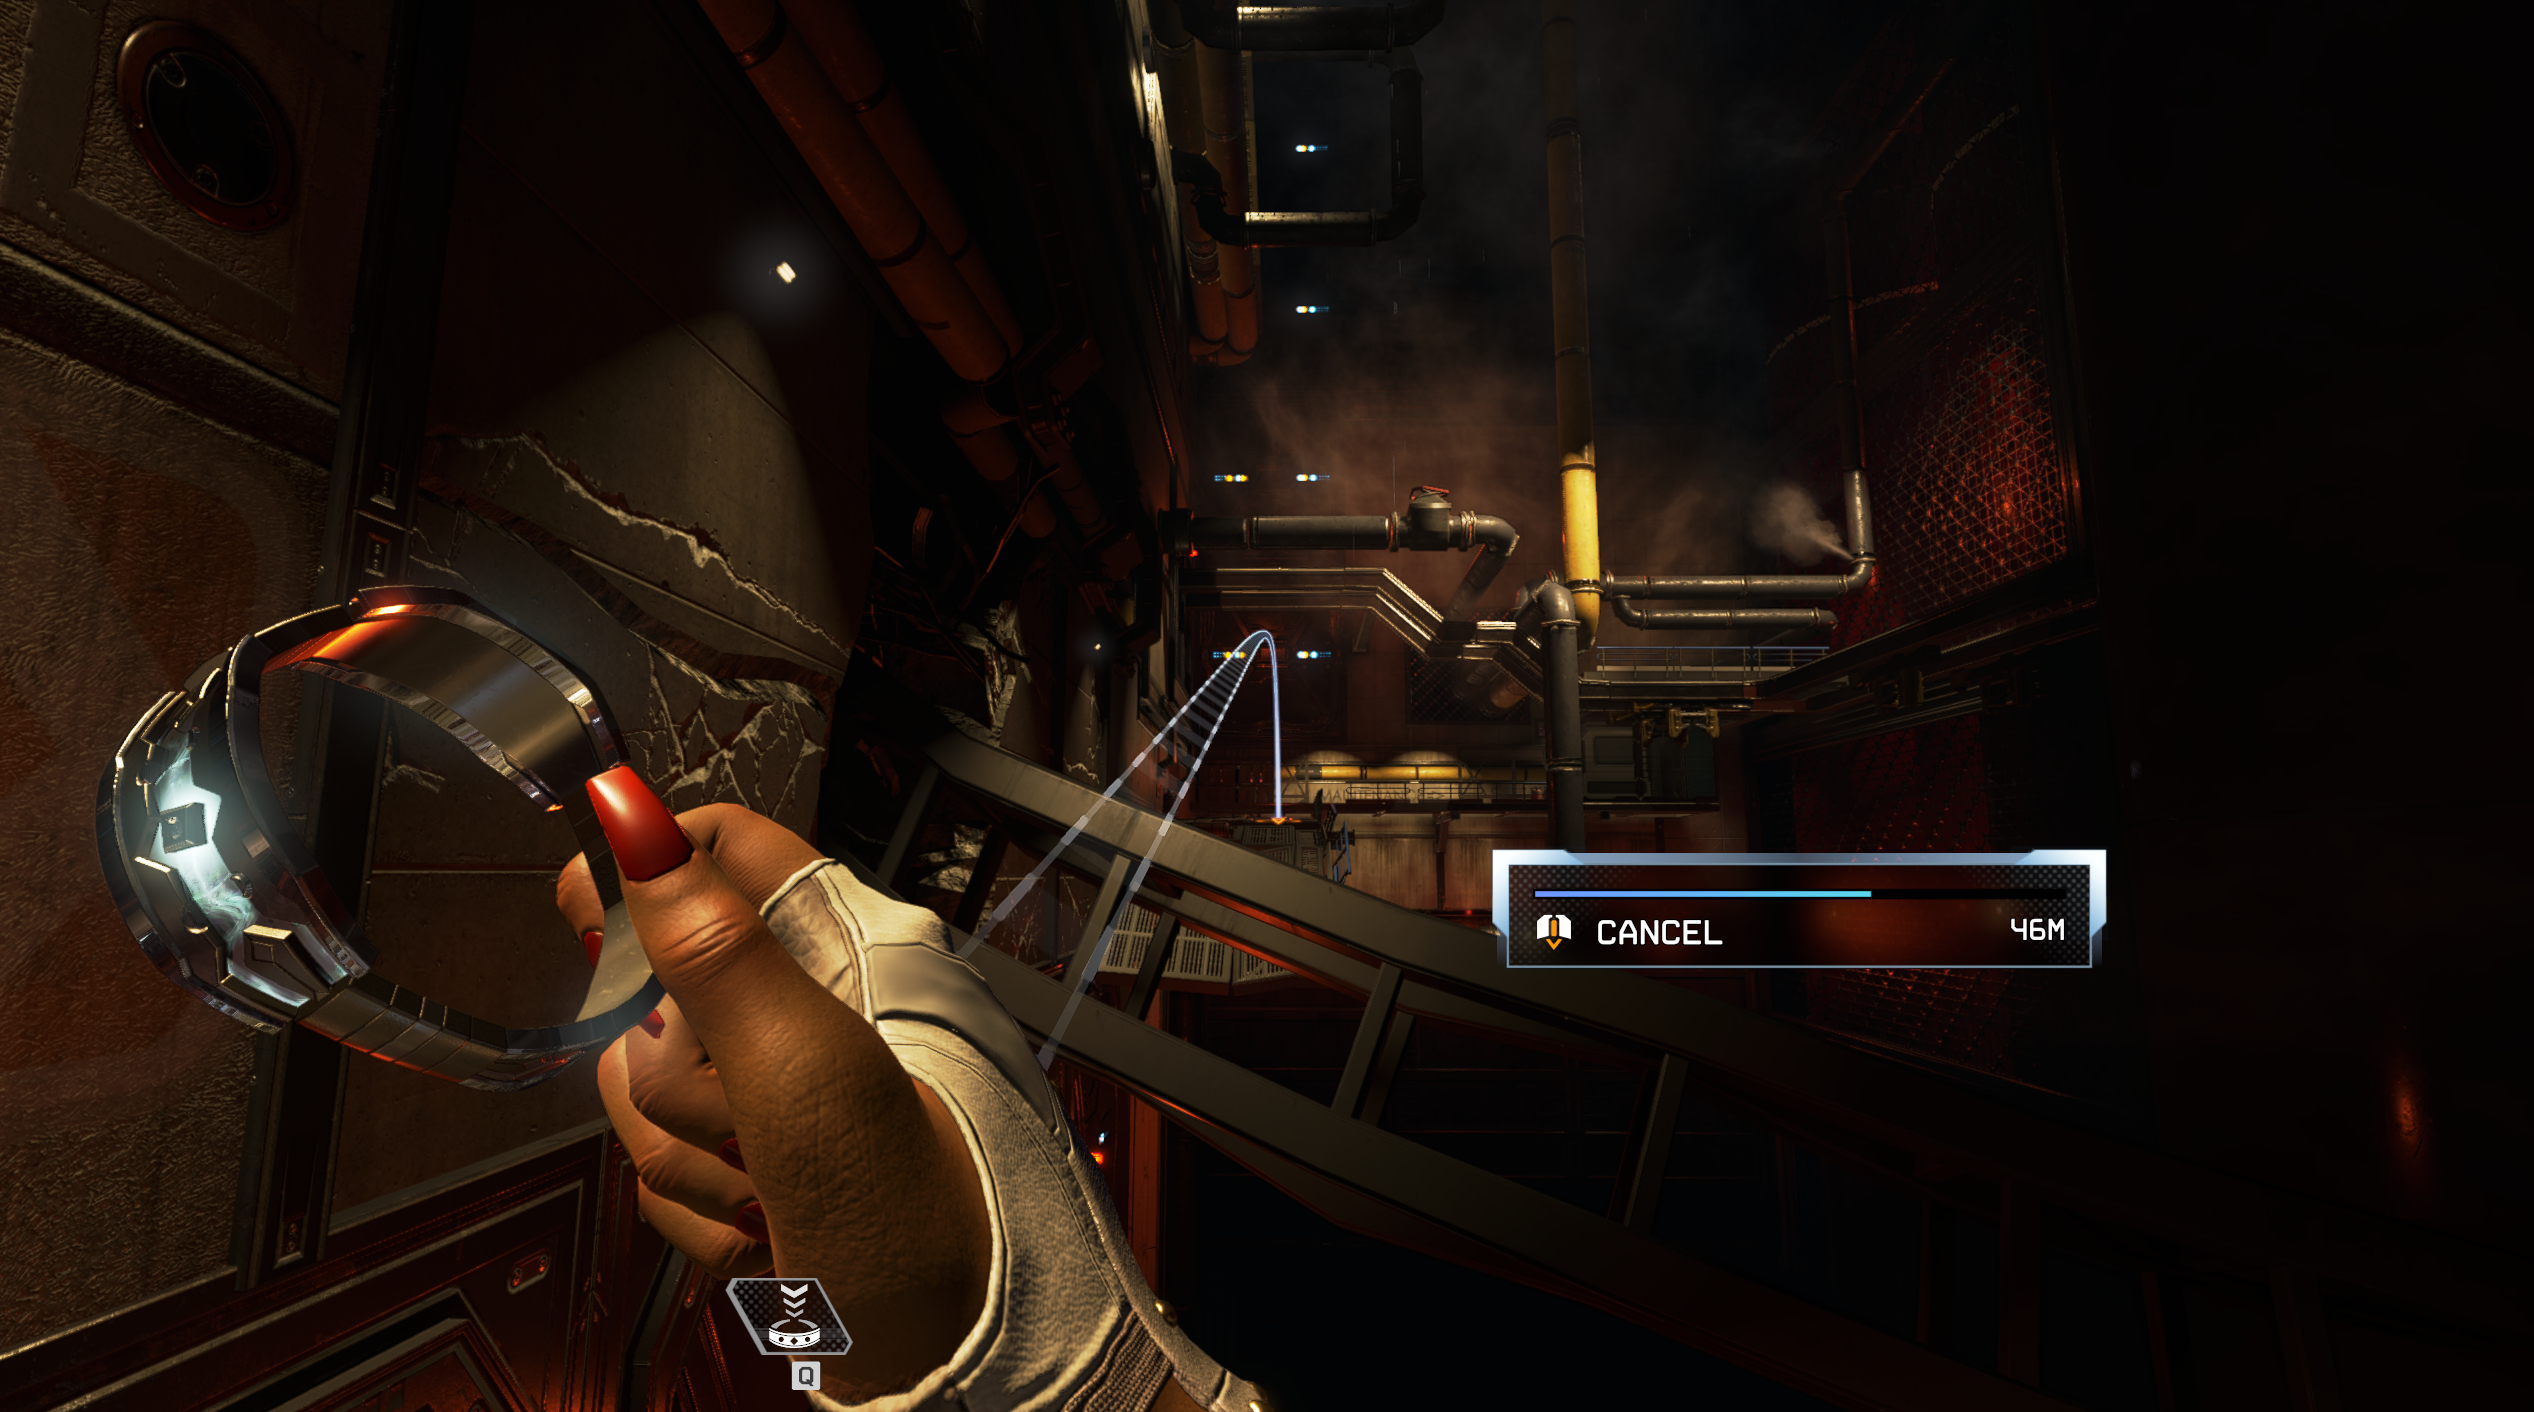
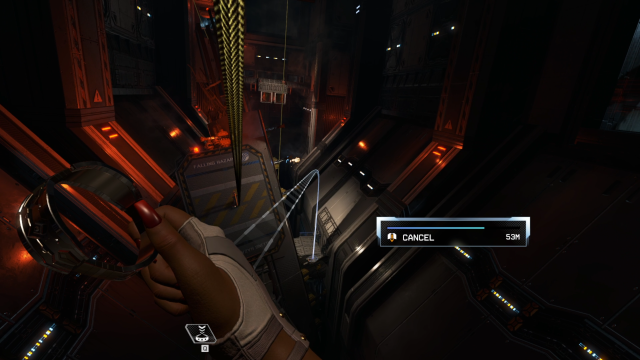
From the platform, there will be another set of ziplines. Take the left one again, and when you reach the end of its path, jump to the other zipline that’s on the end of it.
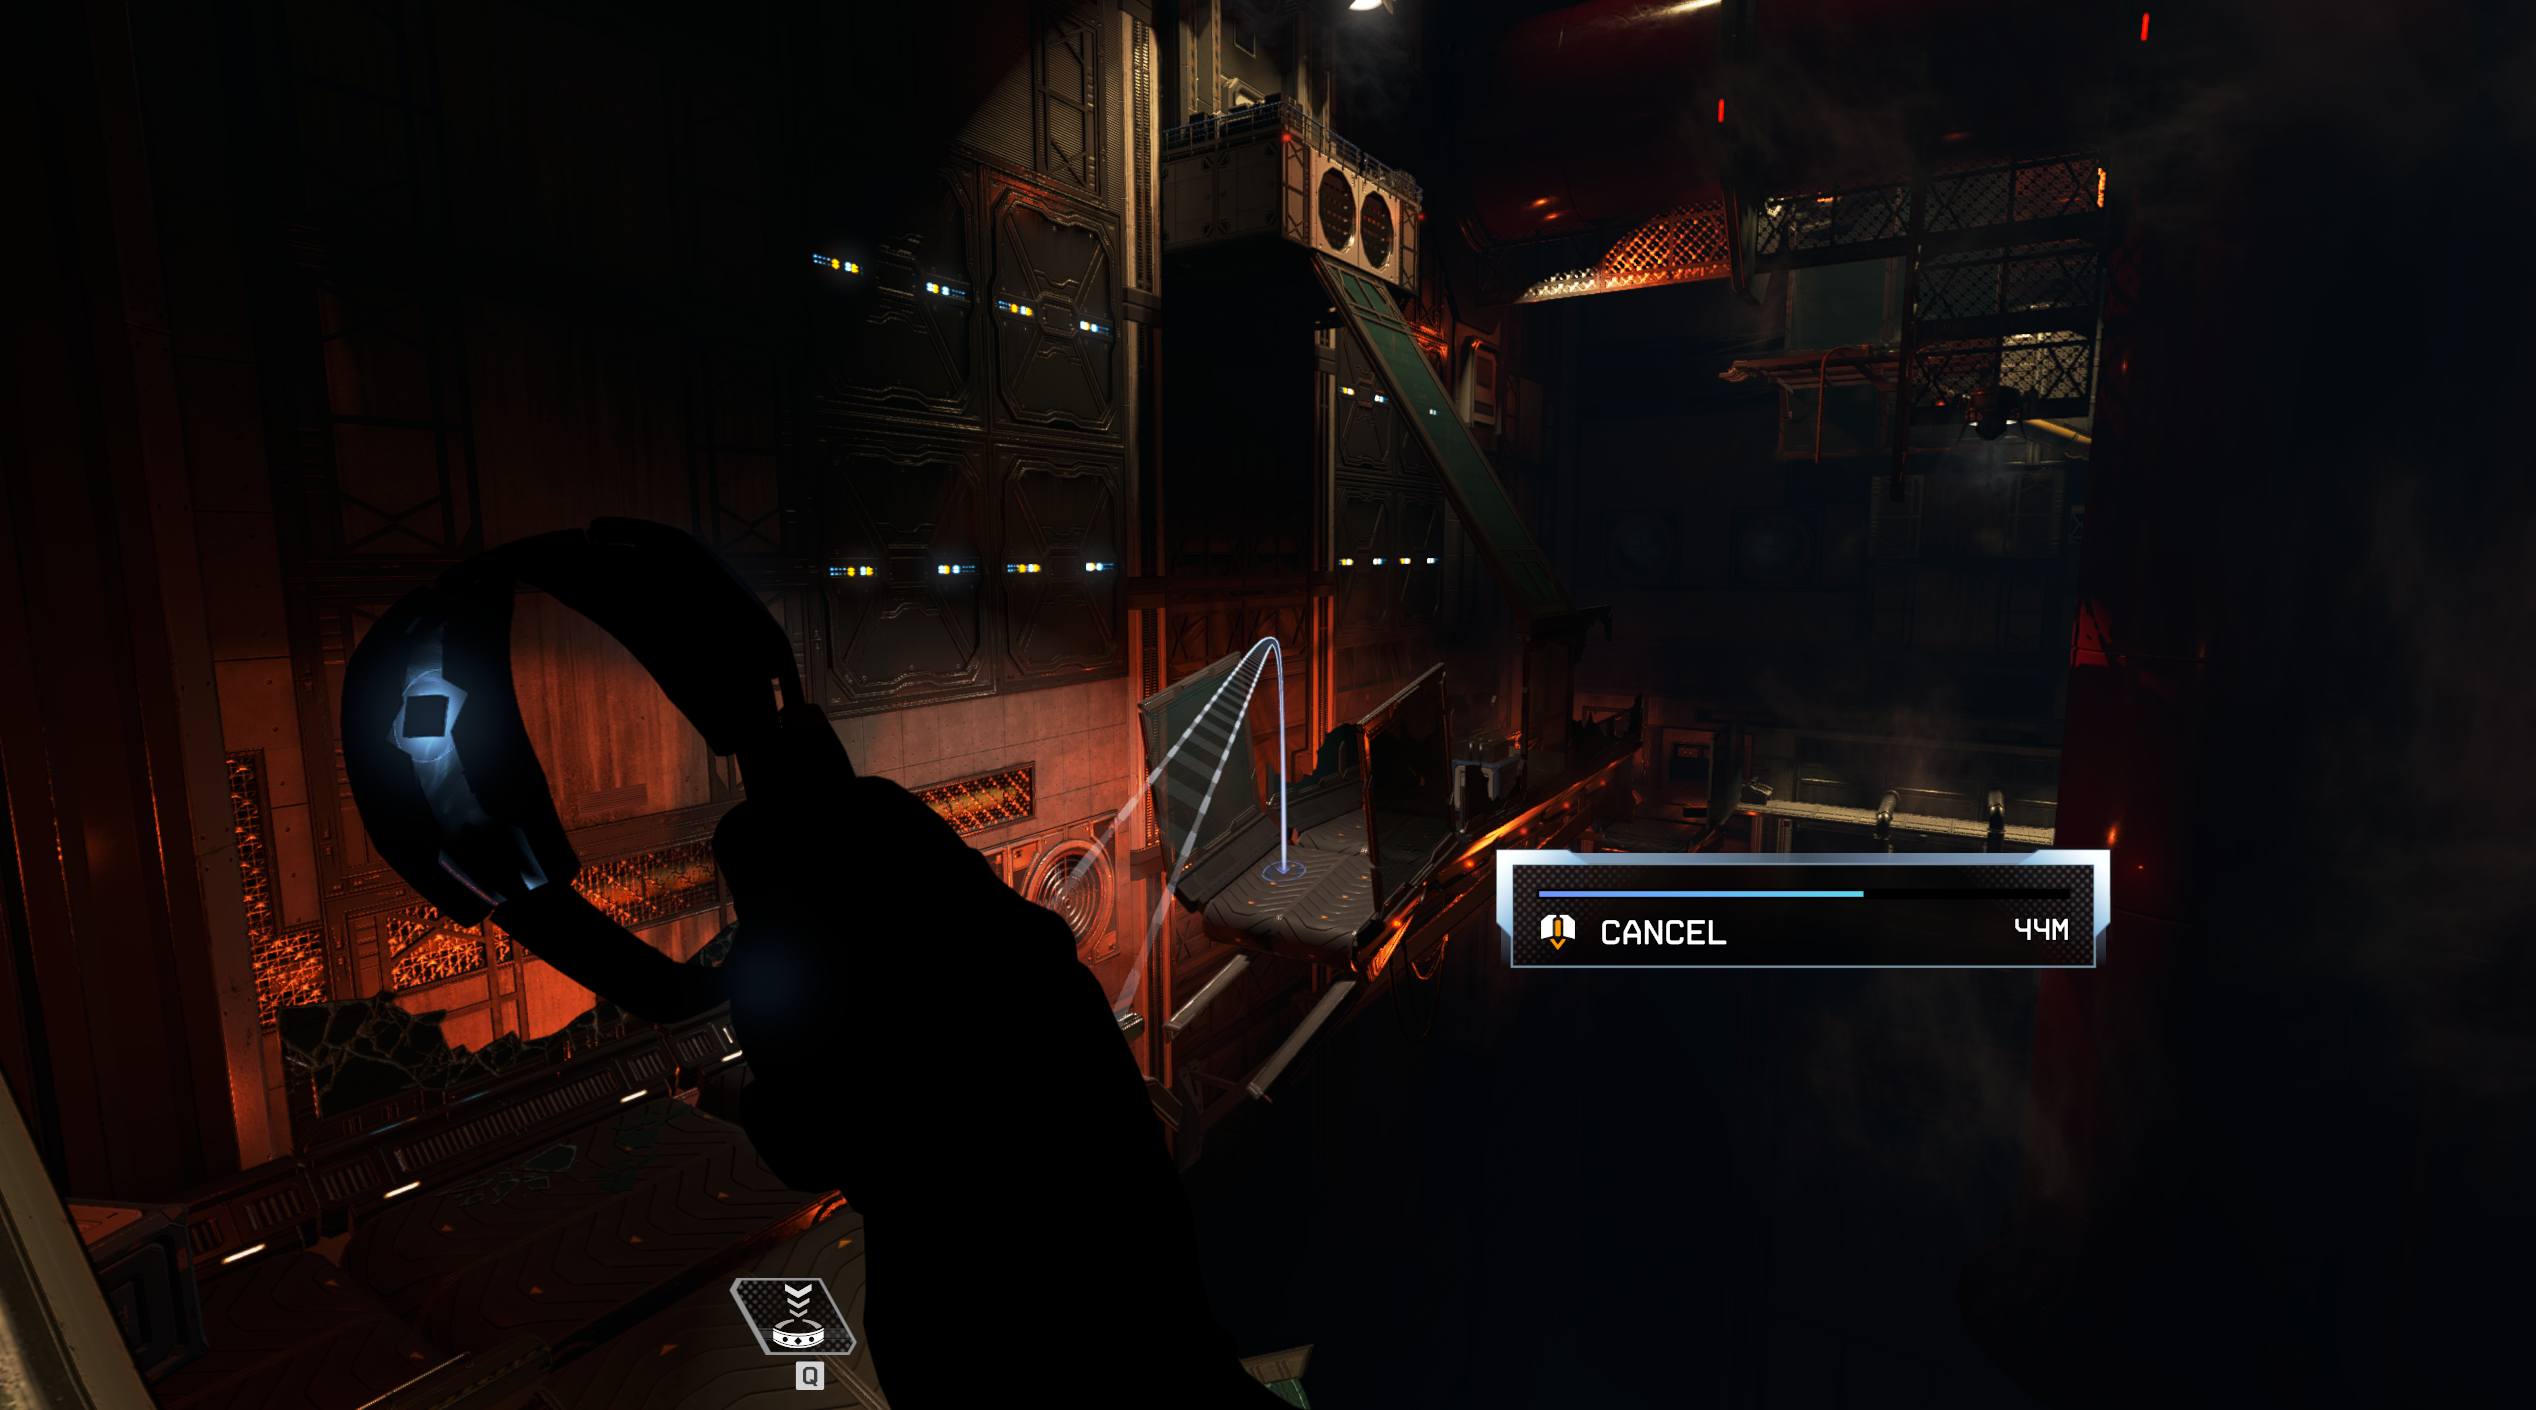
You’ll need to use your translocator once again to reach another platform. Aim for a broken platform beneath the third zipline.
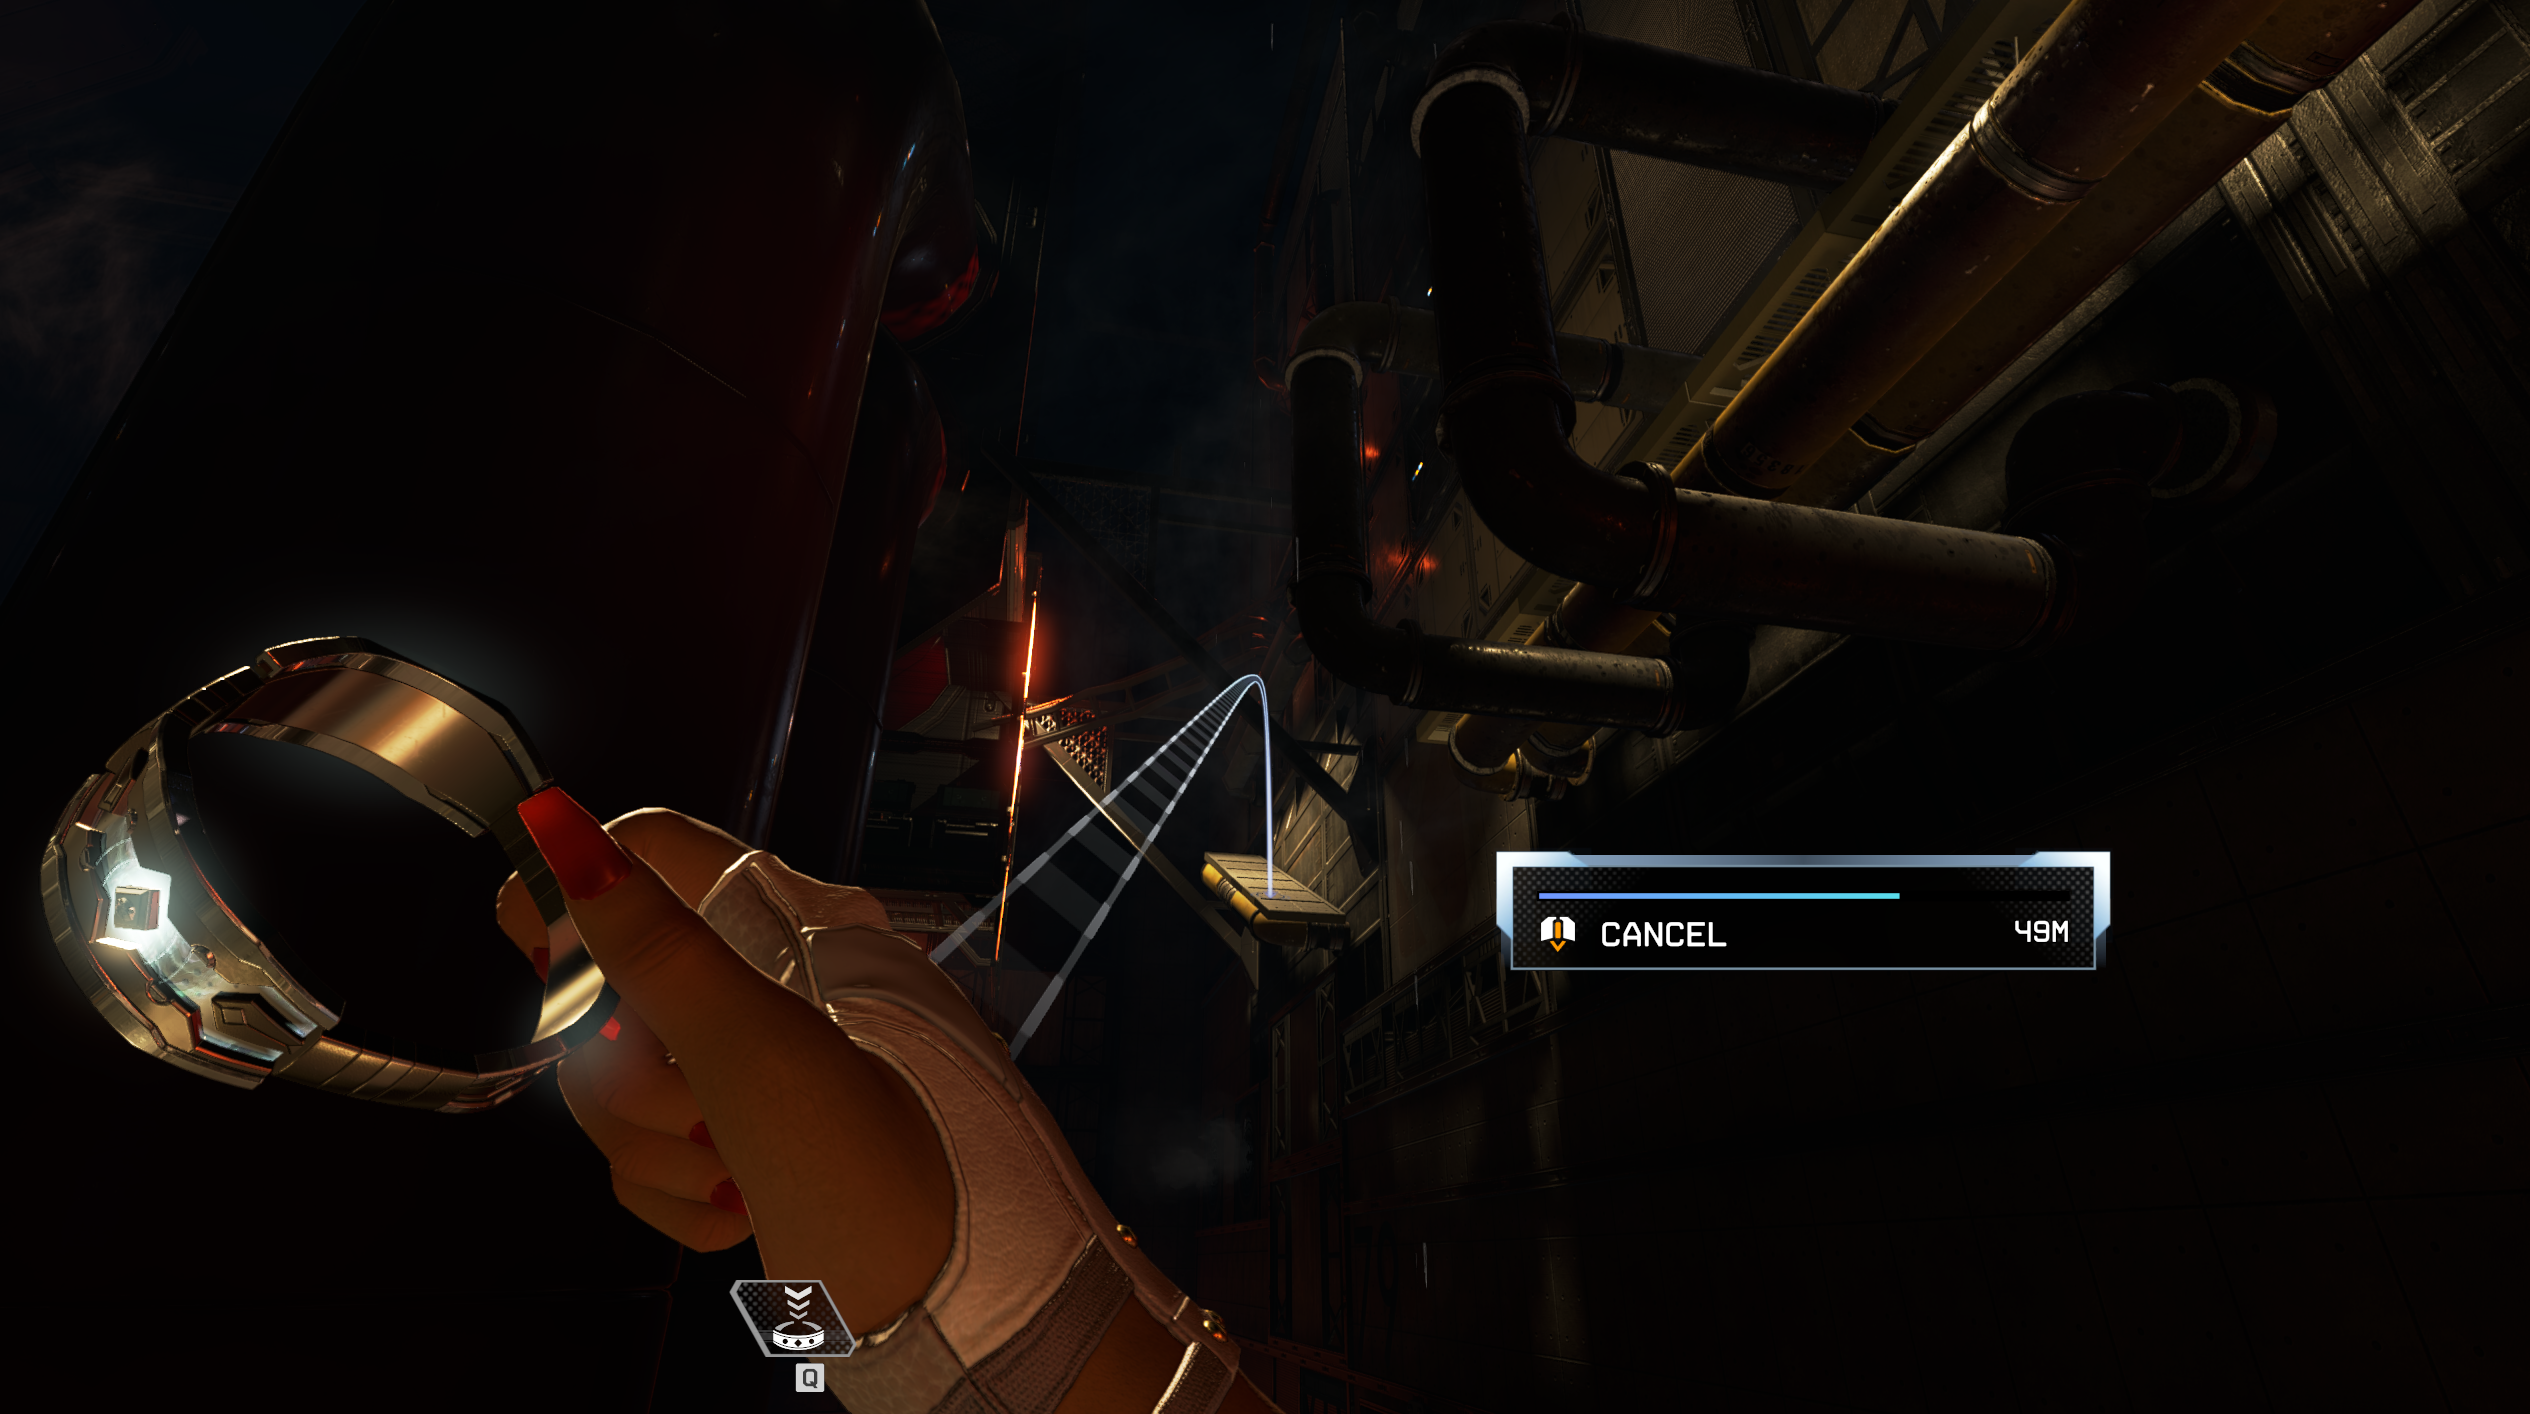
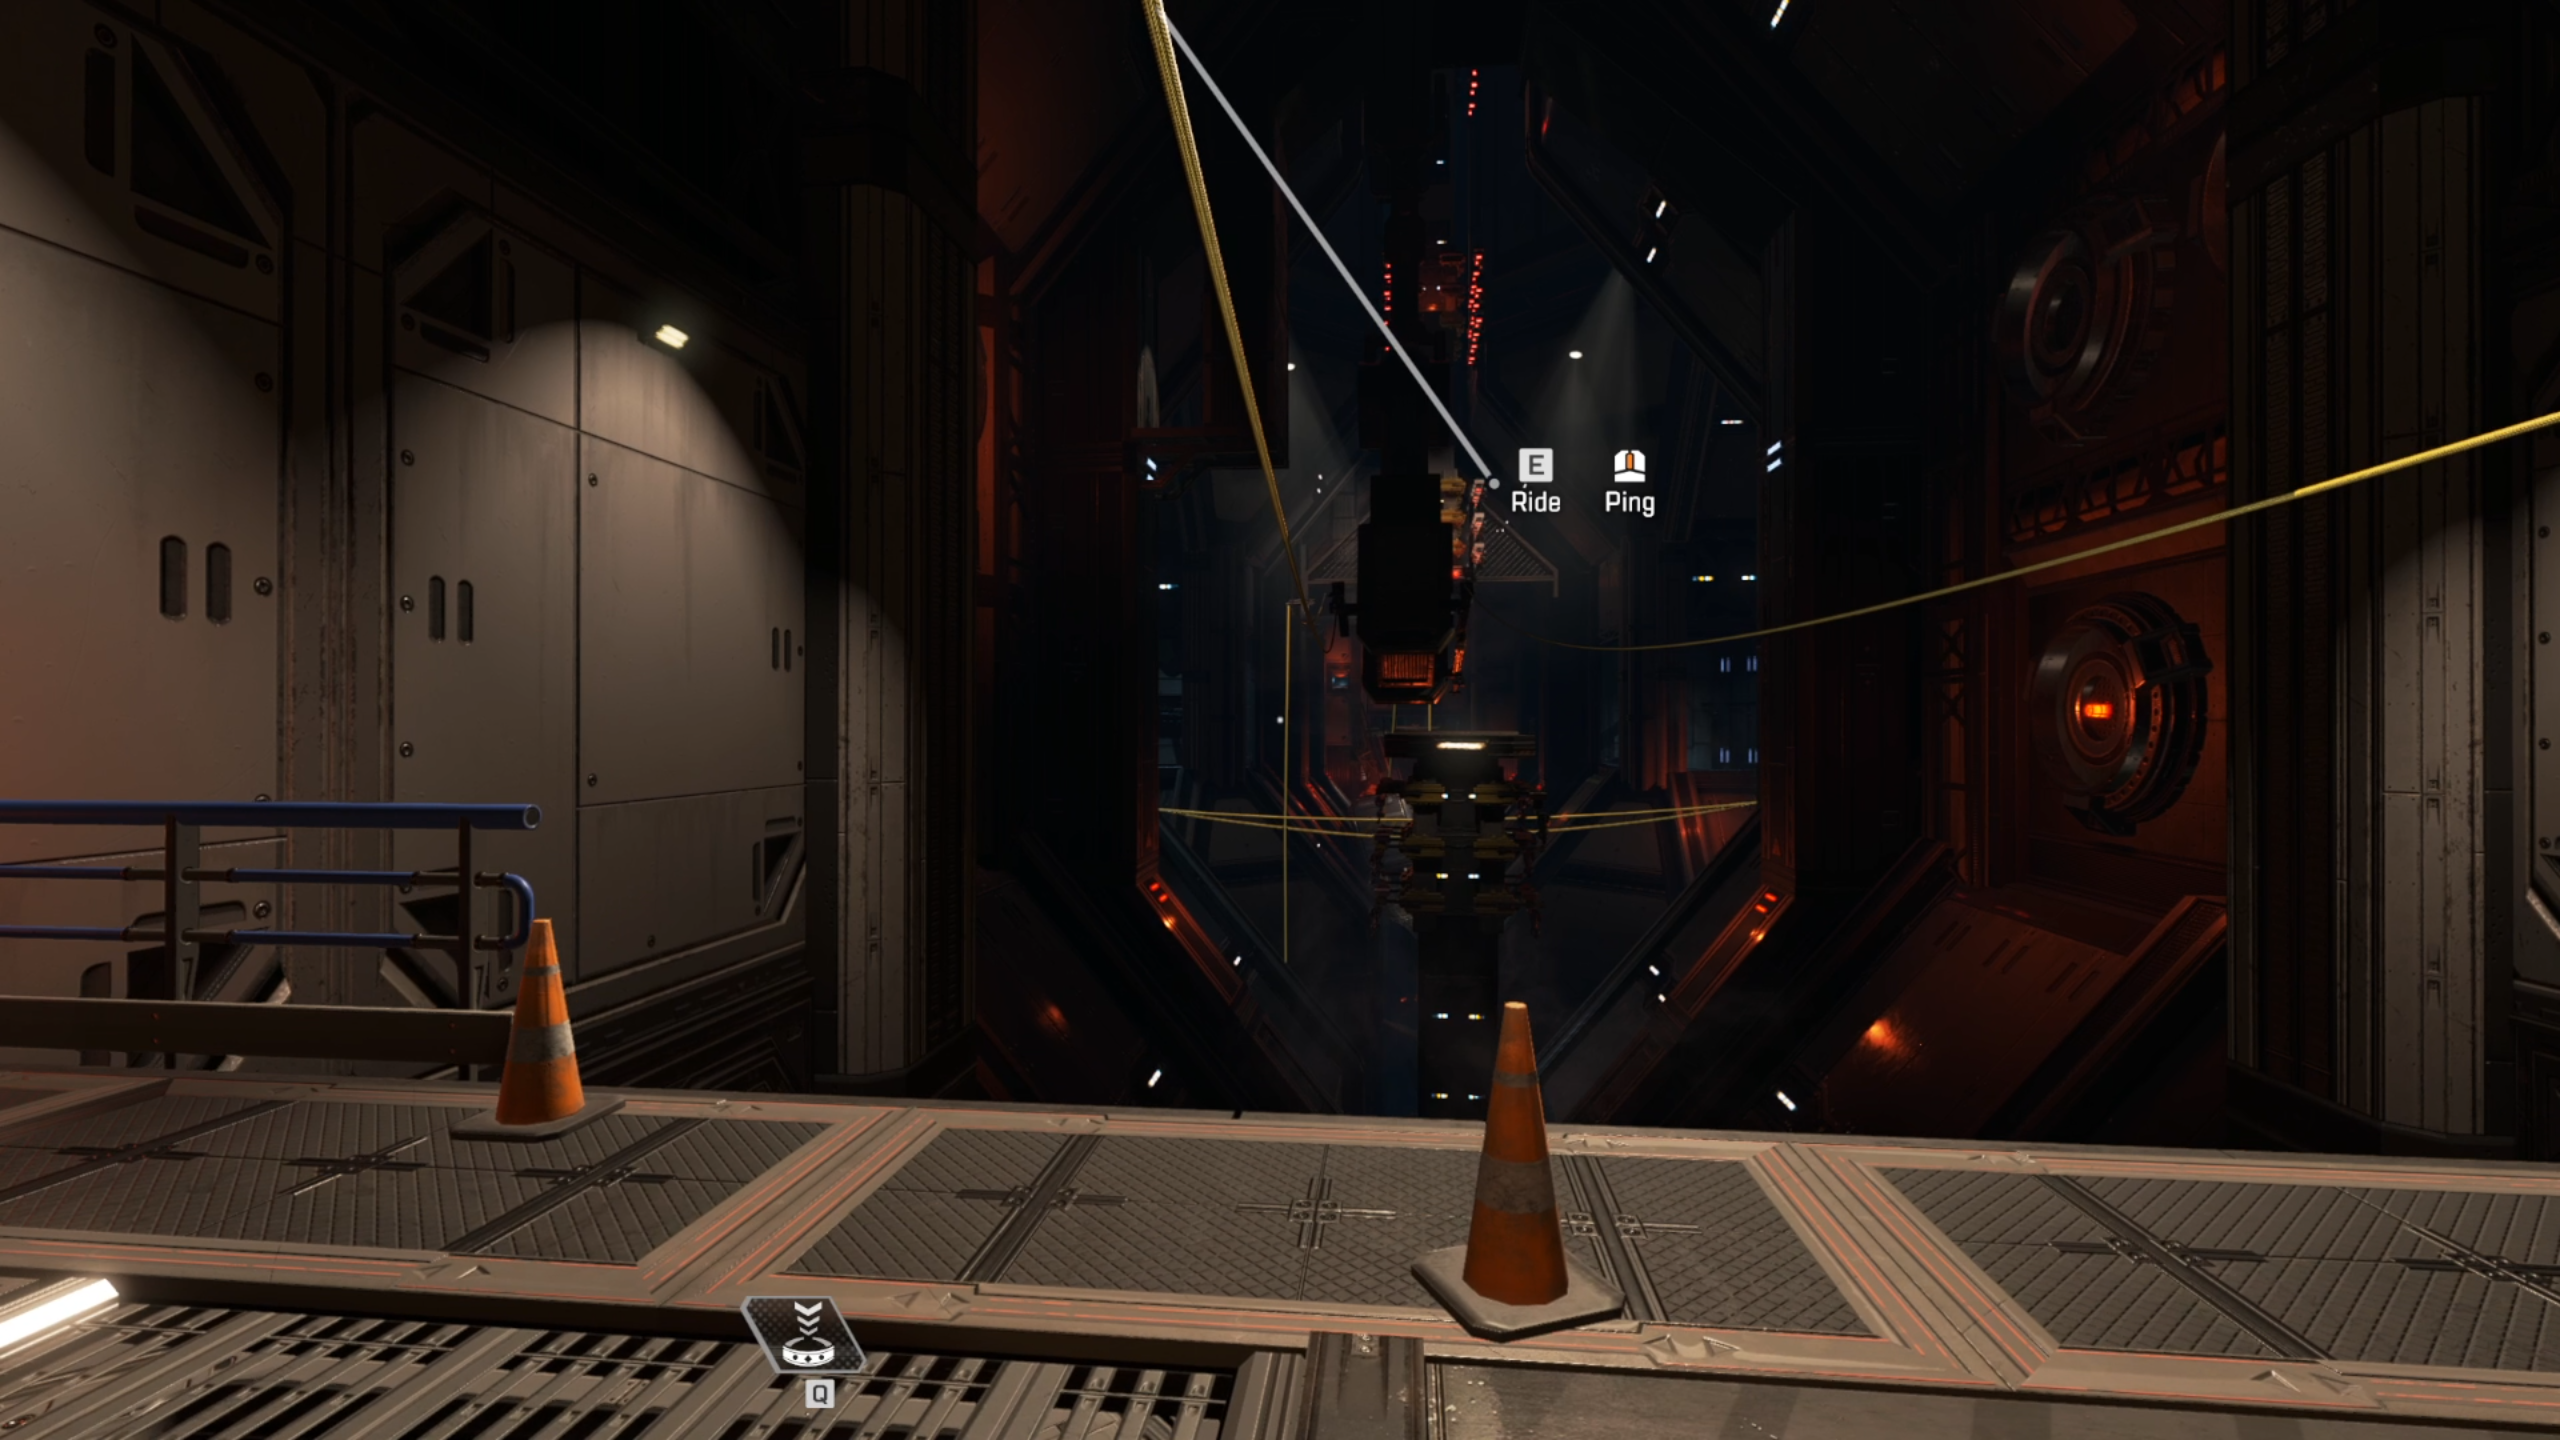
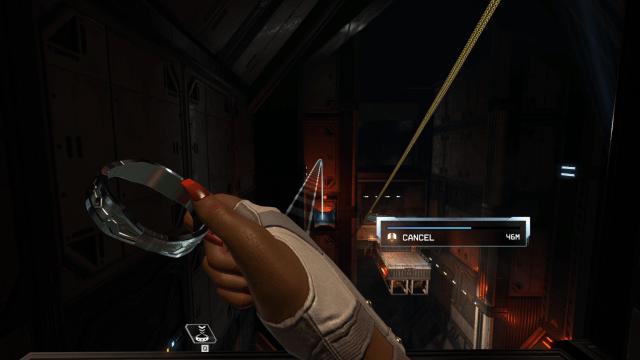
Once you land on this platform, you’ll find a vertical zipline. Ride this zipline up towards the ceiling, and then throw your bracelet at the platform where two ziplines meet. From this platform, you’ll see an open area at the end of one of the ziplines leading away from the platform. We chose to translocate directly to this vent instead of taking the zip towards it.
From here, follow the vent. You’ll find a room with body-like shapes on a series of tables, and your ultimate will indicate that it’s ready to use. Place your Black Market wherever you’d like in the room, and then grab the Hammond Datapad from it.
Backtrack towards the platform in the center of the room. As your zipping back, jump towards the two parallel ziplines and zip towards the right. There will be a door at the end of the path. You’ll need to time your jump between ziplines so you can fall close enough to the lower one to be able to grab it.
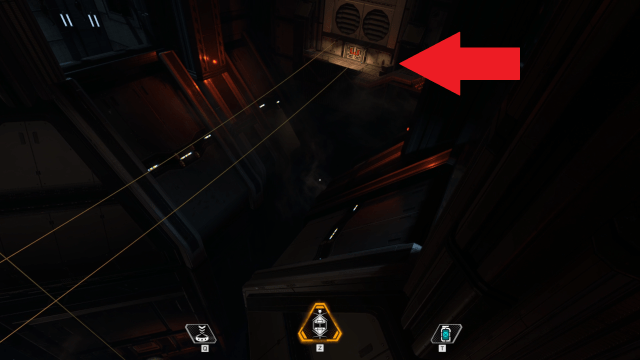
When you’ve reached the door, use whatever keybinding the prompt will ask to use the Hammond Datapad to open the door. Head through this door to open a second larger door.
Room with the moving columns and fans
After heading through both doors, ascend the staircase, as shown in the video below. You’ll see a series of columns that move across flat platforms. Use your translocator to hop across the first two platforms, after which you’ll need to leap to a ledge that lies beneath a fan on the wall to your right.
From this ledge, look across the room. You’ll see another fan that’s moving slow enough for you to be able to crawl through it. Aim your bracelet at this ledge and follow its path forward.
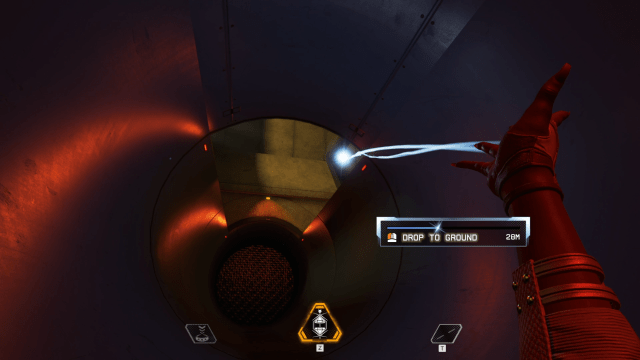
It will lead you through a series of tunnels that resemble a red slide. Slide down this path until you see an opening at the top, as shown in the image below. From there, use your translocator to leave this tunnel system.
Final room with Revenant’s head
At last—you’ve reached your destination.
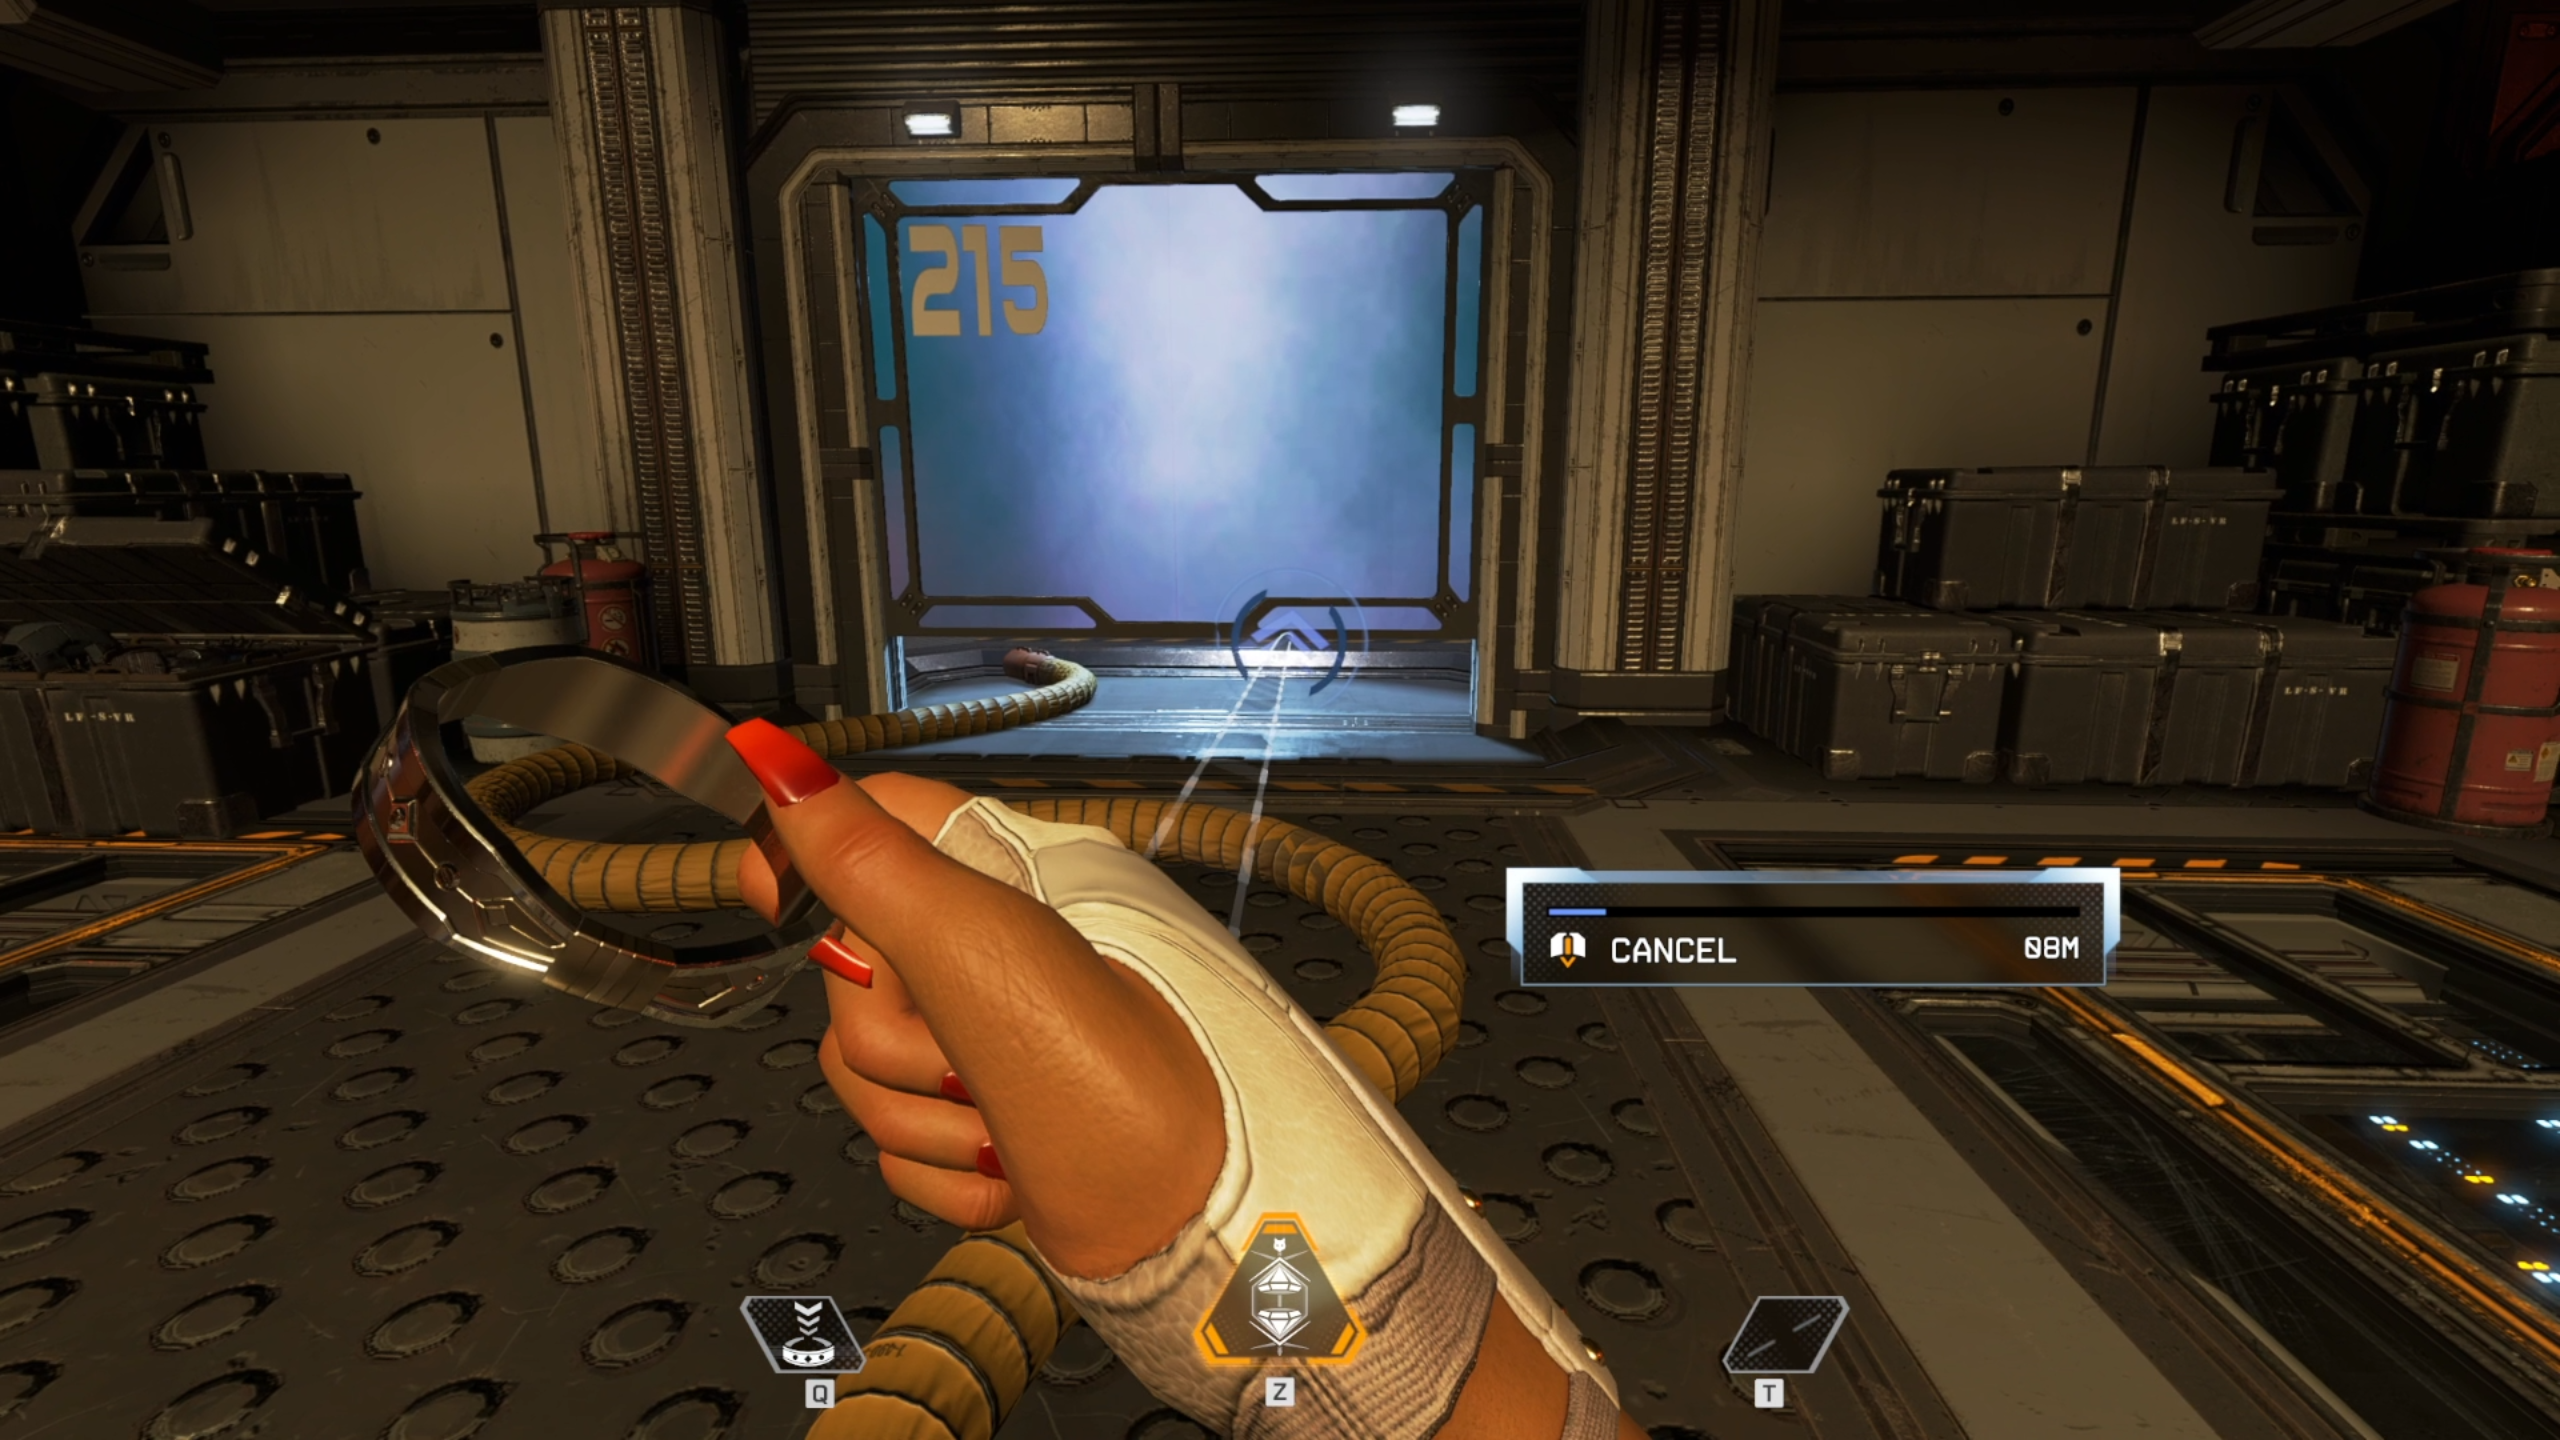
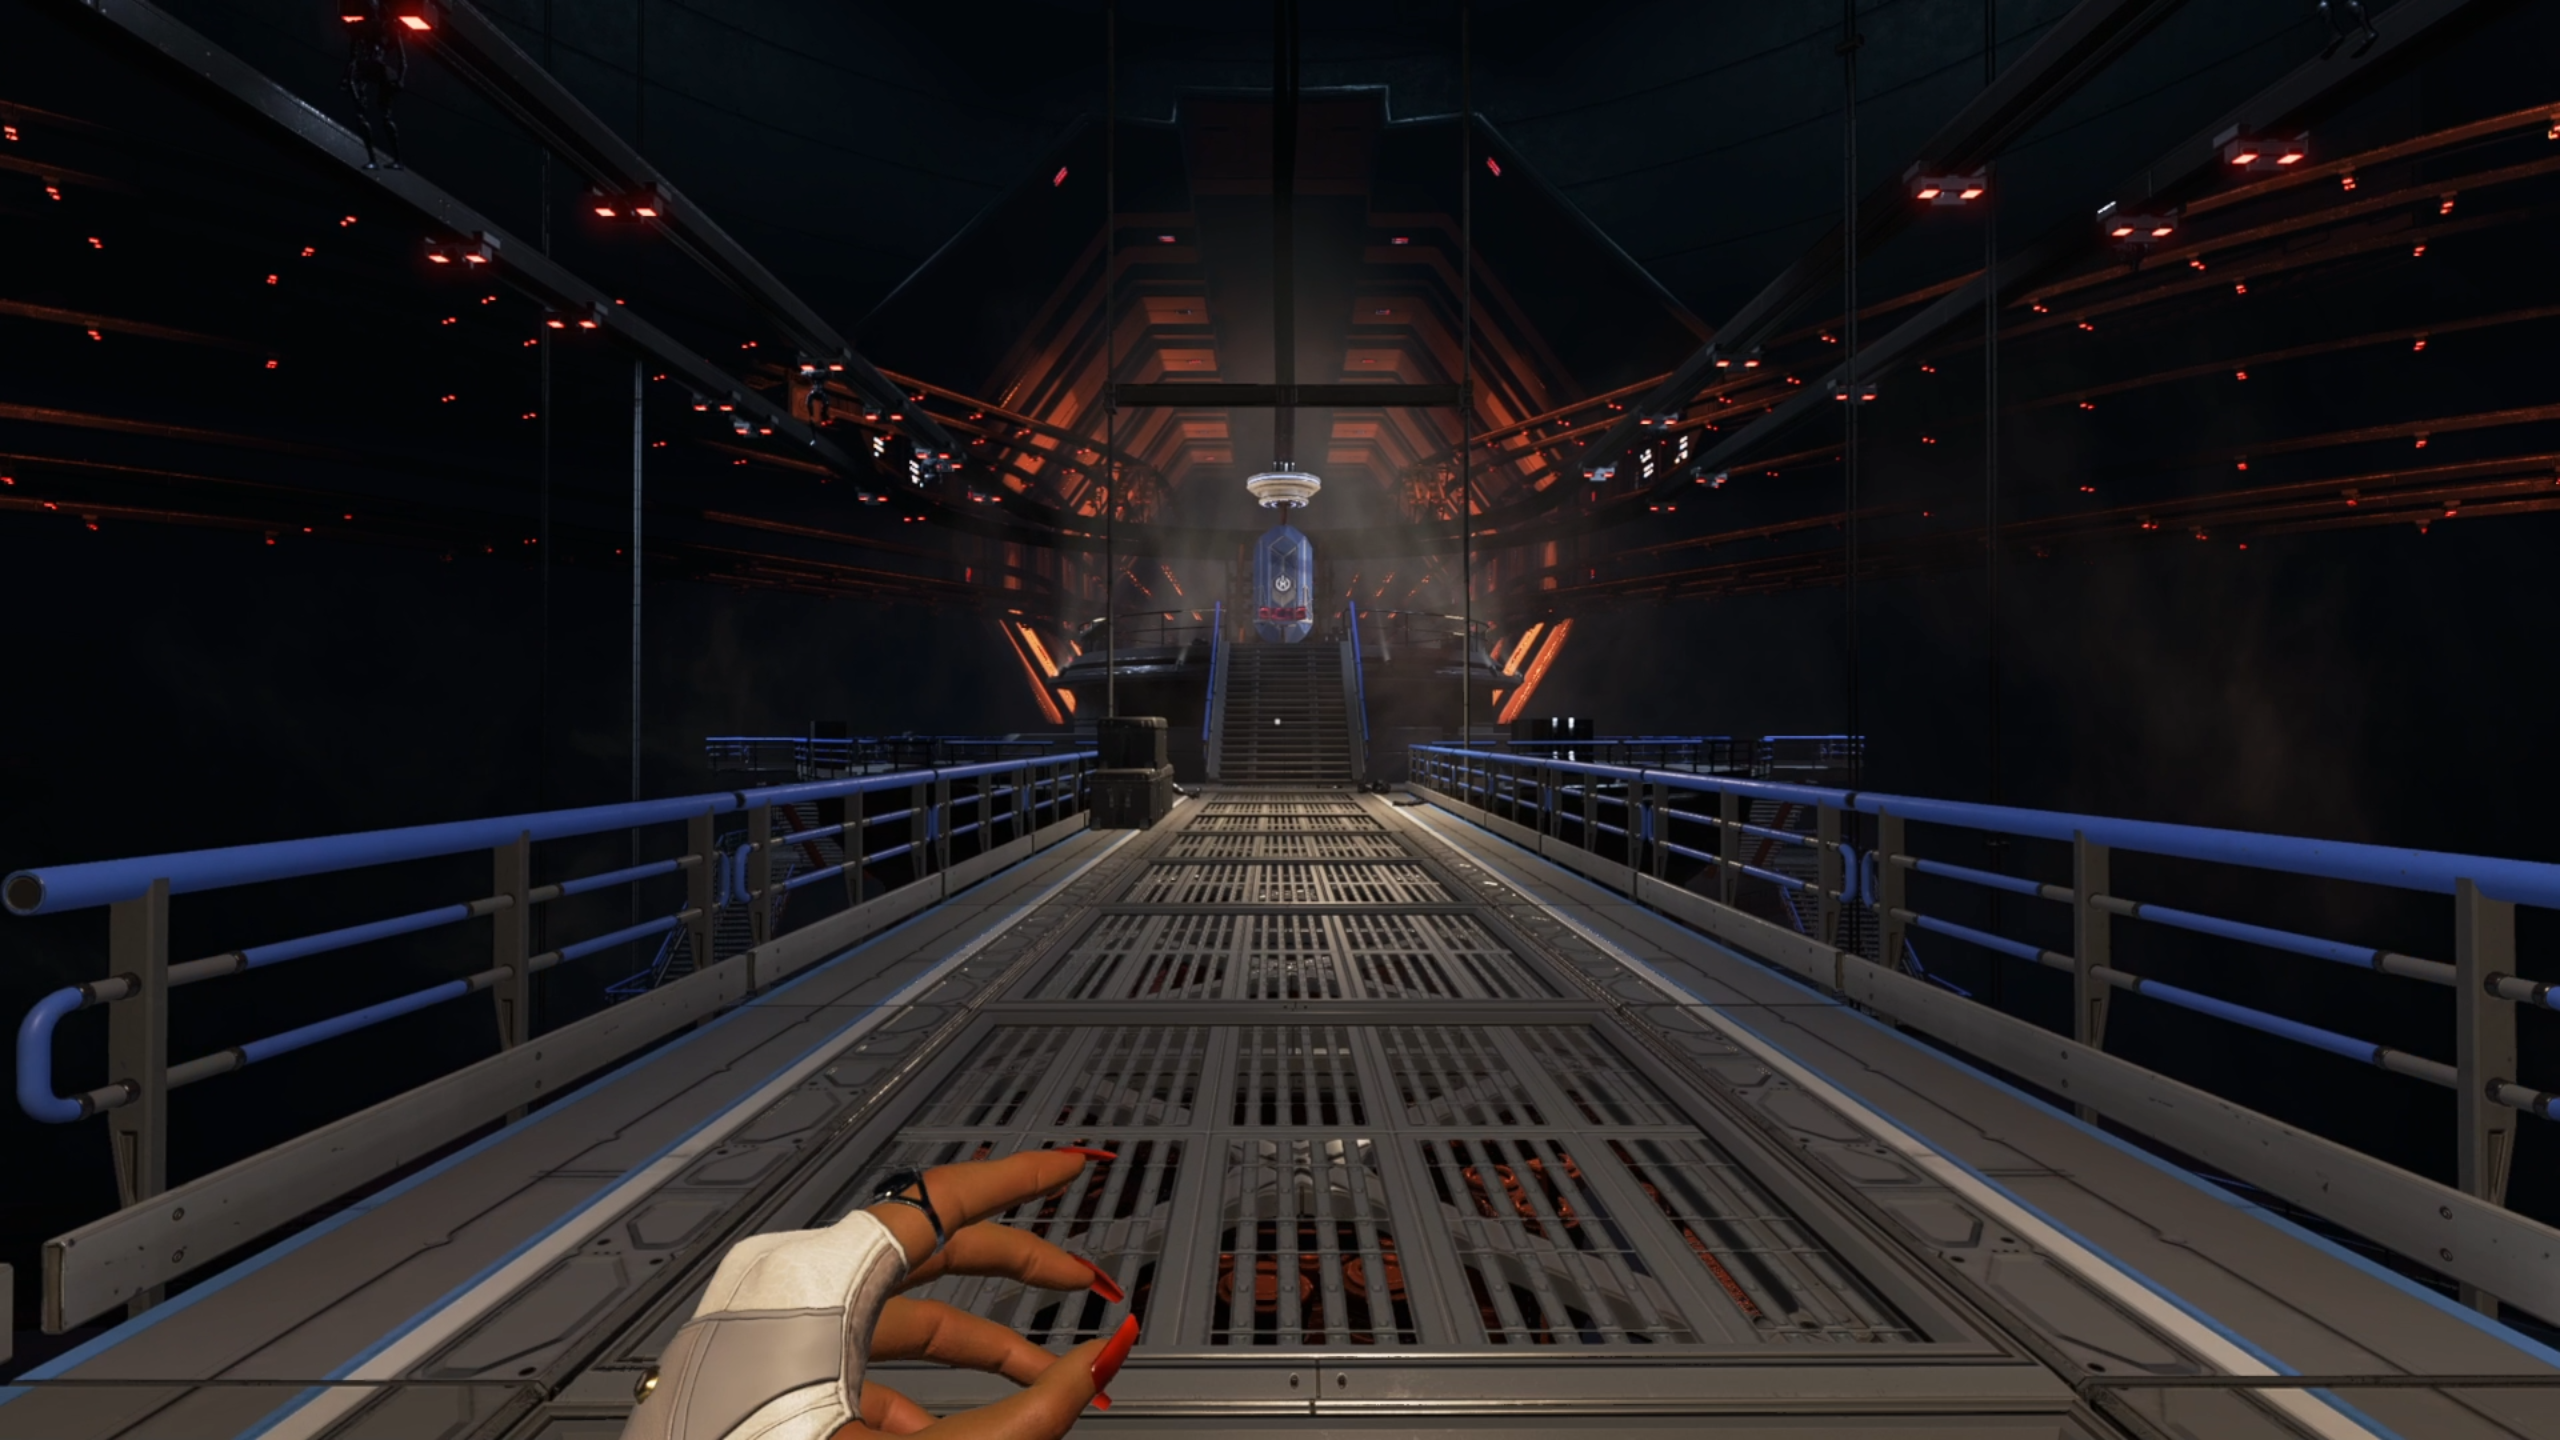
As you exit the tunnel, you’ll enter a small room. Head up the stairs, and you’ll see a blue door with “215” in big blocky letters. Throw your translocator under the door one final time, and follow the giant, open walkway to the terminal in the middle.
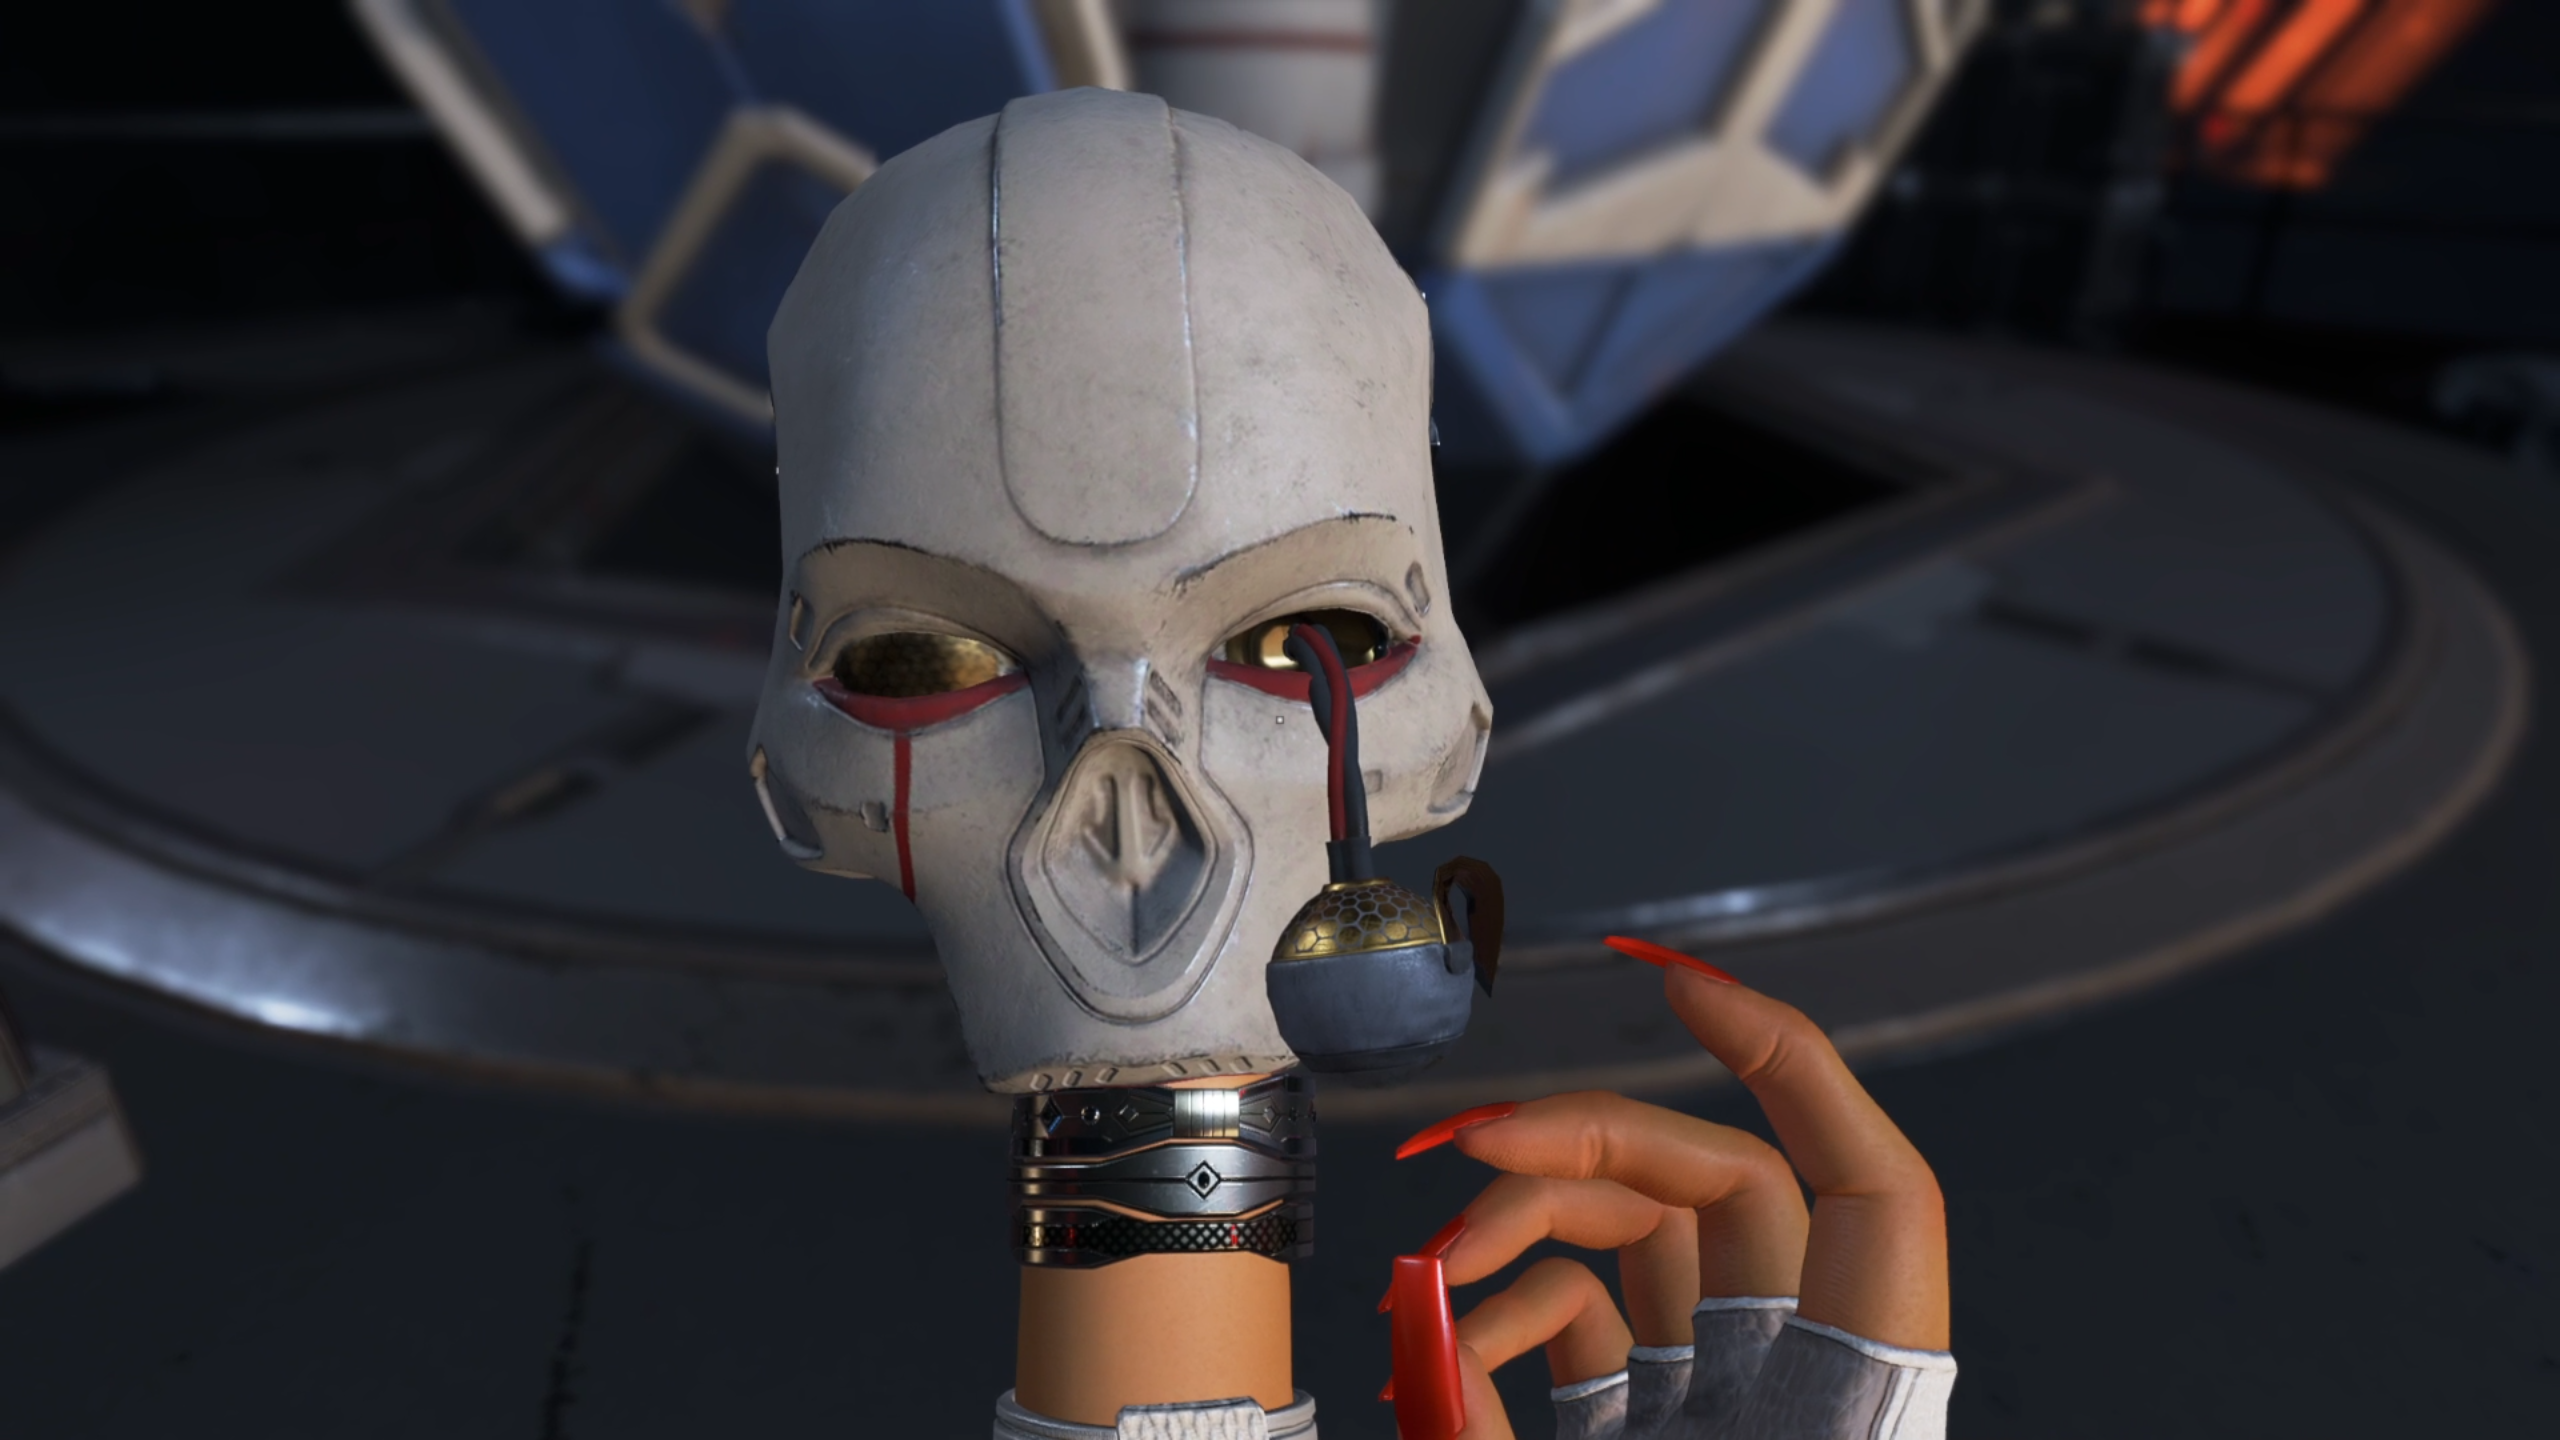
Once you’ve reached the terminal, you’ll be able to interact with it. From there, a final cutscene takes over. Loba states that someone used the terminal recently and “took something.” She implies that it was Duardo Silva, and after interacting with the terminal, the glass panels move to reveal an empty space. The terminal will sound an alert, and Loba will find Revenant’s head with a mechanical eyeball hanging out its socket. She’ll then grab the eye, and the cutscene will end, sending the player back to the lobby.
Related: All leaked Revenant Reborn abilities in Apex Legends


Published: Jul 22, 2023 02:06 pm