High Price to Pay is a main Starfield storyline quest for the Constellation faction that contains major implications for several of your companions.
You will need to make a choice between defending the Lodge or the Eye from the still-unknown Starborn threat.
This Starfield guide contains story spoilers.
The ultimate choice in High Price to Pay will be between saving one of two companions, though the companions at risk will vary depending on your playthrough. While the companion you have the highest reputation with will be at the Eye, your lowest reputation companion is stationed at the Lodge, forcing you to make this choice.
In my first playthrough, Sarah Morgan went to the Eye while Sam Coe remained at the Lodge, though this might be different in your specific playthrough.
How to complete High Price to Pay in Starfield
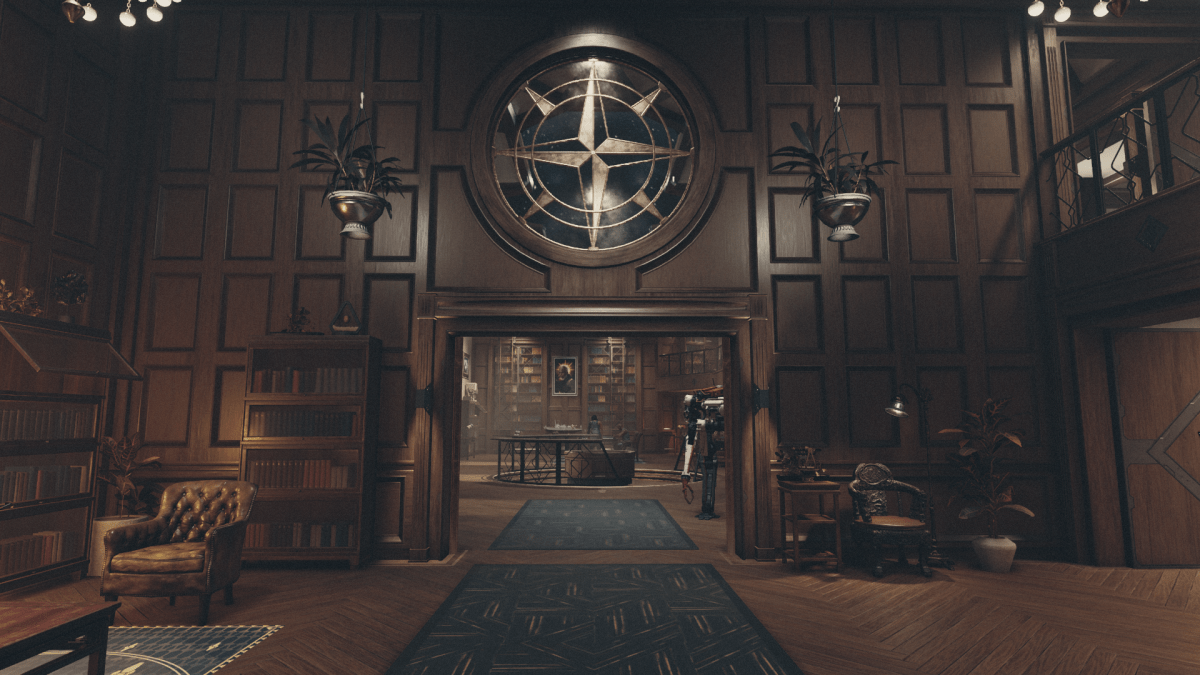
After completing the No Sudden Moves mission and retrieving the Artifact from Petrov on the Scow, you will be urged to return to the Lodge to place your Artifact.
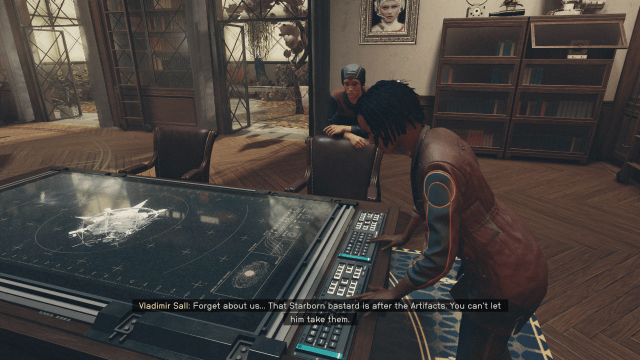
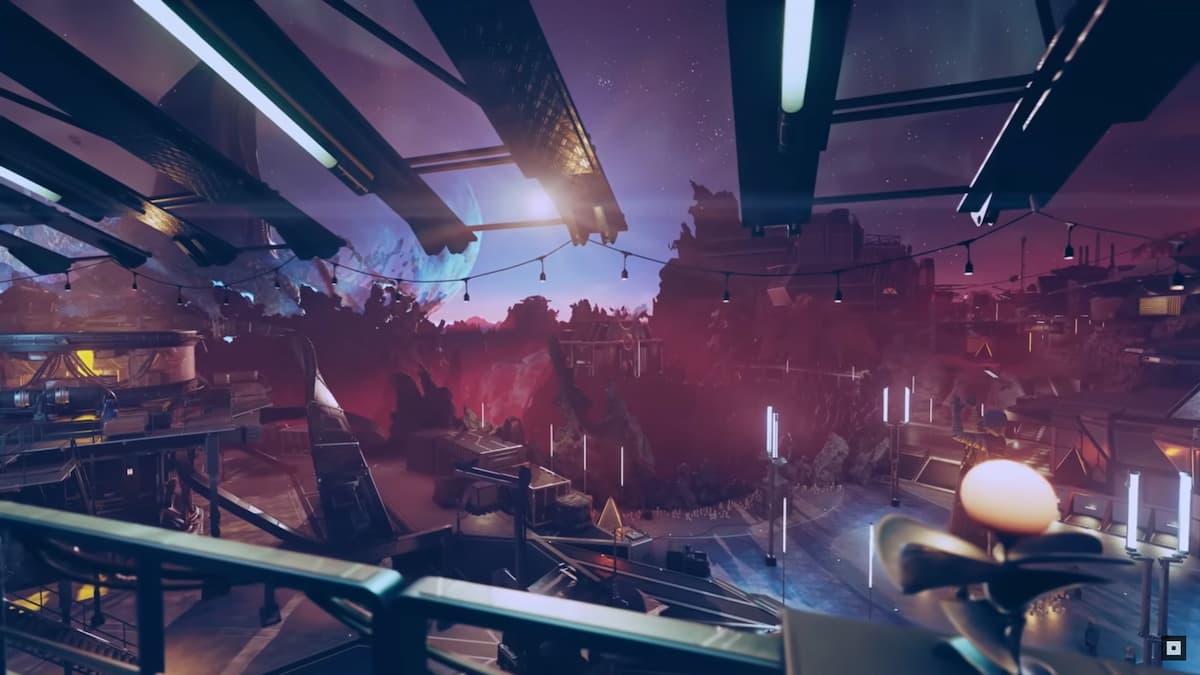
By the time you reach the Lodge, Noel has received news about an attack on the Eye by the mysterious Starborn known as the Hunter.
The Hunter warns you and your companions he is coming for the Artifacts at the Lodge, leaving your allies in the Eye in critical condition. From here, you will have two choices; either to remain at the Lodge and defend your Artifacts from the Hunter, or venture to the Eye to provide aid to your injured allies.
Option one: Go to the Eye in Starfield
If you want to save your favorite companion (or at least the one you have spent the most time with thus far), you will need to go to the Eye. To do this, you will need to leave before the Lodge is boarded up. The companion you have the lowest reputation with, in my case Sam Coe, will plead with you not to leave, though you still can.
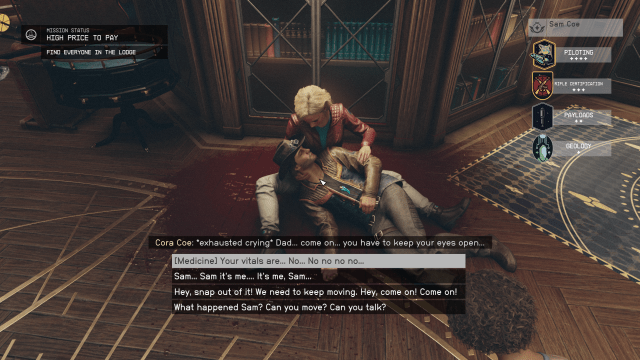
Once you dock at the Eye you will see your injured companions strewn around. You need to interact with each fellow Constellation member before you are allowed to return to the Lodge to see the aftermath of the Hunter’s attack.
In my playthrough, this allowed me to save Sarah Morgan.
By the time you arrive, the Constellation member with the lowest reputation will already be dead, but Noel has escaped with all your Artifact pieces. Here, both choices converge and you will help Noel escape New Atlantis with the Hunter on your tail.
Option two: Remain at the Lodge in Starfield
Your second option will be to forsake your highest reputation companion in order to protect the Lodge and ensure the safety of the Artifacts. To do this, you need to remain at the Lodge. The Hunter’s attack will start after Walter Stroud has been strangled unconscious.
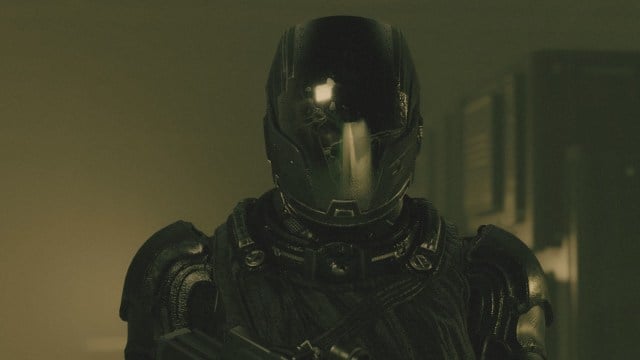
If you select this path, you fight off the Hunter while Noel gathers pieces of the Artifacts and escapes into the Well. You will not be able to kill the Hunter, as each time his health bar is almost depleted he will teleport to another location with full health.
After you escape New Atlantis alongside Noel with your Artifacts, you will be directed to the Eye where you will see your favorite companion has been killed. The rest of the Constellation members will escape with injuries, though alive.
What choice should you make in High Price to Pay in Starfield?
Given you might have an affinity toward the Companion you have spent the most time with up to this point in Starfield, I’d say go to the Eye. No matter which option you select, Noel is successful in gathering the Artifacts and escaping from New Atlantis.
If you elect to defend the Lodge, you will get a fairly powerful weapon from the Hunter after you survive, though again, this will come at the price of your favorite companion. Once this choice is made, there is no reviving the fallen Constellation member, of course, unless you load to a save point or start another playthrough.


Published: Sep 6, 2023 06:12 pm