Path of Exile 2, drawing heavily from FromSoftware’s titles, has some pretty tough boss fights. But it seems players have been struggling the most with a particular enemy in the game’s second Act: Jamanra.
Jamanra, the Abomination is undoubtedly difficult, with burst damage that can kill you in a second and rapid-fire attacks that are challenging to dodge, to say the least. So, if you’re one of many struggling to beat the final boss of Act Two in PoE 2, here are our tips and strategies to help you overcome this challenge.
Jamanra, the Abomination boss guide in PoE 2
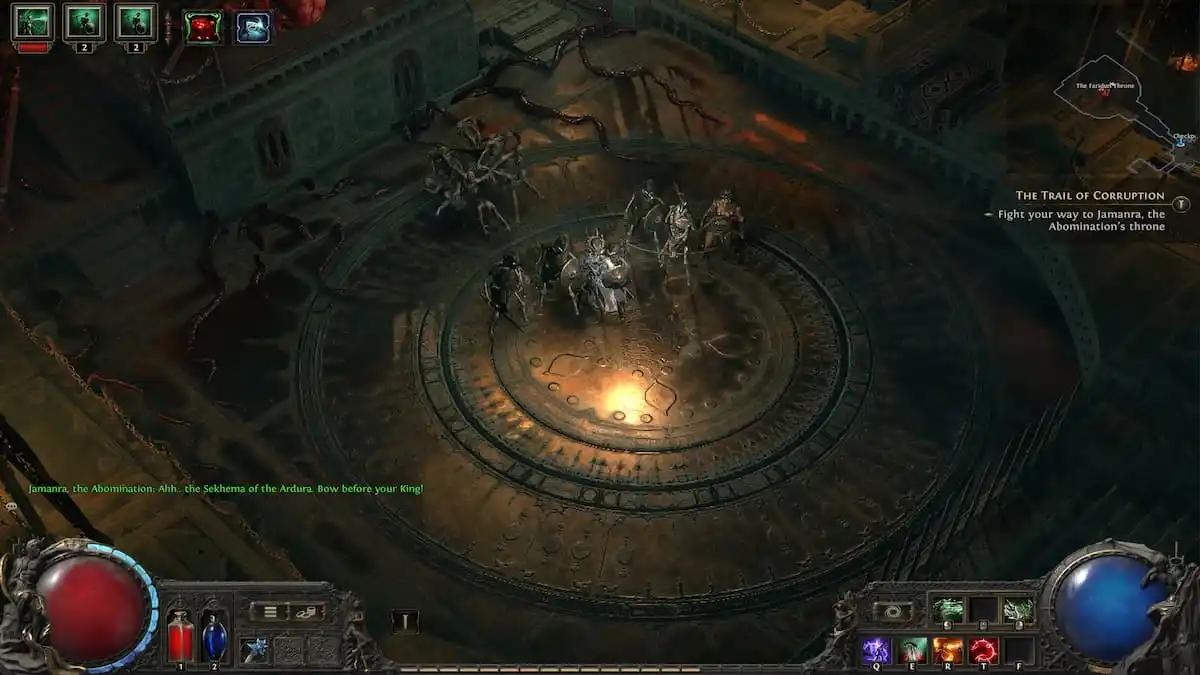
Jamanra is the final boss of the second Act of PoE 2. He is first introduced to players earlier in the Act when the player and the Sekhemas lay siege to the Halani Gates. This first fight between Jamanra and the player is short and uneventful, as the boss leaves mid-fight and summons a massive sandstorm, blocking their advance forward. Jamanra does not reappear as a boss fight until the very end, which is when he turns from The Risen King into The Abomination.
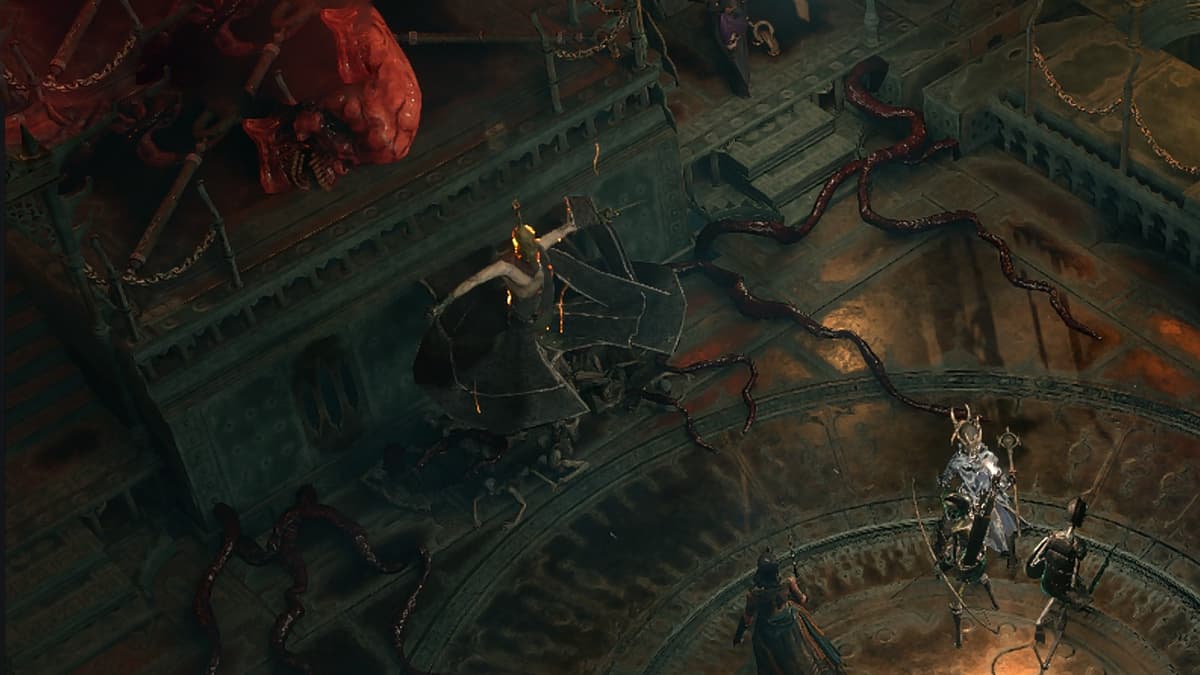
In his Jamanra, the Abomination form, the boss sports a wide variety of attacks, including a lightning bolt, two spires spawning lightning between them and chasing the player around the arena, as well as exploding and dealing massive damage in a huge area of effect covering most of the arena. He also has a ton of HP in his first phase, with the second one being a lot more manageable. Here are some tips and strategies that might help you defeat this boss and proceed to the third Act.
Embrace the power of rolling
Similar to Soulslike titles, PoE 2 gives the player a roll with invincibility frames (i-frames) that help them dodge and mitigate damage coming their way. Your best bet for avoiding Jamanra’s first attack (the AoE explosions that will almost certainly one-shot you if you do not roll away or dodge) is to roll with all your might. A proper roll might completely mitigate the explosion damage, though you will still likely be caught in the subsequent ones, which is fine. As long as you avoid at least one of them, you will live to fight another day. Rolling is also your best friend if you’re playing a melee class like the Warrior and have to be up close and personal with Jamanra, who has sweeping and shocking attacks at close range as well.
Exploit his weakness to cold damage
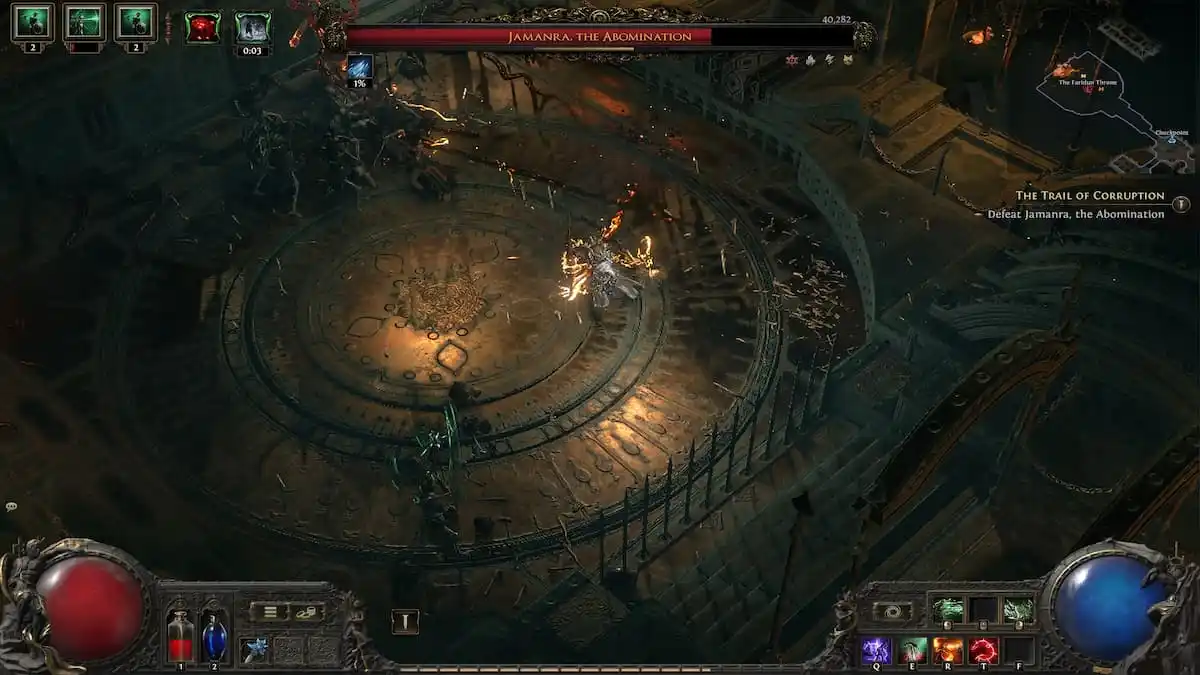
Jamanra is slightly resistant to fire and lightning, and is quite bulky in his first phase with tons of HP and defenses. He is, however, vulnerable to cold damage, which you should exploit and utilize for maximum damage output. Over the course of your progression you may have picked up some Jewels and Runes that grant cold damage on spells and attacks or amplify them. Frost Sorceresses and Monks will have a field day using their many cold attacks to decimate Jamanra’s healthbar. Spells like the Witch‘s Vulnerability can also significantly reduce Jamanra’s defenses and make him susceptible to all sorts of damage, not just cold.
If you do not have the passives that amplify cold damage but can obtain them, you can visit the Hooded One to respec—but bear in mind that this costs a ton of gold, so come with the cash ready.
Keep a good distance if you’re ranged
I beat Jamanra using the Witch with the Blood Mage Ascendancy, using my minions as fodder and bait while I blasted his health bar with the Bonestorm spell from a safe distance. The occasional roll and run tactic is necessary, but Jamanra’s first phase quickly ends due to the stacking damage. I suggest you opt for a similar strategy with other ranged classes, too, using frost damage to whittle down his health bar bit by bit, making sure to be at a good position once he decides to use those explosions again.
For melee characters, you might even be better off, especially as the mobile Monk who can utilize Jamanra’s downtime when he uses certain attacks to beat him senselessly.
Spam your healing potion
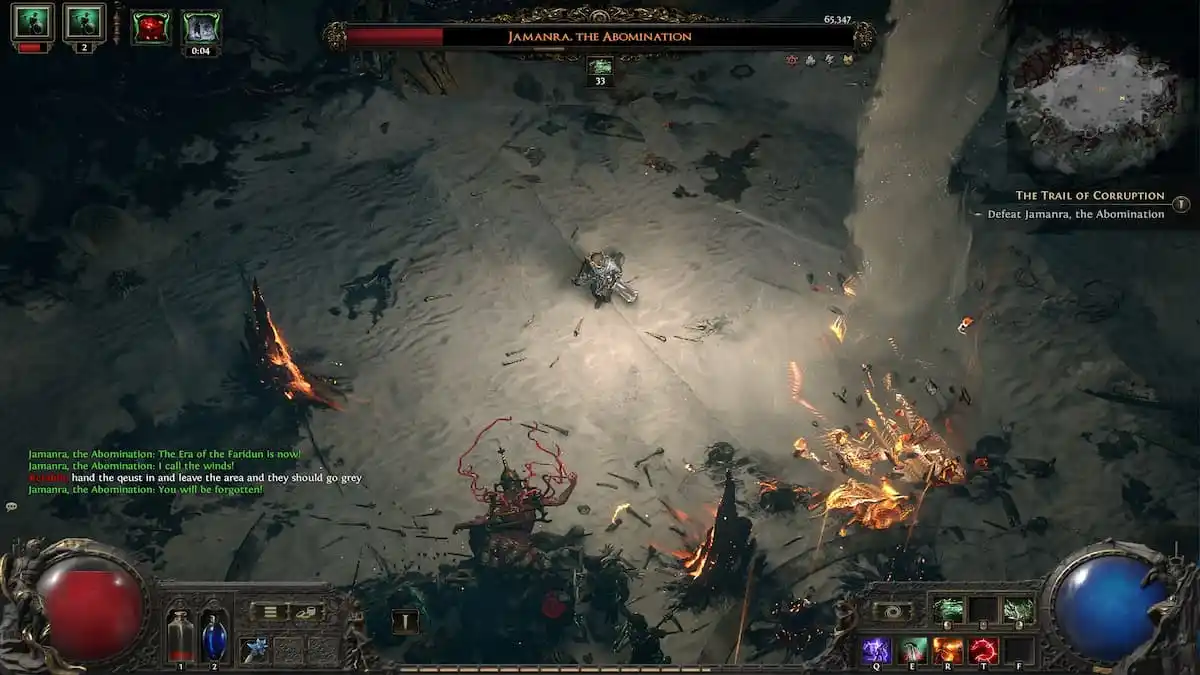
Jamanra’s attacks are constant and restless, and you should always keep your finger on that health potion key to ensure you survive them. If you have a buffed health potion that increases the amount healed, or perhaps grants part of the healing instantly, you should have little trouble surviving most of his attacks, even in phase one. In phase two, Jamanra does spawn a ton of ads, such as the lightning rods mentioned above, alongside two tornadoes, among other effects. However, only his melee slash is troublesome here, so as long as you have enough potion charges and are able to spam them, you shouldn’t fall to these effects of his (but beware that slash! especially if you’re melee).
When the wind comes, run to Asala
Many players are being destroyed by Jamanra’s unstoppable wind attack that sets your healthbar to zero within the blink of an eye. The counter to this is your Sekhema companion, Asala, who conjures up a wall that prevents the sandstorm from hitting you. Keep an eye out for her and her wall and hide behind it. You can also attack Jamanra while hiding behind the wall, as he will be immobile until the sandstorm ends.
Stack lightning resistance
Lots of Jamanra’s attacks, especially his most powerful ones, rely on lightning or shock damage. If you can stack a ton of lightning resistance, you should be able to tank most of his attacks, though they will still be deadly and you shouldn’t lose track of attacks because you have better defenses. If you lack the items, go to the other zones again and try to farm up something useful, craft new items and imbue them with magical affinities, or simply respec in that direction if you are able via the Hooded One. Anything will help with this challenging encounter, especially if its defensive.




Published: Dec 9, 2024 12:32 pm