Your journey in Terminal Escape Room continues in chapter 5, and the location of Leisterez continues to throw up new areas filled to the brim with puzzles and precarious life-or-death situations. If chapter 5 is proving too difficult or there’s a puzzle you’re stuck on, we have the answers.
We’ve already battled through a carriage, train station, elevator, underground facility, and science laboratory, but we’re not done yet. Terminal Escape Room chapter 5 introduces the next part in the long-running Roblox series, and there are a bunch of new brainteasers to crack. Here’s hoping your brain doesn’t crack first!
Before we get into the guide, check out complete walkthroughs for Terminal Escape Room‘s other episodes if you haven’t already: Chapter one, chapter two, chapter three, and chapter four.
How to complete Terminal Escape Room chapter 5

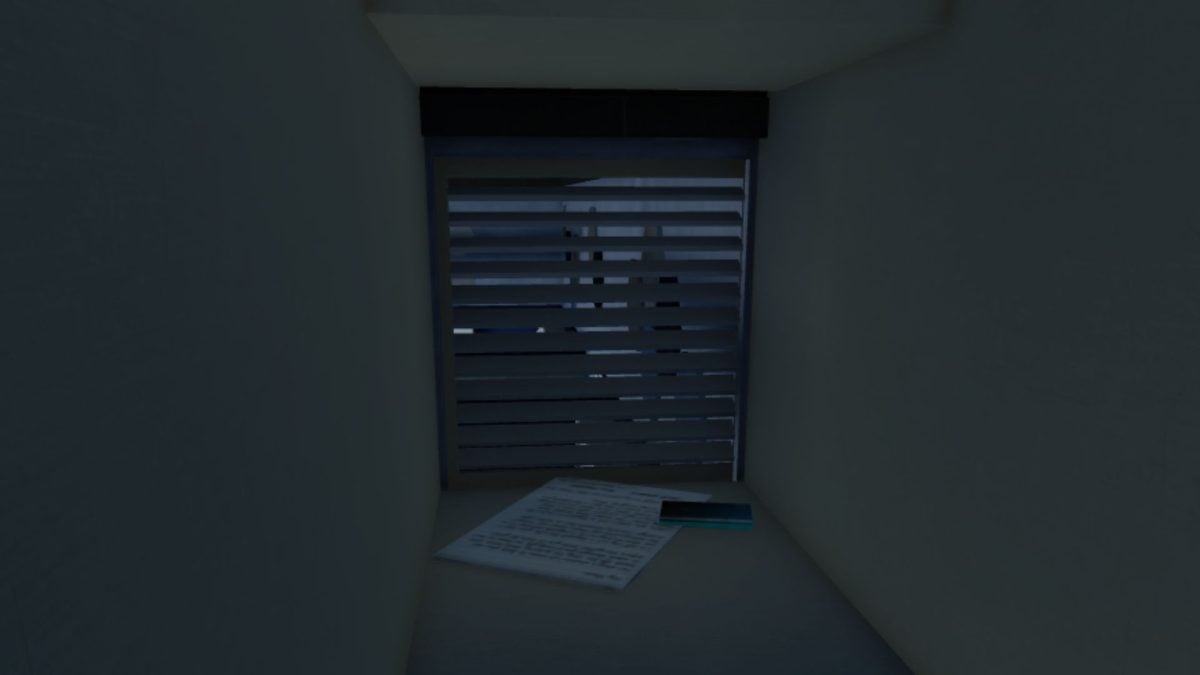
You carry on from where you left off in Terminal Escape Room chapter 4—in a vent. As earlier chapters have shown, not every puzzle replicates the same results, so my data and answers can vary widely from yours. However, I will break down every puzzle so you can follow the method and provide my answer from time to time—you never know; there’s a chance it works for you, too!
Pay attention to each puzzle and step, and I can get you over the line ready—presumably—for Terminal Escape Room chapter 6 in the future.
Office locker puzzle solution
- Grab the keycard next to the sheet in the vent.
- Note down both the “UserID” and “Pass” details.
- Walk forward, exit the vent, and enter an office space.
- Immediately to your left, after dropping down, is a computer: Press to interact with it.
- Enter the UserID and Pass you found from the sheet in the vent.
- We need two different sets of details hidden in these emails: New login details in the form of different “UserID” and “Pass,” as well as a locker code.
- Firstly, sift through the emails and find the new login details: Mine were “UserID: nehadksn” and “Pass: KRAsnw22.”
- Step away from the computer, and re-enter the new login details to access the different users’ emails.
- Check all the emails related to swapping lockers, and a member of staff should indicate they want a locker swap, and provide you with a new set of login credentials: “UserID: tslade” and “Pass: 3bw1rwxx.”
- Log out and back in again with the third set of employee details.
- Click on the “Onboarding Puzzle” email and scroll down to the puzzle below.
- Use the keycard on the Kitchen door and enter the room.
- Grab the Cloth wrapped around the oven door handle.
- You now need to find the right mug in the office, and for us, the only mug not amongst the nine in the puzzle was a mug with the black dot on its left-middle section.
- Find this mug in the room, equip the Cloth, and press to “Collect DNA Sample.”
- Head on over to “The Locker” door and use the keycard again.
- Enter the room, and use the DNA on locker 27 (the email said so) to open it—allowing you to grab the Level 2 keycard.
- Go back to the main office and open up “The Testing Room.”
Directions puzzle solution
- A particular sheet in the room explains the principle of the directions puzzle solution, and there’s another sheet close by showing an unsolved direction puzzle where you need to pick the shortest possible route to the Subway Station.
- Again, my solution might be different from yours, but you need to change direction as few times as possible, as doing so requires three times as much energy and is considered inefficient.
- From my starting point, I went West, North, East, North, East, North, and finally West.
- Go over to the keypad featuring a compass and direction.
- Type in: W, N, E, N, E, N, W (directions shortened to their first letter) and press Enter.
- Collect the four tubes of balls that appear to your left.
Virus puzzle solution
- First, find the sheet saying “Patient File” and write down the name of your patient: Mine is “Jenny Dune.”
- As Jenny was contagious before 8:00, we need to find the chart documenting where Jenny Dune went through the course of their day.
- The chart shows 30-minute time periods and their location during this window.
- You now need to compare Jenny’s data with everyone else’s to see if anyone else was in the same location as Jenny during any of the 30-minute windows—if they were, write their name down.
- Once you have deduced the names of everyone who has been in contact with Jenny (and has therefore been exposed to the virus), go over to the interactive wall, which shows everyone’s names and a heart symbol.
- Click on the heart symbol for anyone you think has been infected, flipping the switch from a heart symbol to a virus picture.
- When you’ve picked the right ones, the red light for the locked box turns green, and you can collect the second set of balls.
Tune Your Radio puzzle solution
- One of the TVs with bright green screens tells you, “Transmissions are encoded based on the letters that start each sentence. These starting letters spell out a message.”
- Go over to the other bright green TV screen and use this logic to solve the puzzle.
- First, pick out all the letters starting each sentence—I got ELTREI.
- Mine also mentions circles, triangles, and hearts in that order.
- Find the group of TVs with different words and number frequencies on them, and click on the TV with the word you got—again, I found the TV with “ELTREI” on it.
- Now, the order your TV mentions plus, diamond, stars, circles, triangles, lines, hearts, or squares is the order they first appear in the solution.
- For me, circle is first, meaning the first digit is nine, a triangle is next, so number six, and the heart is last—number eight.
- This makes the remaining character the final digit, giving me a code of 9682.
- Enter your code into the keypad on the wall and take the final lot of balls in tubes.
Colored balls puzzle solution
- Walk over to the test tubes in the middle of the room and press to “Mix” them.
- Swap all the balls around in each tube until you end up with four balls of the same color in each test tube.
- You can get there through trial and error if you keep swapping them around long enough, and there’s not much else I can say other than to keep persevering with it.
- Once you have mixed the tubes correctly with two tubes left empty, the puzzle is complete, and you can collect the Level 3 keycard.
- Go back to the main room and open a new door requiring the new keycard.
Wires puzzle solution
- Venture out into the bigger area now and find and enter “The Electrical Room.”
- Walk over to the large electrical box with colored wires and solve the puzzle.
- Again, all the instructions are clearly labeled for you, and it’s a case of trying your best on the first attempt and cross-referencing with the guidelines on the left to see where you’ve gone wrong.
- Complete the puzzle, exit the setup, and go to the left of where you are to enter a vent.
Camera puzzle solution
- In the new room, pick up the bag on the floor.
- Head back through the vent to the room with the colored wires puzzle.
- On the interactive screen, which states “Heating turned off for,” you need to click on the “Next” button until it says “The Surveillance Room” and jump back into the vent.
- You should see a blue screen in the room documenting an “Automatic System Restart” error, whereas another blue screen tells you how to recalibrate the system.
- Each camera shows a mysterious figure in each camera shot who has been around every room/chapter you’ve had to solve in Terminal Escape Room so far and has been setting up these elaborate puzzles.
- If you follow the screens, it shows the character working their way through the puzzles in order, and the objects they’re holding connect each screen to the next.
- This feels like a universal puzzle, so if you can’t figure out the order, try this sequence for the code: 6, 11, 5, 7, 9, 10, 8, 12, 2, 3, 1, 4.
- You should now see a new message on the screen saying, “Camera 00 is now online.”
- Check the camera and note down the code it displays—I got “40481.”
- Head back through the vent.
Vault puzzle solution
- Once you re-emerge, switch the screen to say “The Vault,” and make your way back into the vent.
- Go to the keypad.
- Enter the code from earlier: “40481.”
- Open the vault door.
- Go inside and grab the blank keycard on the floor.
- Travel back into the vent.
Ladder assembly puzzle solution
- Leave the wires room and go into the “Interns’ Quarters.”
- Log onto the starting computer using “UserID: tslade” and “Pass: 3bw1rwxx” again.
- Find and click on the “Keycard Security Issues” email.
- It tells you who has clearance to print Security Keycards—which is handy as we need to turn the blank keycard into a Level 4 keycard.
- Note down the surname of who the email is “From,” which for me is “Aotlo.”
- Go back to the vent room.
- Change the screen to say “The Archives,” then enter the vent once more.
- Examine the “Ladder Assembly” poster on the wall, which tells you how to build a ladder.
- Move a bit to your left and press “Build” when prompted.
- A and A, B and B, C and C, and D and D need to have the same look/design/colors—so get this detail right, and it shouldn’t be too hard to fit everything else and match up the corresponding symbols.
- Climb the ladder once it’s repaired.
Level 4 keycard puzzle
- Walk to the end of the platform, read the letter, and note down the name in quotation marks—”Dorothy” for me.
- Read the document next to this one and write down the name of the “Teacher Responsible,” which was “Ms. Potata.”
- Once you’ve noted these two details down, look directly to your left and read the sticky note on the wall.
- I noted down “honey” as being in the jar.
- Exit into the vent, leave the next room, and go to “The Printing Room“—you don’t need the vent for this one.
- Walk over to the printer and insert the keycard.
- Now, you need to go to the computer in the room, use “Aotlo” to sign in, and click “Forgot password.”
- For my questions, I answered “Ms. Potata” for the childhood teacher’s name, “Dorothy” as the imaginary friend, and “honey” as the favorite food.
- Hit to reset the password, and type in a password you can replicate.
- Do this, and you can now log in and click on “Print Level 4 keycard.”
- Take the Level 4 keycard from the printer and go to “The Stairway.”
- Use the Level 4 keycard on the door to “The Chambers” and click “Escape” on the exit inside to complete Terminal Escape Room chapter 5!


Published: Sep 6, 2024 07:20 am