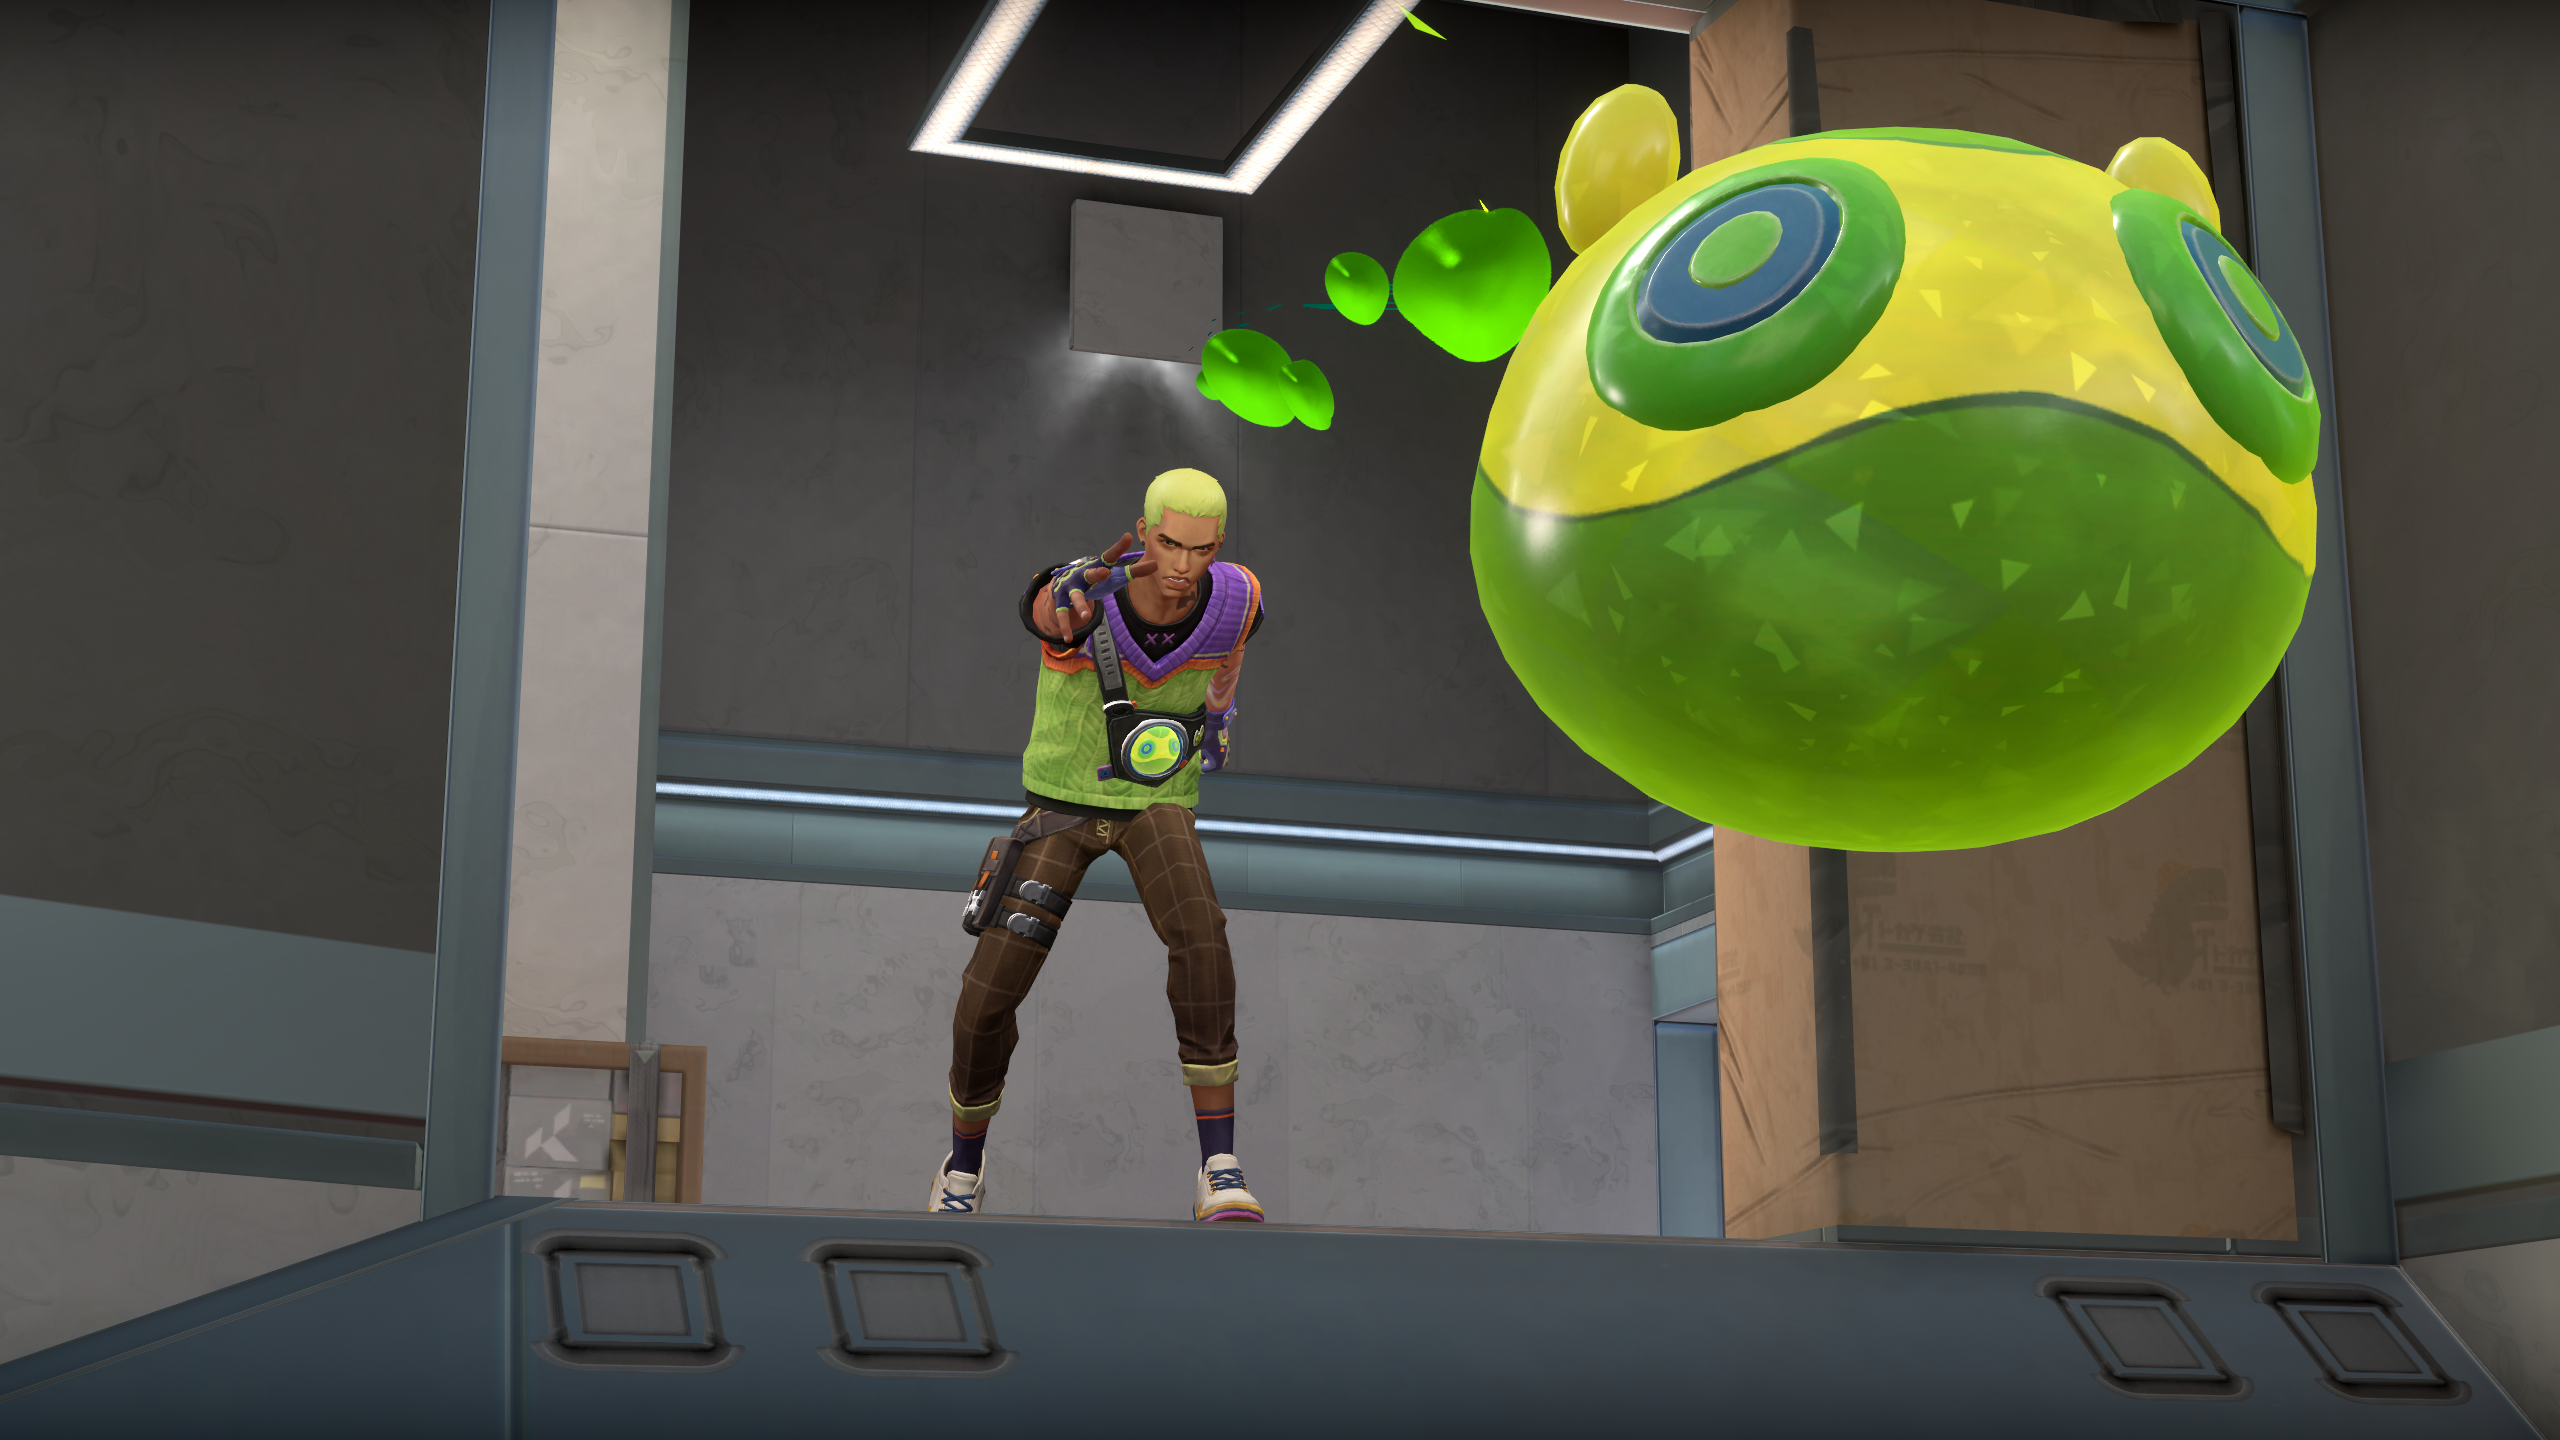
Gekko, the 22nd VALORANT agent and the game’s newest initiator, has a lot of potential when it comes to carving out a solid spot in the ongoing meta. With the capability to blind, stun, detain, he can be impactful on a match no matter what map he’s on.
In general, Gekko’s abilities can create a ton of positive usage across different areas around the entire map pool. Mosh Pit is exceptionally useful for maps with small sites or sites that have multiple hiding spots. Dizzy can blind anyone in it’s line of sight but is susceptible to getting easily destroyed, so long corridors are an ideal place to flash, provided you have a controller who can smoke off angles after using Dizzy so that you can go retrieve it. You’ll also want to throw Dizzy in a way that’s easy for you to reclaim; either straight up, or off a wall so that he glides back to you first.
Related: Best agents to counter Gekko in VALORANT
But there are a small handful of active maps where Gekko can really shine, with Mosh Pit lineups and Dizzy spots that will put your team in the best position to win. Let’s look at some of these maps and look at why Gekko is so dangerous on them.
Best Gekko maps in VALORANT
Ascent

Mosh Pit’s wide radius is extremely useful for clearing out common hiding spots on both sites in Ascent. On B, it’s big enough to clear out pretty much all of Boathouse. On A, it can fully cover the area under Heaven known as Hell, whether the enemy player is hiding on the left or right side.
Additionally, whether attacking or defending mid, there are numerous jump spots to utilize with Dizzy where you throw him high straight up in the air to gather information.
Pearl

There are tons of places on Pearl where Dizzy excels. Players defending the B site from the Elbow location can use the walls around them to bounce Dizzy out to B Long info, which will also guide Dizzy back to you safely. The back side of the A site can also be defended this way.
For attackers, they can get B Long control easily and use the pillar in the middle as a place for Dizzy to end up, so they can easily reclaim him.
Haven
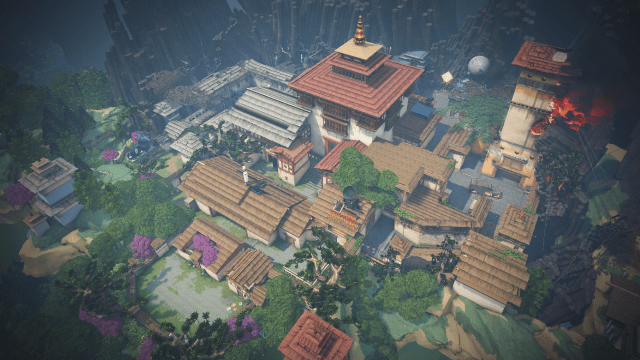
Mosh Pit can be easily used on Haven to clear out areas like C Garage, A Heaven, and A Hell, and it can be thrown from safe spots with simple lineups. Multiple spots on C can also be cleared out with Mosh Pit throws safely made from C Long.
The open skyboxes across Haven also make it a good map for Dizzy usage, as attacking sides can use Gekko to gain information about A Long or mid aggression.
As mentioned above, Gekko can find usage on virtually any map, just remember to use his abilities in a way that retrieving their globule orbs is doable.











Published: Mar 13, 2023 01:54 pm