Killjoy is a versatile agent in VALORANT. When she’s in the right hands, she can single-handedly turn the tide of a game. However, her smart abilities can be challenging to grasp at first.
Her setup is incredibly important before a round starts. That’s when she’ll place her traps and turret to control the entries of sites on a map.
To efficiently play her, players must have a solid knowledge of the map’s corners and hallways. In addition, they must learn her abilities’ range by heart, including her ultimate’s.
Related: Here are Killjoy’s best setups for Icebox
Once mastered, Killjoy is a rewarding agent. Seeing a player fall into your trap and taking them out while they’re distracted is incredibly fun, and she brings high utility to your team.
Killjoy can be played on all maps, although she’s less efficient in long hallways and big maps, such as Split. On the other side, Ascent is the realm of Killjoy. She was everywhere on this map in the 2022 VCT season, with a 94 percent pick rate, compared to a general 28 percent pick rate.
Here are some of the best Killjoy setups on Split.
Best defensive Killjoy setups on Ascent: A site
This is where you have the most options on Killjoy. The agent is incredibly strong on this site and it’s the part of the map that makes her so scary on Ascent in particular.
It’s recommended to spend some time in a custom match to get acquainted with all your options on this site, observing all entries and their corners. It’ll help you decide faster in a real game, and better chose the corner to shoot distracted enemies from.
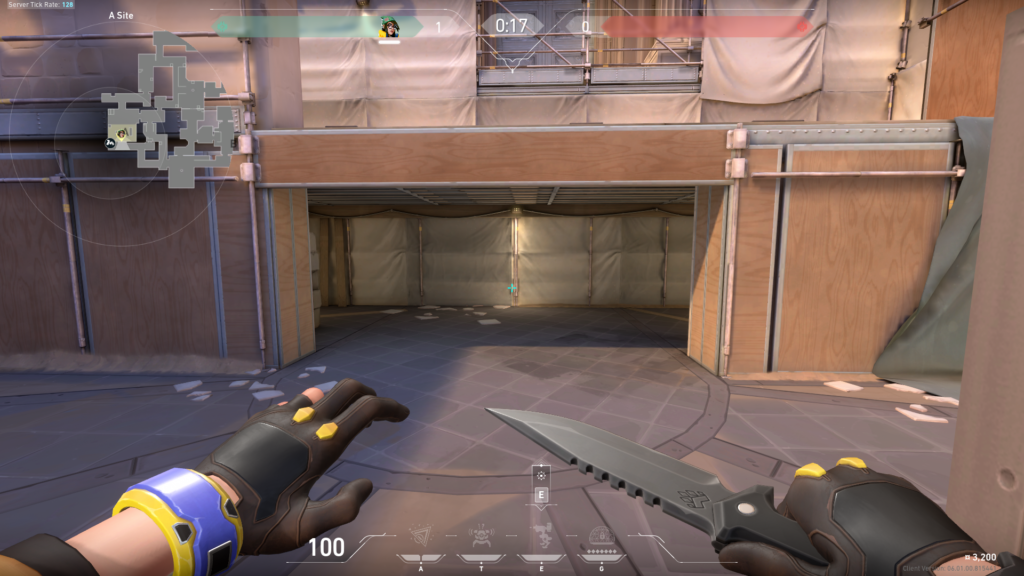
In pistol rounds, Killjoy can defend from the site itself and place her traps and turret in aggressive locations. Later in the game, however, she’ll want to defend from the back of the point: on the top of the back path (shown above), either watching the point or peeking into the hallway on the right. On the image shown above, Killjoy can place a trap in the bottom path if she thinks the team is going to defend from an A plant.
Aggressive defense
Killjoy can place her turrets anywhere on the carts of the point, depending on which corner she wants to cover. Know that the turrets are vulnerable on those points, however.
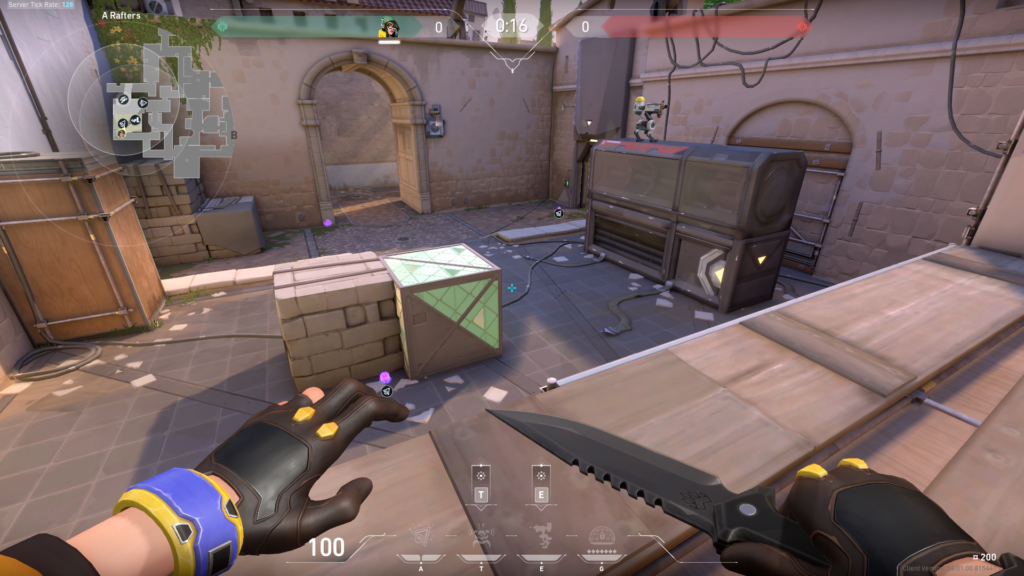
She can cover both entries’ corners by placing Alarmbots on one side. She can then place a Swarm Grenade further into the site, to better activate it from a corner when enemies are pushing.
Safer turret location
As mentioned before, Killjoy will want to defend from the back of the point in critical rounds where opponents have bought rifles, or even a sniper.
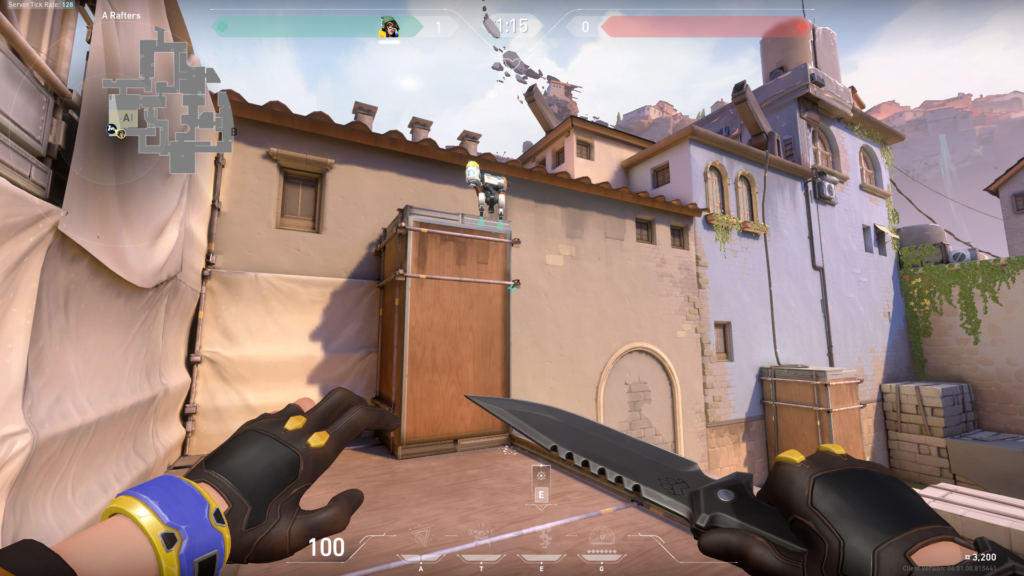
Covering the right entry

She can also watch the right hallway from that position. If you want to defend the right side, place your traps on either vent of the hallway or in one of the entry’s corners.
When enemies will push and you activate a grenade on a vent, you’ll be able to see those from the back position and shoot the distracted enemies. It can be an efficient way to take your opponents by surprise when they’ll expect to counter your defenses on the site itself.
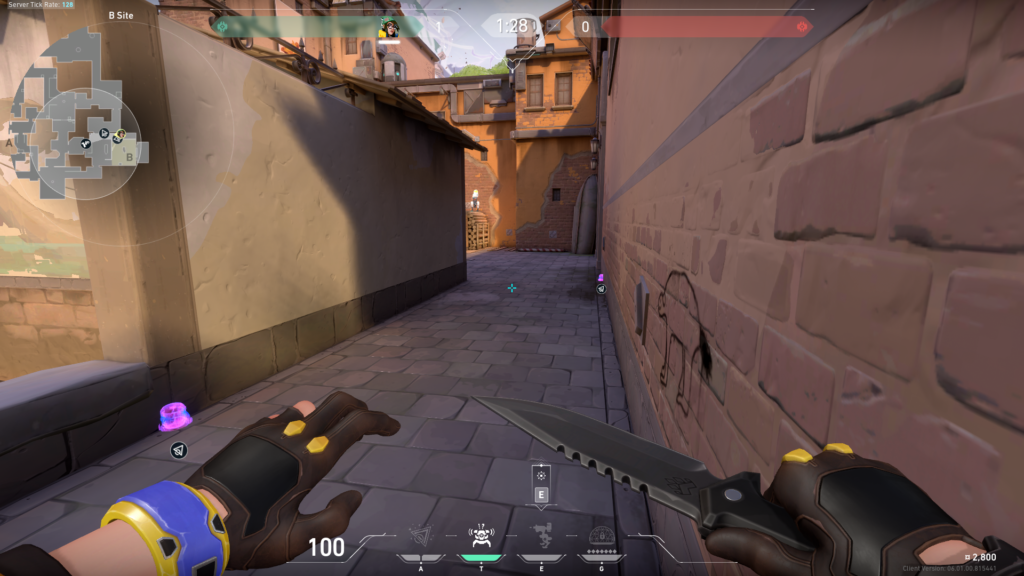
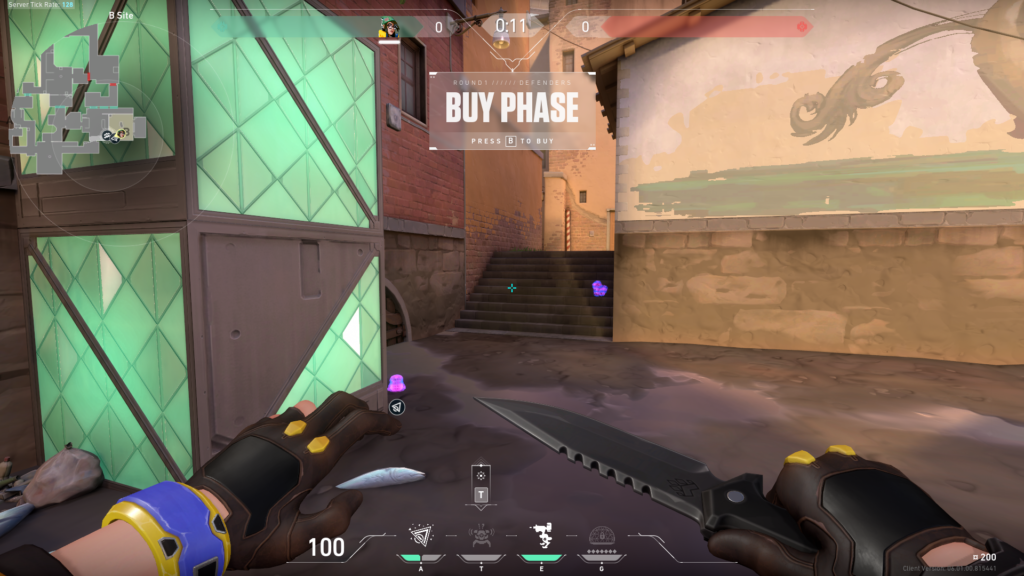
Best defensive Killjoy setups on Ascent: B site
Killjoy’s defense on B site is quite straightforward. Here are some possible setups.
B site’s right hallway is the easiest to defend for Killjoy. She can spot enemies peeking from the hallway with her turret, and then punish them as they push by trapping the whole path with Swarm Grenades.
She can also set up another turret on the site and defend from the back cover if others are pushing from the other side, or if she already activated her grenades. It’s also possible to place an Alarmbot or a Swarm grenade in the middle of the site, as shown above, to disrupt a plant.


Lastly, the left hallway can be covered with an Alarmbot and a Swarm Grenade further toward the point, too.
Rather than focusing on site, Killjoy can also cover B site’s mid hallway. There are a lot of corners where she can punish a push, starting with an Alarmbot near the wide mid area and a Swarm Grenade a little bit further, to know exactly when to activate it for a corner.
The main rule: don’t be predictable
Killjoy can place her traps and turret in tons of different places on Ascent. Rather than finding a favorite setup and repeating it again and again, you’ll want to challenge yourself and be creative by regularly changing your setups.
Whether it’s defending one site and then the other, completely changing which hallway to cover, or simply moving your traps from round to round it’ll be way more effective against opponents. If you become predictable, opponents will destroy your defenses before you can react and you’ll be the one taken by surprise.


Published: Jan 27, 2023 05:51 am