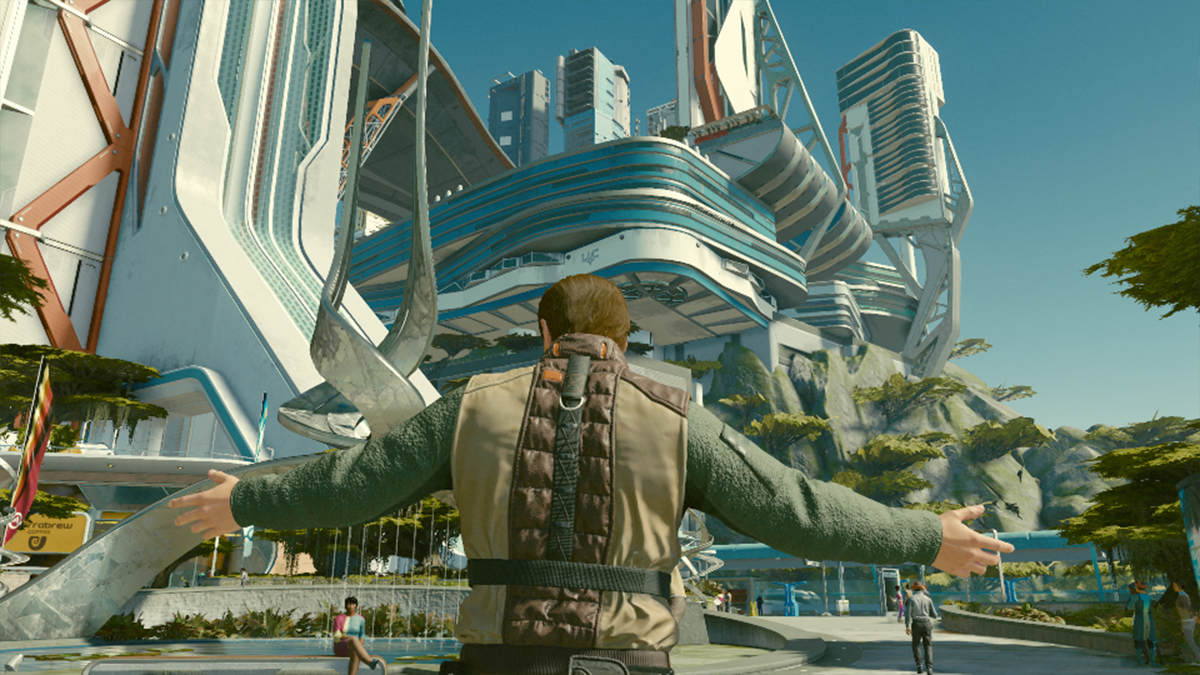
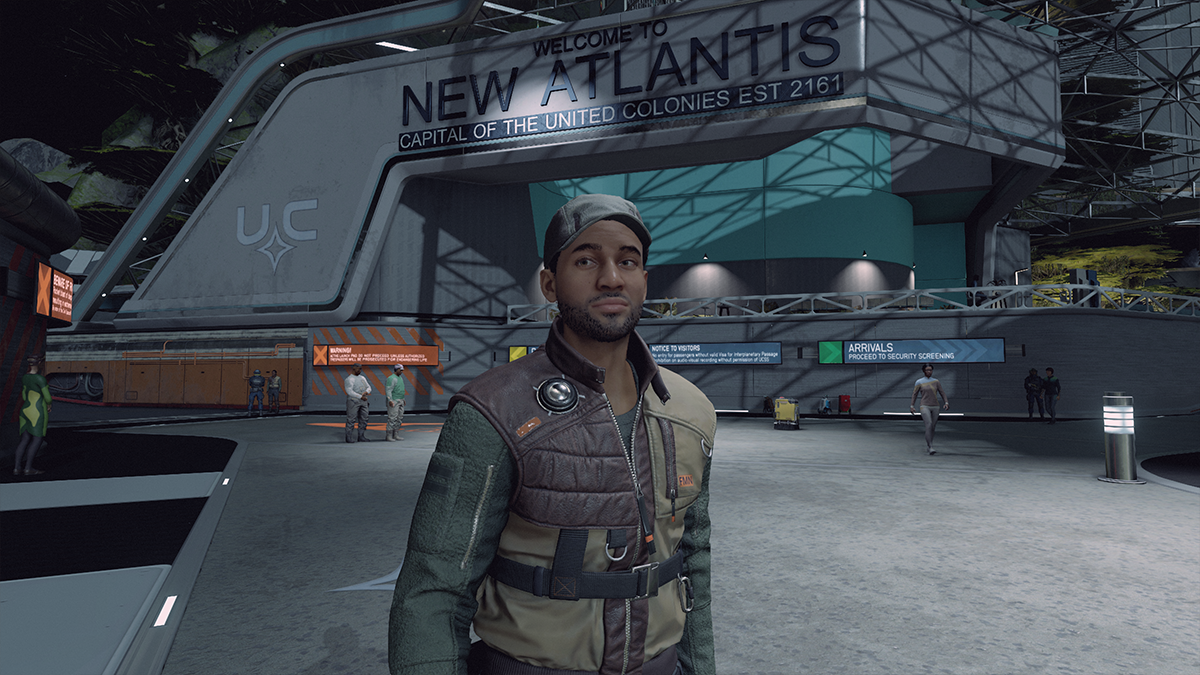
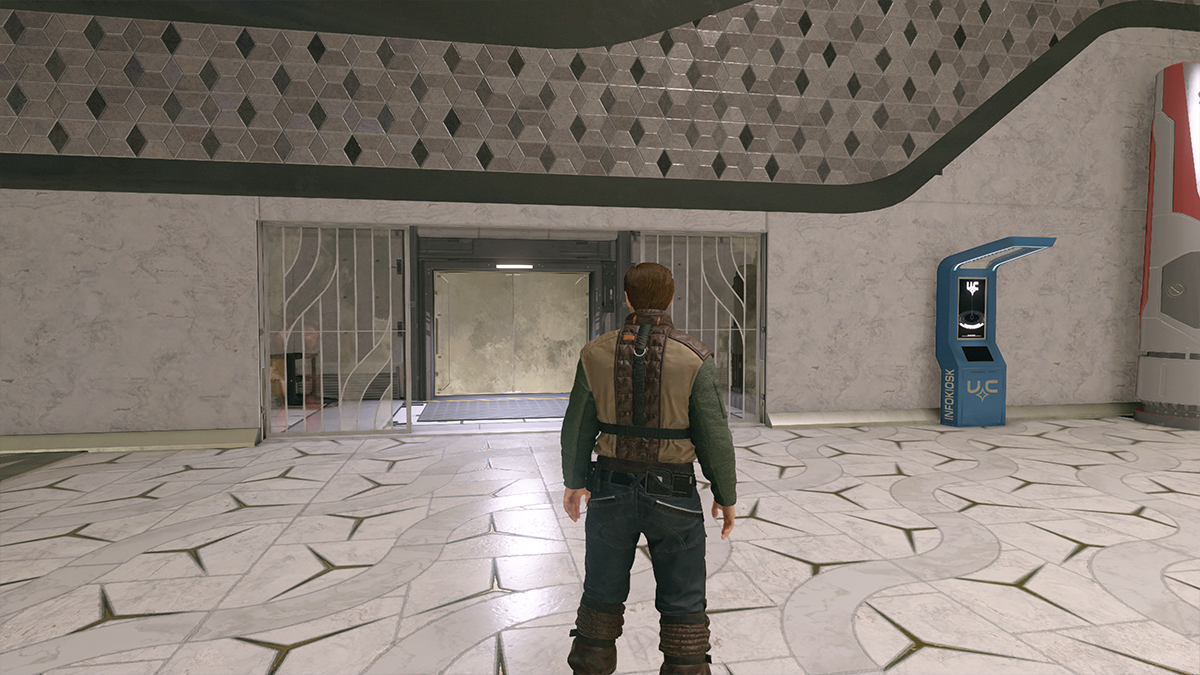
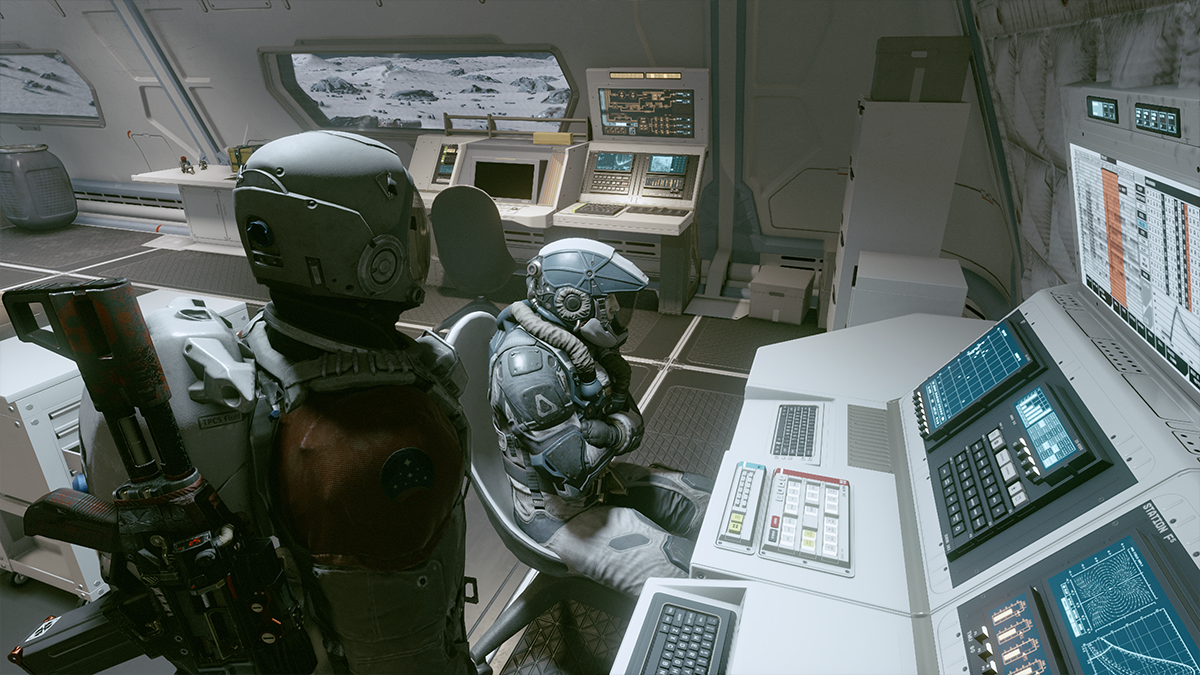
Welcome to New Atlantis, the capital of the planet Jemison and the crown jewel of the United Colonies. As the first city and planet outside of the tutorial, you’ll find not just the HQ of Constellation but a number of New Atlanteans that could use a helping hand.
Now, you’ll get a few hints if you wander around, but to save you the time of walking up to every single NPC to see if they have a unique name (and therefore a potential quest to give you) we figured we’d just tell you where to go. This is a great opportunity to farm XP and credits before diving further into the story.
Since it’s your first few hours of the game, New Atlantis acts very much like Whiterun did in Skyrim. You’ll get a sense of the different factions, get embroiled in some local drama, and take in the sights. We will say the quests are very straightforward and easy to beat so you should be able to breeze through this without much trouble.
All New Atlantis side quests in Starfield
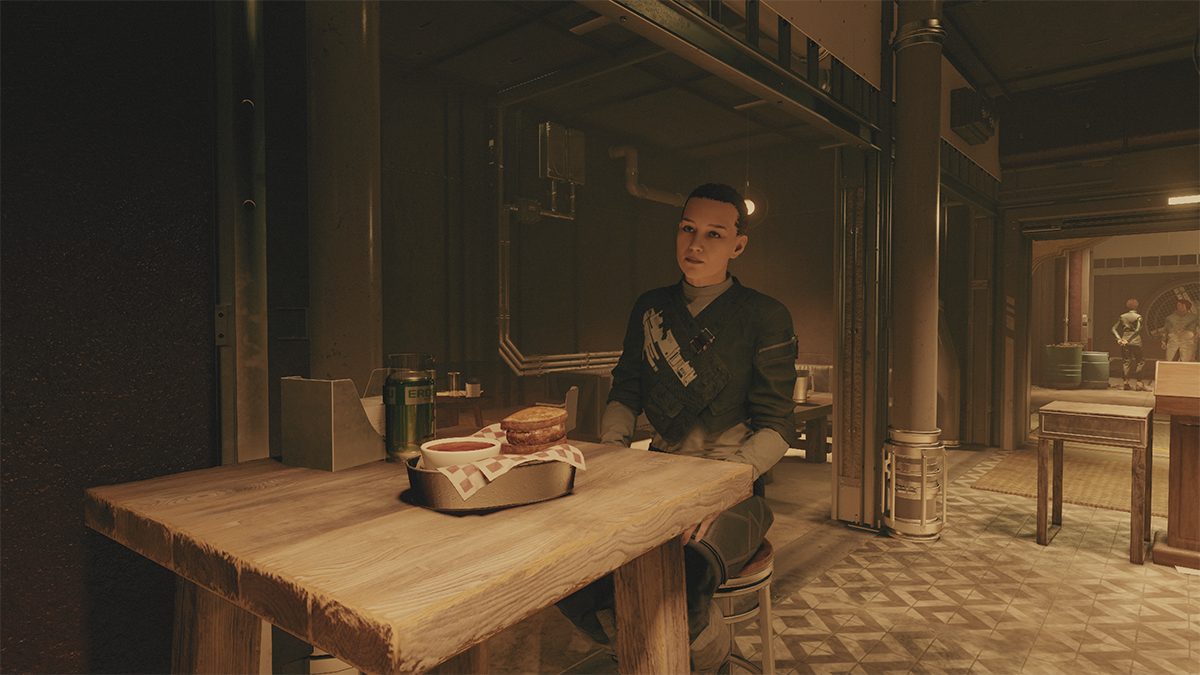
Deliver a Terrabrew Cappuccino to Donna Rain
Rewards:
- 100 XP
- 400 Credits
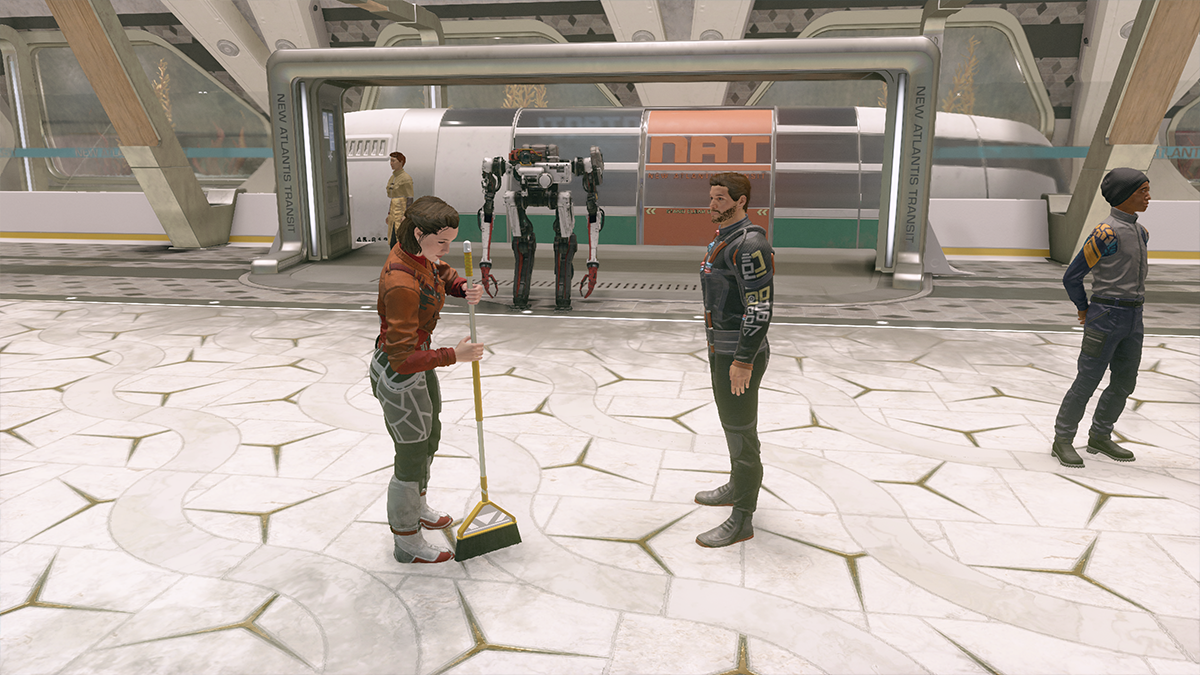
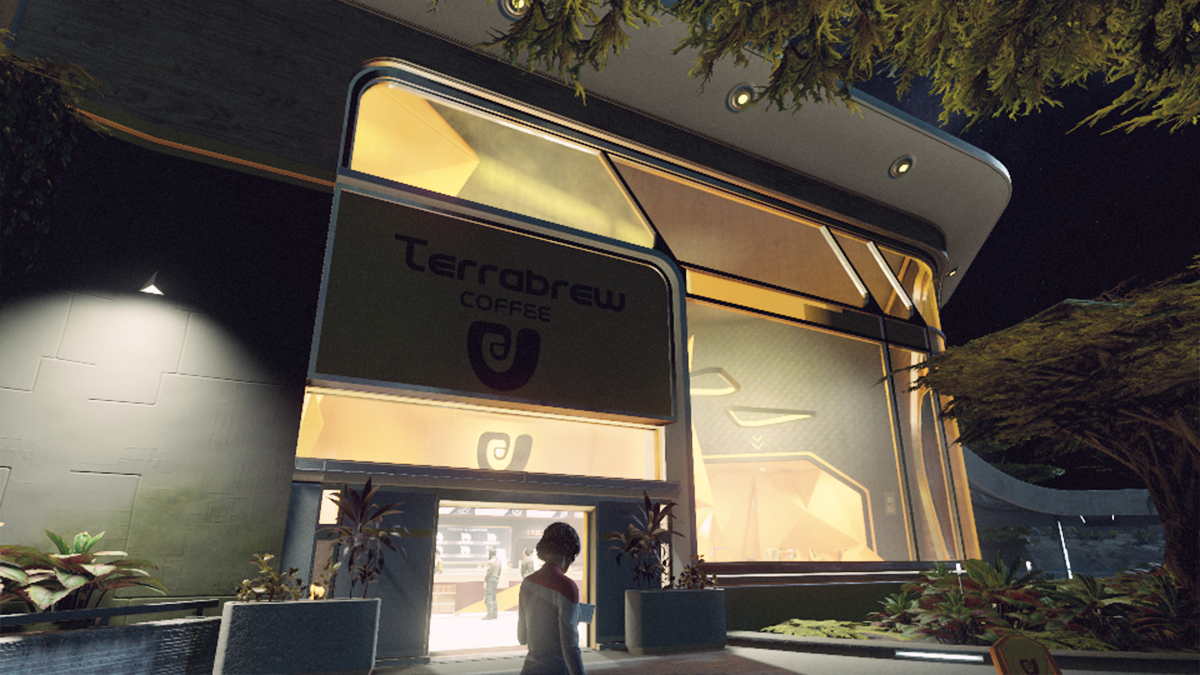
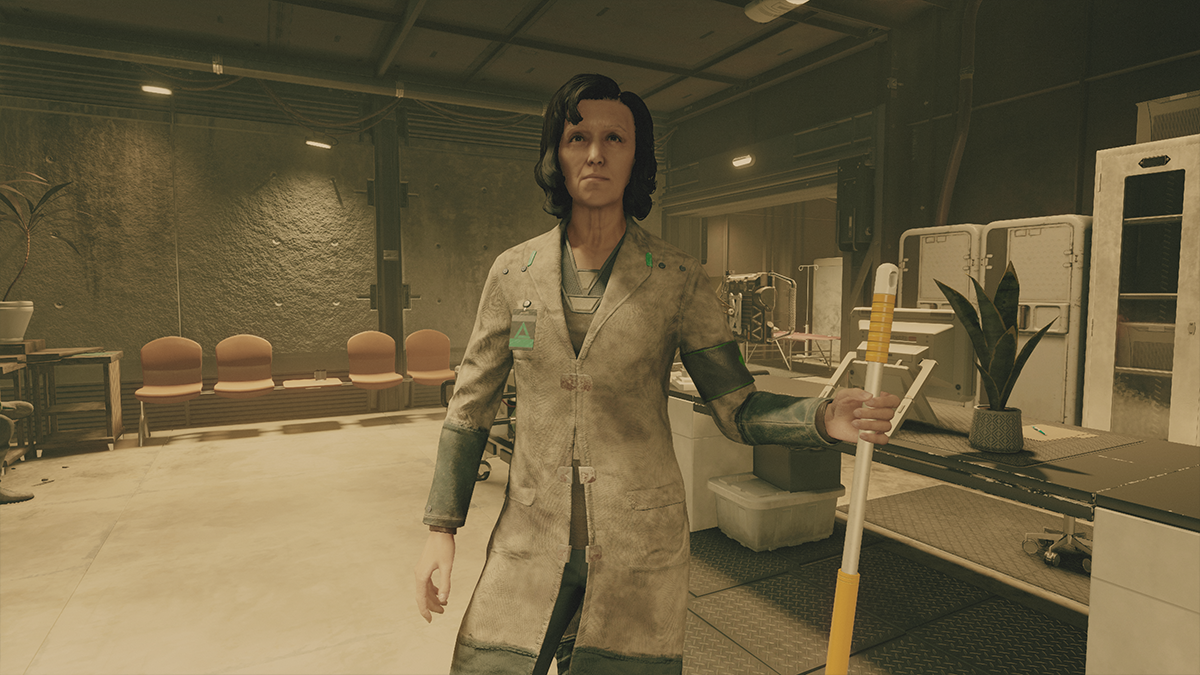
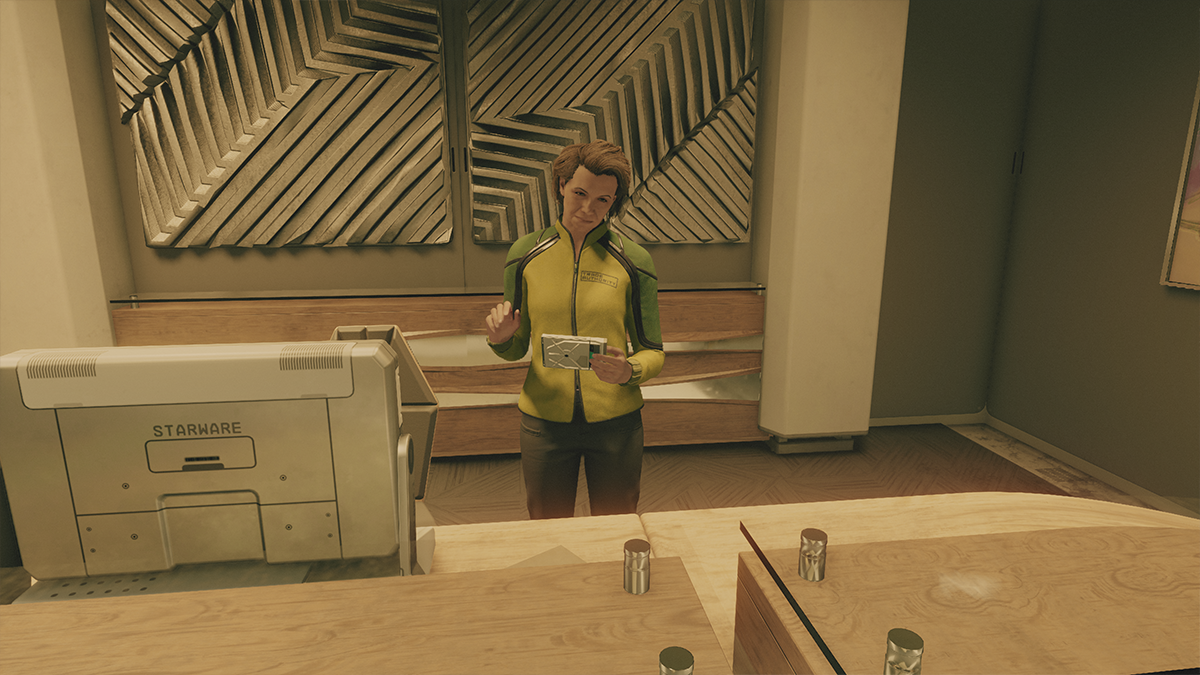
Hop on the NAT train and take it to the MAST district. In the train station, you’ll see a woman sweeping. Talk to her and you’ll get the dialogue option “No offense, but you look pretty tired.” She’ll agree and you’ll be able to offer to get her a cappuccino.
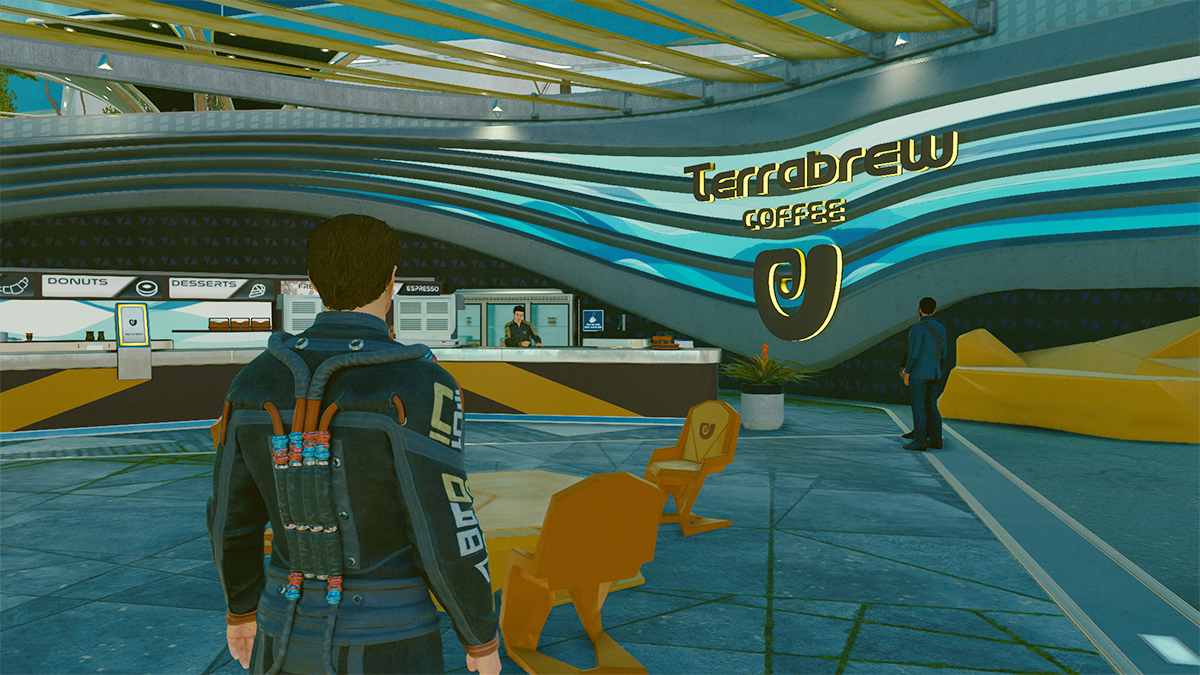
Once you’ve started the quest, turn around, hop back on the NAT, and take it to the commercial district. You’ll see a Terrabrew to the left of the station.
Hop back on the train back to the MAST district and deliver the cappuccino to Donna.
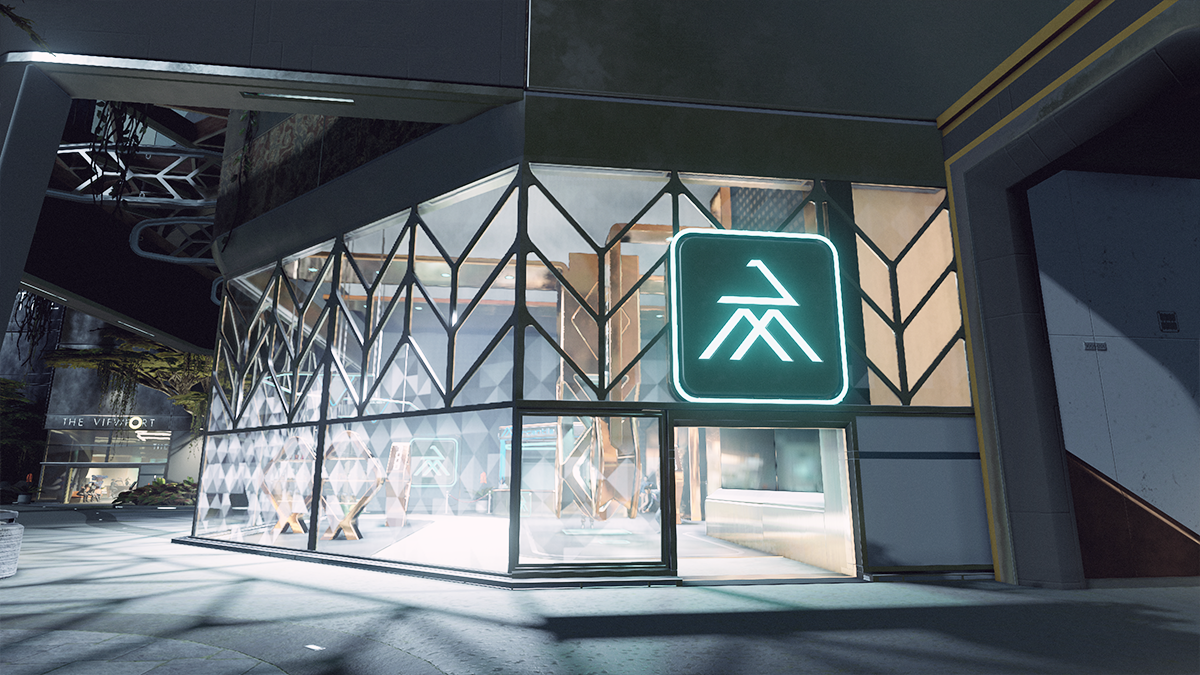
Distilling Confidence: Speak to the Bartender at the Viewport
Rewards:
- Free drinks
- Supernova drink
- 2,000 credits
- 75 XP
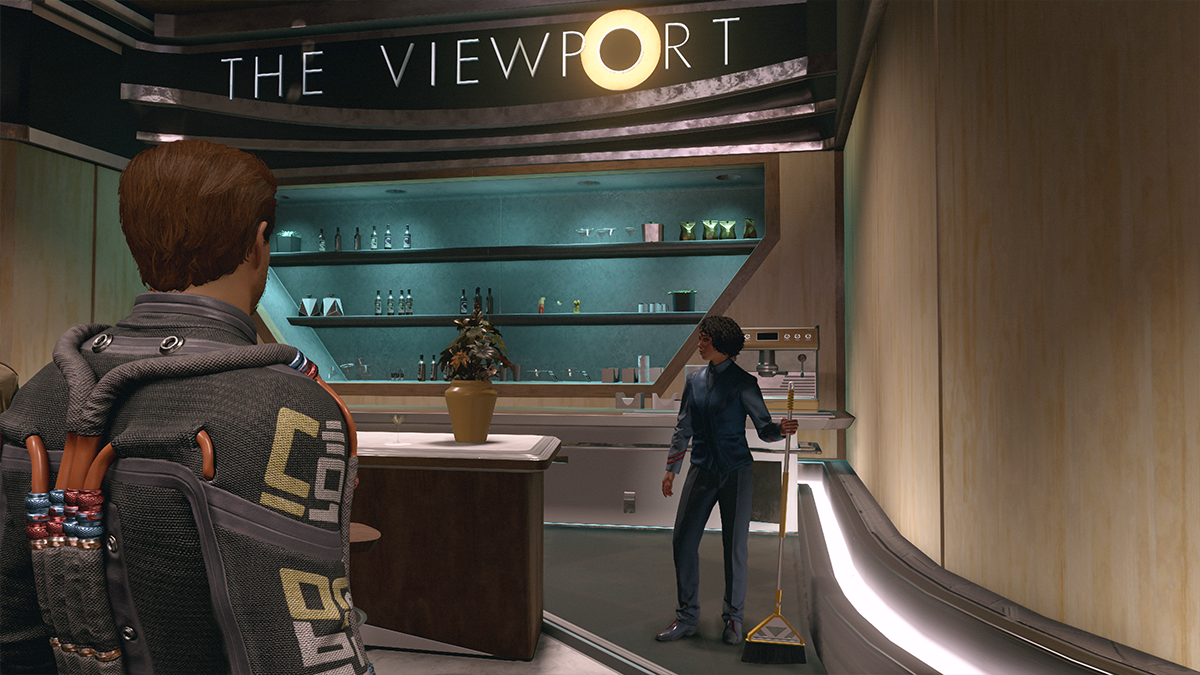
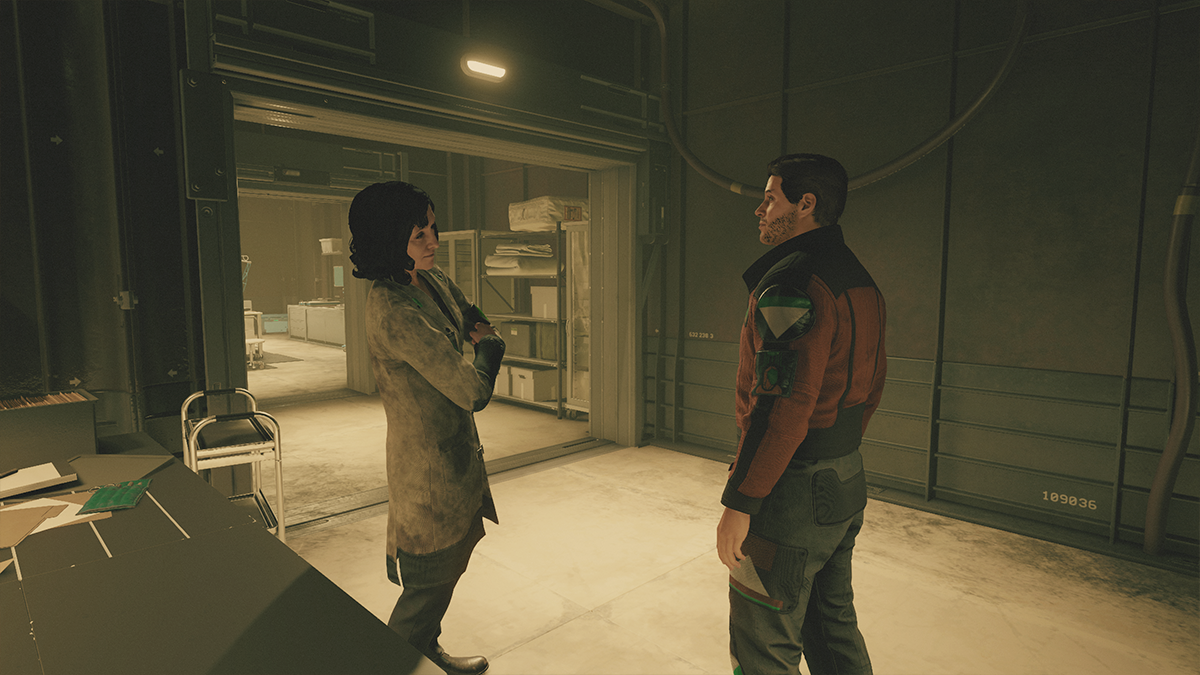
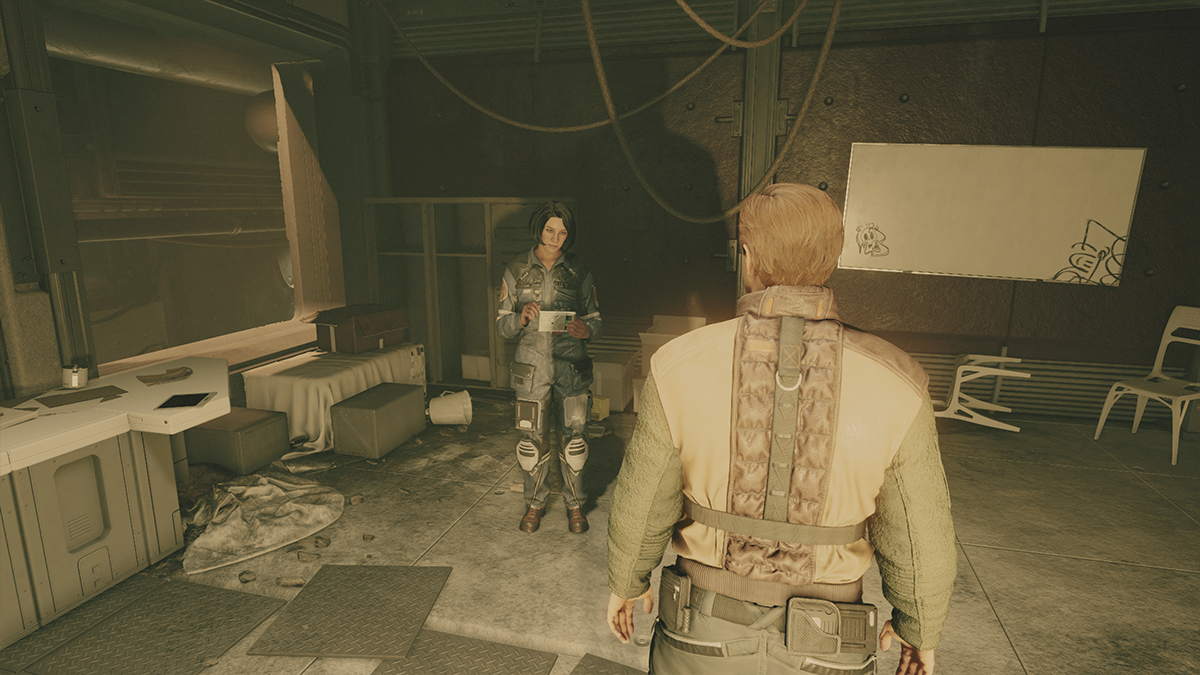
Nyssa Marcano, the bartender at the Viewpoint, a bar near the Spaceport, needs your help. Talk to her and ask about her business. She’ll explain that a shipment she needs is locked up at the spaceport.
Head down to the spaceport, walk past your ship, and look for a door with the words “Storage A” painted above it.
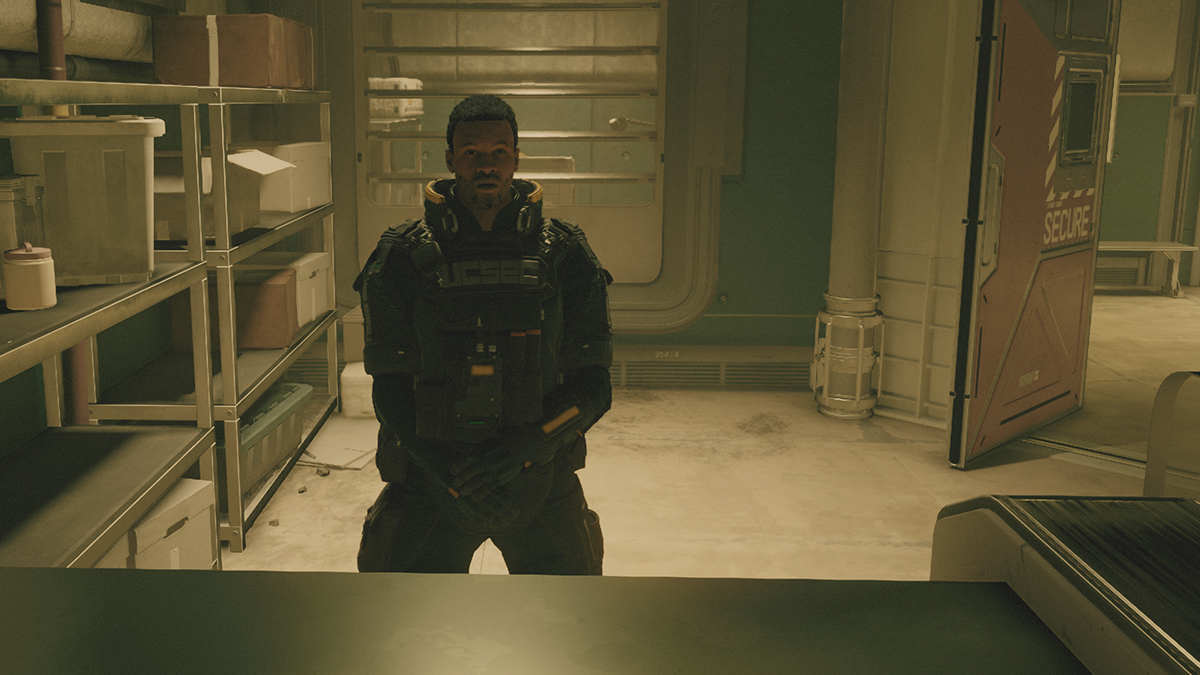
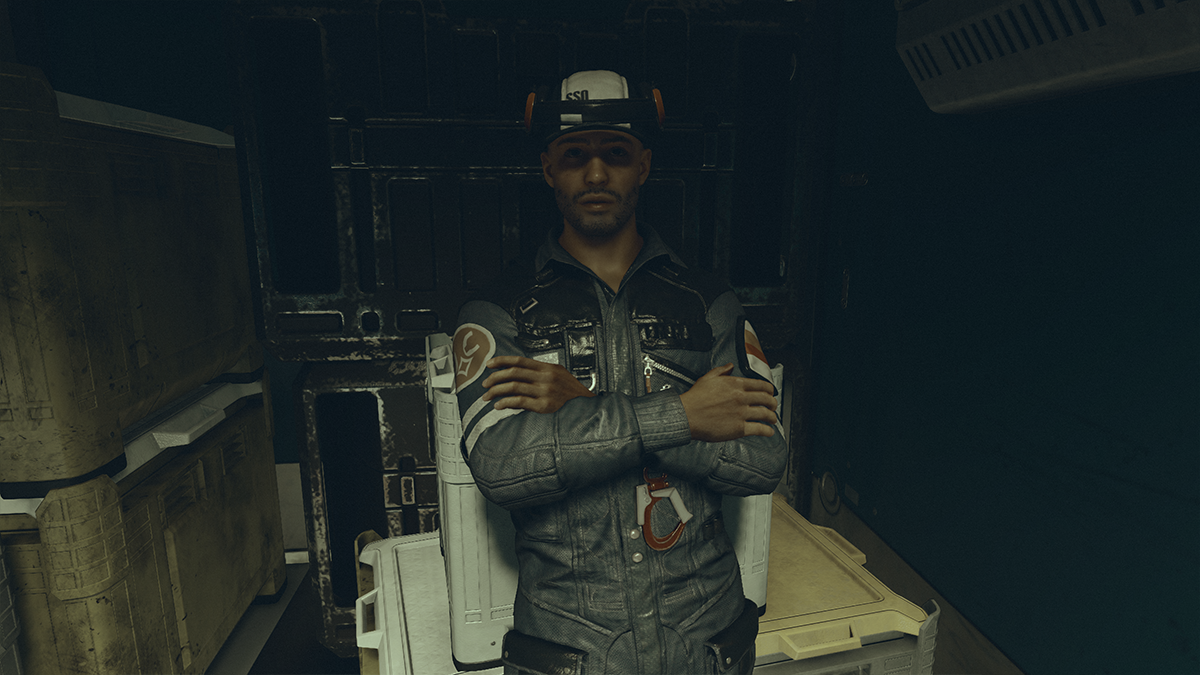
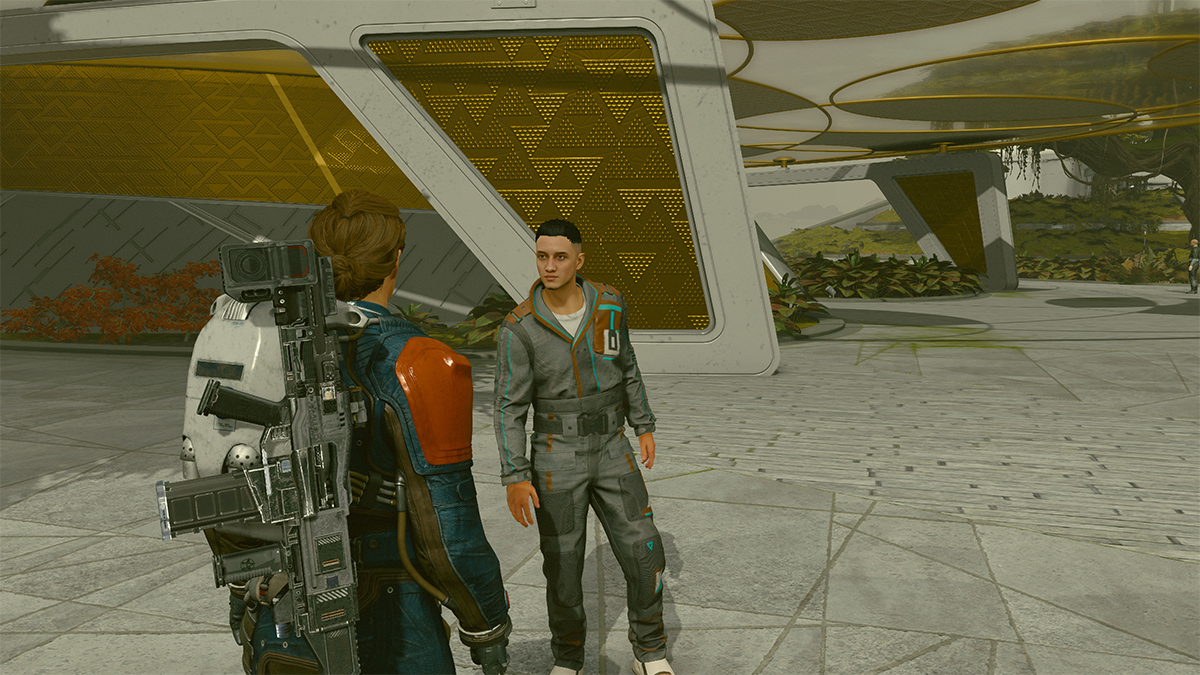
Walk up to the door and you’ll find a landing crew technician named Emin Macar. Speak to him and you’ll be introduced to the persuasion mechanic. Pass all the speech checks and he’ll let you into the storage room.
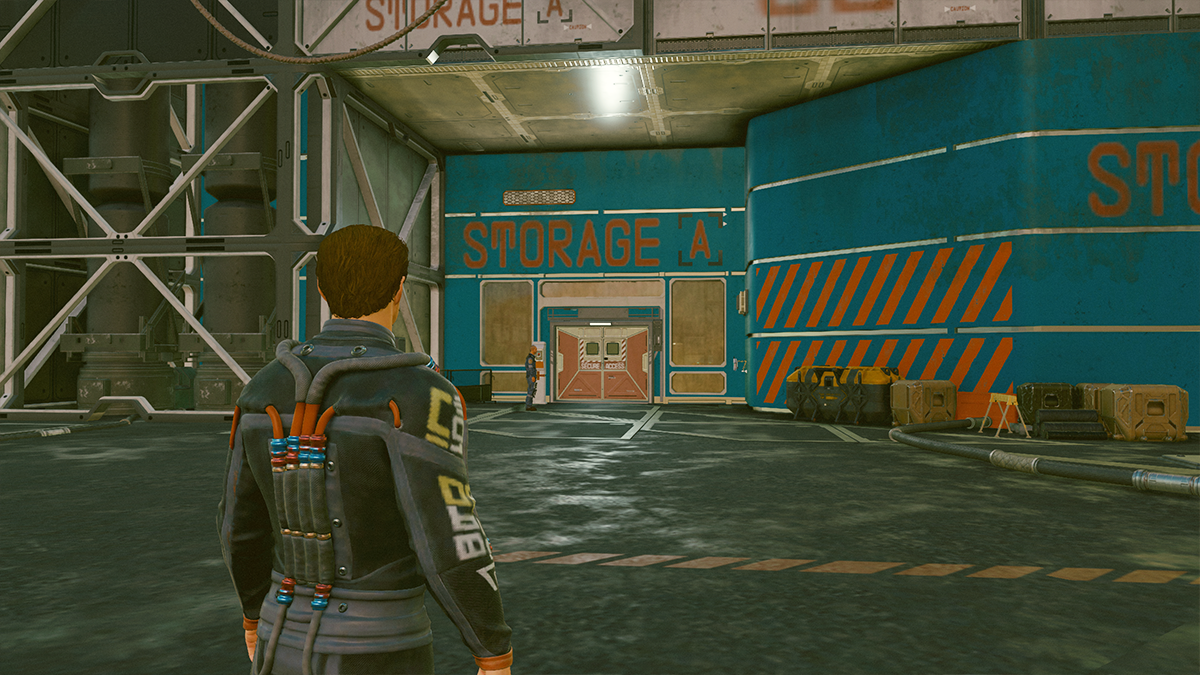
Alternatively you can hack the console to the right of the door if you have a digipick. We tried killing Emin to see if he had an ID card we could use to open the door but there wasn’t anything on his body that can help; attacking or killing him will only land a bounty on your head in the United Colonies.
Gem Jealousy: Get the Jewel Back
Rewards:
- 100 XP
- 1,000 credits
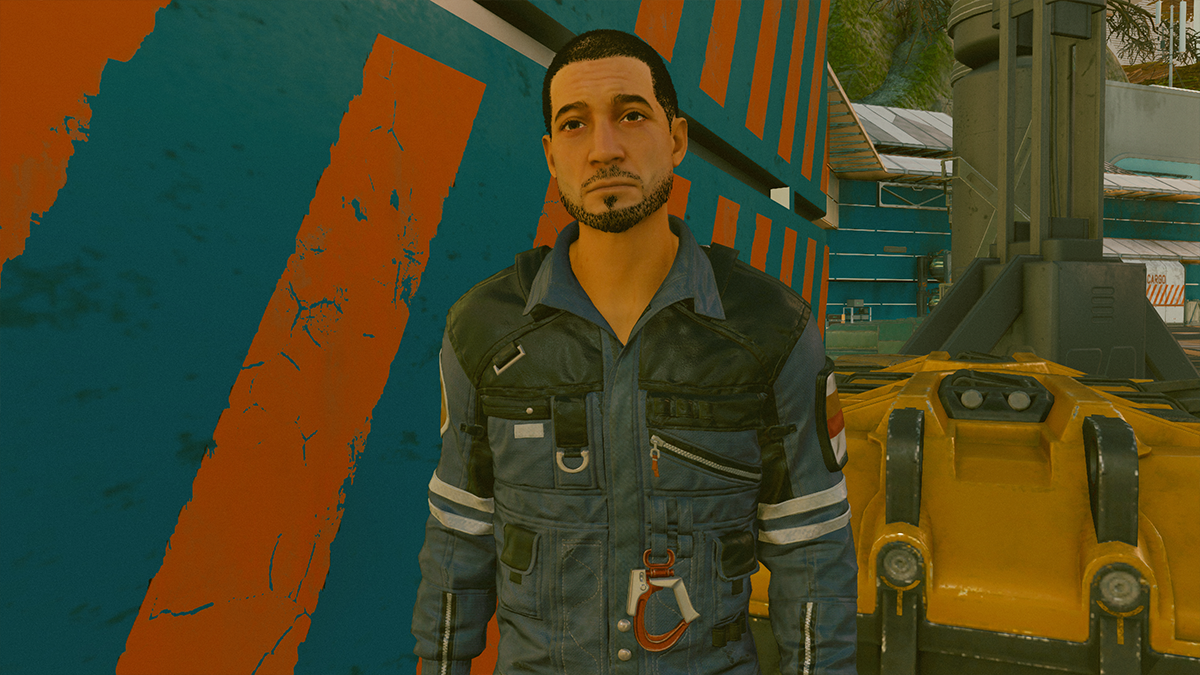
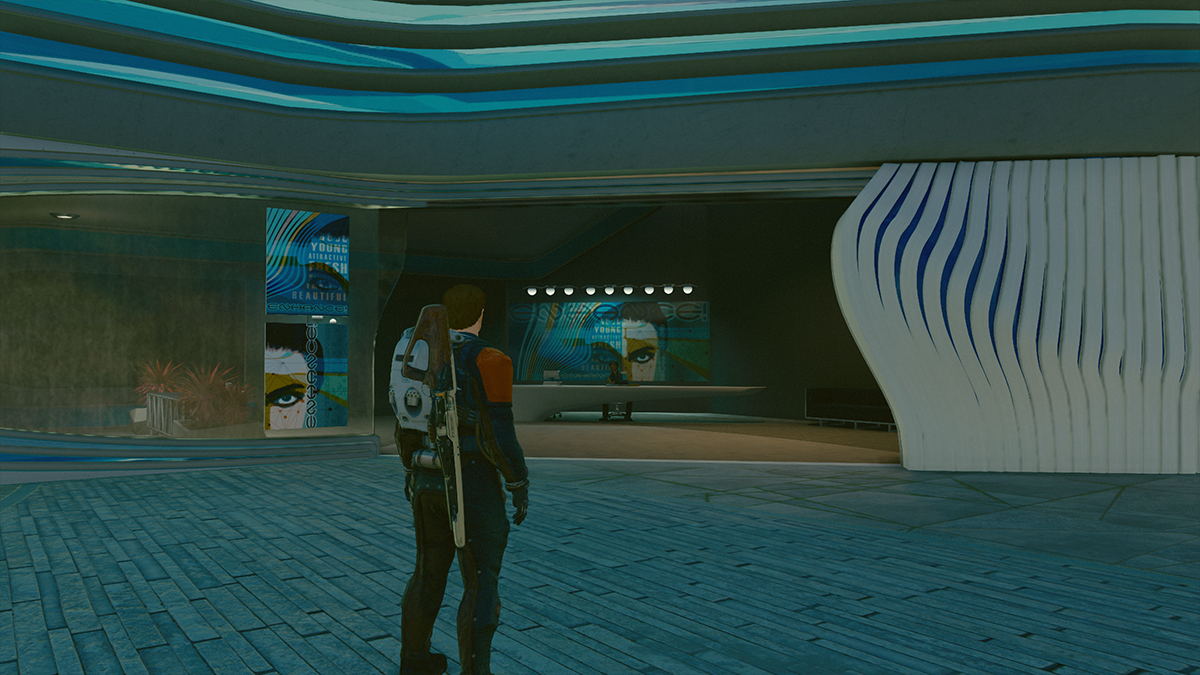
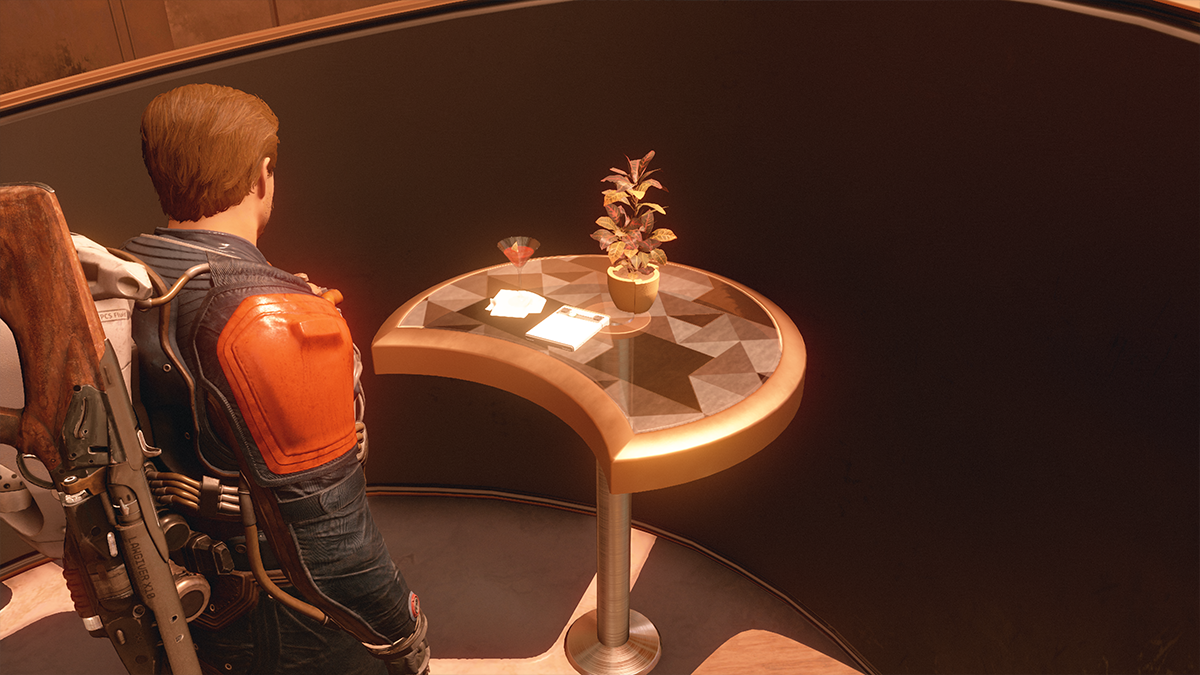
Go into the Terra Brew near the spaceport and look for a man named Guillaume Degarmo at a table eating a steak. How did he get a steak at a coffee place? Great question but we have no idea.
Speak to him and he’ll lament about the loss of a precious jewel. He’ll tell you it’s in the hands of his rival, George Saint George. He gives you an artifact from Earth to trade with Saint George to get the jewel back.
You can find Saint George in the store directly across from the Terrabrew in Jemison Mercantile. If he’s not there you can also find him at the Terrabrew in the Commercial District. To find him, make sure you have the quest selected as your active mission and you’ll get a waypoint leading right to him.
Speak to him and he’ll accept the trade. Return to Degarmo, deliver the jewel, and collect your reward.
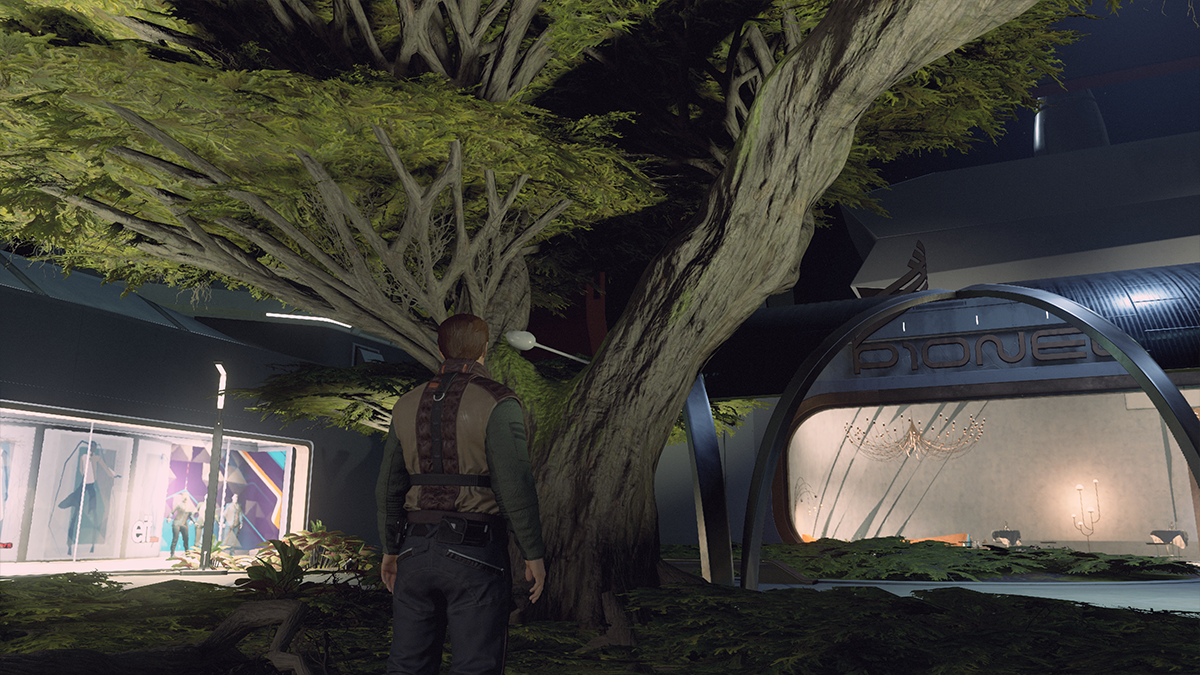
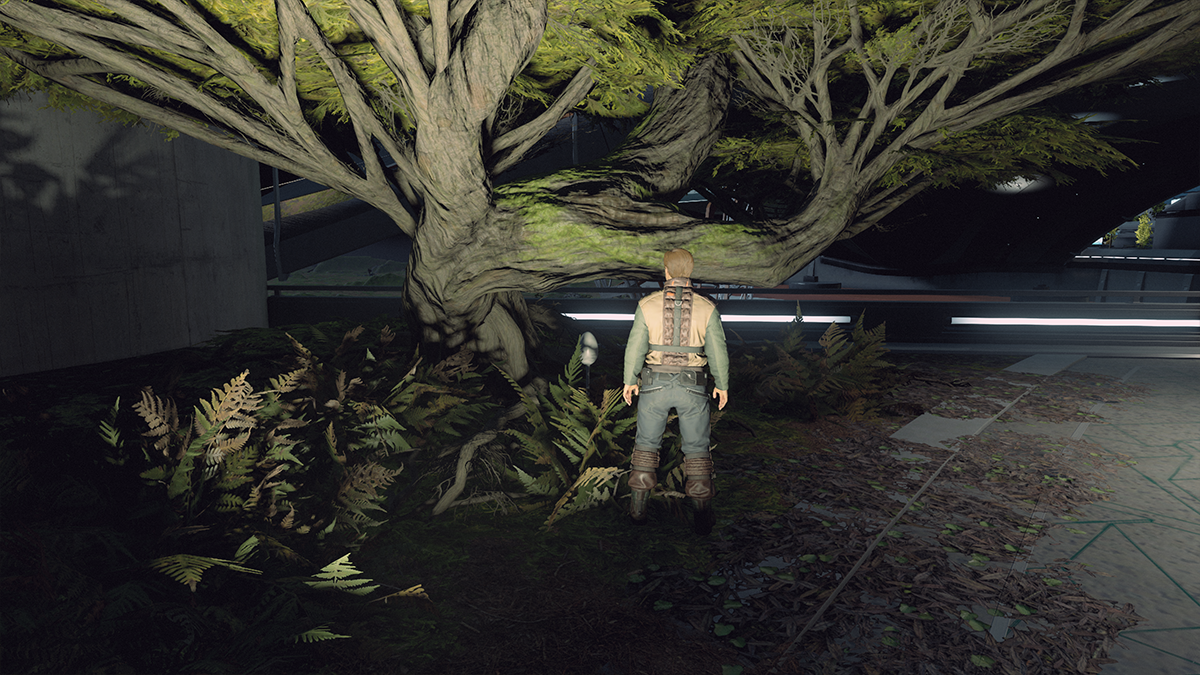
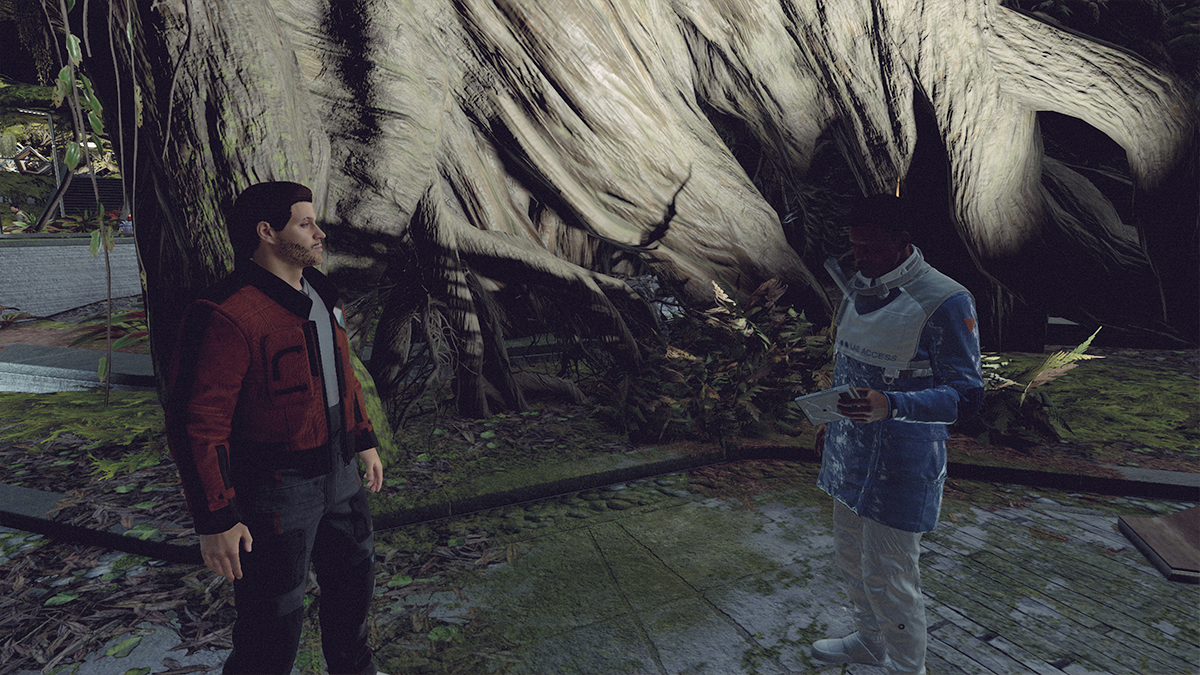
A Tree Grows in New Atlantis: Speak to the Scientist by the Tree
Rewards:
- 100 XP
- 2,000 Credits

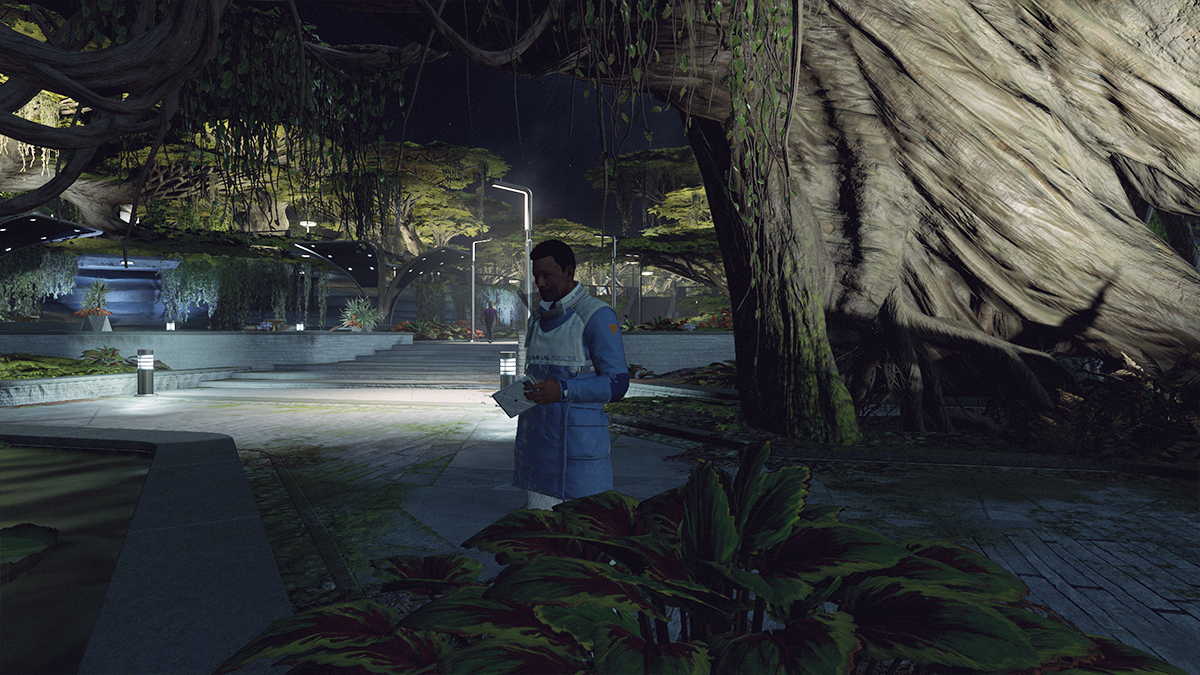
Walk up to the large tree opposite the MAST building. There you’ll find Kelton Frush. Speak to him and he’ll ask for your help with his research. As it turns out, the tree is vibrating at a very low frequency. If it increases, it could cause serious damage to the city. You’ll need to find several sensors he’s left around New Atlantis.
Follow the waypoints and collect each sensor.
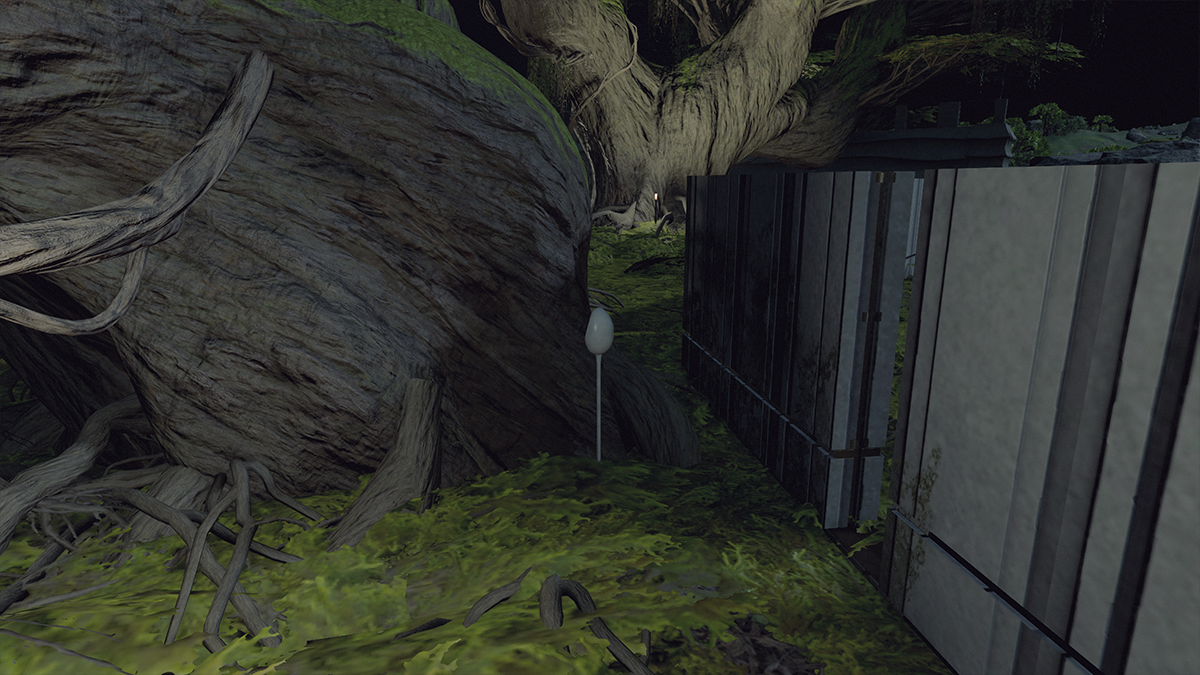
The first three sensors are all near trees. The fourth and final one will take a couple of extra steps to collect.
Talk to Jorden Anchali above the Terra Brew in the commercial district. He’ll tell you he sold the sensor to Wen Tseng who works at the UC Distribution Center. The distribution center is nearby, opposite the Terrabrew.
Go inside and speak to Wen.
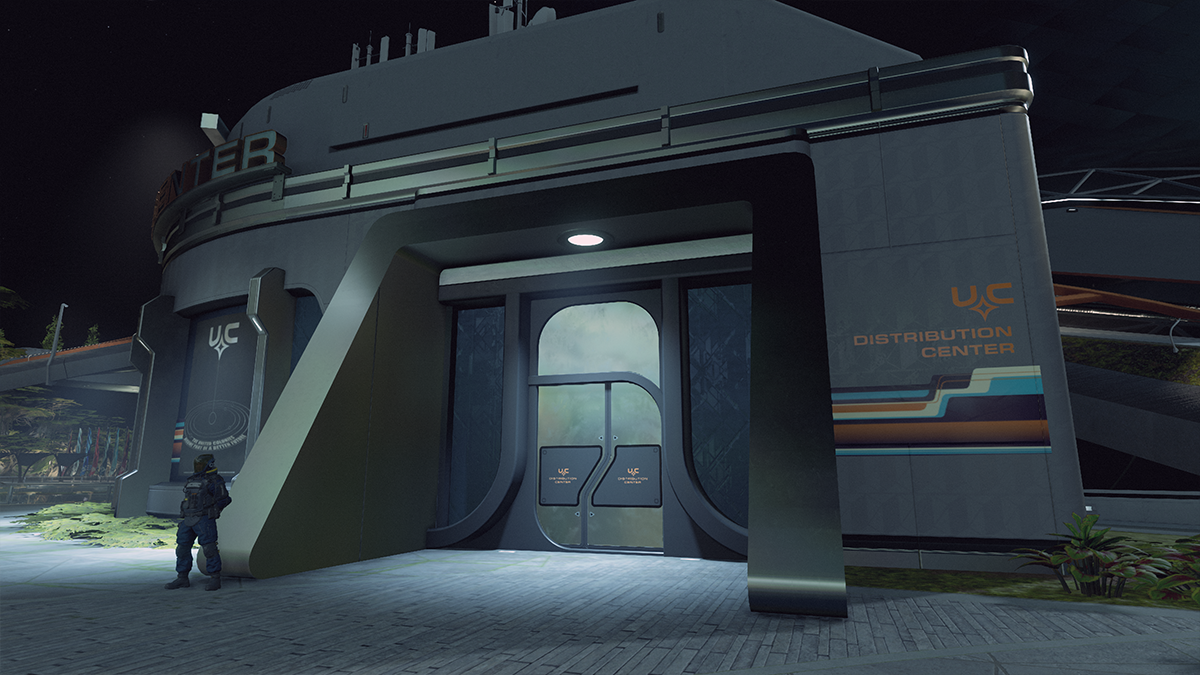
She’ll shake you down for 100 credits but it’s the easiest way to get the sensor back. Besides, you’ll get a great reward for this quest so it’s a drop in the bucket. With the sensor in the bag head back to Kelton and collect your reward.
Out on a Limb: Help the Scientist at the Tree Again
Rewards:
- 2,000–3,000 credits
- 100 XP
The scientist, Kelton Frush, from earlier asked you to check in with him later. He’ll be back by the tree where you first found him.
It turns out the data you retrieved for him is only part of the puzzle and you’ll need the help of a rival scientist, Emilio Hadek, to complete it.
Follow the waypoint to Emilio in the MAST district. He’ll quickly pick up on your true motives and offer you a deal: If you break into his supervisor’s apartment and delete his employee records, he’ll give you the data.
If you can pass the speech check he’ll give you the data for nothing. You can also accept the hacking job in exchange for 1,000 credits. If you’re going to hack the terminal, you’ll need to go to Orion Tower.
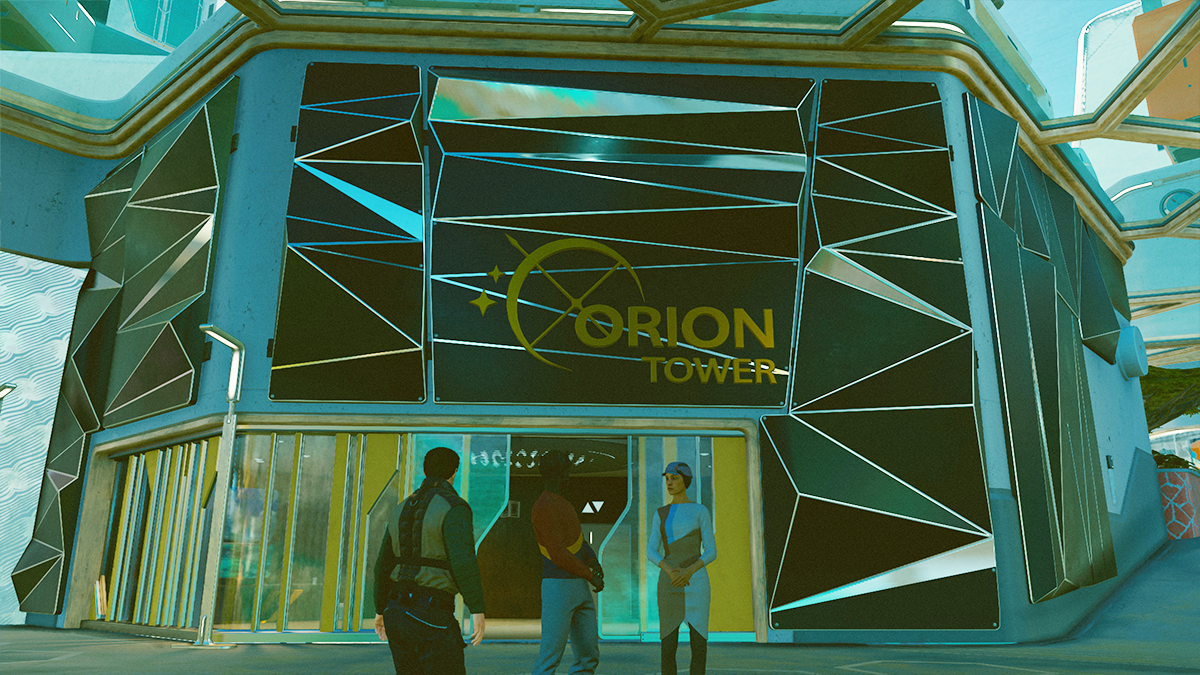
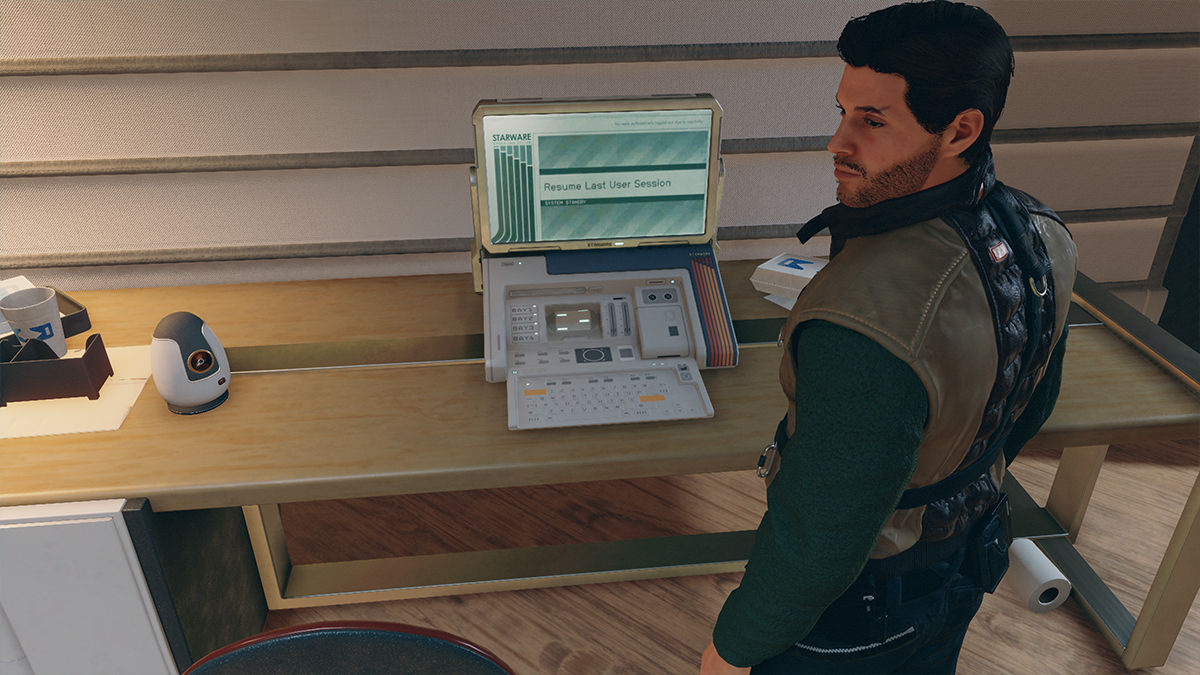
Take the elevator up and follow the waypoint to the apartment. You’ll need a Digipick to unlock the door. Once you’re through, head to the computer on the desk and delete Emilio’s files. Once deleted, head back to him for the data and your credits, and then head back to Kelton for the quest reward.
Late Bloomer
Rewards:
100 XP
4,300 Credits
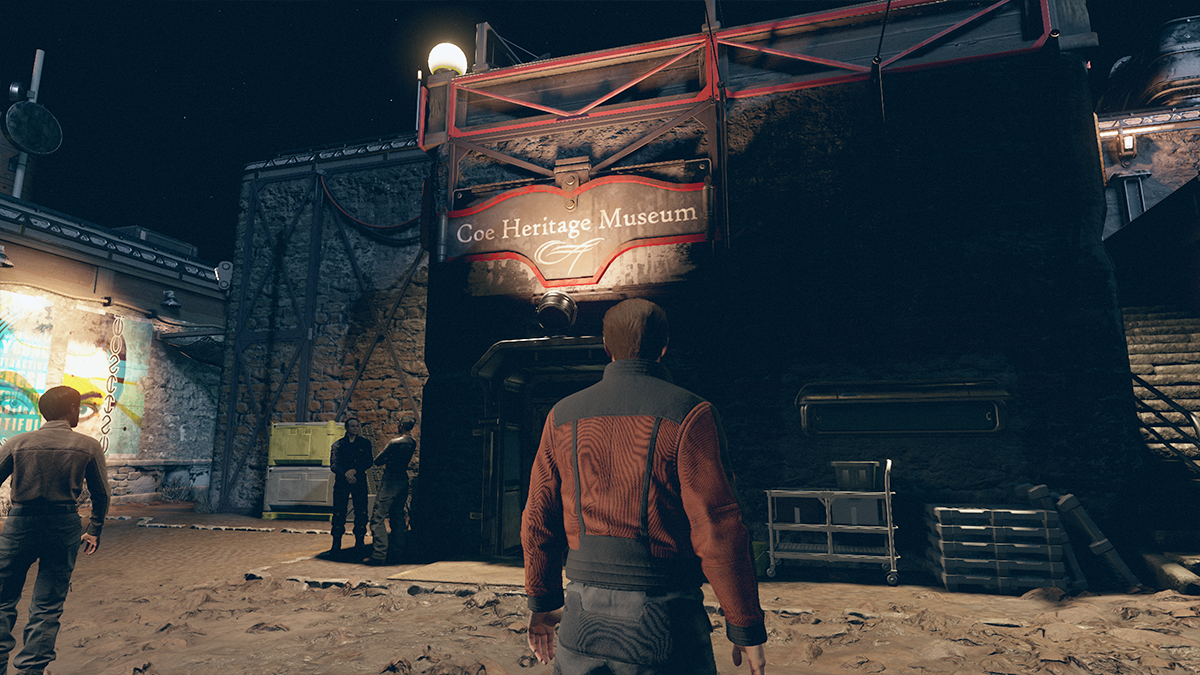
You’ll need to help Kelton Frush one more time to complete this trio of quests. The tree is still vibrating but Kelton believes he has a solution. The only problem is the solution is in Akila City in Freestar Space. By now you should know that the UC and Freestar aren’t exactly on the friendliest terms.
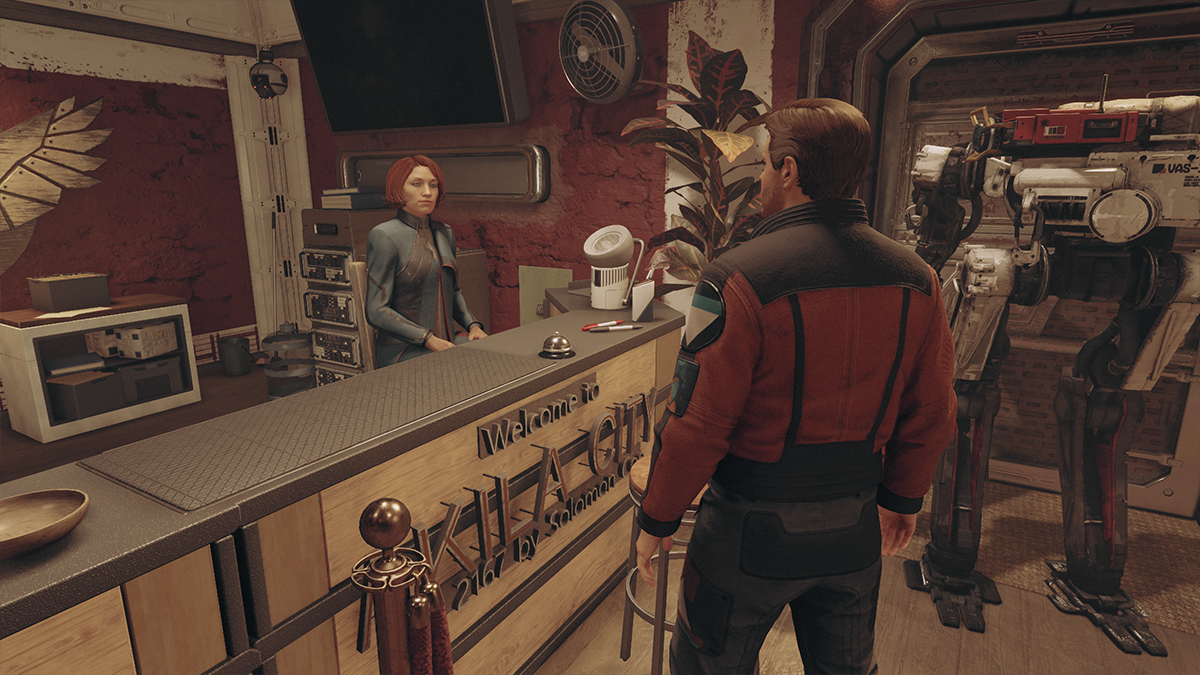
Travel to Akila City and head for the Coe Heritage Museum.
Inside behind the desk, you’ll find Leah Casler. You’ll need to convince her to give you a tree branch she has in the museum’s storage.
Don’t worry about passing the persuasion check, it’s impossible to fail (believe us, we tried).
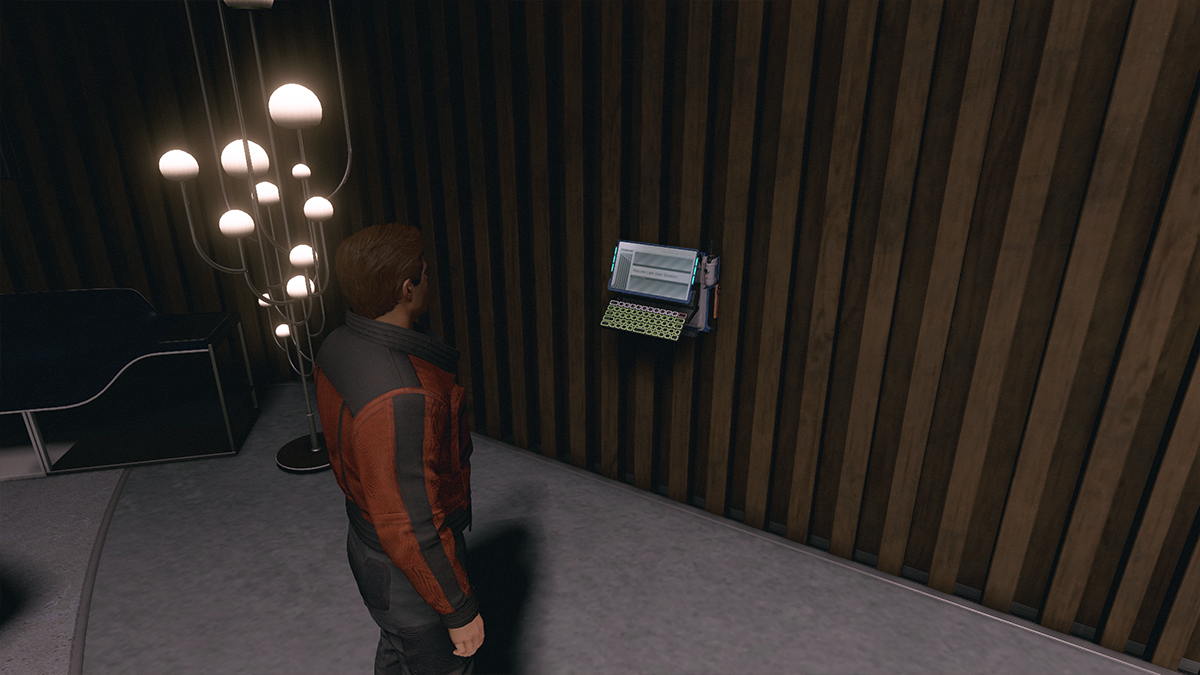
With the branch in hand head back to Kelton for the next and final step. You’ll need to play a recording of vibrations over the SSNN loudspeakers to get the tree to stop vibrating. Head over to the SSNN building and go left as you enter.
You’ll find the computer you need to access on the wall.
Once you’ve played the recording over the air head back to Kelton and collect your reward.
Talk to an Embassy Diplomat
Rewards:
- 1,000–2,500 credits
- 50 XP
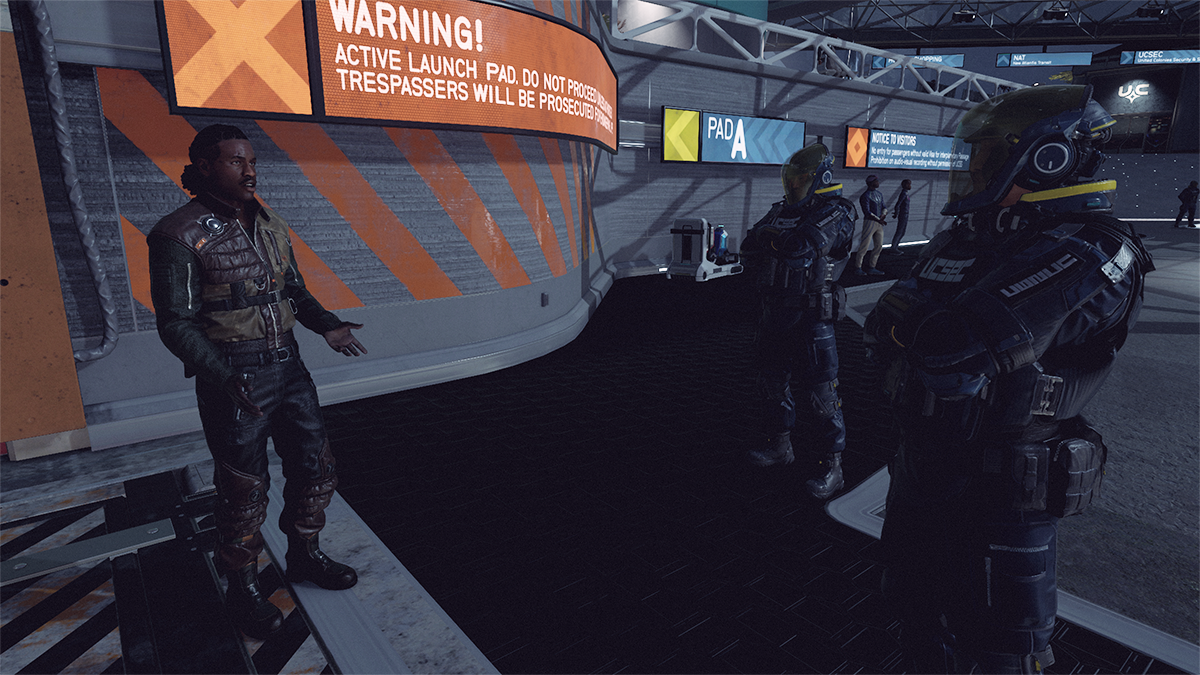
After you’ve met the members of Constellation at the Lodge head back to the spaceport. Right at the ramp for pad A, you’ll see a man talking to two guards. You’ll overhear them saying that he doesn’t have a diplomatic visa. The man, Representative Chisolm, is a diplomat from the Freestar Collective. Speak to Chisolm and offer to go to the Freestar embassy for help.
The United Colonies lost their war against the FC and tensions remain between the two groups, hence the guards giving Chisolm a hard time.
You have the option of shaking him down for 1,500 credits or you can just be a good Samaritan and help him for free.
After speaking to him, hop on the NAT and head for the MAST district. Walk up from the station and turn left. Walk towards the Colony Wars memorial and look for the embassy, it’s a tall white building. If you have the quest as your active mission it will generate a waypoint to lead you.
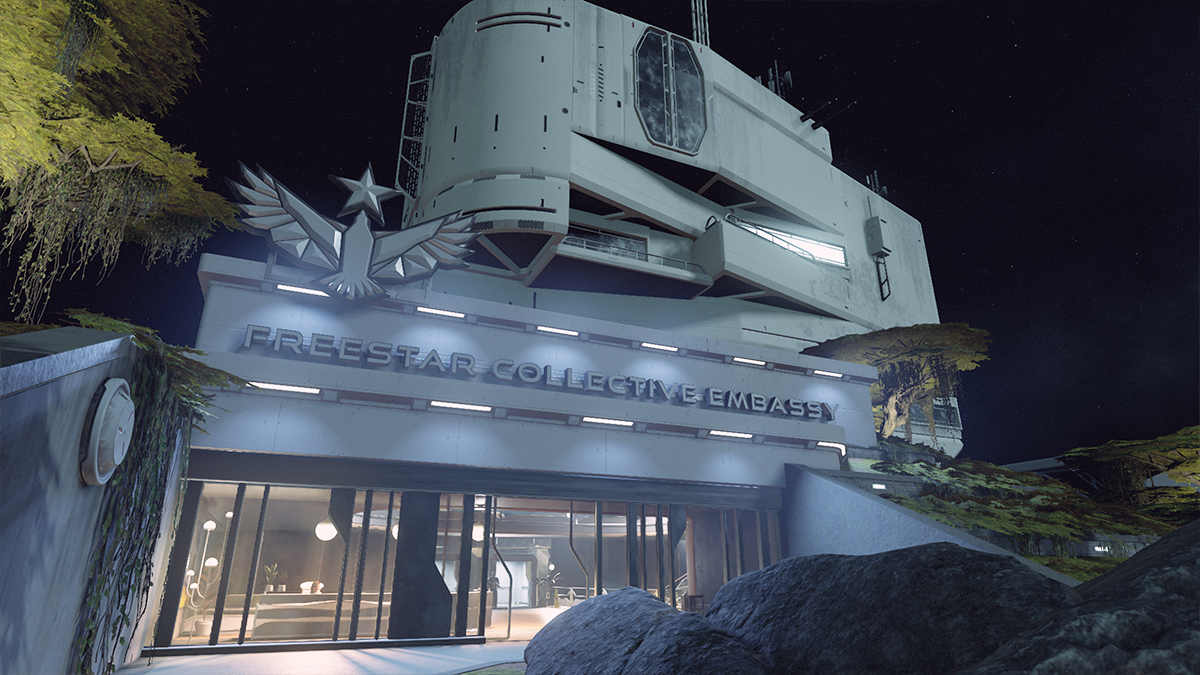
Go inside and speak to the receptionist. She’ll arrange for someone to help Chisholm and give you a reward.
Back on the Grind
Rewards:
- 250 XP
- 4,800 Credits
- a randomly generated consumable
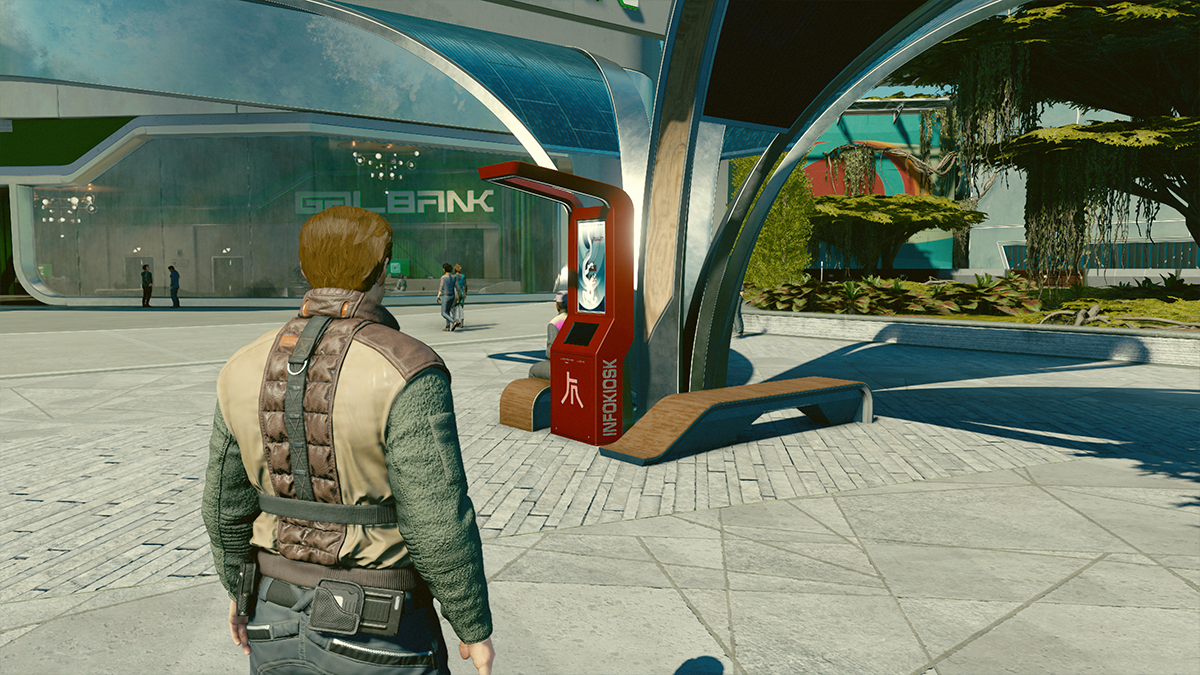
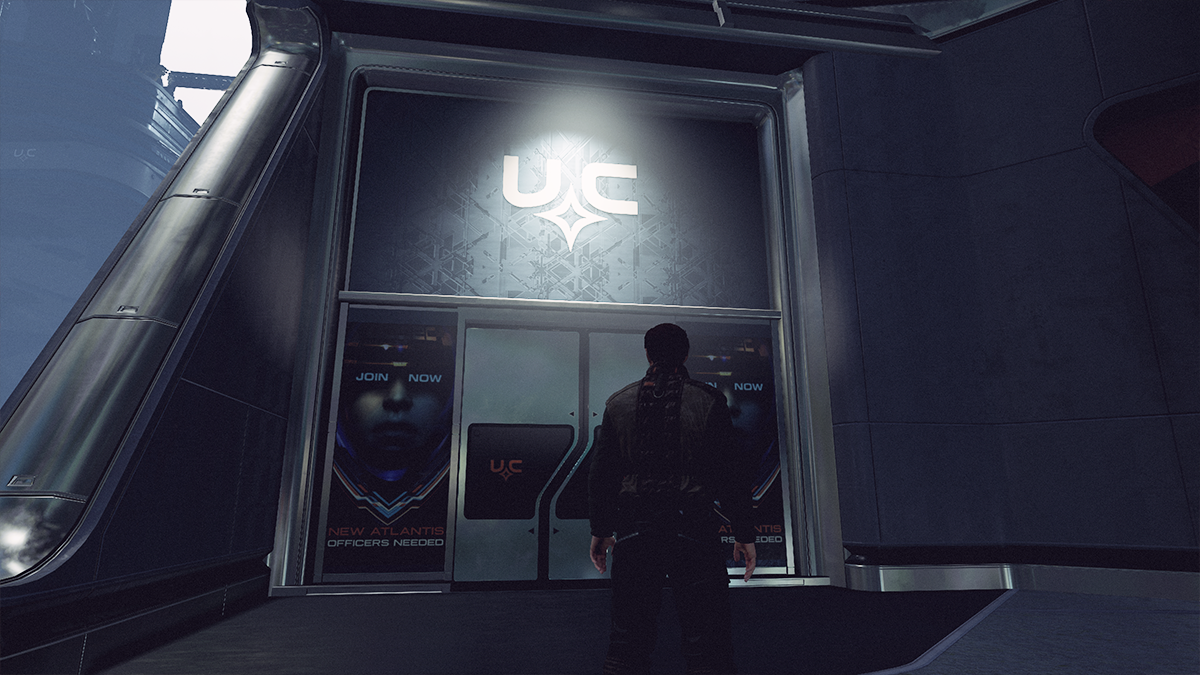
As you walk around New Atlantis you’ll pick up all kinds of hints leading you to quests. One will even lead you off of Jemison, so if you’d like to take a break from the starter planet and broaden your horizons, then apply for a job at Rujin Industries.
Approach the Kiosk and fill out the job application. Don’t worry about your responses, they won’t affect the outcome of the quest. You’ll be invited to a job interview at Rujin headquarters in the city of Neon on Volii Alpha.
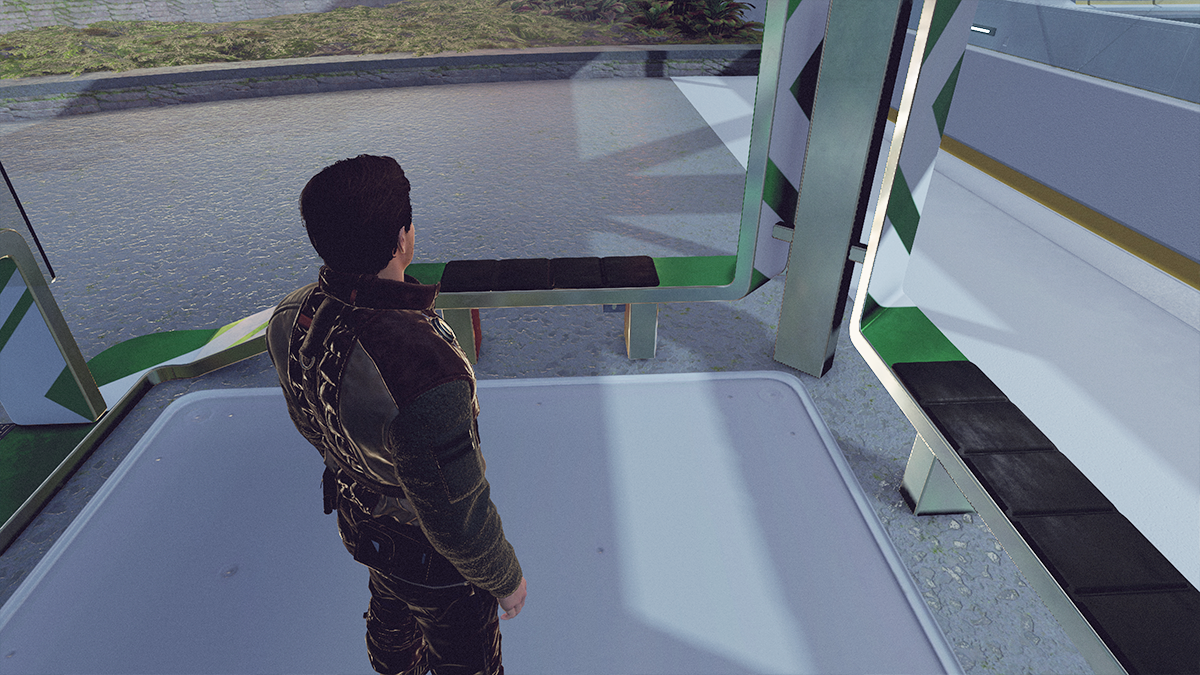
Head to the Spaceport and set a course for the Volii system. You’ll need to make a jump to a nearby system first to establish the route but you’ll get to Neon relatively quickly.
Land and make your way inside the city, head straight, and you’ll find the lobby for Rujin Industries.
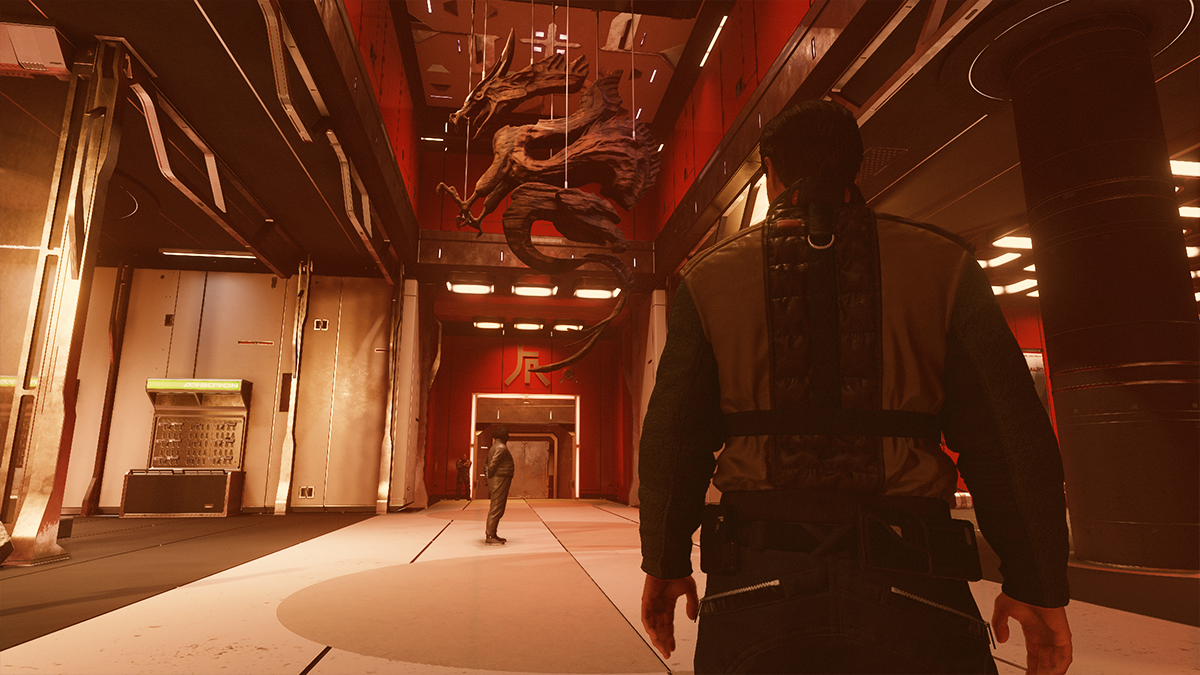
Take the elevator and speak to the receptionist, he’ll give you directions to meet your interviewer, Imogene Salzo. Sit down and talk to Imogene. Don’t worry about your responses, no matter what you say you’ll land a job at Rujin.
Imogene will give you your first assignment—a coffee run. Head back downstairs and follow the waypoint to Terrabrew.
When you go to pick up your order, however, you’ll meet a disgruntled Rujin employee, Tomo. He’ll promptly stick a gun in your face and threaten to kill you. If you can pass a persuasion check then he’ll holster his weapon and walk away. If you fail or choose to fight you’ll have to kill Tomo.
Head back to Imogene and she’ll promote you on the spot. Congratulations, you’re now an operative of Rujin Industries. Go and introduce yourself to the executives (and give them their coffee).
After you’ve met the board, go back and talk to Imogene and she’ll give you your reward and your next assignment. Since this is now a Neon quest line, we’ll be covering the next steps in our Neon Quest Guide.
A Light in the Darkness
Rewards:
- 50 XP
- 500 Credits
Tommy Bitlow, a research intern for the Settled Systems News Network, will track you down in the spaceport. He heard about your scrape with the Crimson Fleet and will ask you to speak to his boss, Nadia Muffaz.
Hop on the NAT and head for the commercial district. The SSNN network is to the left of the station above the outdoor Terrabrew.
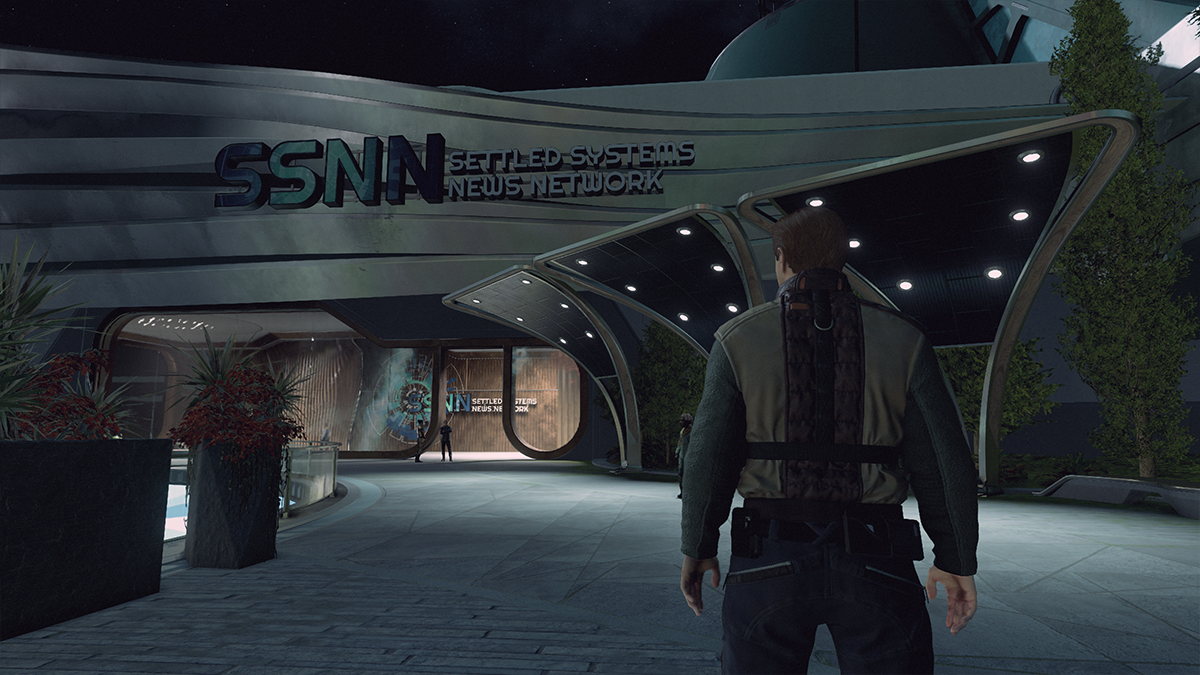
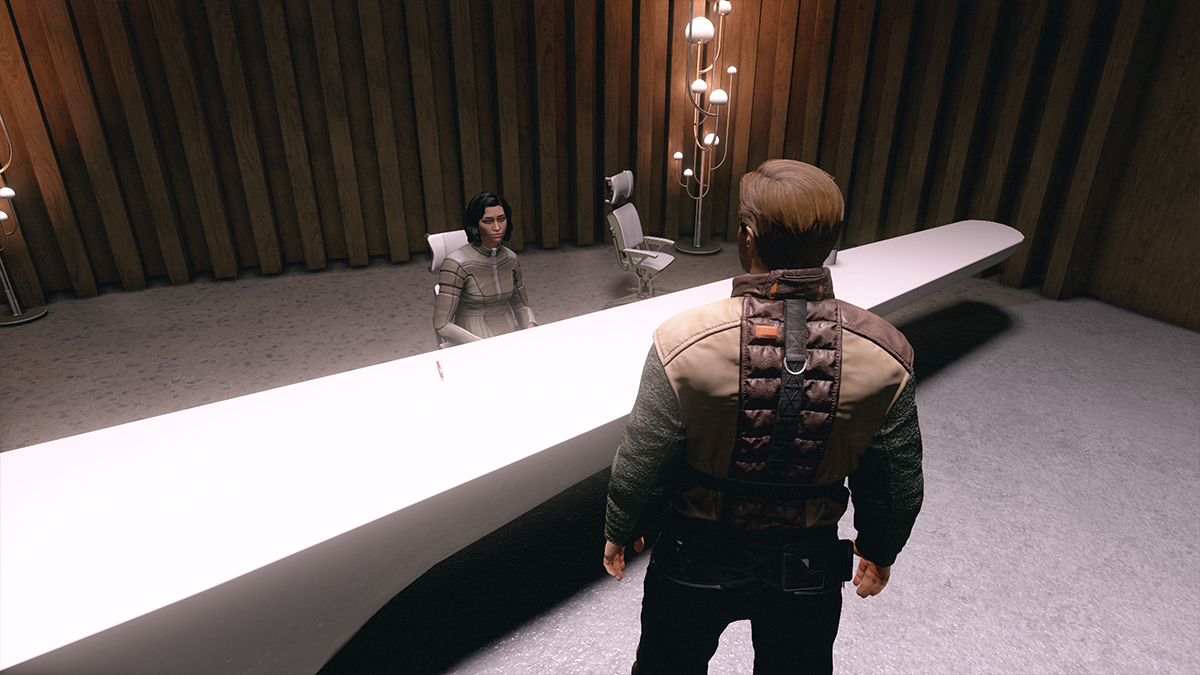
You’ll find Nadia inside and to the right sitting behind a desk. Speak to her, tell her your story, and she’ll give you a reward. You can return to her with more stories and collect additional rewards for each story.
Primary Sources
Rewards:
- 50 XP
- 2,500 Credits
The quest “A Light in the Darkness” will lead to “Primary Sources” where you’re asked to venture down into the Well to interview some of the locals.
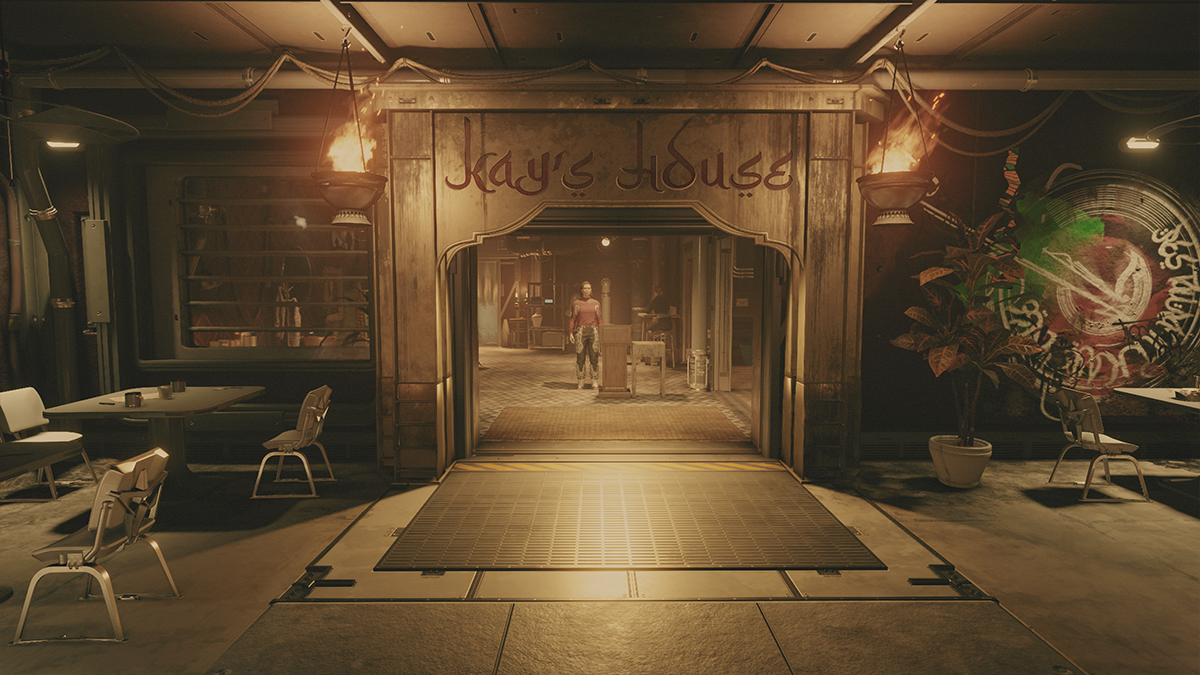
Head down to Kay’s House and speak to Theresa Mason. She’ll tell you she suspects the nearby UC Surplus store will be robbed and asks you to come back later to talk about it. Once you’ve finished this quest, head back to Kay’s and speak to her again to unlock the quest “Suspicious Activities”.
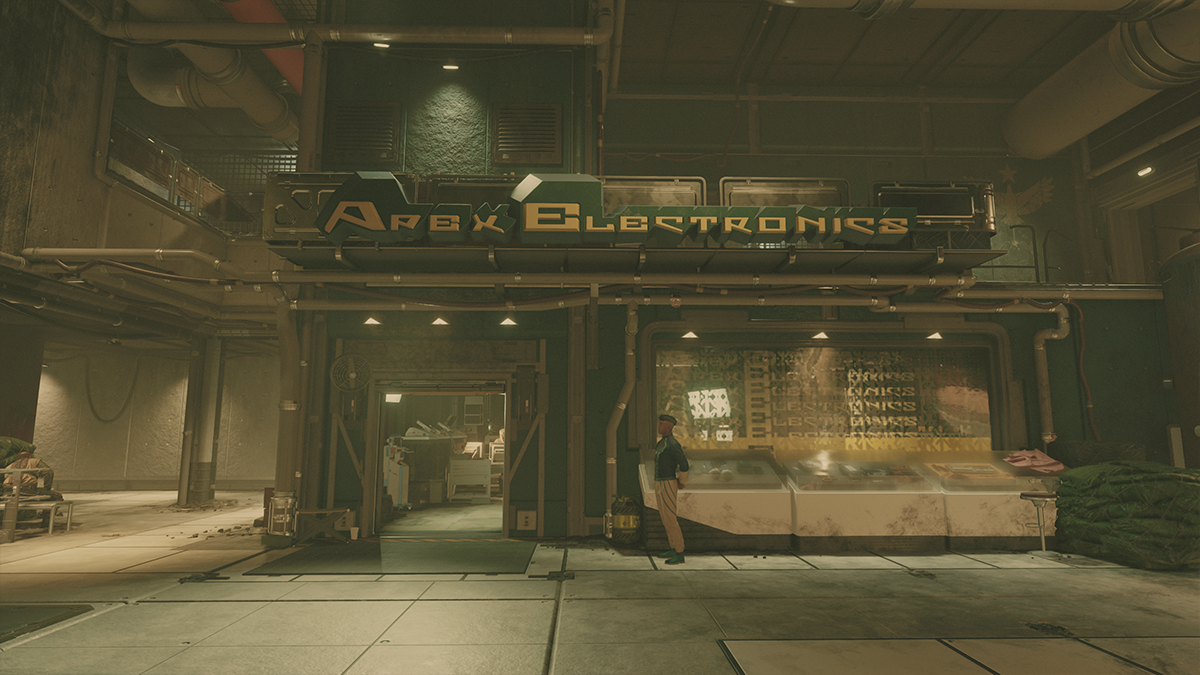
Next, go and speak to Henrik Zuran at Apex Electronics.
Henrik won’t give you any additional quests so just ask him a few questions and cross him off your list. Your last interviewee is Talia O’Shea at the medical center.
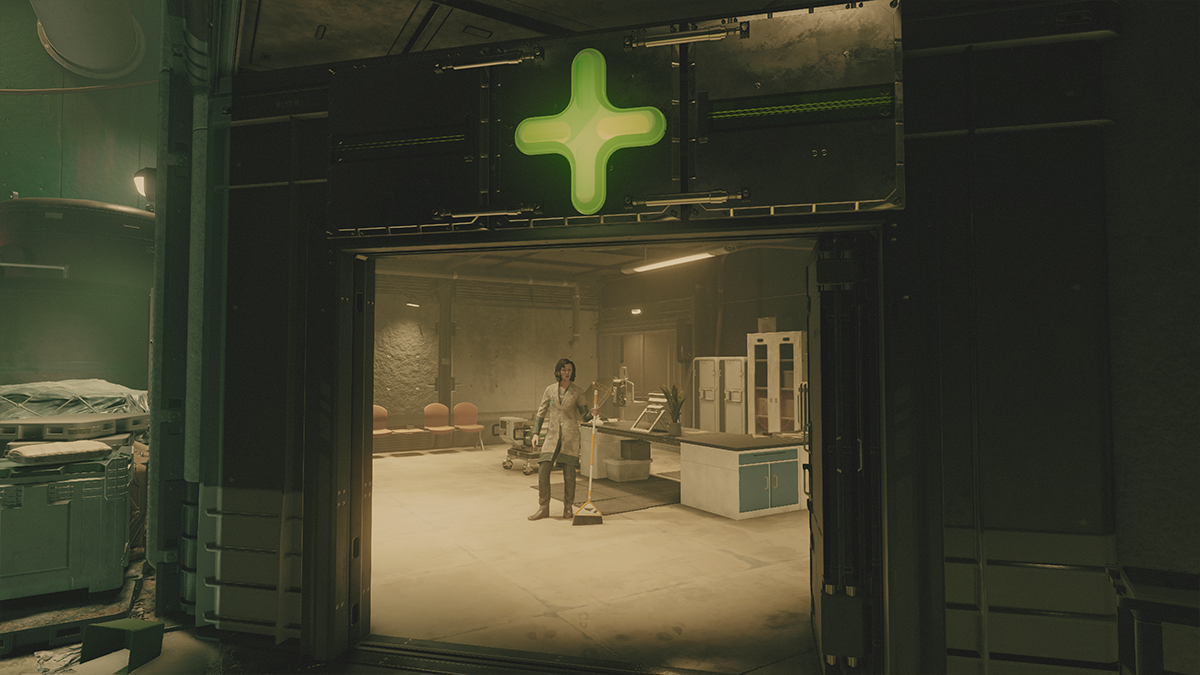
Talia will ask you to come back and help her with a problem once you have some free time. Head back to SSNN and talk to Nadia Muffaz to collect your reward.
Suspicious Activities
Rewards:
- 50 XP
- 2,500 Credits
Go to Kay’s House in the Well and speak to Theresa. She mentioned in the quest “Primary Sources” that she suspects two locals of planning a robbery of UC Surplus. She doesn’t want you to handle the thugs yourself, though, she’d like you to report it to Karson Endler, the local UC Security chief. But first, you’ll need proof.
Go to UC Surplus and eavesdrop on the two men standing by the pipes just past the entrance.
Not being the smartest criminals, they loudly discuss their plans to rob UC Surplus. Unbeknownst to them you just heard everything and can now report it to the authorities.
Head over to the security station and you’ll find Karson on the first floor.
Speak to him and share what you’ve learned about the planned robbery. Once you convince him he’ll go on patrol near UC Surplus and spook the would-be burglars into calling off their heist. Head back to Theresa to report your success and collect your reward.
Reliable Care
Rewards:
- 50 XP
- 2,500 Credits
Go to the Well and speak to Talia O’Shea in the health clinic. She’ll ask for your help in finding a treatment for a stomach bug that’s been going around among her younger patients.
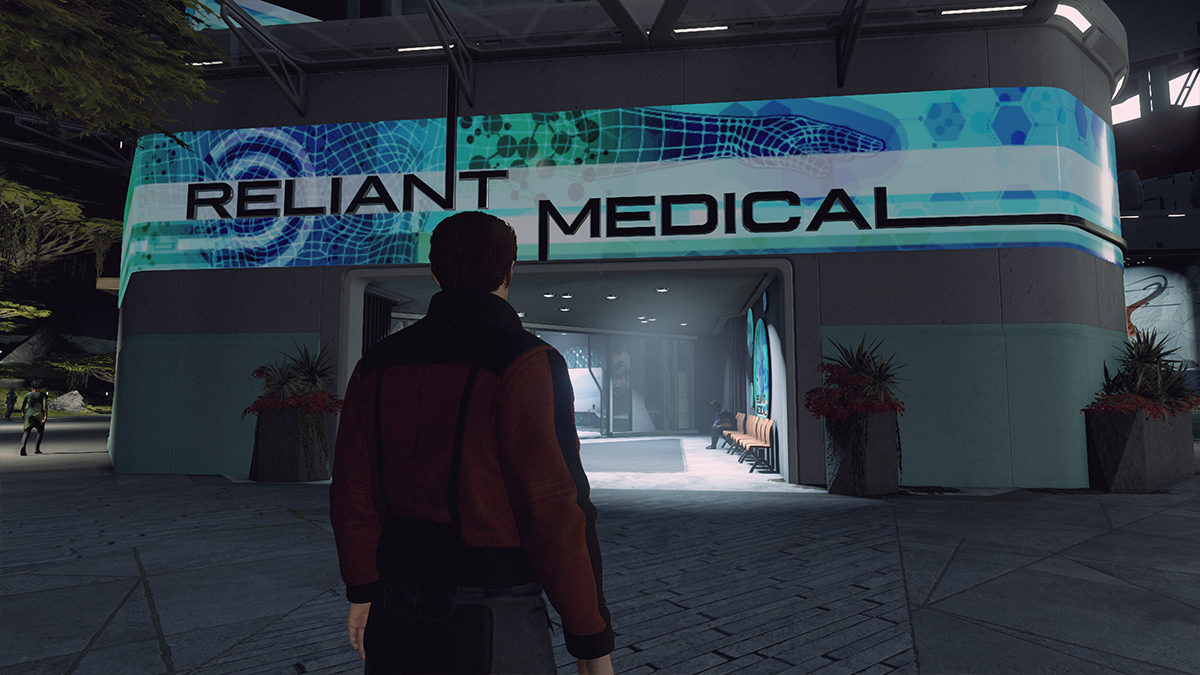
To get the right treatment we’ll need to go topside and speak to Dr. Lebedev. You can find him at the Reliant Medical building in the Commercial District. Go into the lobby and take the elevator, it’ll take you straight up to his examining room.
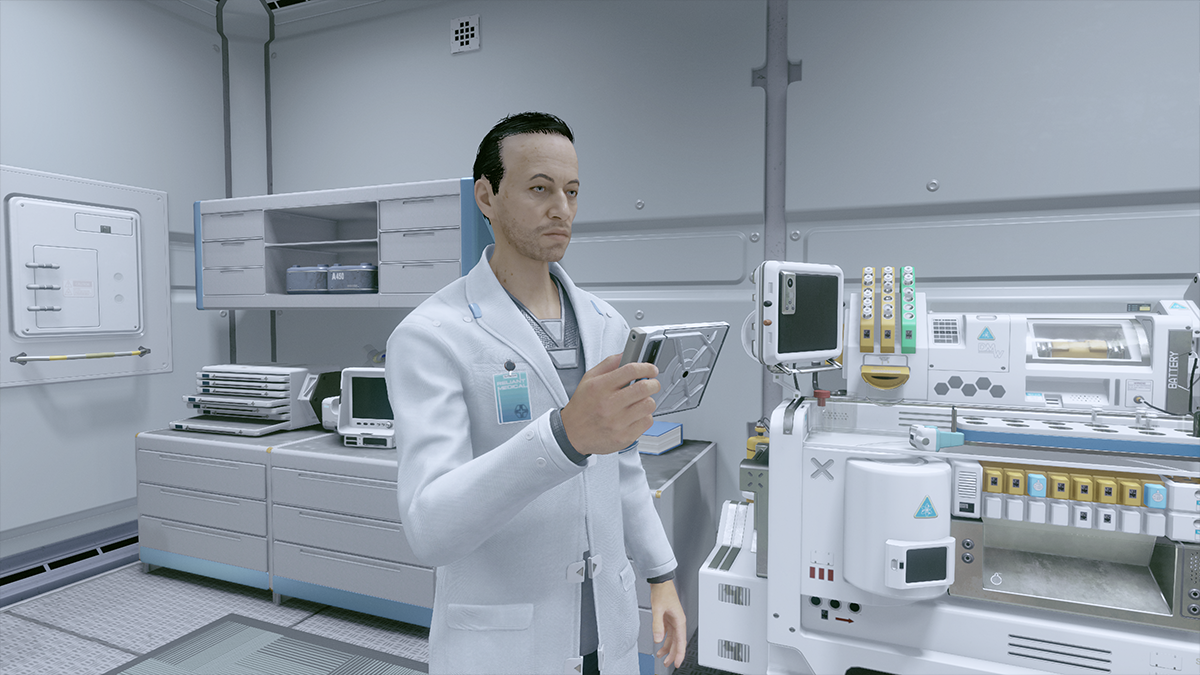
Dr. Lebedev will help you right away, no need to spend any credits or do any favors for him. He’ll give you a data slate with the research Talia needs to help her patients. Head back to the well, speak to Talia, and collect your reward.
Keeping the Peace
Rewards:
- 100 XP
- 2,000 Credits
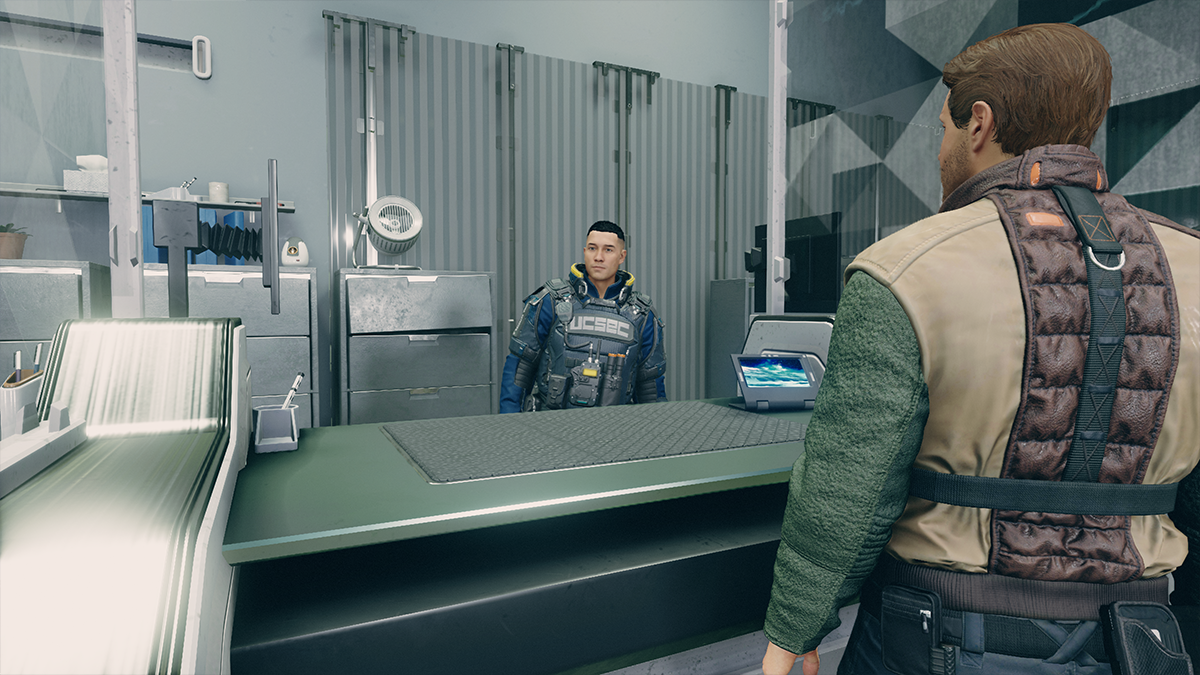
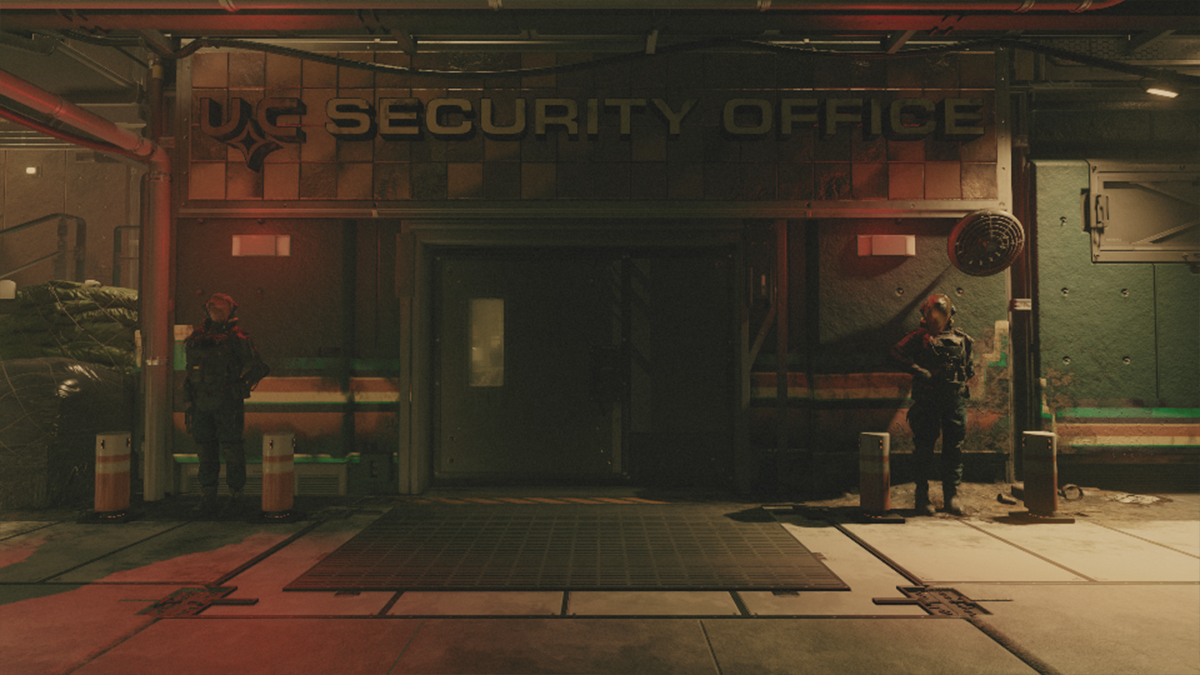
Head over to the UC Security office at the spaceport. Inside you’ll find Sgt. Yumi standing behind a desk. Speak to him about the job offer and you’ll quickly be recruited into the ranks of the UC security force. He’ll ask you to go to the MAST building and speak to Agent Plato of Aegis.
Get on the NAT and take it to the MAST district. Go to the elevator on the left side of the train station and take it to the Defense Research / Health and Human Services / Aegis floor. Go into the Aegis office and speak to Agent Plato.
Agent Plato will ask you to recover a package at a dead drop and return it to Sgt. Yumi. Head back to the Spaceport and you’ll find the package taped to the bottom of a bench at the ATM beside the train station.
Take the package back to Sgt. Yumi and collect your reward.
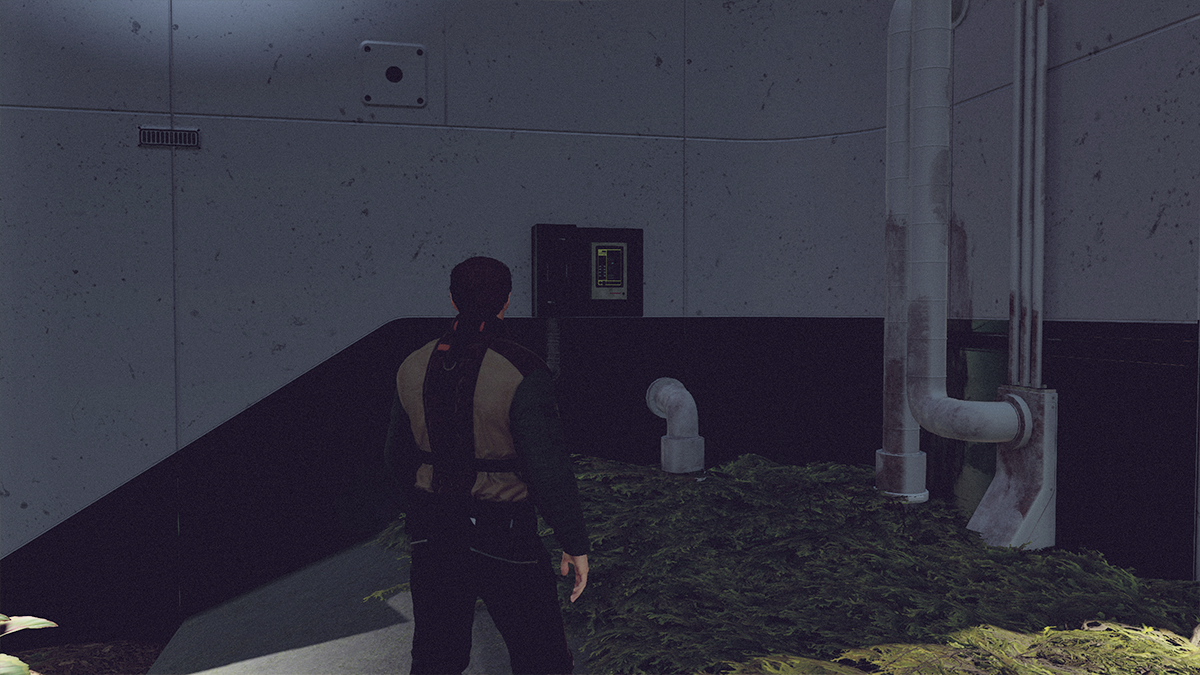
Tapping the Grid: Investigate the Brown-outs in the Well
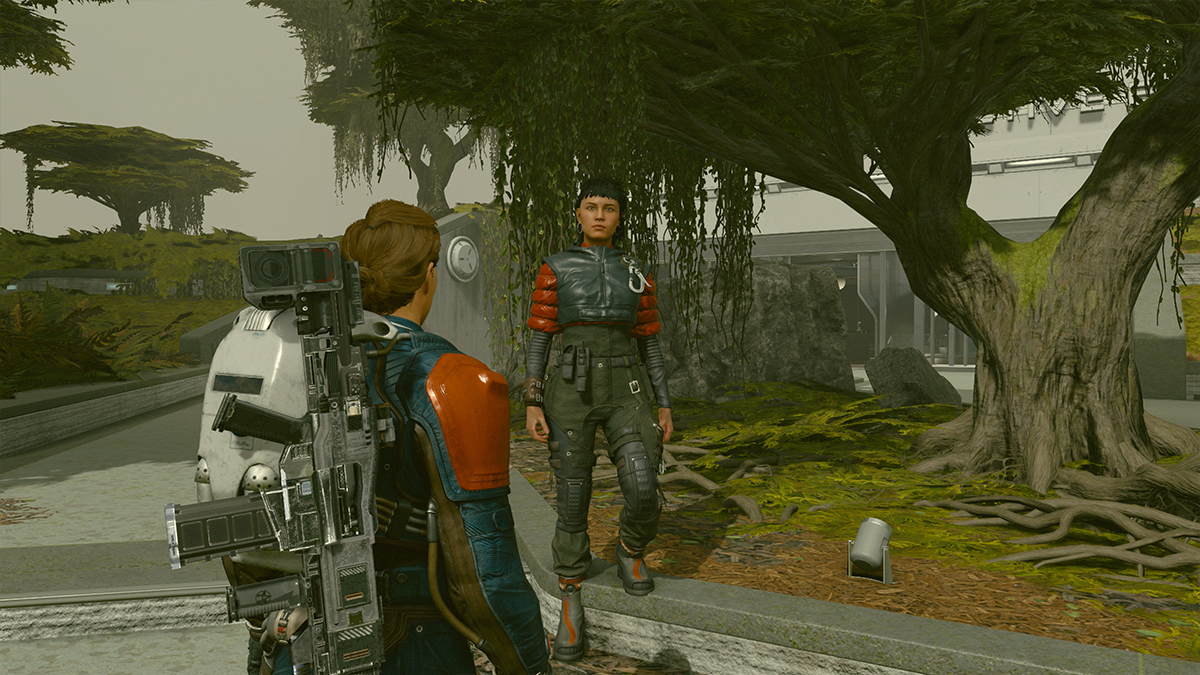
Take the elevator at the MAST district NAT station down to the well. Follow the waypoint to Louisa Reyes, an electrical engineer.
She’ll recruit you to help her find the source of the power outages in the Well. Follow the waypoints to the junction boxes and activate them.
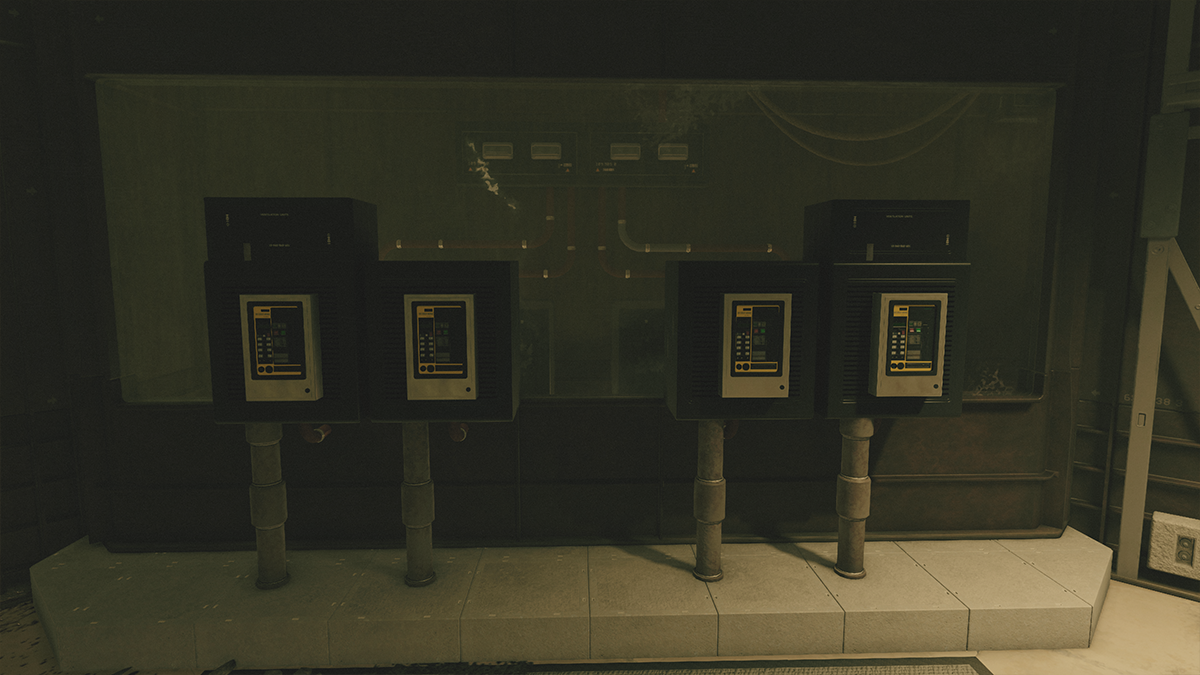
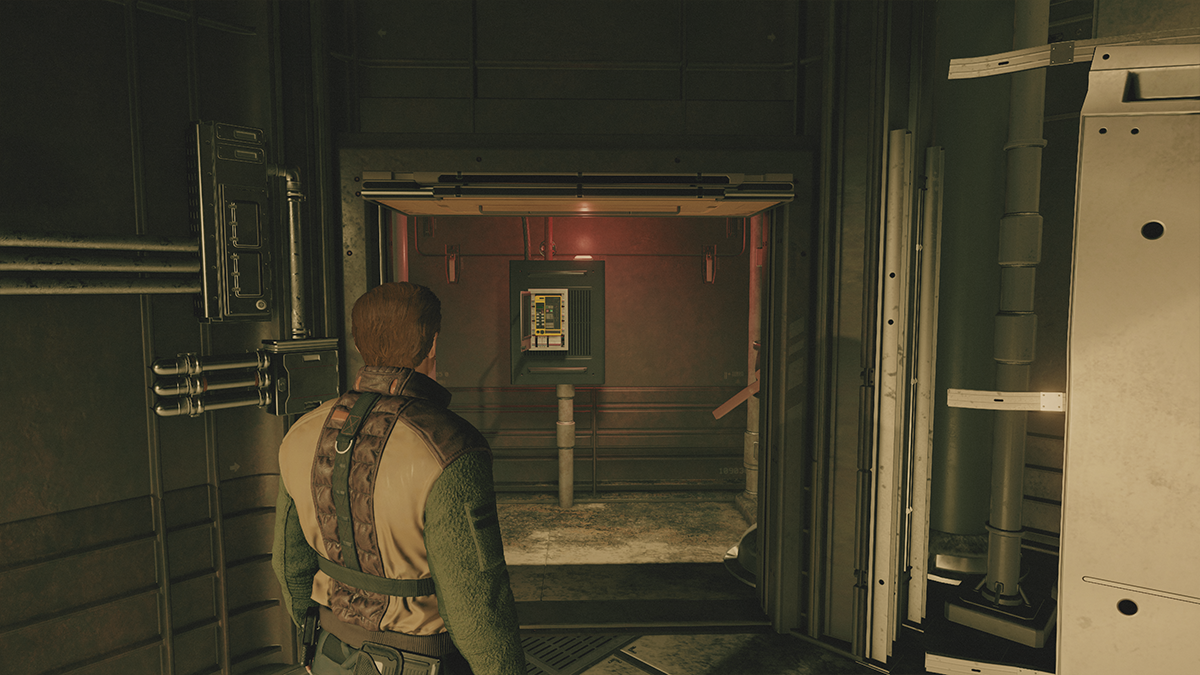
The first two are easy enough to find but the last one is behind a locked door. You’ll need to activate four circuit breakers in a sequence to unlock the door. Luckily the sequence is really simple, just go from left to right and turn each one on and the door will open. Turn on the junction box and head back to Louisa.
Go past where you first met her and take a left up the stairs, Louisa will be in the control room. Talk to her and she’ll give you the quest’s reward. She’ll also invite you to go on another quest. It seems that the unusual power surges are coming from the Trade Authority office in the Well.
Alternating Currents
Rewards:
- 75 XP
- 2,000 Credits
Go with Louisa to the Travel Authority. There you’ll speak to Zoe Kaminski who will claim to know nothing about the power losses. She changes her tune when confronted and agrees to cooperate. Louisa will then send you out to check out more junction boxes. The first one you’ll find on an upper level, the second one above the electronics store.
For the last one, you’ll need to head up to the surface. On your way, you’ll get a message from Zoe offering you a reward if you bring whatever you find to her first instead of Louisa.
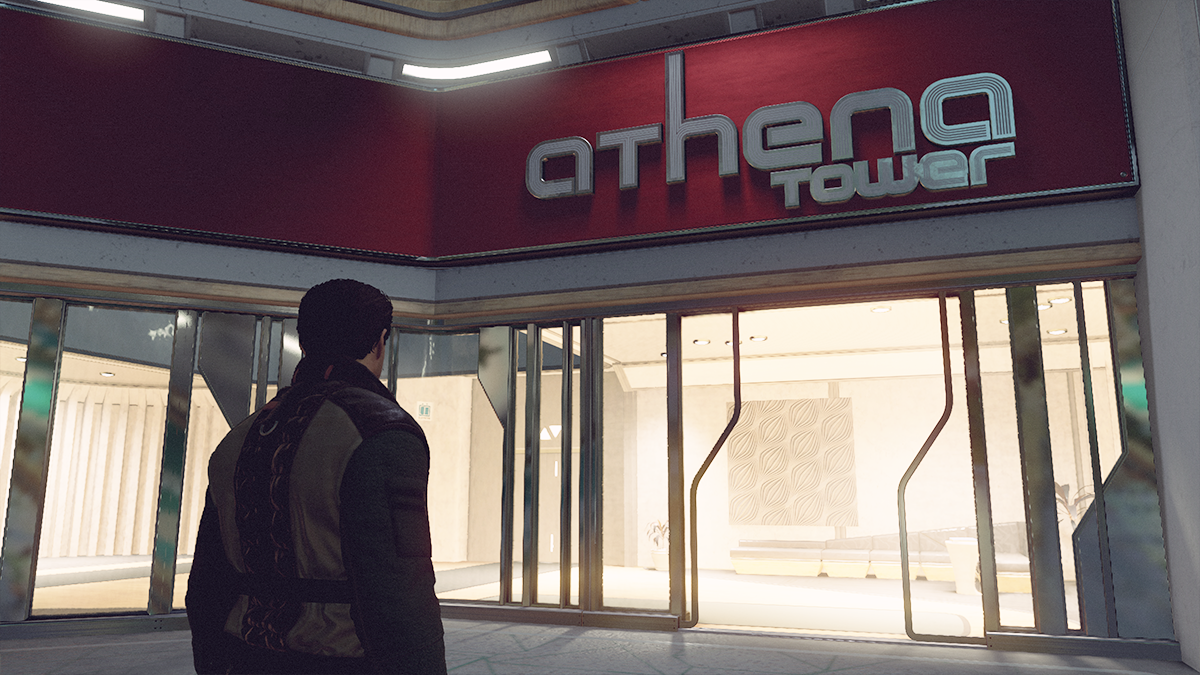
You’ll find the last junction box beside the Athena Tower apartment building. Turns out the power that’s been siphoned off and causing the brownouts is linked to a computer in one of the apartments.
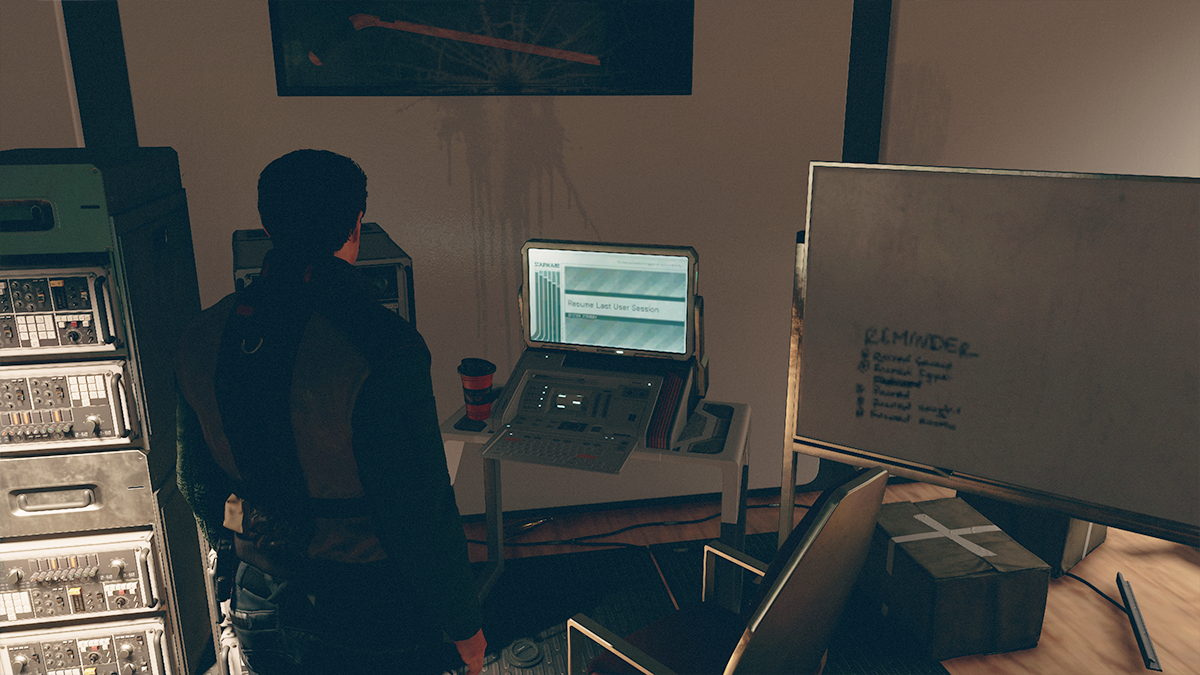
Someone has been running a program that steals money from GalBank. Shut it down and head back to the Trade Authority.
If you choose to give the proof to Louisa she’ll confront Zoe and vow a UC investigation will ensue. If you give it to Zoe she’ll give you the quest’s reward and promise to help you in the future. If you’re more the outlaw type then side with Zoe. If you stand for law and order go with Louisa. Both will give you the quest reward of 2,000 credits and you’ll earn 75 XP.
The Kindness of Strangers
Rewards:
- 150 XP
- 2,000 Credits

Head over to the House of the Enlightened in The Well and speak to Andy Singh.
He’ll ask if you can help a local, Tahir Vala, get home after recovering at the local medical center. Andy will pay you 2,000 credits up front. Follow the waypoint and you’ll find Tahir sitting outside the medical center.
Speak to him and he’ll start following you. Before taking him home, you’ll want to stop by Kay’s House to grab him some food.
Kay and Tahir will have some rather touching dialogue and Kay will give you some soup to give to Tahir.
Follow the waypoint to the part of the Well with the soccer nets and you and Tahir will part ways (don’t forget to give him the soup). No need to go back to Andy, you’ll get the XP for the quest after saying goodbye to Tahir.
The Art Dealer
Rewards:
- 100 XP
- 1,000 Credits
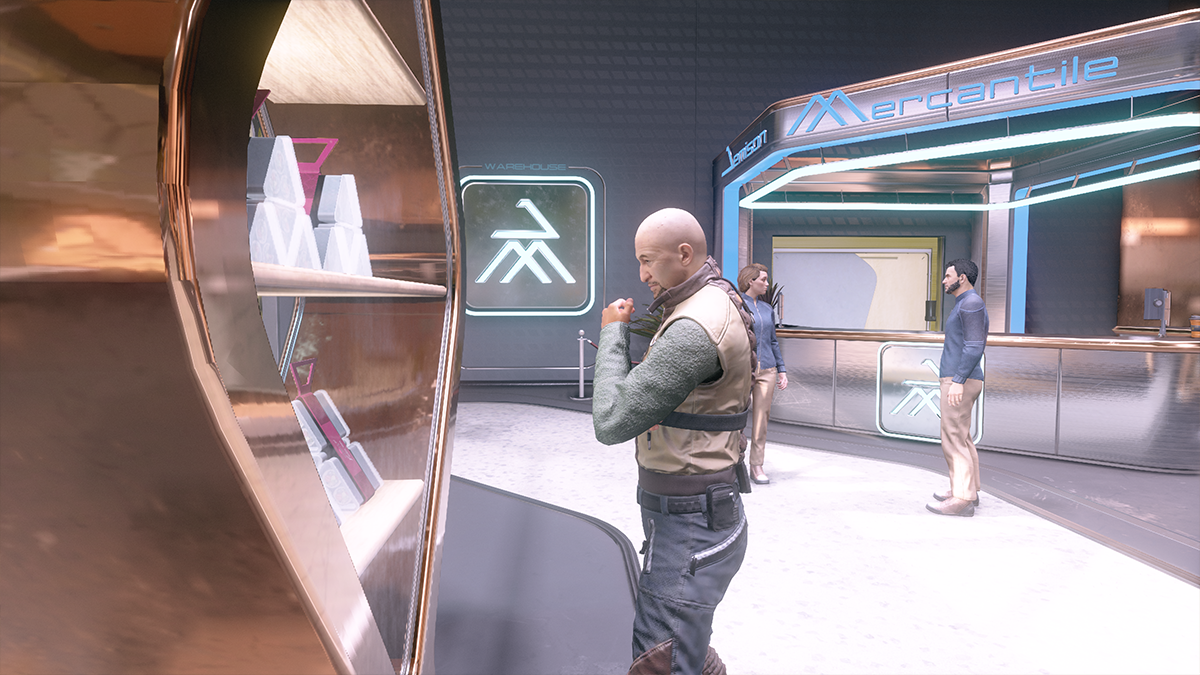
You’ll meet an “art dealer” named Samson Cebrail inside Jemison Mercantile in the New Atlantis Spaceport. Talk to him and he’ll ask you to pick up some “art” for him at the Trade Authority in the Well.
Head down to the Well and speak to Zoe Kaminski at the Trade Authority. She’ll give you the “artwork”. You’ve probably figured out that whatever this is, it isn’t art. But don’t worry, there won’t be any interference by UC Security. Head back to Samson for the quest reward.
The Boot
Rewards:
- 150 credits
- 2,500–3,000 credits
Head into UC Surplus in the Well and you’ll find a pilot, Altagracia Gonzales, arguing with the owner, Antonio Bianchi.
Mention the conversation to him and he’ll tell you about a pair of cursed boots that keep coming back to him. He’ll recruit you to dispose of them at the Den, an outpost for the UC’s Vanguard.
Head to your ship and travel to the Den. Dock your ship and go aboard. You’ll find the crate Antonio wants you to stash them in a hallway on the right from where you enter.
An engineer named Conrad standing next to the crate will offer to buy the boots from you for 500 credits.
What happens when you sell the Lucky Boots to Conrad in Starfield?
Nothing immediately happens besides becoming 500 credits richer. Though we’re sure that something will happen later. When it does we’ll be sure to update this article.
One way or the other, if you sold the boots or stashed them in the crate, head back to Antonio to collect your reward.
Due in Full, Part 1: Dieter Maliki
Rewards:
- 3,500 Credits
Ever wanted an exciting career in debt collection? Well, good news, GalBank is hiring anyone who walks in off the street.
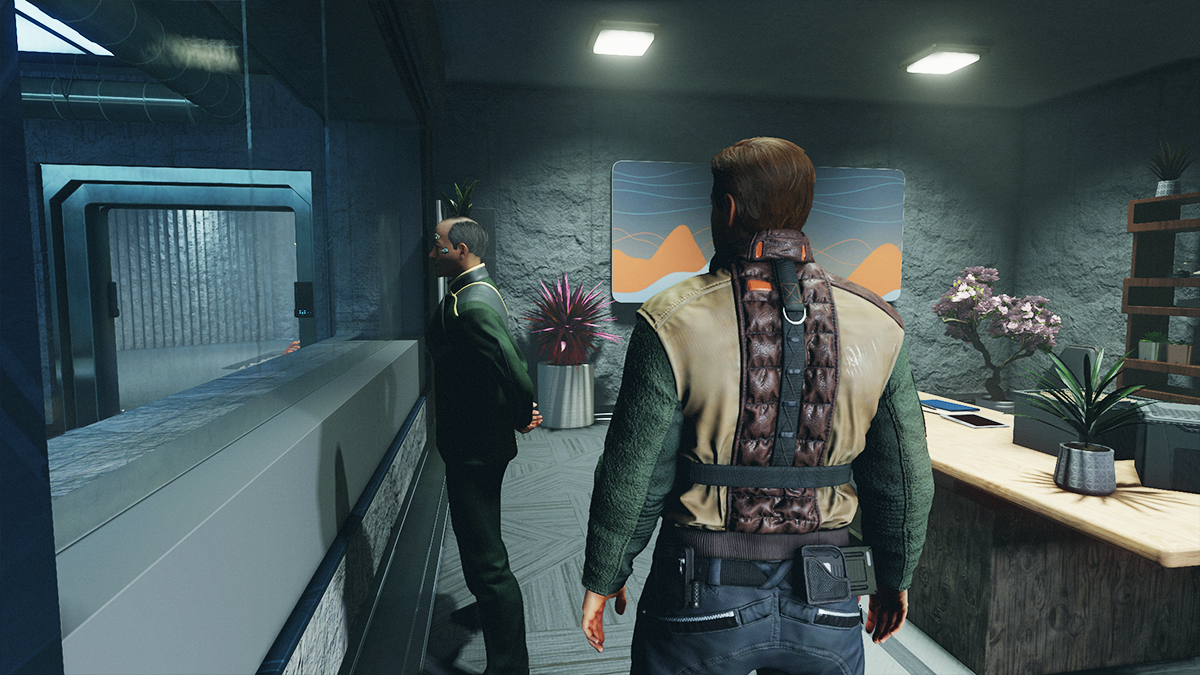
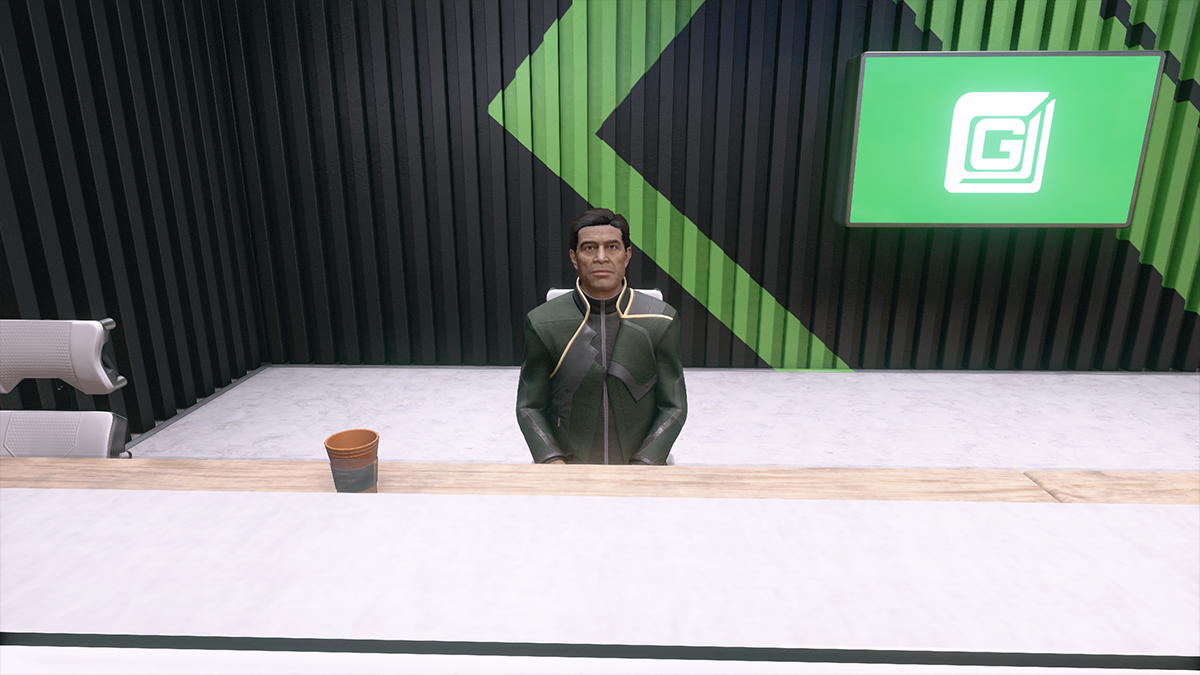
Head into the GalBank in the commercial district and speak to Landry Hollifield. He’ll give you your first assignment. A man named Dieter Maliki skipped town with a sizeable loan he’d taken out and you have to collect.
Head to the spaceport and jump to Landry’s location. Land on the planet and follow the waypoint. It’ll lead you to a building on the other side of a small hill.
Enter and speak to Landry. You’ll have the option of persuading him, offering him a deal, or fighting him. If you pass the persuasion check he’ll pay his debts. If you offer him a deal he’ll reject it and attack you. If you kill him, GalBank will still collect but they’ll be unhappy you had to use lethal force.
Due in Full, Part Two: The Spacer
Rewards:
- 50 XP
- 2,000 Credits

This next bounty is very straightforward. For some reason, GalBank decided it’d be a great idea to give a space pirate a loan. Hollifield will give you the spacer’s location; jump to it and fight him and the two ships with him. Once the spacer is destroyed head back to GalBank to collect the bounty.
Due in Full, Part Three: The Delinquent CEO
Rewards:
- 4,300 Credits
You’re headed off to another distant planet for this bounty. Holed up inside an abandoned military outpost is a gang of pirates and a CEO they’ve kidnapped. Come prepared to fight. Bring plenty of guns, ammo, grenades, and Medpacks. This is going to be a decent scrap.
Before you enter the facility, make sure you activate the robot in the crate outside. Turn it on and reprogram its friend/enemy parameters so it’ll fight for you. This will make quick work of the pirates outside.
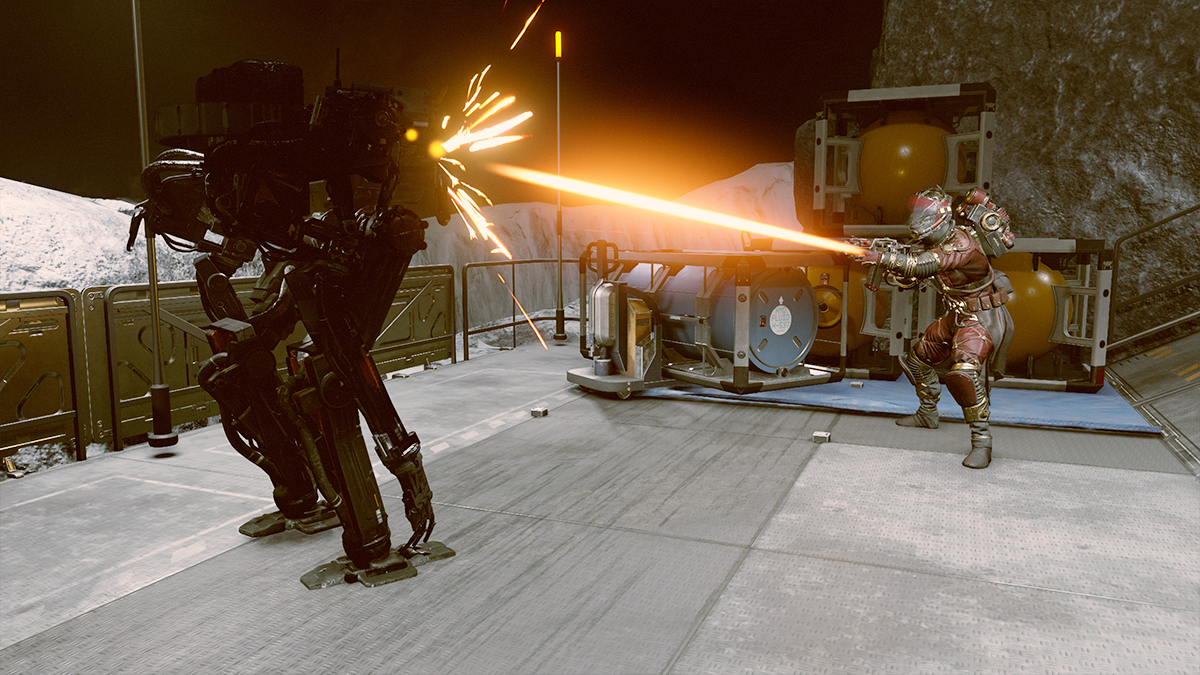
Head in and start blasting some pirates. Watch for explosive barrels and flame-belching pipes. Once all the pirates are dead, speak to the delinquent CEO and ask her to cough up GalBank’s money. She gladly does so and you can head back to Hollifield for your reward.
Due in Full, Part Four: The Delinquent Mercenary
Rewards:
- 4,300 Credits
For the last bounty, you’ll be hunting down, ironically, a former debt collector. Jump to the coordinates Hollifield gives you and head towards the radio tower in the distance, the mercenary’s hideout is just beyond it.
Head inside and speak to him. You’ll have three options: Kill him, say you’ll report you found him dead, or pay off his debt of 10,000 credits. If you choose the last option the mercenary will give you his trusty sidearm—a magnum pistol. It’s powerful but we’re not sure it’s worth more than literally all of the money you’ll make from this quest line.
Still, we decided to give the mercenary a good retirement and paid off his debts. Head back to Hollifield to collect your reward.
Supra et Ultra: Join the Vanguard
Rewards:
- 250 XP
- 4,000 Credits
While technically this is the first mission in the UC Vanguard questline, it has a certain side-mission flavor to it.
To start it, go to the MAST headquarters and look for Commander Tuala to the left when you enter. He’ll sign you up and you’ll need to do a simulation mission before being sworn in as a UC Vanguard Captain. To get the snazzy UC Vanguard spacesuit you’ll need to complete the next quest, “Grunt Work”.
Beautiful Secrets
Rewards:
- 100 XP
- 1,300 Credits
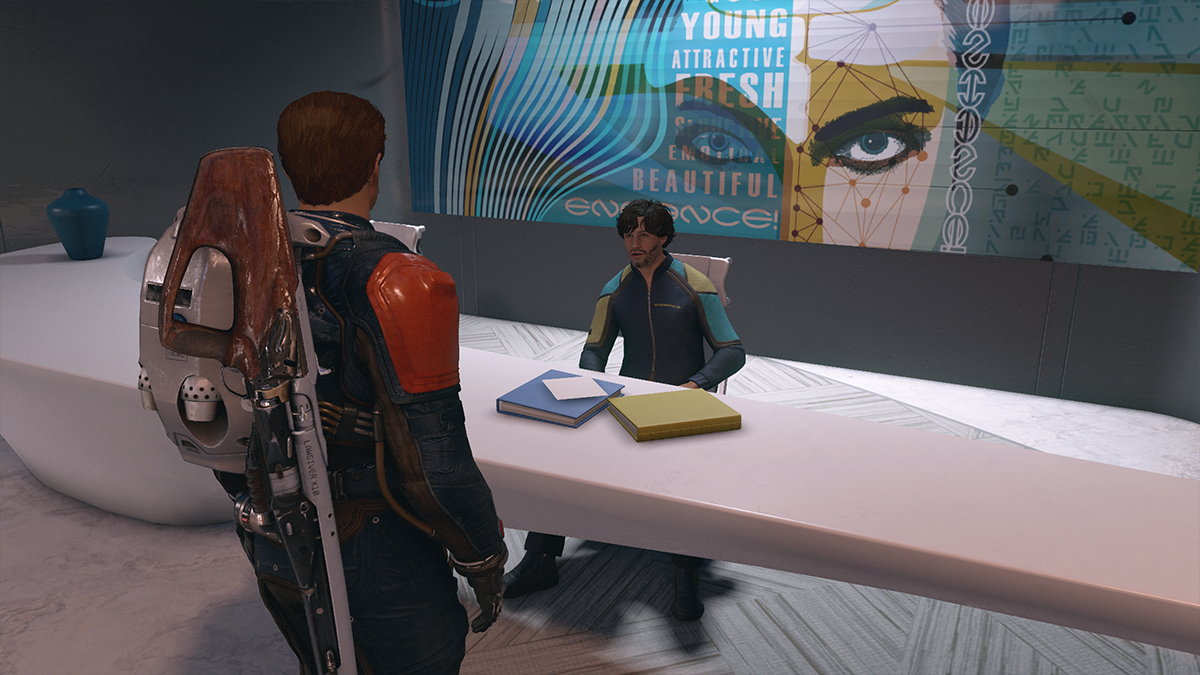
Go to Enhance! In the commercial district (it’s next door to GalBank) and speak to Warner Connell. Ask him some probing questions about patient confidentiality and he’ll admit he’s lost a data slate with his patients’ private information on it. If you can find it for him, he’ll offer you a reward.
He doesn’t remember where he left it but says he’d been to the Valberg Building, to Terrabrew, and Whetstone (the restaurant above the Terrabrew in the commercial district).
We found the slate on one of the tables in Whetstone but if it isn’t there it’s possible it could be in either of the other two locations. The Valberg Building is the building that houses Whetstone and Argos Extractors and has the outdoor Terrabrew in its courtyard.
Once you find the slate return it to Warner and collect your reward.
An Invitation
Rewards:
- 100 XP
- 1,300 Credits
Head over to the Sanctum Universum church, it’s in the far end of the commercial district past GalBank.
There you’ll find Marcus Lestari, a devotee of the church. He’ll ask you to deliver three invitations to recent visitors to see if they’ll come back and join the church.
The first one, Evie Martinez, you can find outside the Freestar Embassy.
Evie isn’t exactly the friendliest New Atlantean so deliver the invitation and move on. You next stop will be the UC Distribution Center.

There you’ll meet Johann Baptiste. Your message will be warmly received and he says he’ll think about revisiting the church.
Finally, head over to the Spaceport and look for Tony Cowl.
Tony’s more skeptical and will ask for your opinion on the church and its beliefs. Answer however you like and you’ll complete the quest. Head back to Marcus and collect your reward.
And there you have it, that’s all of the starting side quests in New Atlantis. There are a couple of Constellation-specific side quests we haven’t unlocked yet but as soon as we do we’ll be adding them to this guide. Stay tuned.


Published: Sep 11, 2023 07:25 pm