Nailing your Overwatch 2 controller settings is the only way to climb the ranks. As you navigate the competitive landscape, you’ll notice players doing certain things much quicker than you are.
Personal preferences play a huge role when deciding on controller settings, and it isn’t easy to declare a particular set of settings as the best. However, it’s relatively easy to notice a clear trend in veteran players’ settings. Before we dive into the best controller settings in Overwatch 2, let’s take a look at how to change controller settings to begin with.
How to change controller settings in Overwatch 2

You can change controller settings in Overwatch 2 by finding the right tabs via the main menu, either when opening the game or by pressing escape during the match. The best option is to test out your settings in the firing range because no one will be mindful of you doing so while in a match.
Here are the steps you need to take to change controller settings in Overwatch 2:
- Open the main menu
- Click on “Options”
- Look for the Controls tab on top of the screen
- Click on “Change Hero” to set controls for your favorite character or leave All Heroes to do so for everyone
- Scroll through the Controls settings and change them accordingly
Now that we’re done with the basics, let’s take a look at the best Overwatch 2 controller settings in more detail.
Best crosshair and reticle settings for Overwatch 2
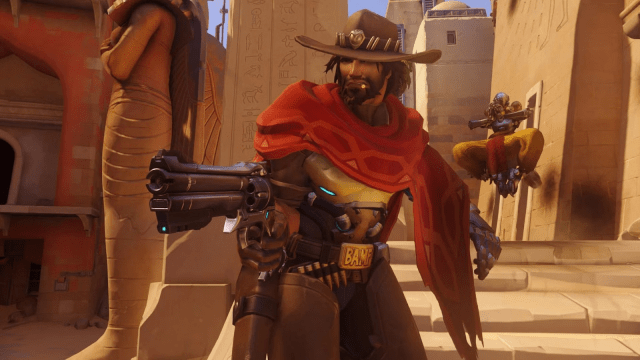
The best crosshair and reticle settings for Overwatch 2 depend on the hero you choose to play; with such a wide selection in the game, there’s usually a crosshair that fits each one’s playstyle. This is where experience comes in, which has shown us that the best option for picking up heroes like Ashe, Widowmaker, and Soldier 76.
I prefer smaller crosshairs for damage to heroes like Sojourn; I like to see more of my screen. Using cross-style crosshairs and dots is my preferred style.
Heroes like Mercy or Reinhardt might not require as much thought regarding crosshairs, so feel free to test your favorite styles. On the other side, heroes like Hanzo need testing.
Best controller settings for Overwatch 2

The best controller settings for Overwatch 2, when it comes to those chosen by the majority of veteran players, are as listed:
- Horizontal Sensitivity: 100
- Vertical Sensitivity: 100
- Aim Assist Strength: 100
- Aim Assist Window Size: 100
- Aim Assist Legacy Mode: Off
- Aim Assist Ease In: 50
- Aim Smoothing: Zero
- Aim Ease In: Zero
- Invert Vertical Look: Off
- Invert Horizontal Look: Off
- Vibration: Off
- Swap Movement and Aim: Off
- Legacy Movement and Aim: Off
- Left Stick Custom Deadzones: Override
- Left Stick Custom Deadzone Inner: 0.12
- Left Stick Custom Deadzone Outer: 1.00
- Right Stick Custom Deadzones: Override
- Right Stick Custom Deadzone Inner: 0.12
- Right Stick Custom Deadzone Outer: 1.00
- Aim Technique: Dual Zone
Regarding Aim Assist Strength, even if you have the best aim, you’ll still want to turn on aim assist. Turning its strength up will allow you to take advantage of it more, and once you get the hang of it, you’ll be able to use it more efficiently. It’s worth using and turning up. When I first started, it was a godsend.
The Aim Assist Window Size setting changes how big is the area around the crosshair where the aim assist will kick in if an enemy is inside it. Having this at a low value will help your aim not jump around in long-range shots where many heroes are moving around, and having it at a high value will be best for close combats.
Aim Assist Legacy Mode is the old aim assist system from Overwatch. We highly recommend turning this off since the new system is more accurate.
While it’s not necessarily a one-size-fits-all methodology, some settings are guaranteed to improve your game. Let’s steer clear of those default settings Blizzard forces upon us and move on to a personalized gaming haven where every setting is tailored for the best possible experience.
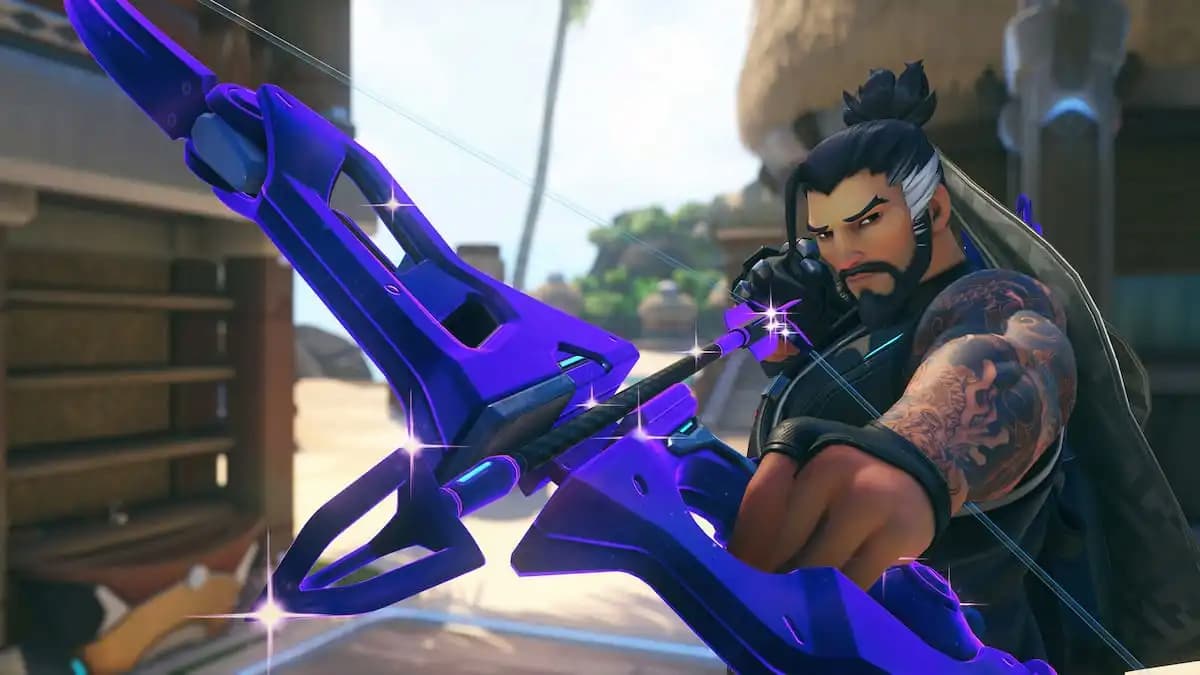
According to Overwatch devs, the Aim Assist Ease In setting changes how strong aim assist becomes the closer you get to the target. That means for hitscan heroes like Cassidy and Widowmaker, who need very accurate shots, having it closer to 100 is best. In contrast, for projectile heroes like Junkrat and Zenyatta, having it closer to 0 is best. Setting it as 50 is an excellent middle ground, but it may be one of the settings worth tweaking for each hero individually.
For Aim Ease In, it’s usually relatively easy to notice when the aim assist kicks in. You’ll feel a sudden shift in your aim, which may feel unnatural. Aim Ease In smoothens that transition, and you can increase it further if you’d like to get rid of that snappy feeling when aim assist kicks in.
The vibration effect usually enhances players’ gaming experience during intense in-game situations. It ends up being a distraction in competitive games, however. The vibration effect kicking in when you’re trying to land a crucial shot can throw off your aim, causing you to miss. Keeping it off is the way to go for competitive play, but you can also try it whenever you play PvE game modes.
As for the Aim Technique setting, the linear ramp is the most intuitive mode on the list because it means matching your stick movement perfectly. The more you move your thumbstick, the more your aim will move. That means for fine-tuning, you want to move it just a little and to the opposite if you want to move around. Dual Zone is for more advanced players, with lower sensitivity closer to the stick’s axis and a higher one far from it. Between the available options, Dual Zone has been more favored in higher ranked players in Overwatch 2.
Exponential Ramp is similar to linear, but you’ll see a much faster movement at more extended stick movements.
Best gyro settings in Overwatch 2 on Nintendo Switch
Our tests on the Switch were done in handheld mode with two joy-cons attached. We tested changes in the Practice Range and on Quick Play with damage heroes like Sombra. Gyro is only supported in Overwatch 2 on Switch and controllers with motion sensors, like the joy-cons and the Pro Controller. Gyro settings tend to be up to preference.
While most players will use the feature only to perform minor adjustments while aiming, others may prefer maxing their gyro settings for a different aiming experience.
- Invert Gyro-Aiming Pitch Axis: Off
- Invert Gyro-Aiming YAW Axis: Off
- Invert Gyro-Aiming Roll Axis: Off
- Gyro-Aiming Pitch Axis Sensitivity: Zero
- Gyro-Aiming YAW Axis Sensitivity: 10
- Gyro-Aiming ROLL Axis Sensitivity: 12
- Disable Gyro While Using Stick: On
Tweaking gyro controls on the Switch, for example, can make aiming much smoother for players like me who can’t aim properly with thumbsticks.
Regarding the Gyro-Aiming Pitch and YAW settings, these two refer to the horizontal and vertical movement when you move your controller around. Some people like to turn the YAW axis to zero to avoid vertical movement changes, which is fine. We recommend keeping the horizontal one turned on at some level up to 10.
Gyro controls should be used as fine-tuning after you aim with the sticks, so going above these levels can be overkill.


Published: Mar 7, 2024 06:30 pm