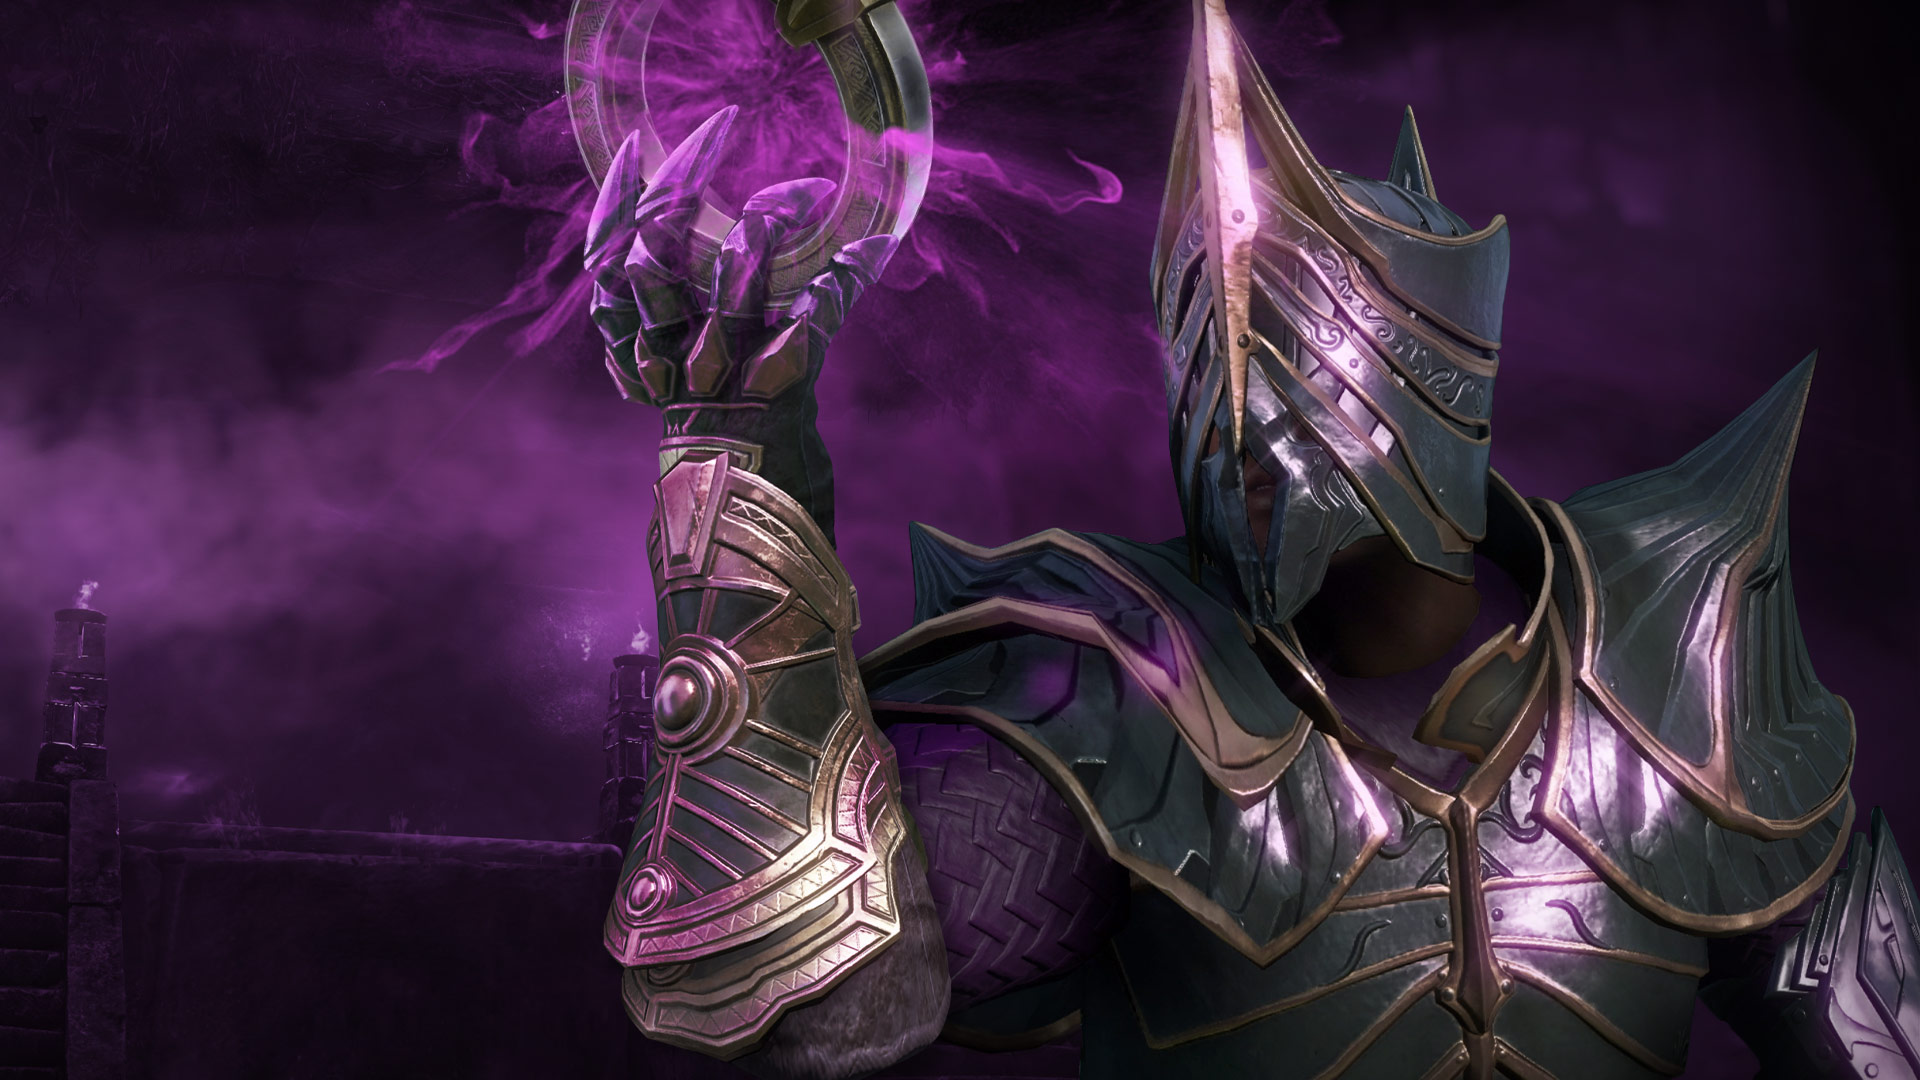
New World‘s void gauntlet is the new addition to the arsenals of almost every healer in Aeternum. It’s not just healers that will benefit from it, though, and magic-based DPS players will also find a tremendous deal of utility in the void gauntlet.
The void gauntlet can debuff enemies, buff allies, and even heal, providing a series of ways to build the weapon. The Annihilation tree focuses on dealing or boosting damage, while Decay is all about debuffs. You can also hold block to trigger Harvest Essence, a channeled ability that sacrifices health for mana.
The void gauntlet has a few weaknesses, however. Its dual scaling (off Intelligence and Focus) means the damage from Focus won’t be extraordinary, and players will likely have to dip into Intelligence to shore up their firepower. The weapon also deals Void damage exclusively, and Lost enemies heavily resist Void. Equipping your gauntlet with an Amber Gem (for Nature damage) or Aquamarine (for Ice damage) will let you exploit Lost enemies’ weaknesses and make up for the DPS loss.
Although the life staff and void gauntlet pairing is a natural choice, there are a few different ways to build around and use the weapon. Here’s a breakdown of the weapon and the best builds for the void gauntlet in New World, based on our experience in the Public Test Realm.
Best void gauntlet Builds in New World
These builds take into account the best possible stats and reflect a level 60 character with 20 weapon mastery.
The life staff/void gauntlet pairing can be strong based on attribute distribution, and there’s room for a couple of different playstyles and builds with it. It’s hardly the only viable combination, though, considering the void gauntlet’s potential.
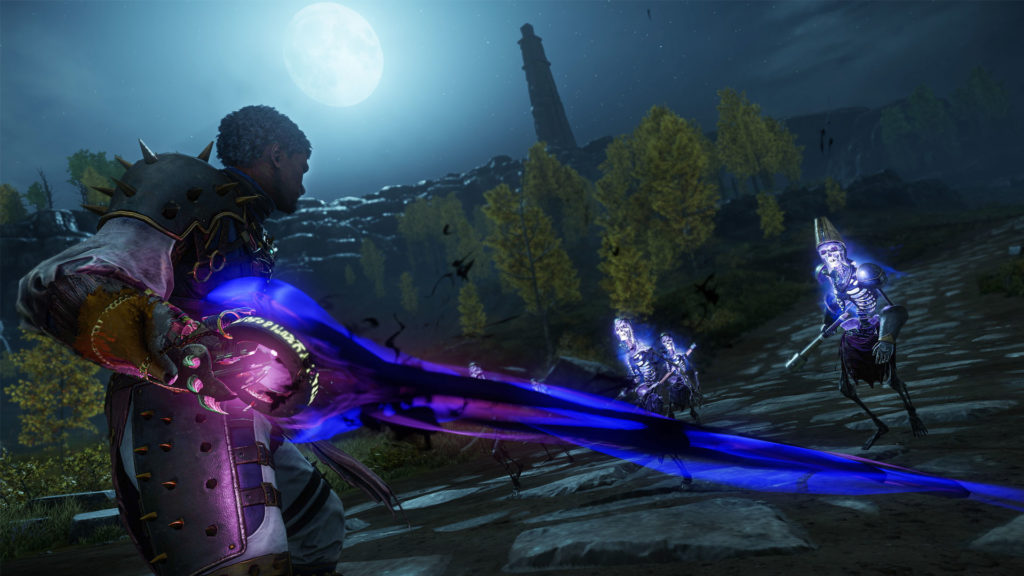
Life staff/void gauntlet: A healer with a bite
When Amazon Game Studios revealed the void gauntlet, healers throughout Aeternum rejoiced because they would finally have a weapon capable of dealing damage. This build capitalizes on the healing capacities from the life staff and mixes them with the void gauntlet’s strong damage potential. This build focuses on healing, but it also gives you enough firepower to tackle content by yourself.
Attribute Distribution: 50 Intelligence, 250 Focus, 100 Constitution. Since Focus is a secondary attribute in the void gauntlet, players need the extra 50 Intelligence to bulk up the damage numbers on the weapon, both for the weapon damage increase and the milestone for reaching 50 Intelligence. If you’re looking for more damage and less healing, running 100 Intelligence, 200 Focus, and 100 Constitution is also a good choice.
Armor: This build works with any armor type, but considering how close players have to be to enemies, Medium Armor is a good balance. Light Armor will provide more healing output and damage, but it’s riskier.
Life staff skills:
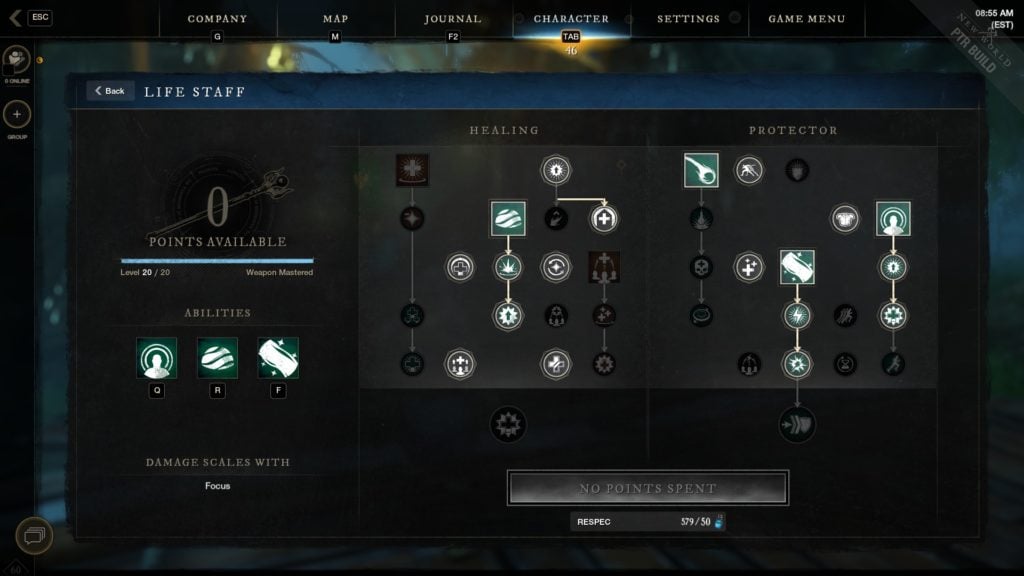
It’s hard to stay away from the holy trinity of Beacon, Sacred Ground, and Light’s Embrace. And you don’t have to. You could consider going for Divine Blessing instead of Light’s Embrace after the life staff nerf in the PTR, but with 250 Focus, odds are you’ll be just fine with Light’s Embrace, especially if your allies actually stand on the Sacred Ground.
Void gauntlet skills:


The bread and butter of this build will be the Void Blade. This setup takes advantage of its ruthless aggression, paired with the buffs and debuffs from Oblivion and Baleful Tether. For group scenarios, you can also take Essence Rupture to supplement your healing, but the bonuses from Baleful Tether make them very valuable in solo play. Alternatively, you can keep Void Blade and Oblivion and spec into Petrifying Scream for when you’re in a pinch.
You’ll take the ultimate on the left tree for added sustain, which will proc fairly often when using Void Blade.
Playstyle and ability rotation: Drop Sacred Ground in front of the enemy, follow up by activating Void Blade, Baleful Tether, and Oblivion when you’re within five meters from your enemy to receive the Empower buffs. Take advantage of the healing from Sacred Ground, plus the sustain from Baleful Tether, Void Blade heavy attacks, and Voidcaller to top yourself up.
Void gauntlet skill variations: You can switch Baleful Tether or Oblivion for Petrifying Scream if you want more crowd control (and an escape when Void Blade runs out).

Void gauntlet/life staff: Magic damage with a side of healing
While the void gauntlet caught the attention of healers desperate for a form of damage that didn’t involve splitting their attributes, the void gauntlet/life staff combination can also work for a mage who’s trying to dip into Focus to act as an off-healer. This is the same build as the offensive healer, but with a different attribute distribution that accommodates the extra damage.
Attribute Distribution: 250 Intelligence, 100 Focus, 100 Constitution. Going all the way to 100 in Constitution aims to make characters tankier, but players can allocate some of the points in the stat to either Intelligence or Focus, depending on what they want to supplement.
Armor: Preferably Light or Medium. A medium equipment load is a solid alternative since it brings enough mobility on its own, without the need to resort to the squishy Light Armor. You could run Heavy Armor with this build, but odds are you’ll get better results from Medium or Light Armor.
Skill trees: Same as above. If focusing on ranged combat, however, players should ditch Baleful Tether and take either Essence Rupture or Petrifying Scream.
Sword and shield/void gauntlet: A tank with utility
Tanks in New World usually pair the sword and shield with a war hammer or a great axe. The void gauntlet, however, could provide an alternative combination that capitalizes on the tank’s resilience and the void gauntlet’s crowd control to throw some extra help on the battlefield.
Attribute Distribution: 150 Strength, 250 Constitution. You can tune the values accordingly if you want more damage or more health. For this build, getting damage with the void gauntlet doesn’t really matter, so you can spec fully into these two attributes.
Armor: Heavy.
Sword and shield skill tree:
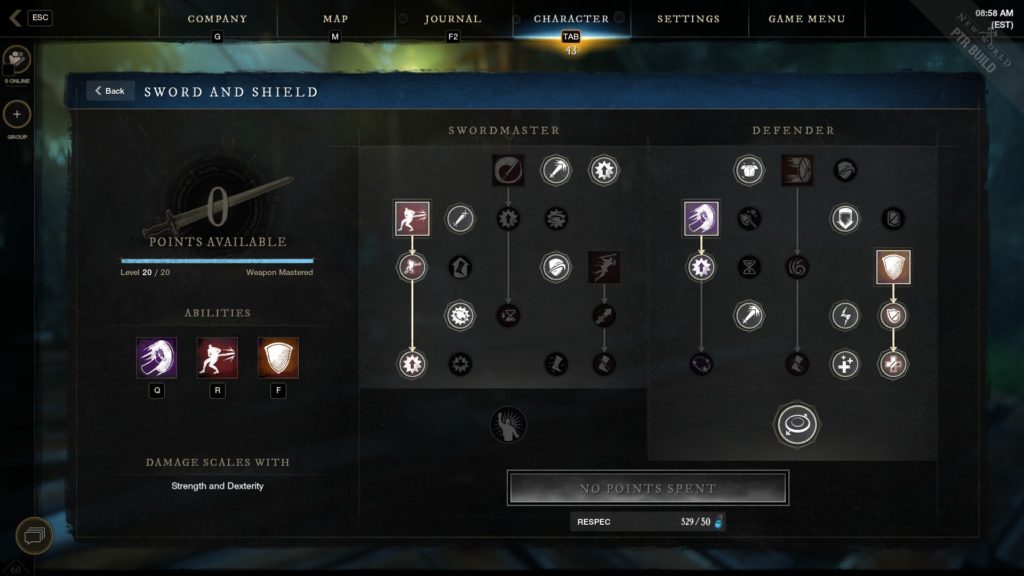
As a tank, you’ll need all the taunts you can get. Since Shield Rush doesn’t aggro mobs, Shield Bash and Defiant Stance are the way to go. Reverse Stab helps with cooldown management, especially if you can hit more than one enemy. Ideally, you’d have a sword with Refreshing Strikes to help with cooldowns as well.
Since you’ll be full-on tanking, you should take most of the talents on the right tree, including Defensive Formation on the bottom. Reducing damage by 30 percent in a two-meter radius is extremely helpful, even if it has a one-second cooldown. You’ll also take most passives that aid with defense.
Void gauntlet skill tree:

Three abilities in the void gauntlet offer handy crowd control or buffs: Oblivion, Essence Rupture, and Petrifying Scream. Additionally, the Void Blade would be useless for a tank, and Baleful Tether disappears once you switch weapons. This only leaves Decay as a possible contender, and you’ll get more benefit out of the other abilities.
Oblivion is a flat 20-percent Empower to any allies within five meters. As a tank, you’re in a prime position to place it in the middle of a mob or close to a boss. Essence Rupture will heal allies for 20 percent of the damage they inflict on a specific opponent, which provides sustain for yourself and helps keep the pressure off the healer. Lastly, Petrifying Scream can help root mobs that are straying away. Add to that the stun in the form of Shield Bash, and you have a solid tank that can withstand hard hits and provide valuable support to the team.

War hammer/void gauntlet: Crowd control and buffs go hand in hand
The void gauntlet’s debuffs aren’t limited to the tank, however. If you’re looking for a playstyle that brings utility, debuffs, crowd control, and heaps of damage, the war hammer is probably a perfect fit. This build is more focused on group content, but it has decent sustain solo thanks to Essence Rupture. Running war hammer/life staff and investing into Focus will provide more survivability, however.
Attribute Distribution: 250 Strength, 150 Constitution.
Armor: Medium (for more damage and mobility) or Heavy (for more survivability).
War hammer skill tree:
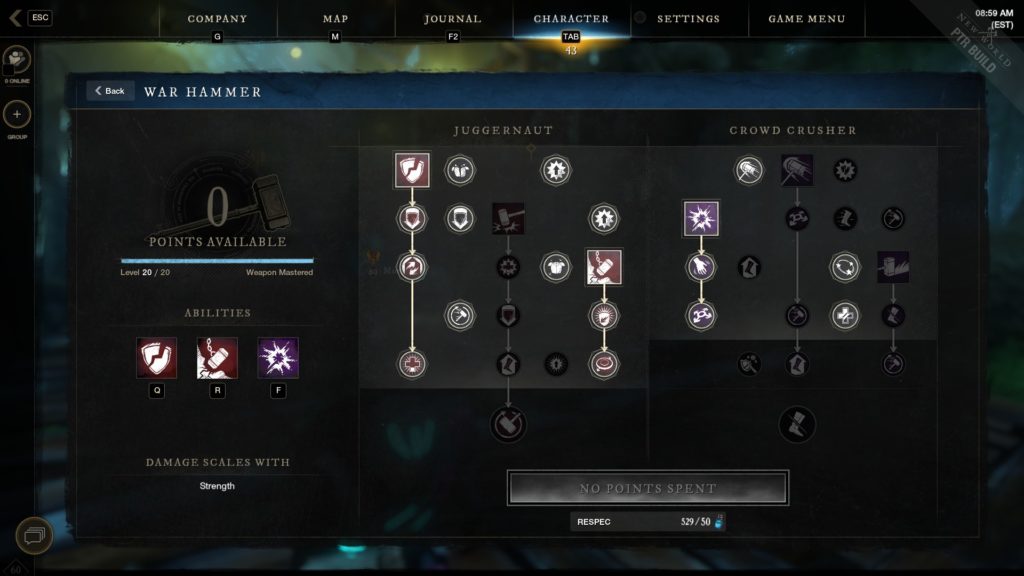
This skill tree takes advantage of the crowd control and Fortify from Wrecking Ball, the stun and Weaken from Shockwave, and the strong Rend from Armor Breaker to inflict a series of debuffs. It also has Grit on heavy attacks, deals extra damage to targets affected by war hammer debuffs (including the 10-second Rend from Armor Breaker), and reduces ability cooldown on heavy attacks.
War hammer Variations: If you’re looking for extra crowd control, taking out Armor Breaker and adding Clear Out or Path of Destiny is another option that will keep enemies on their toes and heal you for 35 percent of damage done thanks to Prevailing Spirit, but this comes at the expense of a long debuff.
Void gauntlet skill tree:

Like the sword and shield/void gauntlet build, this skill tree aims to debuff or root opponents and provide opportunities to increase team damage with Oblivion. Essence Rupture also helps with your sustain, and the Rend will let you deal increased damage to the target.
Ability rotation: Flatten the enemies with Wrecking Ball, then switch to your void gauntlet and pop Oblivion in the middle of the mob. Drop Armor Breaker and use heavy attacks to start reducing your cooldowns and deal damage. After that, either use Petrifying Scream to root your targets and reposition or stun them with Shockwave for more damage.
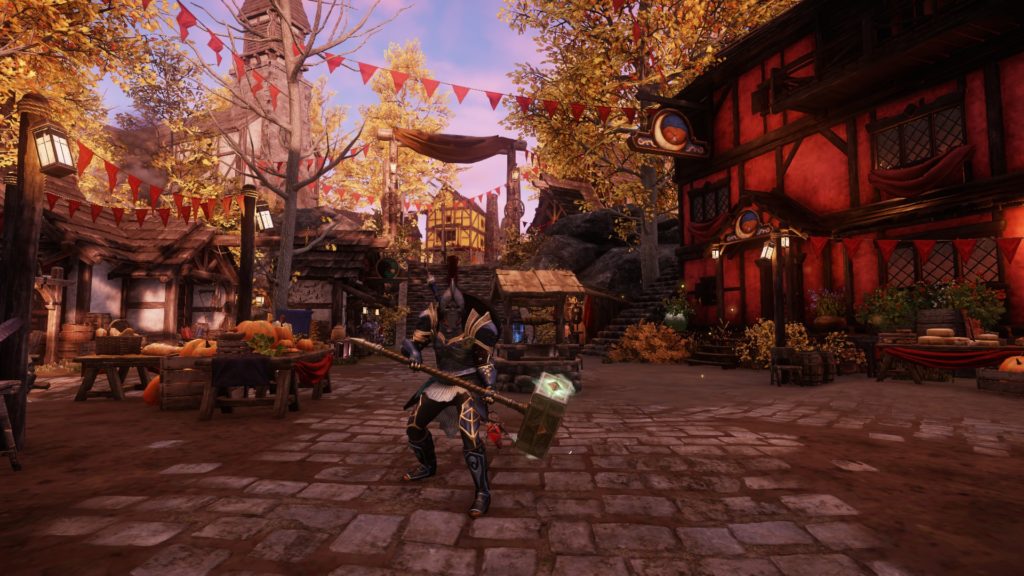
Fire staff/void gauntlet: Magic DPS, and lots of it
The fire staff/ice gauntlet combination is a staple of Intelligence-based damage in New World, but the void gauntlet offers another weapon to pair with the fire staff. This build focuses on ranged combat and offers support to a party, taking advantage of the Empower effects from both the fire staff and Oblivion.
Armor: Light. Although you could do it in Medium Armor, the extra mobility from Light Armor is extremely helpful for kiting mobs, and this build excels at ranged combat.
Attribute Distribution: 300 Intelligence, 100 Constitution. You’re not really using the scaled healing from the void gauntlet, so there’s no point in splitting stats. Go for 300 Intelligence for maximum damage or pour some more points into Constitution for extra survivability.
Fire staff skill tree:
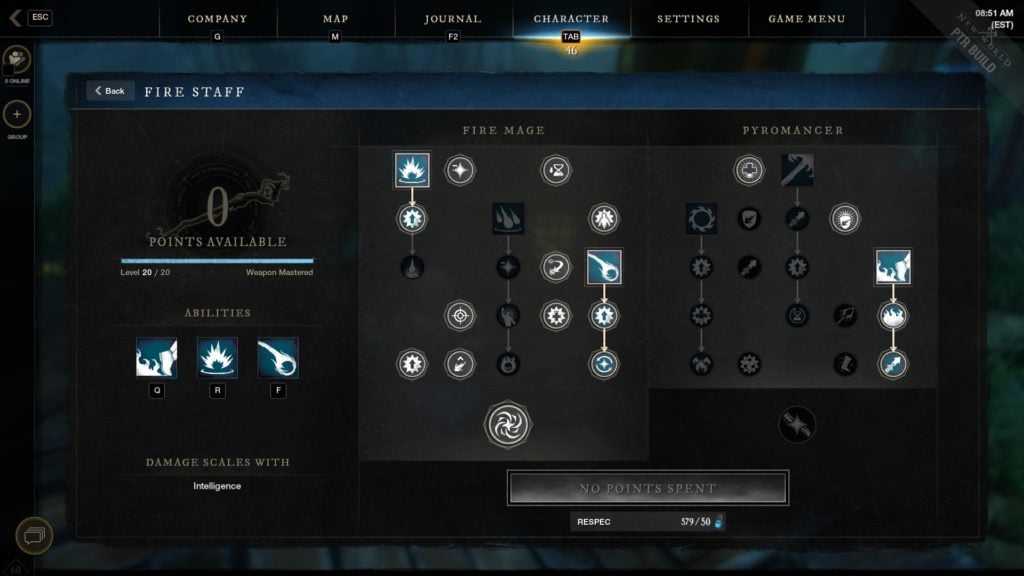
Fireball and Pillar of Fire are heavy damage skills that can be used from a distance, and Burn Out is a useful ability that serves as both a gap closer and a gap opener. We’ll also take advantage of the Rune of Helios for the Empower when casting a fire staff skill.
Void gauntlet skill tree:

The core of this build is Essence Rupture and Oblivion. You’ll use Oblivion to get extra damage while Rune of Helios is on cooldown, Essence Harvest (the block button) to replenish your mana, and Essence Rupture to top yourself off after using Essence Harvest.
The third ability is up to players. Decay can do a decent chunk of damage, while Baleful Tether can be good if you’re looking to attack with the void gauntlet from within 15 meters. Petrifying Scream is a good option for crowd control, though, letting you immobilize enemies and roll away or use Burn Out, and that’s what we ran in the PTR.
Ability Rotation: Open with Pillar of Fire, throw down Fireball while Rune of Helios is active, then keep heavy attacking with the fire staff to deal damage and drop your cooldowns. Mix in a light attack or two to proc Burning thanks to Singe. After Rune of Helios runs out, drop Oblivion and restart your ability rotation. If you’re low on health or want to provide extra healing, send out Essence Rupture. As a side note, Fireball did not seem to trigger the healing from Essence Rupture, possibly because the game counts its explosions as damage over time.













Published: Nov 12, 2021 03:38 pm