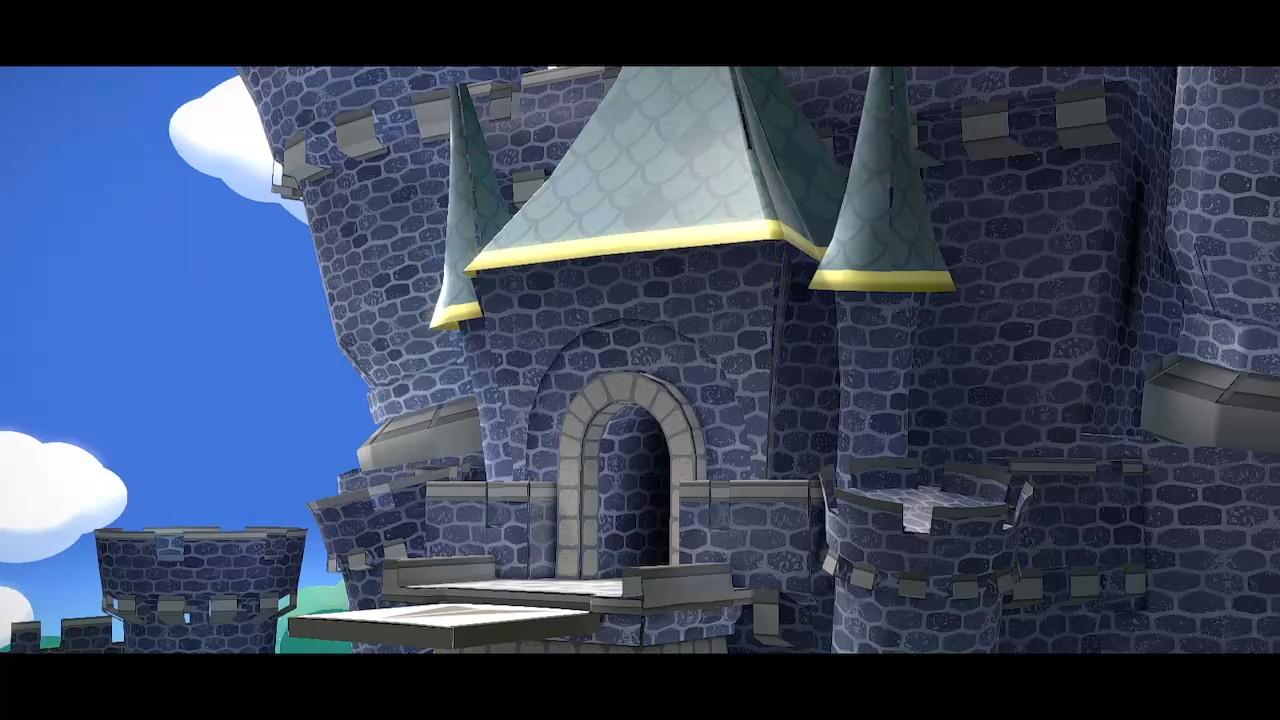
During Chapter 1 of the Paper Mario: The Thousand-Year Door Switch remake, you have to explore and conquer Hooktail Castle. It’s a tricky section of the game, fraught with frogs, skeletons, puzzles, and a tough boss fight. So here’s a full walkthrough.
I got stuck more than once on my way through Hooktail Castle in Paper Mario: The Thousand-Year Door, as there are several obstacles that don’t have obvious solutions. You need to make full use of all of your skills and items along the way. Koops’ shell kick ability is particularly essential here, but isn’t all that easy to use.
Paper Mario: The Thousand-Year Door – Hooktail Castle First Floor walkthrough
From the save point, continue right and drop down off the broken bridge. Use the stepping stones to get to the HP Plus badge under the far side of the bridge. Go back to the save point chamber and use the spring to bounce up to the upper level. Head right, and use your paper plane ability to fly across the gap to the ledge on the far side.
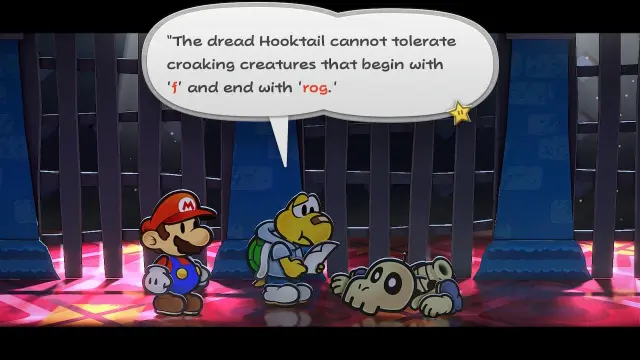
Go inside and head right. Fight or avoid the Koopa Troopas, and get the Power Bounce badge from the block. Go through the next door, and Koops will find what he thinks is the remains of his dad. It’s not his dad, but this pile of Koopa bones does hold a valuable clue:
“The dread Hooktail cannot tolerate croaking creatures that begin with ‘f’ and end with ‘rog.’
This is, of course, referring to frogs. But don’t worry, I’ll show you how to find Hooktail’s weakness later in this walkthrough. If you’re wondering if that green thing at the back of this chamber is a frog, then it’s not. It’s the Castle Key (Green), but you can’t get to it just yet.
Check the Red Bones blocking the door at the far end of this chamber, and a huge hoard of Dry Bones will drop from the ceiling, completely filling the chamber and forcing you back to the left. This is the first place where I got stuck.
How to get past the Dry Bone skeletons on the First Floor of Hooktail Castle
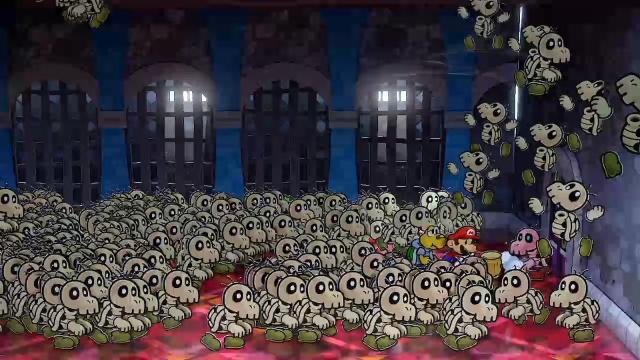
I thought this solution would be something more subtle, but all you actually have to do is use your hammer to smash the Dry Bones out of the way so that you can run and/or jump to the right and reach the Red Bones. Hit the Red Bones with your hammer to trigger a fight. Once you’ve defeated the Red Bones, you can continue into the next chamber, in which you need to reach the Red Key, or the Castle Key (Red), to give it its official name.
How to get the Red Key on the First Floor of Hooktail Castle
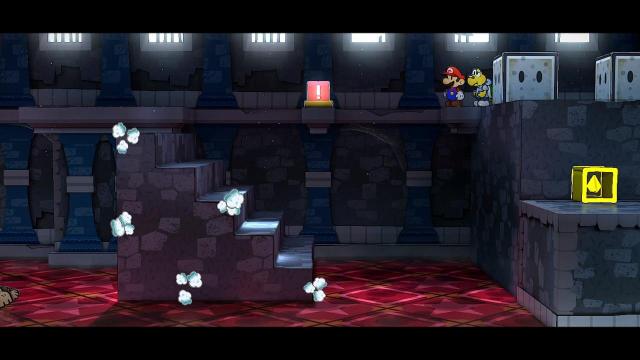
Reaching the Red Key requires some puzzle-solving. Go up the stairs, then drop down and jump on the purple block to make another purple block drop down between the door and one of the grey blocks. Use that purple block to get onto the grey block, then jump across to the left and use your hammer to smash the breakable yellow block.
Drop or jump onto the small yellow block to make the large yellow block go up and out of the way. Stand on the ledge that the yellow block was on, and press X to kick Koops into the red ! block, which will flip the stairs over to the left. You can now use the stairs to get up to the ledge on the left, and then kick Koops across the gap to get the Red Key. Flip the stairs back to the right and unlock the red lock on the door.
Go through the door, straight across the Grand Staircase, and through the door on the right. Stand to the left of the red ! block, facing to the left, then press and hold X to kick Koops and make him spin in place. While still holding X, go around the railing and stand in front of the cell on the right. Release X and Koops should hit the red ! button, which opens the cell door so that you can go into the cell and through the hole in the wall.
In the next room, there’s a black chest just like the one that “cursed” you with the paper plane ability during the Prologue. Just like any other black chest, you need a Black Key to open it.
How to get the Black Key on the First Floor of Hooktail Castle
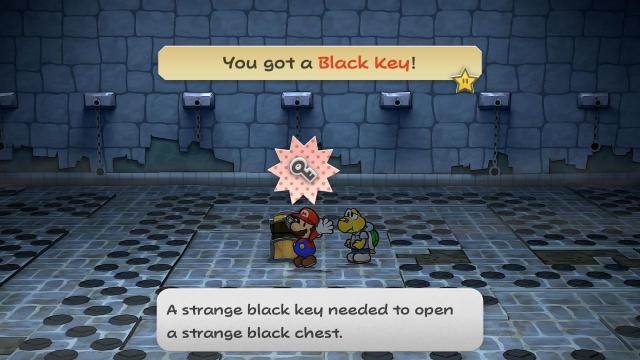
Continue right into the next room. If you think that spikes are going to stick up out of those holes in the floor, you’re absolutely right. But they won’t do that until after you’ve taken the Black Key out of the chest in the middle of the room. So, you don’t need to do what I did and carefully follow the clear path to the chest. That said, I did find that doing that made it easier to find my way out among the spikes after I’d got the Black Key. And you only get 50 seconds to escape, so you can’t afford to take a wrong turn.
The black chest “curses” you with the ability to become “like a piece of paper” by holding ZR. This will enable you to get both Hooktail’s frog weakness and that Green Key you saw earlier.
How to get Hooktail’s frog weakness on the First Floor of Hooktail Castle

Go back to the jail chamber and use ZR to squeeze out of the right-hand cell, then into the left-hand cell, where you’ll find the Attack FX G badge. This badge changes the sound effects of Mario’s attack to sound “froggy”, and the sound of frogs is Hooktail’s weakness. The Attack FX G badge doesn’t cost any BPs to equip, so you might as well equip it now.
How to get the Green Key on the First Floor of Hooktail Castle
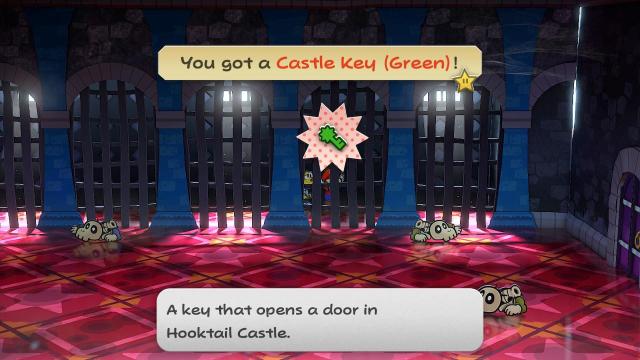
Go all the way back to the chamber where you encountered the hoard of Dry Bones, and use ZR to squeeze through the second archway on the left (the one with no horizontal bars). Head to the right and get the Green Key.
Head back to the Grand Staircase, stand on the large green block, and kick Koops at the small green block so that the large green block takes you up like an elevator. Go up the stairs and unlock the green lock on the door.
Paper Mario: The Thousand-Year Door – Hooktail Castle Second Floor walkthrough
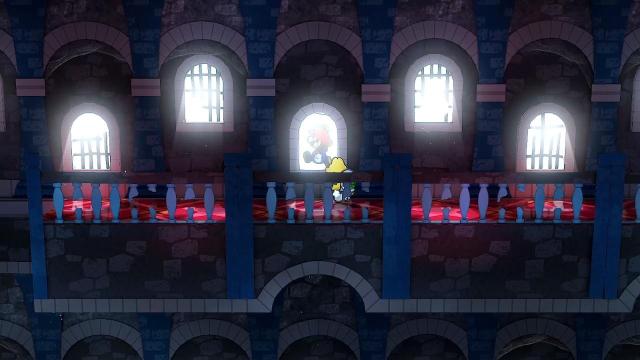
Use the blue ! block to make a bridge, and continue left, then kick Koops at the second blue ! block to make another bridge. Don’t go all the way across this bridge though. Instead, jump out through the window that overlooks it, and head left so that you bypass the next gap, then jump back in through the next open window.
In the next chamber, stand with your back to the small green block, and hold X to make Koops spin in place. While holding X, move onto the large green block, then release X so that Koops hits the small block and sends you up to the third floor.
Paper Mario: The Thousand-Year Door – Hooktail Castle Third Floor walkthrough
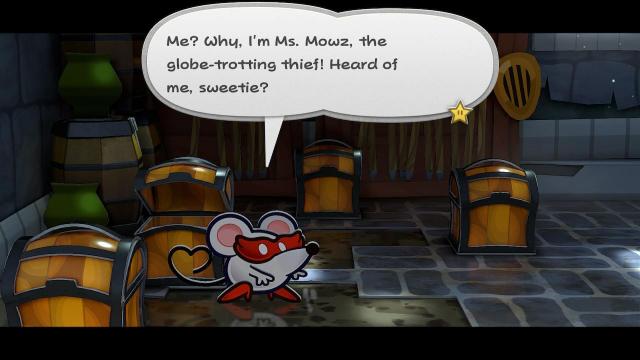
Go through the left door and meet Ms. Mowz for the first time. You can’t recruit her as a partner just yet, though. Open all the boxes to get the Castle Key (Yellow), a Shine Sprite, and some other loot, then go back across the bridge and unlock the door with a yellow lock.
In the next chamber, there are two yellow blocks: one small and one large. Use the large yellow block as an elevator with Koops’ help, just as you did with the green blocks before. Step onto the narrow ledge at the top, and head left. Hold ZR to squeeze through the railings and onto the paper plane launchpad. Turn into a paper plane and glide down to the right so that you land on the ledge in front of the door.
Go through the door and down the stairs and hit the small yellow block to move the big yellow block out of the way. Then kick Koops over the gap to collect the Castle Key (Blue). Go up three flights of stairs, then unlock the blue lock on the door. Head left across the bridge and up the Spiral Tower. At the top, you’ll finally find Hooktail, the nasty, mean dragon.
How to beat Hooktail in Paper Mario: The Thousand-Year Door
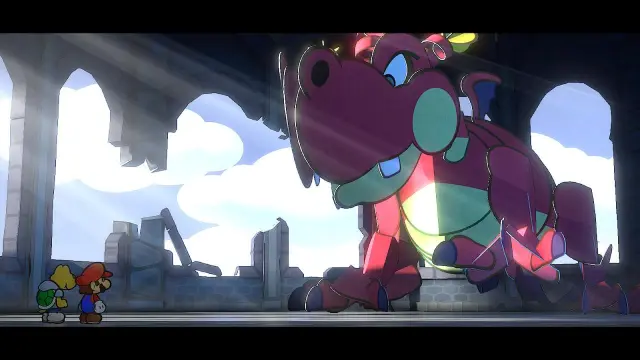
So long as you’ve collected the Attack FX G badge and remembered to equip it, then the boss fight against Hooktail isn’t that hard. If you haven’t got the Attack FX G badge, then go back to the section of this walkthrough titled “How to get Hooktail’s frog weakness on the First Floor of Hooktail Castle” and do what it says there.
The fight is quite long, because Hooktail can take a fair bit of damage, but there’s no particular strategy to it. It doesn’t seem to matter whether you attack Hooktail’s head or her feet, so I just repeatedly attacked her feet with Mario’s Power Smash and Koops’ Shell Toss. Hooktail’s attacks are slow, and so pretty easy to guard against, which also helps. Once Hooktail has been sufficiently weakened, she offers you various bribes to end the fight. They’re all tricks, so refuse all of them and keep fighting until she’s defeated. Winning this fight will reward you with, among other things, the Crystal Star, and completes the Hooktail Castle section of the game.


Published: May 26, 2024 09:42 pm