DEVOUR may be cutthroat to newbies, but so long as you learn the right survival tactics, those Azazel devotees won’t be able to stop your rituals.
Here are our beginner’s tips and tricks to beat every map in DEVOUR.
DEVOUR: Beginner’s tips to complete rituals
DEVOUR is an incredibly challenging game that rises in difficulty as you venture into each map by order of its release. Without a ghost-hunting background from games like Phasmophobia and Demonologist, it is not recommended for solo players to attempt these rituals alone. DEVOUR offers four-player lobbies that are essential to your survival.
With one-slot inventories, you need to strategize before the Azazel cultist activates. DEVOUR follows a format similar to Slender: The Eight Pages, where you have a moment of clarity before the nightmare begins and the monster starts roaming.
Here is where you can plan ahead. These are our top tips heading into DEVOUR.
1) Move items to one spot
Our first tip is to bring everything you need to locations specific to the objective. Healing items should be stacked at the center of your map, a location that neither you nor your friends can forget or get lost finding. It also gives you a place to regroup if your teammates go off on their own. While it’s best for everyone to stay in pairs or in a full squad (if your lobby is full), you can delegate tasks for each member to get the ritual done quicker. You should use this area for healing items (revives) and ritual items.
Here is every location and ritual item you need to pair together to make your ritual more efficient:
| Map | First ritual item | Location | Second ritual item | Location | Medkit location |
|---|---|---|---|---|---|
| Farmhouse | Hay | Entrance | Gasoline | Altar | Entrance |
| Asylum | Food | Fireplace | Fuse | Basement | Fireplace |
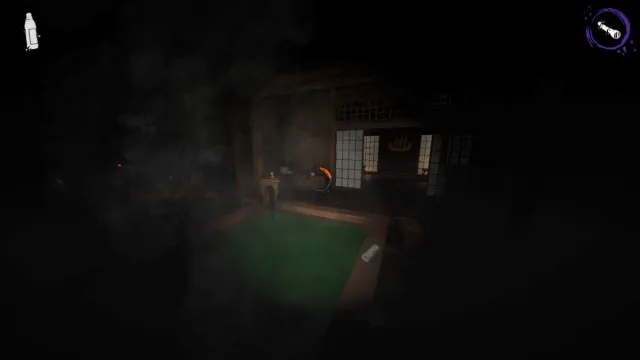
| Inn | Eggs | Hot Spring | Water bottle | Hot Spring | Lobby |
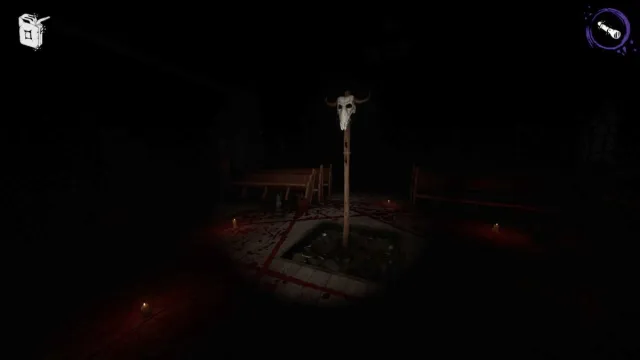
| Town | Books and Matches | Pentagrams | Gasoline | Church | Outside |
| Slaughterhouse | Bones | Freezer | Gasoline | Grinder | Grinder |
| Manor | Gin | Basement | Head | Shed | Lobby (stockpile Cake here too) |
It’s an incredibly tedious process for single-player lobbies because you are set back significantly with your one-slot inventory. But preparing for the ritual is necessary so you aren’t scrambling around for items like heads (Manor) or rats (Asylum) while being hunted by the Azazel.
2) Practice before trying hard mode
Unless you’re a hardcore demon-exorcising ghost hunter, you won’t be used to the challenging nature of DEVOUR. Maps range in size and difficulty, but with the option to select how tough you want the monsters to be, you should go into the Normal mode first. This lets you learn the layout of the map and figure out the best strategy to take out minor monsters while dealing with the persistent Azazel.
The focus here is to learn the entire map so you never get lost. This streamlines your process. Having all items in one place saves time and doesn’t put your team at risk of being wiped out by the Azazel and their minions. Normal mode will teach you the importance of communication and teamwork. Learn to designate each player with a specific role. A member can transform ritual items, others can gather items, and the last member can act as a support or a distractor. These members can body-block the Azazel and kill enemies with their flashlight in the mid- to late-game.
Be aware that your flashlight doesn’t have UV in Nightmare mode. This means you cannot stun the Azazel or kill those nuisance monsters that slowly chip away at your health. Be sure to unlock all doors so you have an escape plan in place if things go south.
3) Disable proximity chat
While the game is most immersive with proximity chat on, you will have a far harder time finding your downed teammates if you can’t hear them. As you learn DEVOUR and get used to its maps, we recommend starting off with proximity chat disabled. You can enable proximity chat when you and your teammates are comfortable with the demanding world of DEVOUR.
Make sure everyone is aware to meet at the stockpile of Medkits in case someone gets downed. You can designate the nearest player to revive them, while another keeps an eye out for the Azazel’s position and fights off any monsters that try to kill the medic.
4) Time your sacrifices together
The Azazel grows more ferocious as time passes on, and their anger towards you builds with every sacrifice. Pay attention to the audio cues (you can’t really miss them) to determine whether the Azazel has red eyes or can be staggered. The red eye phase means they will be faster and cannot be stunned. It’s impossible to outrun this phase without Perks equipped.
Timing your sacrifices together means that you can gain a huge lead against the Azazel. You will only have to deal with the red eye phase once in this sequence of sacrifices, rather than risk multiple phases because you timed your sacrifices wrong.
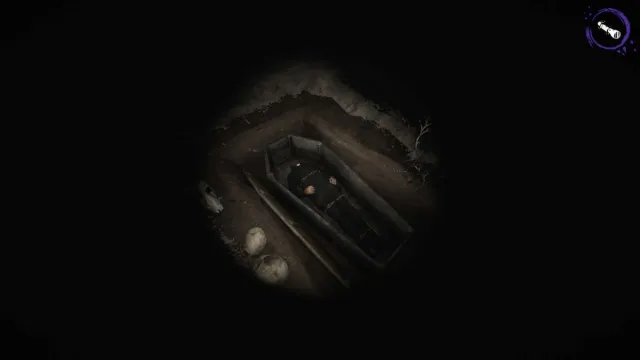
You can also order your ritual items by the nearest points of interest. For example, you can order the heads in The Manor so that you have to bury the bodies closest to the manor in the late-game. This will reduce the chances of the team getting lost in the graveyard. It lowers the chances of losing the round because your team will remember where the final graves are. You can have one or two players learn this specific area of the game and order the final sacrifices in the most convenient order for the team.
The Azazel cannot attack for approximately 20 seconds if they down someone. So, we also recommend sacrificing someone in the endgame. This gives the rest of the team time to complete the ritual. Make sure that you have healing items to revive any downed teammates, as you don’t want to risk being the last one alive. It’s best to end the game with at least two people up. Although it isn’t immediate, used healing items can respawn.
Ritual guide
Every map has a clear set of rules that you must follow if you want to win. Each follows a very particular format of sacrificing an animal or placing a ritual at its corresponding altar. You must always combine two items together to either sacrifice or transform them. The process is repeated until the ritual is completed after 10 sacrifices.
The activated Azazel can be staggered (unless their eyes glow red) and minor monsters can be killed with your UV flashlight. The difficulty rating for each map is as follows: Normal, Challenging, Hard, and Extreme. Here are all the maps and a brief summary of what you must do to beat them:
| Map | Solo difficulty | Co-op difficulty | Objectives |
|---|---|---|---|
| Farmhouse | Challenging | Normal | Use Hay to lure Goats, pick these up and take them to the Altar. Use Gasoline to sacrifice the Goat. |
| Asylum | Hard | Normal | Knock over Bins to release Rats and lure the Rats with Food to pick them up. Sacrifice Rats in Basement. Stockpile Fuse near the sacrificial lever to replace them after a sacrifice. |
| Inn | Extreme | Extreme | Unlock all doors by finding all Keys. Find Eggs and clean them at the Hot Springs, dropping them off at their corresponding Altar. |
| Town | Extreme | Hard | Lure cursed Heads with Cake. Pick up Heads and take them to the Altar, sacrifice them using Gin. Take the transformed Heads and place them in their corresponding graves. Finally, bury the graves. |
| Slaughterhouse | Hard | Hard | Use Gasoline to fuel the Meat Grinder, release Pigs and lure them with Bones. Sacrifice Pigs in the Grinder. |
| Manor | Extreme | Extreme | Lure cursed Heads with Cake. Pick up Heads and take them to the Altar, and sacrifice them using Gin. Take the transformed Heads and place them in their corresponding graves. Finally, bury the graves. |


Published: Sep 29, 2024 09:39 am