Throughout your time with Heroes of Hammerwatch II, you’ll need to watch for NPCs while hacking and slashing your way through enemies.
Some offer simple combat support, resources, or new classes, but others—like the Architect—are crucial for your progression. The Architect isn’t easy to find at first, though, as he spawns in a tricky area of the game that’s locked behind several levels.
Here’s how to find the Architect in HoH 2, including where the character can spawn in the game, what he offers, and which levels you’ll need to beat to find him. Finding him will also help you get into the Dark Citadel, allowing you to progress through the game’s later stages.
How to find the Architect in Heroes of Hammerwatch II
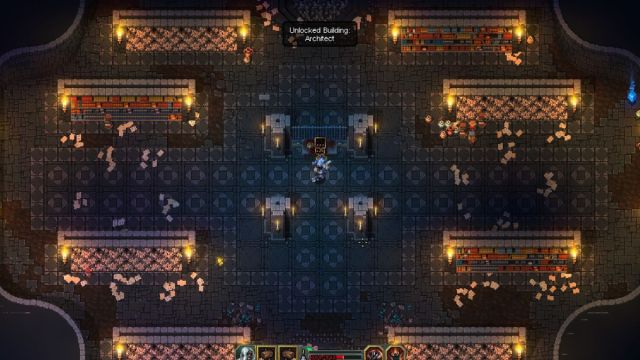
The Architect spawns in the Crypt levels of HoH 2. To get here, you’ll need to pass through the following levels and boss fights:
- Forest One. This is the first level of the game, packed with standard enemies and treasures to help improve your run. You’ll be able to see a path to the Dark Citadel past a gnarled tree, but you need to head in the other direction towards the stone path leading to Forest Two.
- Forest Two. Forest Two is slightly trickier than Forest One, with a tripwire up front that’ll summon a large horde of enemies. Work your way through the level until you reach a large camp of enemies at the end, then take the path up to the right to enter the caves.
- Dark Caves One. Watch out for light gray pressure plates on the floor of this cave—standing on one will drop boulders down on your head.
- Dark Caves Two. Take the time to search every inch of this level, as the first attempt at the Totem Pole Boss can be difficult, especially as a ranged class or lower-level character.
- Totem Pole Boss. We’d recommend being at least level eight here to make the fight as easy as possible. This boss is split into four sections, as indicated by its health bar, which appear in a random order each time. To win, attack the Totem Pole, survive the elemental damage, and destroy the mobs. The stages are:
- Fire. The boss will send out two pinwheels of fire sweeping across the room and paths of flame closer to the center of the arena. Dodge them by hiding behind the pillars, and make sure to stun or AoE down any nearby mobs.
- Ice. This section of the fight sends out triple paths of ice from the boss, alongside spinning balls of ice from the nearby pillars. Mobs will continue to rush you throughout the fight, so taking the time to lay down Glyphs or stun them is worthwhile.
- Earth. This stage features earthquake attacks, with rippling earth and boulders to contend with, too. We found this to be the easiest stage of all, as it’s possible just to keep moving around the boss while attacking and never take any damage.
- Lightning. The Lightning stage features spinning cyclones alongside a chain lightning attack bouncing off of the pillars.
- Forest Three. Forest Three features new enemies, like cultists. Work your way up until you reach a castle-like structure and head inside.
- Temple. The Temple is a sprawling indoor level with cultists and Elites to contend with. You’re looking for a room with stacks of bones, an altar, and a gate at the end. You’ll unlock the Warlock here and learn that the gate is rigged to trigger three waves of enemies as soon as you touch it.
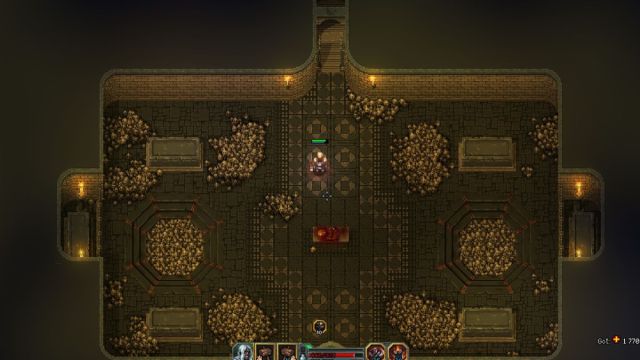
- Crypt One. The Crypt is an indoor level with new risks to manage, like piles of bones that trigger skeletons, fire-breathing statues, and wall traps.
- Crypt Two. This is the level where we found the Architect’s room. Past this, another boss fight awaits you, so stock up on resources.
During our run, we found him in a large room lined with shelves of books, packed with multiple packs of enemies and Elites alongside two ice pillars on either side of the NPC.
Based on community feedback, this is the most common location for the Architect, although some players have reported seeing the Architect in the Temple level. We’d suggest doing a quick sweep of the Temple area anyway to prepare for later bosses but expect to see him in the Crypt.
Friendly NPCs like the Architect show up as a yellow dot on the minimap, so it’s worth double-checking the map as you play to make sure that you’ve not missed him.
When you’ve unlocked the Architect by speaking to him, he’ll wait for you back in town. You need to craft his building to access his buffs, which will cost you 20 Wood and 15 Stone. The buffs are applied in the start screen for a run, alongside the Chapel and the Tavern.
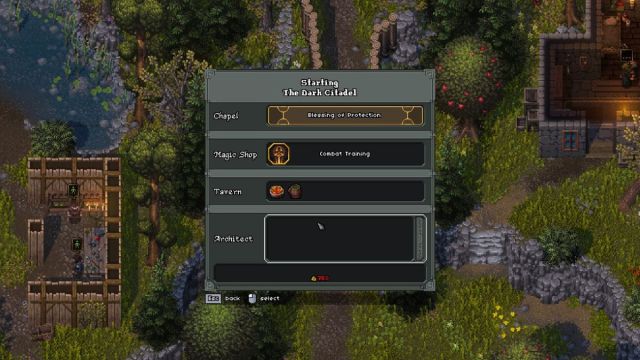
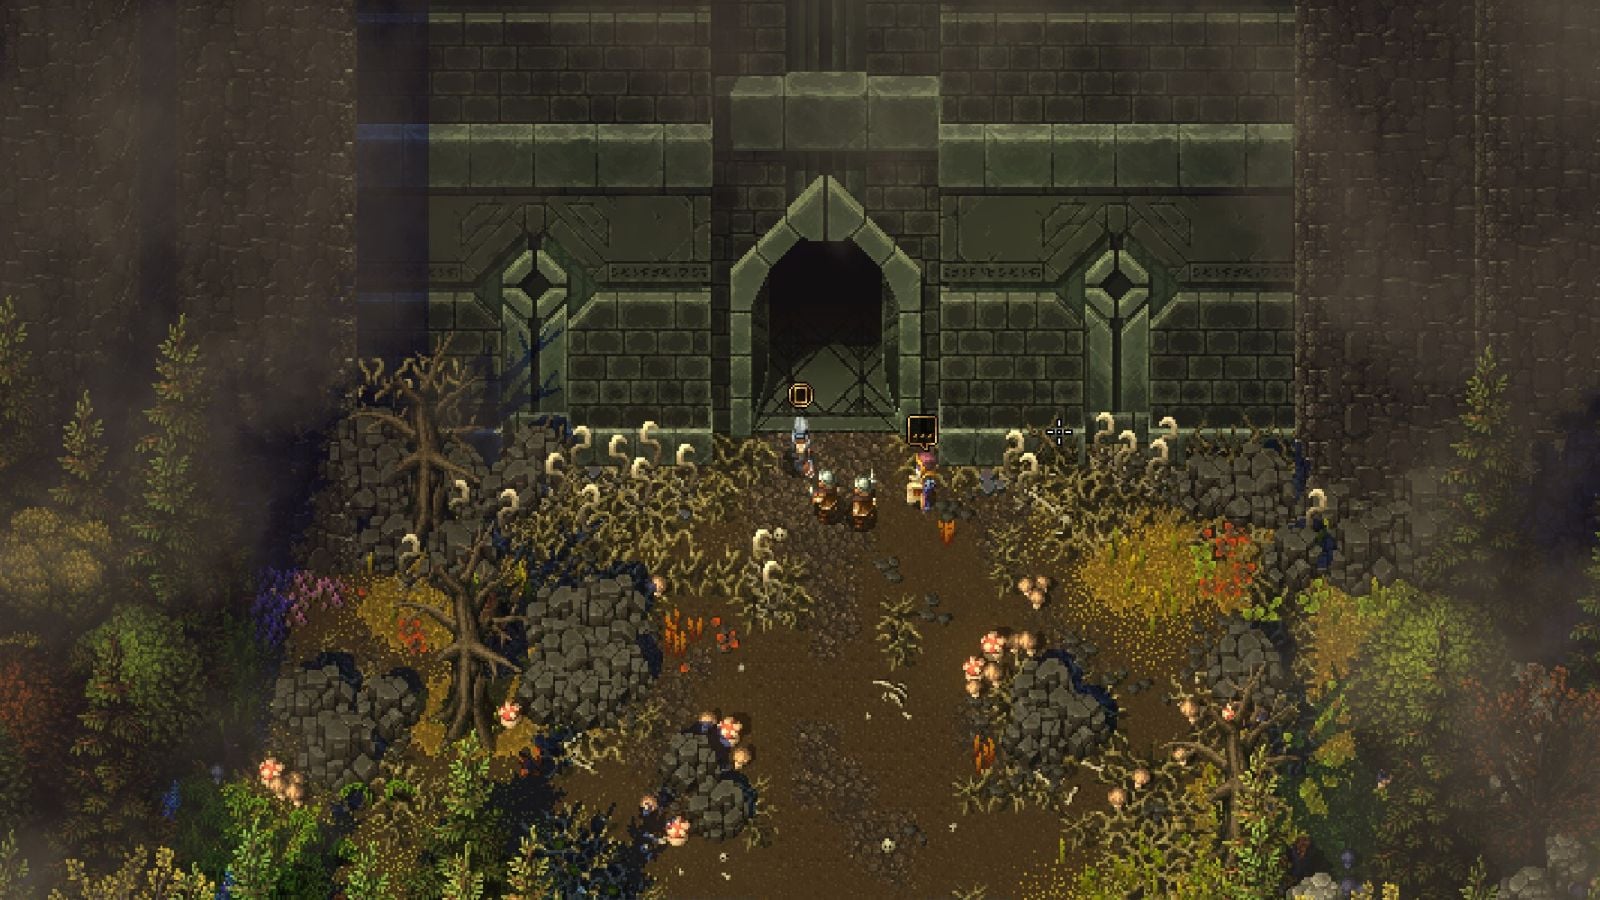
If you speak to the Architect in your town before leaving, he’ll promise to meet you outside the Dark Citadel. This location is in Forest One, past the gnarled tree, so you won’t have far to run right out of the gate.
It’s crucial to make sure you play this section on the character you took through the Crypts. If you try to find him outside the Dark Citadel on a different character, he won’t be there.
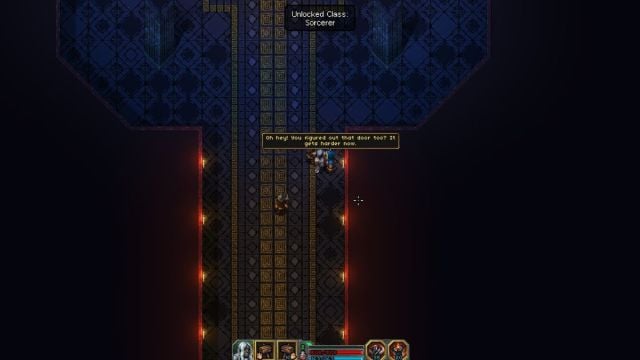
The first time you head into the Dark Citadel after speaking with the Architect outside, you’ll find the Sorcerer at the end of the entry path. Speak to this character to unlock the Sorcerer as a playable class for your run.
All Architect buffs and multiplier explained
The Architect has six buffs on offer that can make managing the Dark Citadel’s seemingly endless waves of enemies a lot easier. They cost a fair amount of resources, but they can make survival easier and get to the next level without missing any treasure.
| Name | Description | Base Gold Required | Base Materials Required |
|---|---|---|---|
| Far Sight | Fully reveals the map. | 1000 | 10 Wood |
| Toppled Towers | Destroys all Towers. | 1000 | Five Stone |
| Weak Defenses | Limits the amount of enemies you’ll come across. | 1500 | Five Stone |
| Safe Corridors | Disables all traps. | 1500 | Five Stone |
| Gentle Traps | Makes traps deal 50 percent less damage to you. | 1500 | Five Stone |
| Poor Training | Limits the amount of Elite enemies you’ll come across. | 1500 | 10 Wood |
When you see the Architect buffs for the first time, you’ll notice a multiplier in the bottom right-hand corner of the menu. The Architect multiplier refers to the stacking cost of picking up his buffs before heading out on a run.
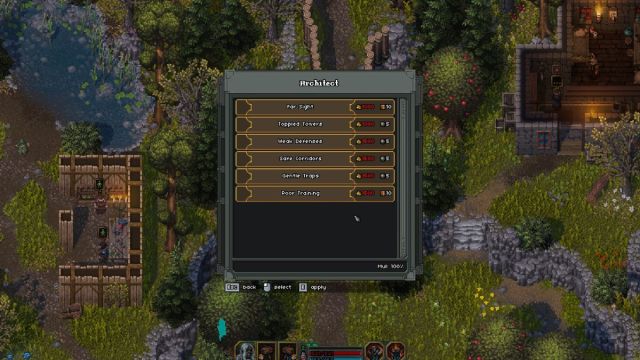
As an example, picking up Far Sight costs 1000 Gold and 10 Wood, but selecting Toppled Towers after this takes the multiplier to 141 percent and makes the duo cost 2827 Gold, 14 Wood, and 7 Stone. It continues to go up if you add more buffs into the mix.
This means that it’s possible to take on a much safer version of the Dark Citadel but that you’ll need to farm Gold and resources before you can do so.
We’d also recommend being at least level 10 before you attempt the Dark Citadel, as it’s a challenging area of the game. Without the right buffs and builds for your character, the first room of this level will put an end to your HoH 2 run quickly.








Published: Jan 25, 2025 09:37 am