








The third week of the Summer Felfire Festival has arrived, and with it comes the Trial by Felfire Challenge mode. Instead of the 17 battles fans faced last week, there are nine new encounters to take on.
Completing the Trial by Felfire Challenge grants you a golden version of Kael’thas Sunstrider and a couple of packs for doing four attempts of the challenge mode. Here’s the best way to tackle each boss of the Trial by Felfire to attain victory and how to claim your golden Kael’thas:
Boss one – Doom Lord Kazzak
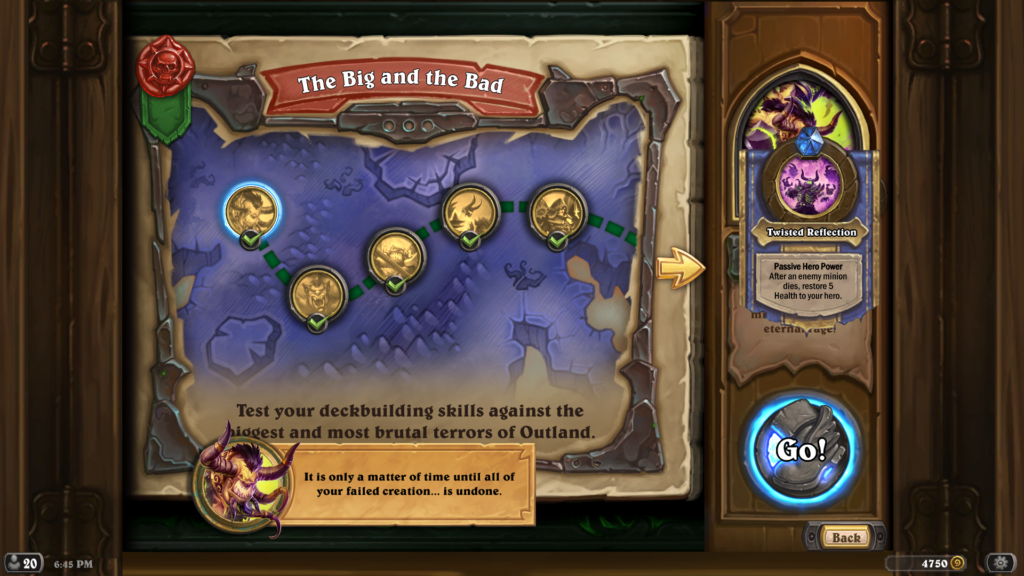
True to his World of Warcraft counterpart, Doom Lord Kazzak has absurd amounts of sustain, similar to Baltharak from the Story version of Trial by Felfire. The best way to tackle this is to bring a mid-range deck that focuses on making taller boards as opposed to wider token-based ones. Highlander Druid is a fun option to tackle this fight since oftentimes you can develop a strong enough board that will survive against Doom Lord Kazzak, and eventually you can use Alexstraza to bring him into lethal range.
Highlander Ramp
- Class: Druid
- Format: Standard
- Year of the Phoenix
- 1x (1) Strength in Numbers
- 1x (2) Breath of Dreams
- 1x (2) Dreamway Guardians
- 1x (2) Power of the Wild
- 1x (2) Rising Winds
- 1x (2) Wrath
- 1x (2) Zephrys the Great
- 1x (3) BEEEES!!!
- 1x (3) Imprisoned Satyr
- 1x (3) Scalerider
- 1x (3) Wild Growth
- 1x (4) Archmage Vargoth
- 1x (4) Evasive Feywing
- 1x (4) Frizz Kindleroost
- 1x (4) Overgrowth
- 1x (4) Swipe
- 1x (5) Big Ol’ Whelp
- 1x (5) Cobalt Spellkin
- 1x (5) Elise the Enlightened
- 1x (5) Starfall
- 1x (6) Emerald Explorer
- 1x (6) Evasive Wyrm
- 1x (6) Nourish
- 1x (6) Starfire
- 1x (7) Evasive Drakonid
- 1x (7) Marsh Hydra
- 1x (7) Overflow
- 1x (8) Twin Tyrant
- 1x (9) Alexstrasza
- 1x (9) Dragonqueen Alexstrasza
AAECAbSKAx5AVl/3A8UEtwbEBuQI1pkDypwDr6ID9KID/KMD26UDl60DsK0D/a0DjK4D3q8DiLAD57AD/7ADgbEDhbEDh7EDkbED+bUD5LoD6LoD7boDAAA=
Boss two – Gruul the Dragonkiller

Since Gruul is forcibly taxed to do an expensive arcane missiles each turn, developing a board with high health and being able to reliably heal it while developing will let you get ahead. Dragon Hunter is good since you can always create moderate-sized threats each turn while pushing tons of damage against Gruul.
Secret Dragon
- Class: Hunter
- Format: Standard
- Year of the Phoenix
- 2x (1) Blazing Battlemage
- 2x (1) Dwarven Sharpshooter
- 2x (2) Corrosive Breath
- 2x (2) Explosive Trap
- 2x (2) Faerie Dragon
- 2x (2) Freezing Trap
- 2x (2) Pack Tactics
- 2x (2) Phase Stalker
- 2x (3) Primordial Explorer
- 2x (3) Scalerider
- 2x (3) Stormhammer
- 1x (4) Dragonbane
- 2x (4) Evasive Feywing
- 2x (5) Big Ol’ Whelp
- 2x (5) Rotnest Drake
- 1x (6) Evasive Wyrm
AAECAR8Ch7ADhbEDDocEyQThBIqtA4utA/muA/uvA/yvA/6vA+ewA/+wA4exA6+3A6S5AwA=
As long as you keep out developing his board since Gruul will always be two mana behind you, this fight is ultimately trivial. Gruul has Warrior-removal tools, ranging from Brawl to Sleep with the Fishes, so if you develop a board, make sure not to lose too much in an AoE clear that would make you lose all steam if you were to lose too hard to them.
Boss three – Magtheridon
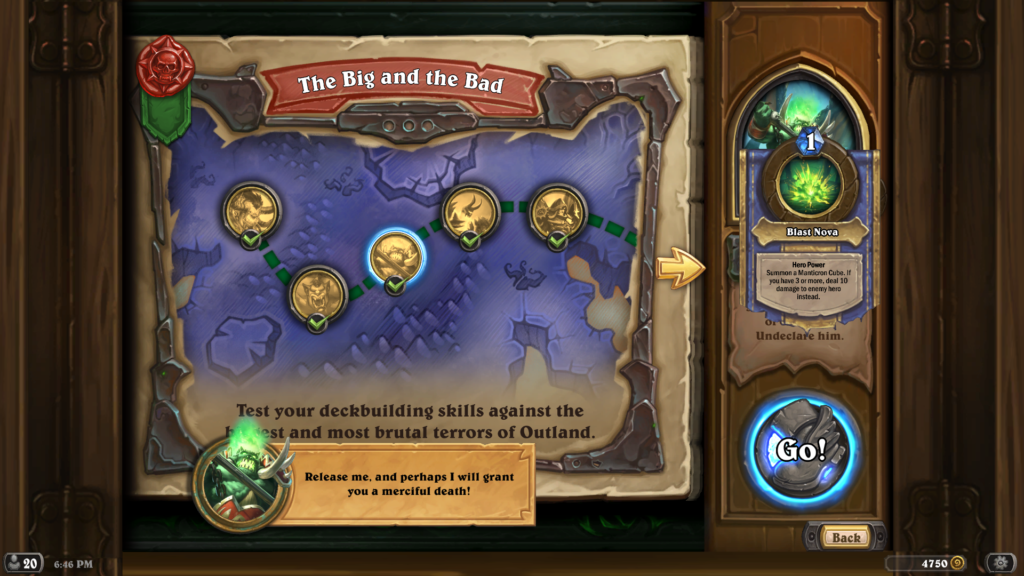
The main gimmick with Magtheridon’s fight are his Manticron Cubes provided with his Blast Nova hero power. The cubes are 3/5 minions that cannot declare an attack. But if Magtheridon tries to Blast Nova while he has three cubes on the field, he will deal 10 damage to your hero. The best way to tackle this boss is to play an aggressive weapon-based deck that can get on the board quickly and allows your own face to trade into cubes to outrace Magtheridon and keep the cubes in a manageable spot.
An aggressive version of Lightforged Paladin is a strong bet since you can use Paladin buffs to get value trades against the Manticron Cubes and Lightforged Zealot gives you a 4/2 minion alongside a Truesilver, which provides extra chances to stay ahead on board.
Lightforged Aggro
- Class: Paladin
- Format: Standard
- Year of the Phoenix
- 2x (1) Aldor Attendant
- 2x (1) Blessing of Might
- 2x (1) Brazen Zealot
- 2x (1) Imprisoned Sungill
- 2x (1) Noble Sacrifice
- 2x (1) Righteous Cause
- 2x (2) Air Raid
- 2x (2) Hand of A’dal
- 2x (2) Libram of Wisdom
- 1x (2) Murgur Murgurgle
- 2x (2) Shotbot
- 2x (3) Sky Claw
- 2x (3) Underlight Angling Rod
- 2x (4) Blessing of Kings
- 2x (4) Lightforged Zealot
- 1x (7) Lightforged Crusader
AAECAaToAgKbrgP8uAMORsgErwfIpAOMrQOHrgOcrgONtgOWtgPIuAP7uAP9uAPruQPKwQMA
In a last-ditch effort, if you’re healthy enough and trying to fish for a lethal on Magtheridon over two turns, you could let three cubes sit on the board and face tank the 10 damage.
Boss four – Supremus
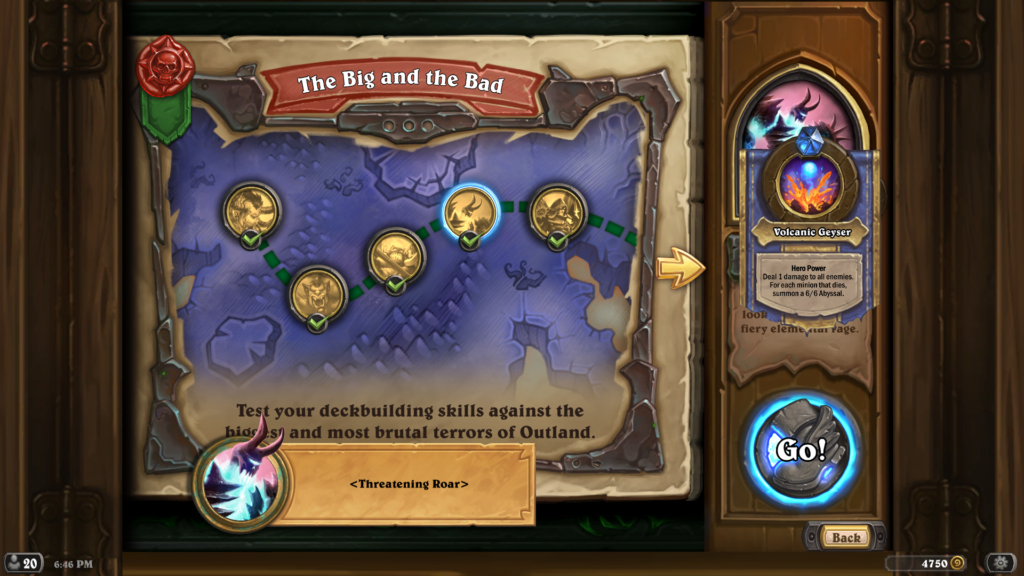
Supremus is a mix of Warlock and Shaman using Demons, Elementals, and AoE clears from both classes. The main challenge with Supremus is making sure your board is never at one health at any time, since whenever Supremus begins his turn, he hits all of your minions with one damage. If any minions die then Supremus summons a 6/6 Infernal, this much tempo loss will make you lose the game more often than not.
To counter this, Galakrond Priest is fairly good against Supremus because you can always heal any of your weaker minions while also developing stronger minions and easily removing any Supremus’ big minions. There is also a slight chance that you can steal AoE clears from Supremus with effects light Thoughtsteal and Madame Lazul.
Dragonkrond
- Class: Priest
- Format: Standard
- Year of the Phoenix
- 2x (1) Disciple of Galakrond
- 2x (1) Renew
- 2x (2) Penance
- 2x (2) Sethekk Veilweaver
- 2x (2) Shadow Word: Death
- 2x (2) Thoughtsteal
- 2x (2) Wild Pyromancer
- 2x (3) Apotheosis
- 2x (3) Breath of the Infinite
- 1x (3) Madame Lazul
- 1x (3) Shadow Madness
- 2x (4) Fate Weaver
- 2x (5) Shield of Galakrond
- 2x (5) Time Rip
- 1x (6) Kronx Dragonhoof
- 1x (7) Galakrond, the Unspeakable
- 1x (7) Soul Mirror
- 1x (8) Murozond the Infinite
AAECAZ/HAgbcAeubA46xA+O0A8i+A8jAAwwe9gfTCpmpA9esA9qsA/KsA/6uA82vA5O6A5u6A6+6AwA=
Boss five – Teron Gorefiend
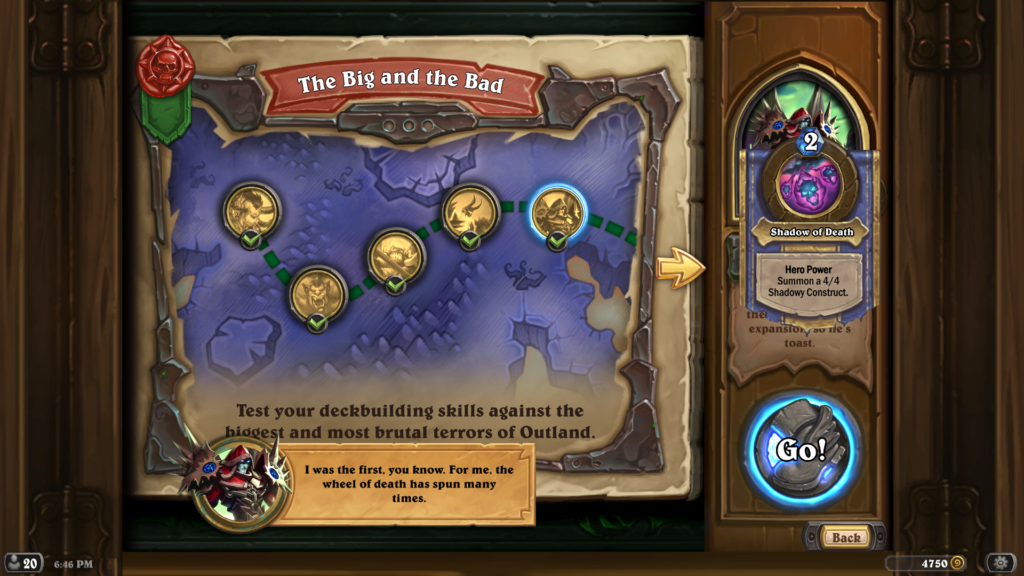
One of the largest difficulty spikes to occur in the challenge mode, Teron Gorefiend, not only has a fearsome hero power, but also a very strong deck to synergize with it. His deck is filled with Death Knight cards that were found from the Lich King legendary in the Knights of the Frozen Throne expansion. His Hero Power is an automatic two-mana tax that summons a 4/4 Shadowy Construct which deals three damage to you whenever one of your minions dies.
While the Hero Power is busted, the game supplies you with three zero-costed Vengeful Spirit spells, which instantly kill all copies of Shadowy Constructs. This gives you an opportunity for some breathing room to come back onto the board. There are two ways to use this spell: either use each copy early to prevent Teron Gorefiend from using his Shadowy Constructs to value trade, or wait for two or three to build up at a time and get value from each copy of Vengeful Spirits.
A standard Reno Mage list is recommended since the list can develop multiple threats while answering all different kinds of boards.
Reno
- Class: Mage
- Format: Standard
- Year of the Phoenix
- 1x (1) Arcane Breath
- 1x (1) Ray of Frost
- 1x (2) Ancient Mysteries
- 1x (2) Apexis Smuggler
- 1x (2) Astromancer Solarian
- 1x (2) Frostbolt
- 1x (2) Sorcerer’s Apprentice
- 1x (2) Zephrys the Great
- 1x (3) Arcane Intellect
- 1x (3) Counterspell
- 1x (3) Flame Ward
- 1x (3) Imprisoned Observer
- 1x (3) Mirror Entity
- 1x (3) Netherwind Portal
- 1x (3) Scalerider
- 1x (4) Archmage Vargoth
- 1x (4) Azure Explorer
- 1x (4) Fireball
- 1x (4) Twilight Drake
- 1x (5) Cobalt Spellkin
- 1x (5) Malygos, Aspect of Magic
- 1x (6) Blizzard
- 1x (6) Dragoncaster
- 1x (6) Evasive Wyrm
- 1x (6) Reno the Relicologist
- 1x (7) Flamestrike
- 1x (9) Alexstrasza
- 1x (9) Dragonqueen Alexstrasza
- 1x (10) Kalecgos
- 1x (10) Puzzle Box of Yogg-Saron
AAECAf0EHnHDAbsCyQOrBMUE5gSWBewHjQjWmQOfmwOKngPCoQP8owOSpAO/pAP0qwP1rAP6rAPwrwOBsQOFsQOHsQORsQPhtgPCuAPDuAONuQONuwMAAA==
Boss six – Mother Shahraz
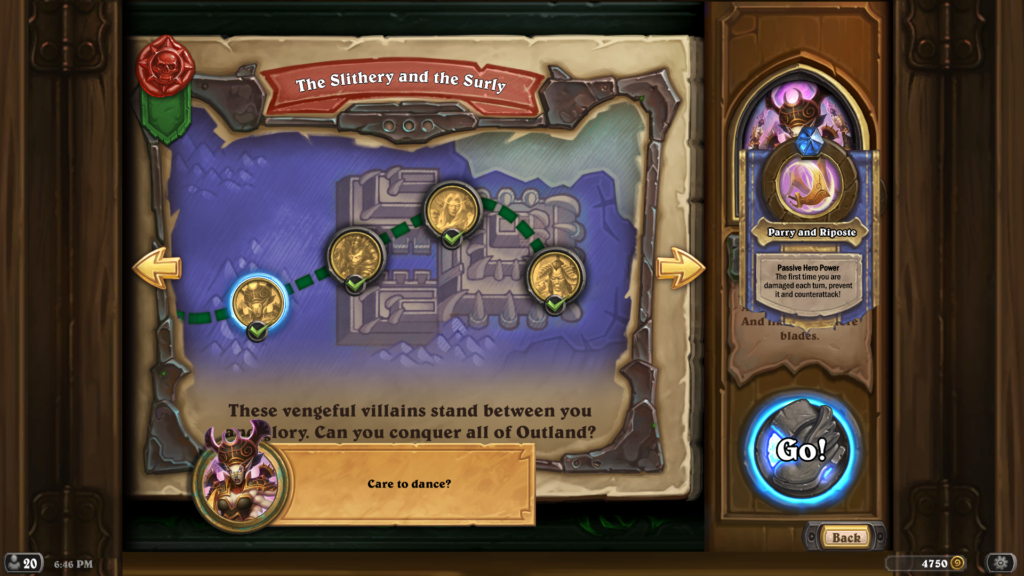
Similar to her story version, Mother Shahraz has a powerful hero power which lets her clear minions with ease on her turn and slow any progress you can make in killing her on your turns. Whenever you try to attack Shahraz, always try to attack with weak attack and high health minions first. One deck that helps with this strategy is Shaman, since they try to get value trades and can evolve their wounded minions into stronger ones that can threaten Shahraz.
Evolve Galakrond
- Class: Shaman
- Format: Standard
- Year of the Phoenix
- 2x (0) Mutate
- 2x (1) Sludge Slurper
- 2x (1) Storm’s Wrath
- 2x (2) EVIL Cable Rat
- 2x (2) EVIL Totem
- 2x (2) Explosive Evolution
- 2x (3) Bogstrok Clacker
- 2x (3) Desert Hare
- 2x (4) Devoted Maniac
- 2x (5) Boggspine Knuckles
- 2x (5) Faceless Corruptor
- 2x (5) Shield of Galakrond
- 2x (6) Corrupt Elementalist
- 1x (6) Kronx Dragonhoof
- 1x (7) Galakrond, the Tempest
- 2x (9) Mogu Fleshshaper
AAECAfe5AgLjtAPTwAMOtJEDtJcDxpkD1KUD+aUD2KkDta0Dua0D/q4Dqq8DgrEDorYD3bgD4bgDAA==
Boss seven – Lady Vashj

Lady Vashj is a daunting Shaman opponent which starts with extra mana crystals and has a powerful Hero Power which can deal three damage to one of your minions and draw her a card if it survives. This lets her develop boards faster than you while also answering any tiny boards you may attempt to muster towards her.
A Stealth Galakrond Rogue is good against this due to the fact that your minions cannot be targeted, and you can use early stealth minions to destroy any of her medium sized threats.
Stealthy Galakrond
- Class: Rogue
- Format: Standard
- Year of the Phoenix
- 2x (0) Backstab
- 2x (1) Pharaoh Cat
- 2x (1) Praise Galakrond!
- 2x (1) Spymistress
- 2x (2) Ashtongue Slayer
- 2x (2) Eviscerate
- 2x (2) Skyvateer
- 1x (3) Akama
- 1x (3) Edwin VanCleef
- 2x (3) EVIL Miscreant
- 2x (3) Seal Fate
- 2x (3) SI:7 Agent
- 2x (4) Devoted Maniac
- 2x (5) Shield of Galakrond
- 1x (6) Flik Skyshiv
- 1x (6) Heistbaron Togwaggle
- 1x (6) Kronx Dragonhoof
- 1x (7) Galakrond, the Nightmare
AAECAYO6AgayApKXA8GuA+O0A9K5A8vAAwy0AYgH3QiPlwP1pwO5rgP+rgOqrwPOrwObtgO5uAO6uAMA
If you fail to develop a curve early it may warrant an early reset, especially since she can drop Flame Wreathed Faceless and put you on a fast clock.
Boss eight – Kael’thas Sunstrider
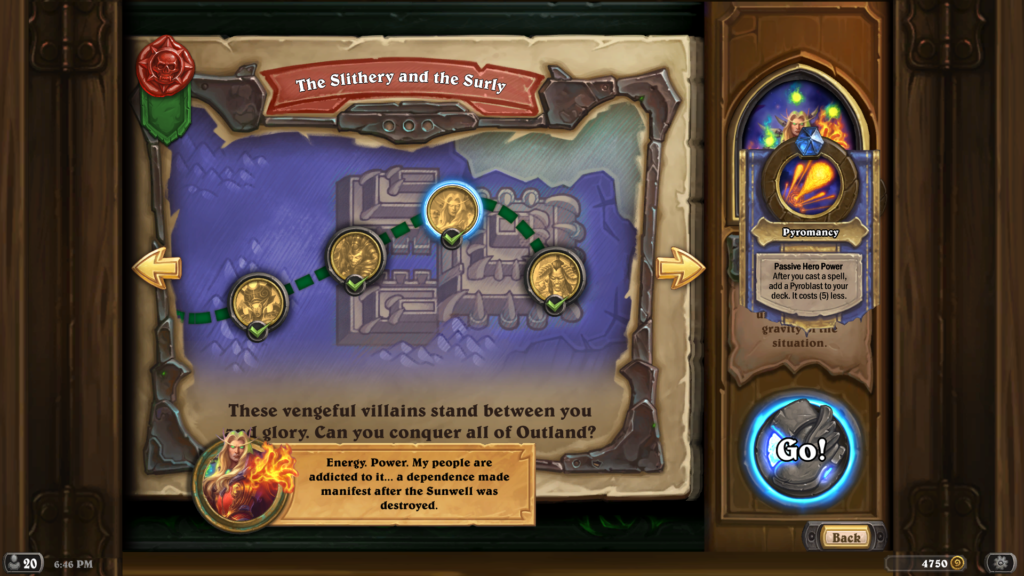
Kael’thas Sunstrider is the fastest PvE race that you’ll have to deal with in this adventure, since every time he casts a spell he adds a five-costed Pyroblast to his deck. That means your health breakpoint matters and you should try to be above 10 health when he’s past five mana, or 20 health when he’s nearing 10 mana. A modified Zoo list which includes Enhanced Dreadlord to give you late game lifesteal and a taunt which can absorb removal is your best bet at defeating Kael’thas. Since Zoo can get on the board fairly quickly, Kael’thas will have to use most of his spells to deal with your minions as opposed to your face.
Enhanced Zoo
- Class: Warlock
- Format: Standard
- Year of the Phoenix
- 2x (1) Beaming Sidekick
- 2x (1) Fiendish Servant
- 2x (1) Flame Imp
- 2x (1) Soulfire
- 2x (1) Voidwalker
- 2x (2) EVIL Genius
- 2x (2) Expired Merchant
- 2x (2) Knife Juggler
- 2x (3) Darkglare
- 2x (3) Dragonblight Cultist
- 2x (3) Neferset Thrasher
- 2x (3) Questing Adventurer
- 2x (4) Fiendish Rites
- 1x (4) Veiled Worshipper
- 1x (7) Galakrond, the Wretched
- 2x (8) Enhanced Dreadlord
AAECAcn1AgLqrAPxvwMOMJcGzgexCMIIiJ0D+6QD/aQD/acD6KwD068DsLYDxLkDy7kDAA==
A card unique to Kael’thas, Gravity Lapse, is one to take note of since it returns all of your minions to your hand and makes them two mana more expensive. This is always a factor to consider when you’re developing a wide enough board.
Boss final – Illidan Stormrage
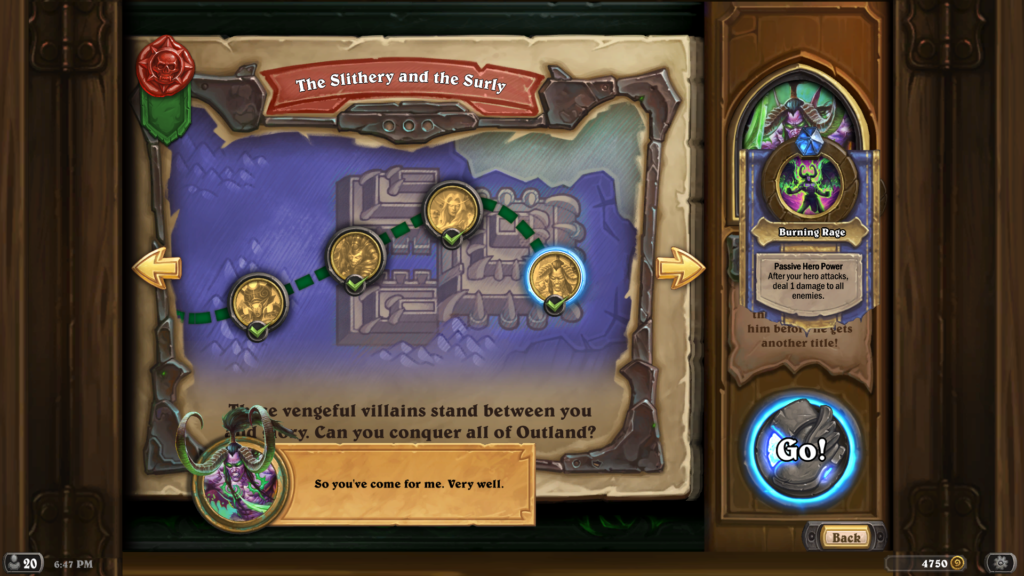
Similar to his story-based version, this challenge mode Illidan’s Burning Rage provides a conundrum that happens every time he swings with his hero. Similar to ladder, Warrior has a fairly good match up against Demon Hunter, and this glorified story version of Demon Hunter isn’t too different. Armorsmith and Bomb Wrangler provide both sustain and threats whenever Illidan AoEs your board or plays Priestess of Fury or Imprisoned Antaen. While this fight may take a couple of tries, proper play of your cards will always help, and throwing in any copies of Kobold Stickyfingers will always improve your odds.
Modified Warrior
- Class: Warrior
- Format: Standard
- Year of the Phoenix
- 2x (0) Inner Rage
- 2x (1) Risky Skipper
- 1x (1) Shield Slam
- 2x (1) Sky Raider
- 2x (2) Armorsmith
- 2x (2) Battle Rage
- 2x (2) Corsair Cache
- 1x (2) Zephrys the Great
- 1x (3) Ancharrr
- 2x (3) Bomb Wrangler
- 2x (3) Livewire Lance
- 2x (3) Warmaul Challenger
- 1x (4) Kargath Bladefist
- 1x (5) Captain Greenskin
- 1x (5) Harrison Jones
- 2x (6) Armored Goon
- 1x (7) Siamat
- 1x (8) Deathwing, Mad Aspect
- 1x (9) Alexstrasza
- 1x (9) Dragonqueen Alexstrasza
Closing Thoughts
While all of these lists are unique classes for each encounter, you can always use the same class, or even same list for most of these encounters. As long as you can identify if aggro, mid-range, or control are best for each encounter, you will find success in the long run for this challenge mode, and you can claim a golden Kael’thas.
The Felfire Festival continues into tomorrow, July 1, where there will be one more legendary quest for playing the Tavern Brawl coming this Wednesday.





Published: Jun 30, 2020 07:02 pm