The Xbox Series X and S bring with them a familiar yet unique controller to add to the current Xbox collection.
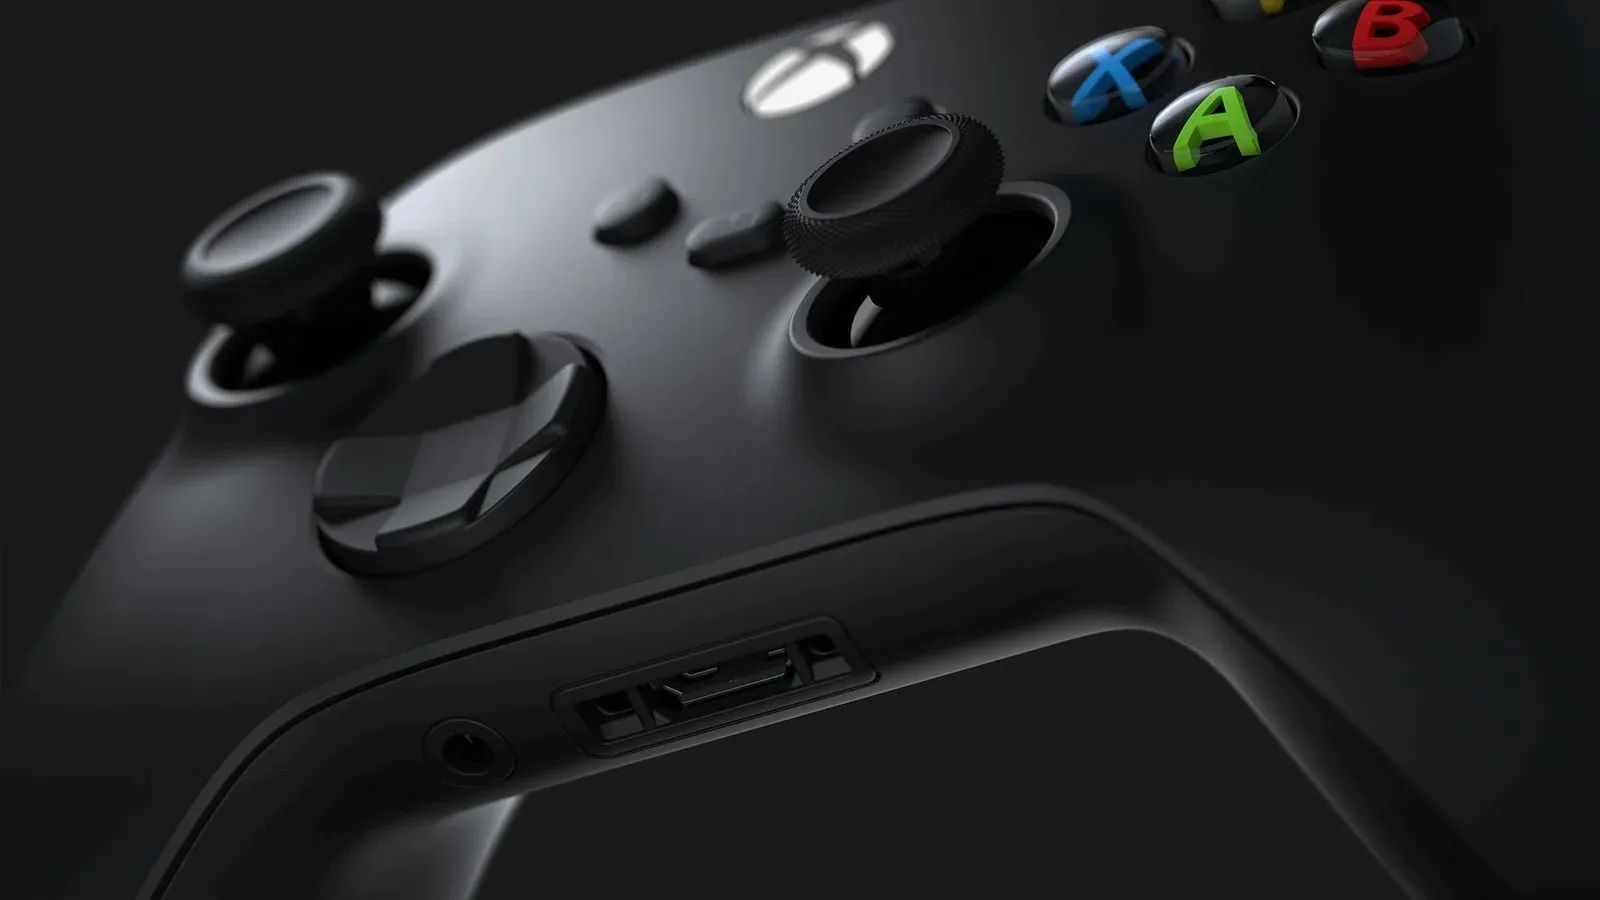
Between the previous controller and the new controller, the biggest difference is the addition of a share button. Outside of this, there are new textured grips on the sides, and slightly different D-Pad and joysticks.
As players use their controller over long periods of time, several issues can arise from the components stemming from dirt or dust entering the internals to just general wear on the buttons, triggers, or sticks. Sometimes users will be required to take their controllers apart to diagnose and fix any issues.
Much like the previous controllers, the Xbox Series X and S have made it extremely simple to take the controller apart.
Here is how you take apart an Xbox Series X controller

- First, you are going to need to remove the textured grips from either side of the controller. To do this you may need to get a tool that can slide in the gap and leverage the covers until they pop off.
- Once these covers are removed you will see two screws on either side holding the controller together. Before you remove these, you will need to take the battery cover off the back of the controller, remove any batteries, and press in the center of the sticker with a tool to locate the screw beneath.
- Once located, remove the center screw before following with the two on either side of the controller shortly after. Once these five screws have been removed, it is as simple as taking the plating off either side to reveal the interior of the controller.
With the controller completely bare, you can go ahead and replace any parts that may be causing issues. The joysticks are as simple as popping them off while the buttons can be a little more difficult to remove. All these parts are replaceable. But currently, they can be difficult to find online due to the console being extremely new.
While you have the controller open, it is a good idea to clean the components inside, removing any dust or debris that has built up. Another thing you must consider is to ensure you do not lose any of the screws that are required to piece the controller back together.
Putting the controller back together is as simple as assembling the plates and screwing the five screws back into place. Once this is done, pop some batteries back in and the controller will be good to go.


Published: Nov 10, 2020 01:44 pm