Microsoft’s latest flagship console, the Xbox Series X, has been globally released with thousands of gamers bringing it into their home setups. New consoles are always an exciting time since gamers get a taste of what’s possible with the superior technology inside.
While getting a console on its release day is what most gamers intend to do, the first iteration of a new model is often prone to have issues that reveal themselves over time. Due to user wear and tear sometimes, it’s necessary to take the unit apart and inspect the internal parts to diagnose any issues.
While it’s possible to do this yourself, we recommend sending the unit to be repaired by a professional, especially if the damage is claimable under warranty.
Nevertheless, in some cases, there’s no other option than looking for yourself. If it comes to that, here are the steps you’ll need to follow to take the Xbox Series X apart.
How to take apart the Xbox Series X
- On the back of the console, you’ll see one large sticker above the system’s ports and another smaller warranty sticker below them. Peeling these away will reveal two screws that hold the back onto the console. All of the screws used throughout are T8, so you’ll need the appropriate tool to remove them.
- Once both screws have been removed, unclip the backplate and remove it to gain access to the components of the console. This should give you access to everything as well as the space you need to do some cleaning inside the console.
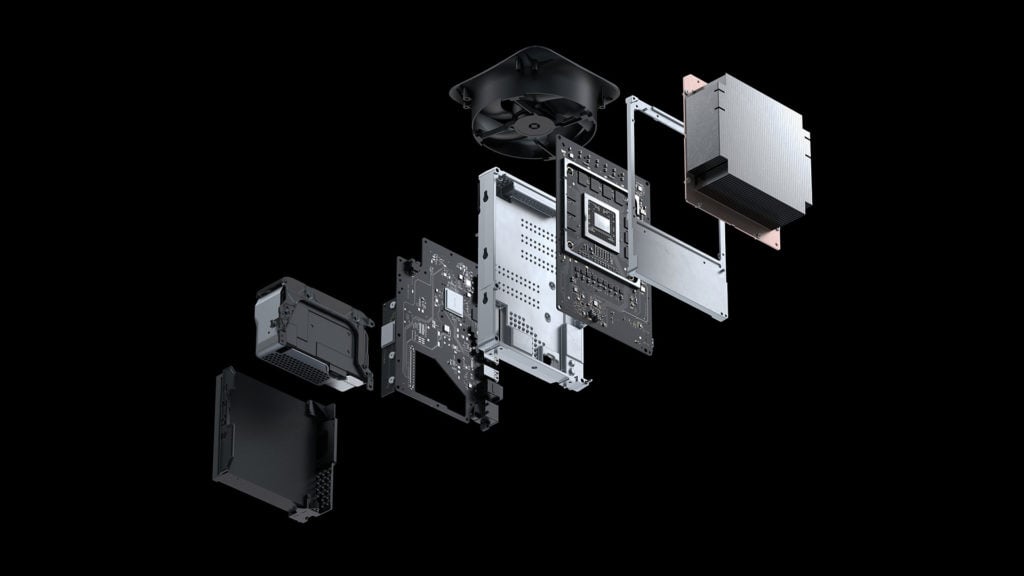
- If you’d like to take it apart further, you’ll see three screws at the top of the console below the fan that’s used to hold the fan in place. Simply remove these three screws and the fan will slide out.
- Your next step will be removing the base off the console. This can be done by leveraging a clip from inside of the case.
- Once the base has been removed, you’ll see a range of screws on the case holding in the rest of the components. From there, remove the covering plate for the disk drive by popping it out, along with the metal safeguard beneath.
- With the screws removed and the plate gone, you’ll now be able to unplug the cables and pull out the disk drive from the console.
- Once all the screws are removed from the base, you’ll be able to take the rest of the contents out of the console as one big piece.
It’s important to make sure you remember how you took the console apart to reassemble the unit. But if you forget, you can look through these steps backward or follow the in-depth video by Spawn Wave above.


Published: Nov 10, 2020 05:00 pm