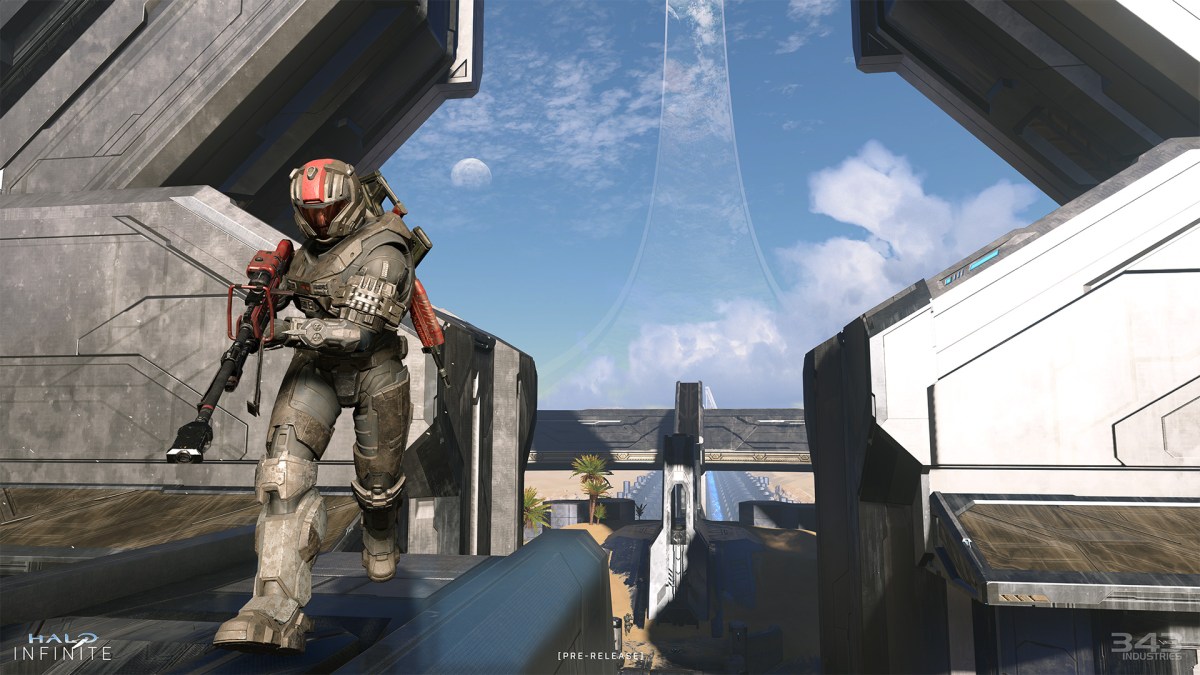
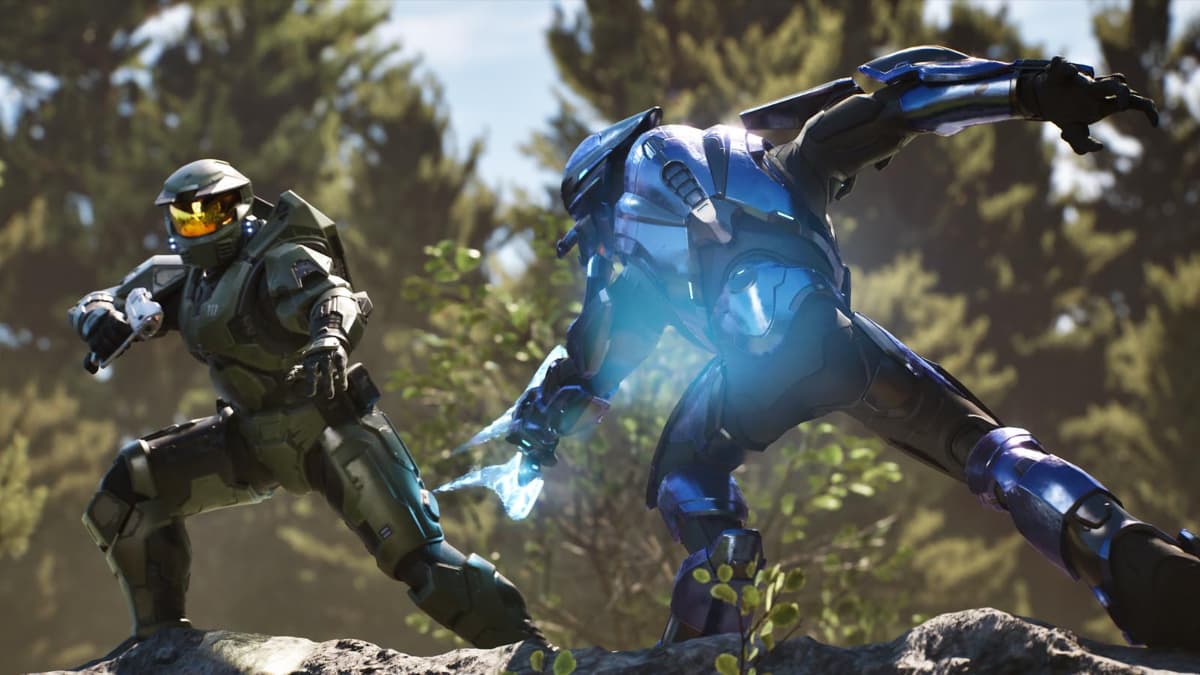
Behemoth is one of the most controversial maps in Halo Infinite because of its large size and layout. This map is fun in causal modes with vehicles, but it can be tedious in Capture the Flag ranked matches. Regardless, it’s a map you’ll encounter sooner or later, and knowing the best strategies and weapon locations will help you in any situation.
Weapon Spawns
- East Edge: Plasma Carbine and Ravager
- North Base: Mangler, S7 Sniper (ranked) and BR75/VK78 Commando (ranked)
- North Basement: Sentinel Beam/Needler (ranked) and Dynamo Grenades
- South Basement: Needler and Dynamo Grenades
- South Base: Mangler, S7 Sniper (ranked), and BR75/VK78 Commando (ranked)
- East Tower: Plasma Grenades and Skewer
- West Tower: Plasma Grenades and Skewer
- Top Mid: Plasma Grenades
Equipment Spawns
- North Basement: Grappleshot
- West Tunnel: Repulsor
- East Tunnel: Repulsor
- Bottom Mid: Active Camo/Overshield (ranked)
- South Basement: Grappleshot
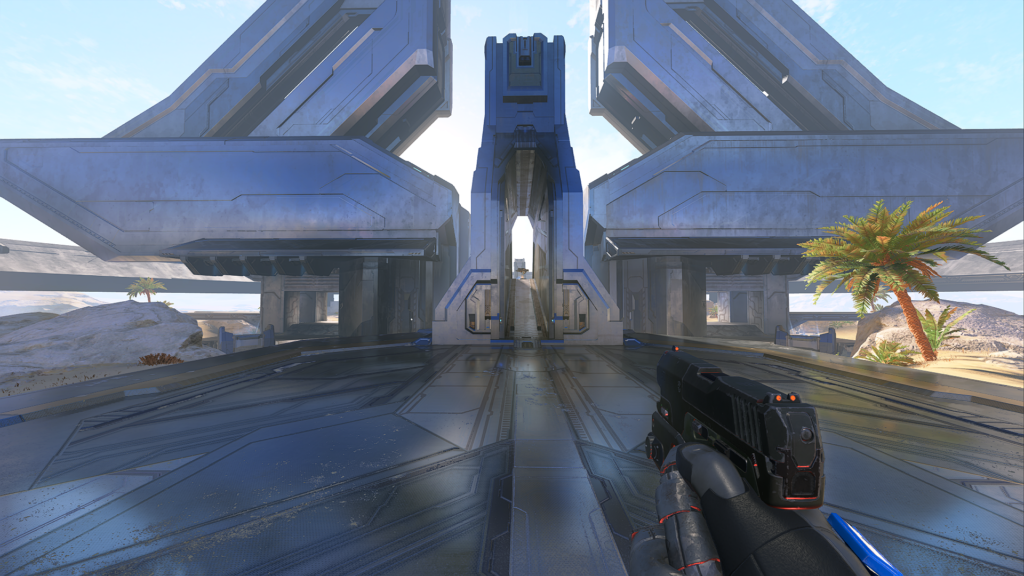
North Base
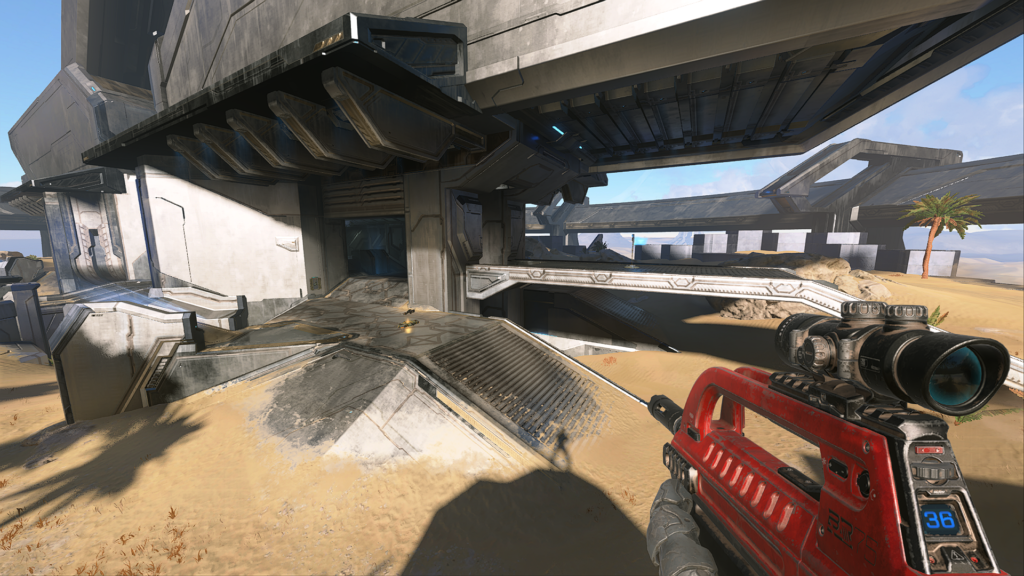
The North Base is one of the spawn locations on Behemoth. Several weapons spawn in this spot, including the Sniper Rifle in ranked matches. Players can push into Lower Mid from the North Basement or push towards either tower in the outside lanes.
One of the flags in Capture the Flag spawns in the North Base, meaning teams will have to defend or attack the area. The Sniper Rifle in ranked matches is deadly, especially if you can consistently hit your shots. The Commando is less effective but can chip away at shields to soften enemies before reaching the base.
There are also two launchers on either side of the base that allow players to propel themselves towards either tower. Remember that you’ll be vulnerable while airborne, although you can also fire back.
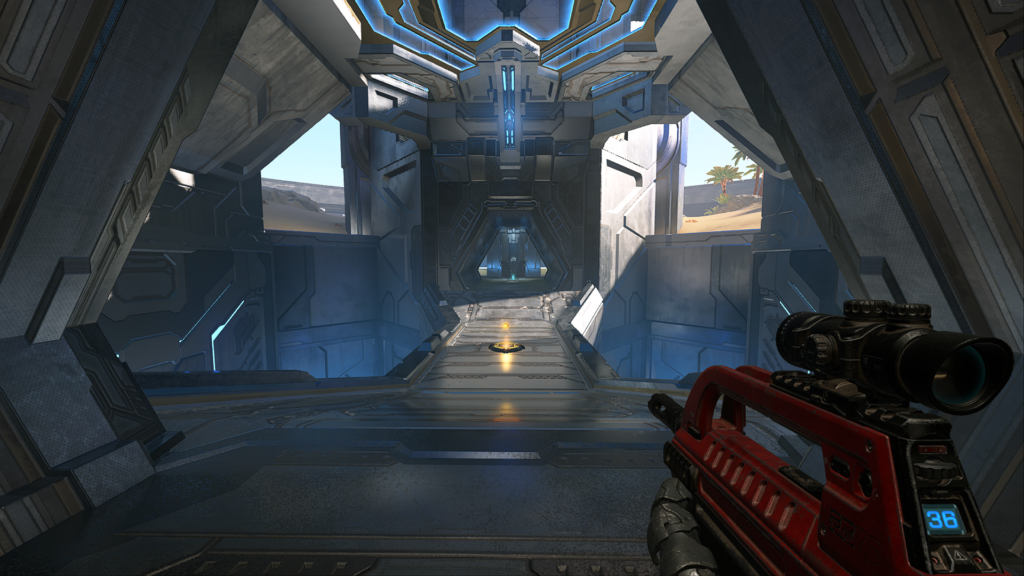
East Tower
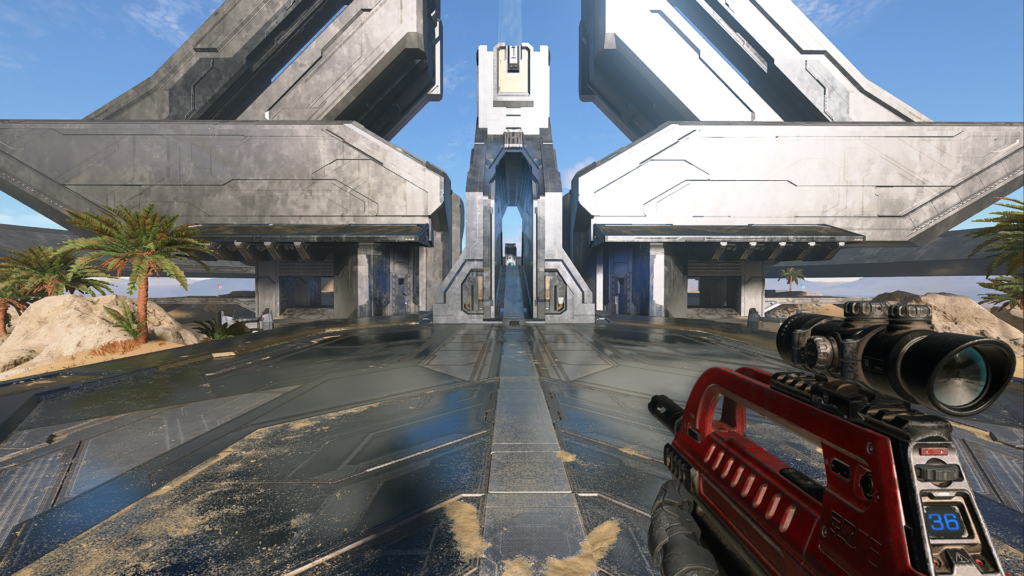
The East Tower, also known as the “Light Tower,” is located between the North and South bases. Both bases have a launcher that drops players near the tower, which is often a contested area. East Tower also stands directly across from the West Tower, meaning players can engage enemies across the map with ease. But avoid standing near the Plasma Grenades that spawn in the tower as players can detonate them remotely for an easy kill.
South Base
The South Base is almost a carbon copy of the North Base, a running theme on the symmetrical Behemoth. The same weapons spawn on either side, and players also have two launchers available for use.
West Tower
The West Tower, also known as the “Dark Tower,” is located between the North and South bases directly across from the East Tower. It also has the same weapon spawns as, and a layout symmetrical to, the East Tower.
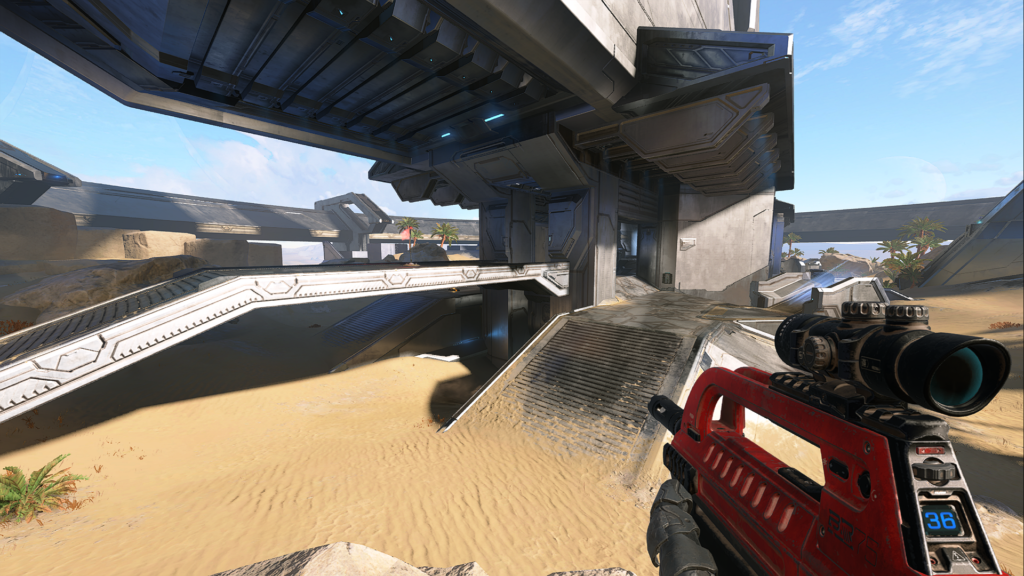
Lower Mid
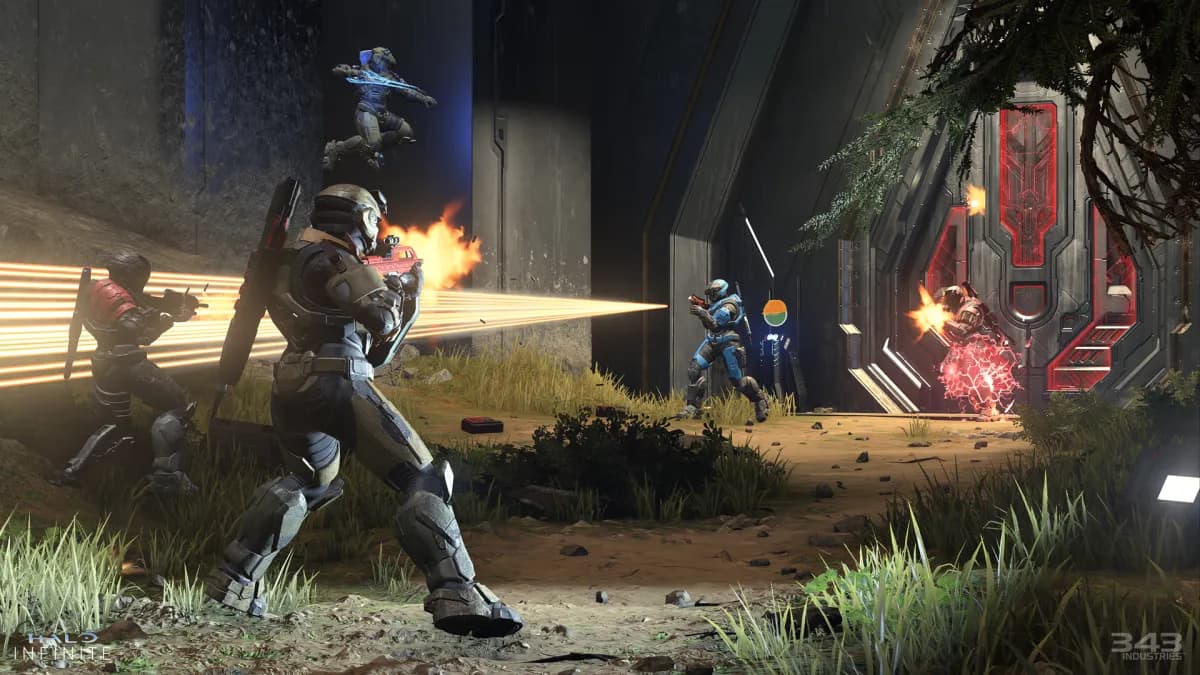
Lower Mid connects the North and South basements with a bridge where Active Camo and Overshield spawn. Players can see the bridge from both basements and through openings near the West and East Tunnels. Traveling through Lower Mid might seem like a safer choice than moving above ground, but getting caught in this area is almost a death sentence as there is little room for escape.
Grabbing Overshield can be a game-changer, especially in ranked matches. Work together with your team to secure essential equipment to avoid giving the enemy team a free win.
Top Mid
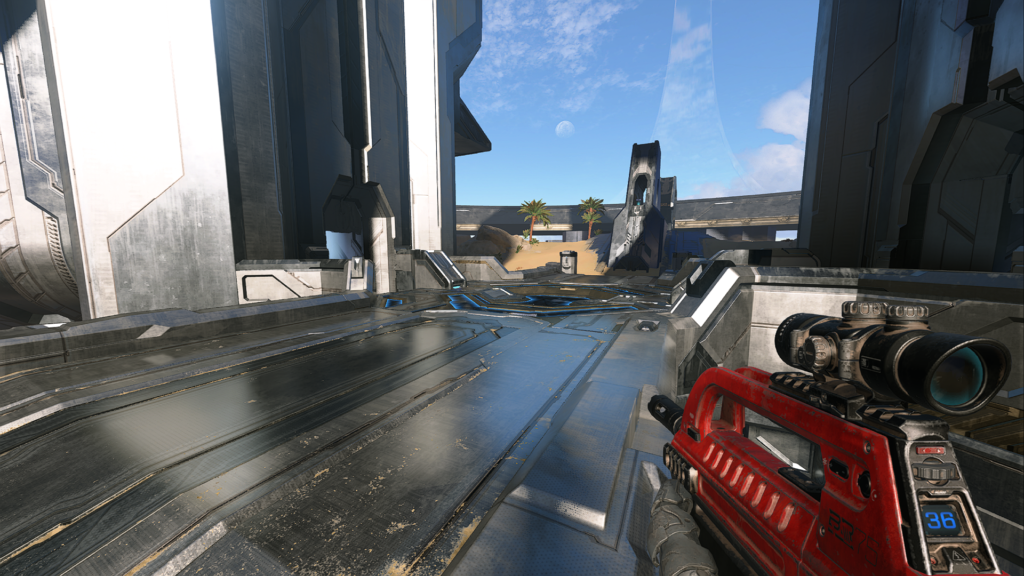
Top Mid lies in the center of Behemoth, between the North and South bases and the East and West Tower. This area is directly above Lower Mid and features two paths into either base. Moving through this area safely is easier said than done, though: players around the map have a direct view of this area.
Lone Wolves won’t survive
Behemoth is one of the biggest maps in the ranked playlist and requires teams to work together to succeed. It is almost impossible to make it to an enemy base singlehandedly, especially if the other team is working together.
Teams should push the enemy base in force and avoid taking individual gunfights. It’s easy to deal damage from a distance on Behemoth, meaning enemies can take out your shield before you reach their base. Most of the time, they can’t deal with an entire team of four pushing from multiple directions, so coordinate with your team before wasting your life.
This is especially important in Capture the Flag, where pulling the flag with no backup is a waste of time. It can also put your team in a rough spot: the enemy can capitalize on a numbers advantage and mount a counterattack. Communication and coordination should be standard in Halo Infinite, but they are especially important on Behemoth.

Published: Jan 22, 2022 11:49 am