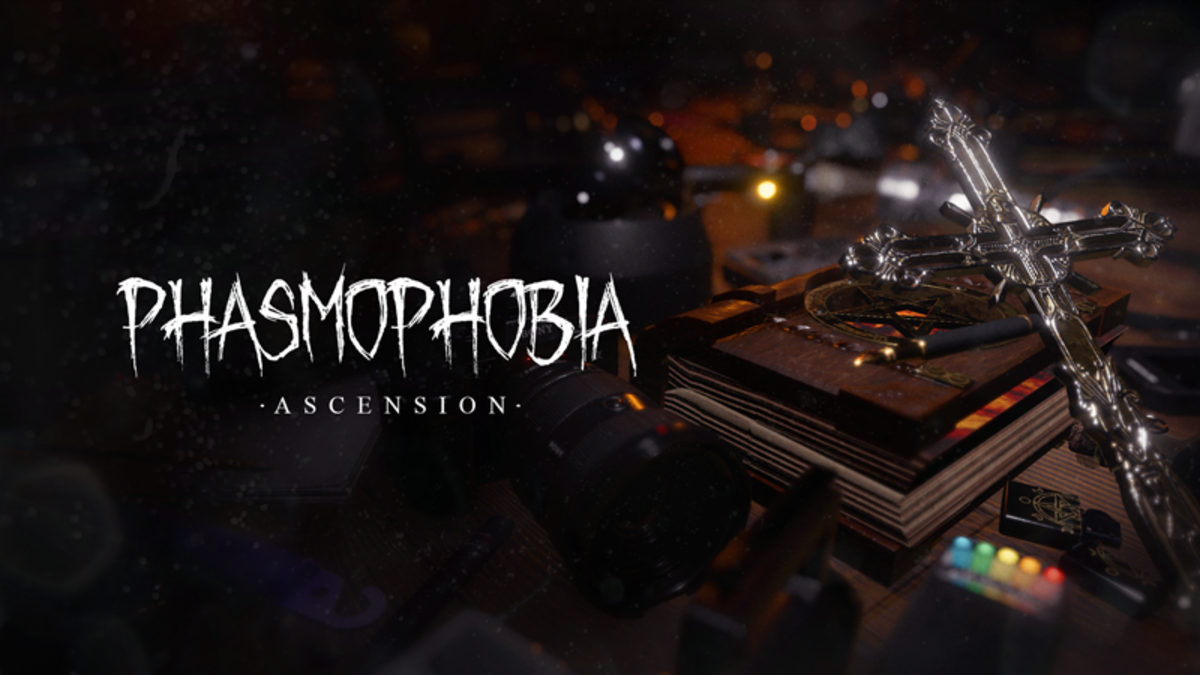
Players have been embarking on ghost-hunting adventures since Phasmophobia first launched on Sept. 18, 2020, but the game is still technically under development and has changed massively since it was released. But the biggest update the game has seen set is Ascension, which completely redesigned everything about the Phasmophobia with a new tier system.
What is the difference between equipment tiers in Phasmophobia?
The difference between each equipment tier in Phasmophobia is the function, not necessarily the quality as you might think. For many pieces of equipment, a higher tier does mean better quality, but it also sometimes doesn’t as you may be looking for a different function that the highest tier does not offer.
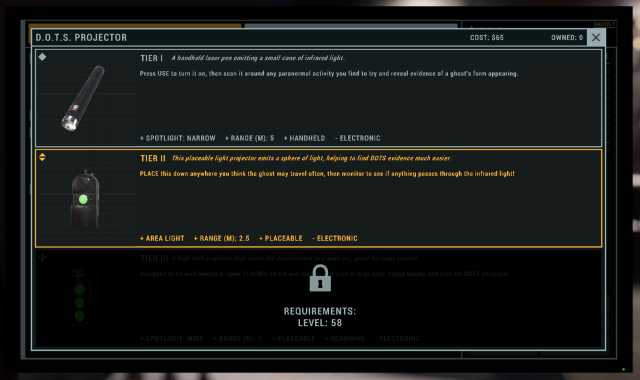
A great example of this is the revamped D.O.T.S. Projector. If you aren’t sure where the ghost is yet, carrying around the tier-one version of this tool will be incredibly useful since it is the only tier that is completely mobile like a flashlight. Tier three can cover the most space overall, but it cannot be freely carried from room to room.
Generally, which tier you want to use will come down to your own personal playstyle and preferences. The size of the map you’re playing on might play a role too since mobile equipment will be needed on bigger maps while you don’t need to worry much about this on smaller maps.
With the new tier system, some items have been renamed from what they were called previously. The glowstick and UV Flashlight now fall under the larger Ultraviolet category and are the tier-one and tier-two versions of this gear. The same has been done for a few other equipment types.
All tiers cost different prices to unlock, but to actually purchase them to bring to a ghost-hunting investigation, the price is the same for each tier after you have unlocked it. This can be confusing since you’ll sometimes feel that the higher-tier items are much better than the lower ones, yet you pay the same price for each one after the initial unlock.
All equipment tiers in Phasmophobia
There’s a ton of new content in the Ascension update, and learning to navigate all the tiers can be quite confusing. So here’s everything you need to know about all of the different tiers in Phasmophobia and how they compare to each other.
Related: All Phasmophobia Cursed Possessions and their locations
Flashlight
- Tier I: An old and battered flashlight that shines a decent amount of light but at a fairly low level.
- Tier II: This is the fancy flashlight that existed before the Ascension update and is sleek in size, shines a sizeable amount of light, and is quite bright.
- Tier III: The biggest and brightest flashlight of all to keep your sanity high and help you collect evidence with ease.
EMF Reader
- Tier I: Your first tier is an old-analog meter with a small range and a tendency for inaccuracy. It’s fairly quiet which means it can be easy to miss evidence from, but when it does catch EMF five the needle will go off the charts to make it clear you’ve captured evidence.
- Tier II: The standard K2 Meter that you could use before the Ascension update is the middle tier for the EMF Reader. It’s reliable, accurate, and decently loud.
- Tier III: The fancy ParaReader can track three EMF spots at once and will also tell you the direction, range, and level of each one. It also has the highest range of all and will be able to detect EMF from far away.
D.O.T.S. Projector
- Tier I: A small laser pen version of the D.O.T.S. Projector that projects D.O.T.S. at a concentrated area you point at. This version can be used while you’re moving around similar to a flashlight.
- Tier II: This is basically the D.O.T.S. Projector as it was before and can be attached to most surfaces to display an array of D.O.T.S. around the area. You cannot carry it around but you can pick it up and move it as desired. The only change to this equipment from how it was before is that the ghost is not encouraged to walk through it when you are standing nearby.
- Tier III: The highest level projects a massive array of D.O.T.S. with the most light possible. It scans the entirety of the room to make spotting ghosts much easier.
Spirit Box
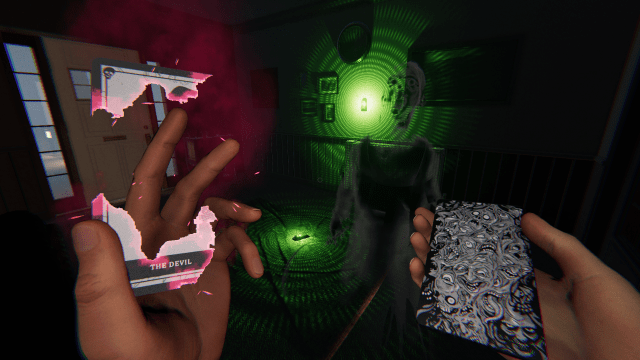
- Tier I: An old AM/FM radio that is small and has fairly static-sounding speakers. Because of this, ghosts are less likely to reply and the replies you do get will be tough to understand. A valid response on the Tier I box is displayed as a white light next to the ghost icon.
- Tier II: This is the P-SB7T spirit box that existed pre-Ascension update. It has a display screen for easy reading and has a moderate chance of the ghost interacting.
- Tier III: The most ancient spirit box of all is the SB11-Z, which comes switch a noise filter and has a high likelihood of picking up ghost responses.
Ultraviolet
- Tier I: The first level is just a simple glowstick, which you might be familiar with from before the Ascension update. This item lasts for about one minute before it will then dim.
- Tier II: The UV Flashlight is now level two and shines a purple light at a concentrated area of your choosing.
- Tier III: The final level is the UV Light Pro, a massive flashlight that shines UV light at a wide range. This will make finding Ultraviolet Evidence extremely easy if it is present.
Video Camera
- Tier I: The lowest-tiered video camera is beaten up and quite grainy, but it will help you get the ghost-hunting job done.
- Tier II: The second tier is like the video camera that existed before the Ascension update and has HD to make spotting orbs a lot easier.
- Tier III: This video camera is movie quality and has a massive, crystal-clear screen. Ghosts will interfere with this tier the least, which means gathering evidence using the Tier III video camera should be the most efficient of all.
Ghost Writing Book
- Tier I: This is essentially just a basic notepad and pencils, so the ghost won’t be too keen to actually write on it.
- Tier II: You may recognize this tier from before Ascension and it includes a leatherbound book and pens. Ghosts will notice this book at a moderate rate.
- Tier III: This is a historic and elegant book that ghosts have a very high likelihood of interacting with.
Thermometer
- Tier I: An old and battered house thermometer is the lowest-tier version of this equipment. It’s quite slow to change, so you’ll generally want to leave it somewhere for a while before it will give you an accurate reading.
- Tier II: The second-tier thermometer looks identical to the one that existed before Ascension but works a bit differently. Now, you’ll have to hold the use button to actually take readings as opposed to before when you could turn it on and it would always be running, which will result in more accurate results.
- Tier III: The final tier scans at double the speed of the previous one and becomes more accurate with every reading it takes, which makes taking the temperature extremely efficient.
Salt
- Tier I: Two piles of salt can be placed with each canister of salt. This version of salt is like the one that existed before the Ascension update but with fewer placeable piles per can.
- Tier II: You’ll have a special pink Himalayan Salt that places in distinct lines with this tier. Three piles can be placed, but these can be positioned in lines to strategically block exits.
- Tier III: The final tier is a special blessed black salt that can repel ghosts back the way they came when they step in it, and can slow ghosts down during hunts. When used strategically, this level of salt can be quite a powerful tool.
Tripod
- Tier I: This tripod is quite old and composed of rough scratched-up plastic. Because of this, it’s not very sturdy and is likely to be tampered with by the ghost.
- Tier II: The middle-tiered tripod is an upgrade of the one that existed before the Ascension update. It is fairly reliable and has a motorized attachment so you can place it down and later rotate the perspective of the Video Camera from the safety of your truck.
- Tier III: This level also has the motorized attachment but is much sturdier and more reliable overall since it is made of strong metal. It is nearly impossible for ghosts to topple this tripod.
Parabolic Microphone
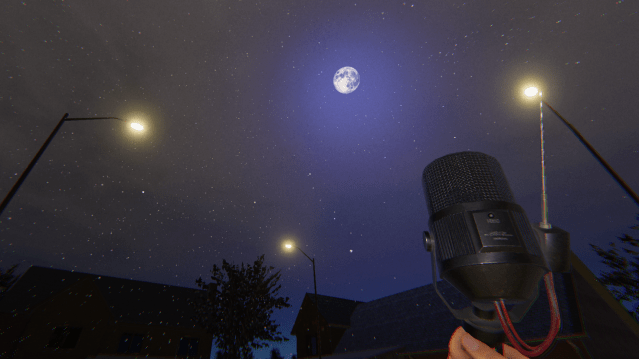
- Tier I: Players will be equipped with a set of headphones when they turn this level of parabolic microphone on and will only be able to hear noises coming from the microphone. This is a small and simple version of this tool.
- Tier II: The second tier has a display screen, a larger sound-amplifying dish, and an improved sensor for an overall more useful experience. You’ll also be able to pick up sounds from farther away.
- Tier III: This piece of equipment becomes incredibly useful with its third tier which can display exactly where the sound is coming from with its special sonar-style display screen. All sounds will also display as individual dots to make it clear how many noises are happening at once.
Incense
- Tier I: This item looks the same as the old Smudge Stick and is a broken bundle of black sage that can be used to deter ghosts from initiating hunts before they begin, or deter a ghost during a hunt for five seconds.
- Tier II: You’ll have a bigger bundle of white sage in this tier that will burn and protect you for longer. This sage can also slow the movement of ghosts and lasts for six seconds.
- Tier III: This tier is a full-on incense burner with a massive range and burning time. When you initially repel the ghost, it will become stunned and its movement speed will be halted for a short amount of time. The incense burner lasts for seven seconds.
Motion Sensor
- Tier I: Previously a wildlife camera, the Tier I version of this item was modified to track the paranormal. It will flash anytime something moves in front of it and can be placed on a wall or the floor. It only detects in a straight laser line from where it is placed.
- Tier II: The second level improved based on the first and has two different light modes, a longer range, and a sound indicator. It can project either in a line or a cone shape.
- Tier III: This fancy security camera will turn and flash a bright light whenever the ghost enters and exits its detection range. It can detect movement in a full circle around it.
Sound Sensor
- Tier I: This level includes small, cheap microphones that look identical to those that existed before the Ascension update. You can check the noise they pick up by visiting the screens in the truck.
- Tier II: Two high-quality microphones are attached together in this complex yet useful tool. It can detect sound at five meters away, 10 meters away, or 15 meters away depending on what you set it to.
- Tier III: A small receiver that has two pricey shotgun microphones attached to it makes up the third tier. You can fully interact with this tier to customize the direction each piece faces and what shape they detect sound in. The options include a cone, a circle, and from the sides.
Crucifix
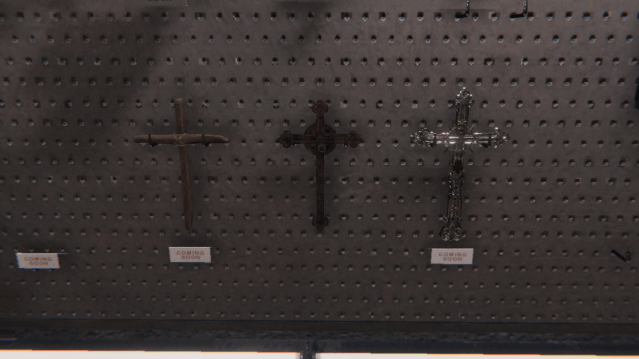
- Tier I: This tier is just two plain pieces of wood strapped together. It has a radius of three meters and only one use before it is consumed.
- Tier II: You’ll find much greater success with the second tier, which is a metal Crucifix that can block two attacks before it is consumed and has a radius of four meters.
- Tier III: This fancy silver and gold Crucifix is intricate and powerful. It can be used two times, has a range of four meters, and is the only Crucifix that can prevent one cursed hunt. Both uses will be consumed if the Crucifix stops a cursed hunt, so this ability can only be activated if it has not already been used once.
Firelight
- Tier I: A rusty old candle that will provide a tiny bit of light and helps prevent sanity drain for a short period of time. It has a range of two meters, lasts for three minutes, and reduces sanity drain by 33 percent. You must hold this candle to receive the sanity drain-reducing effects.
- Tier II: This tier is a fancier candelabra with three candles attached. It has a range of two meters, will last for five minutes, and reduces sanity drain by 50 percent. You can place this down and will still receive the sanity drain-reducing benefits as long as you are within its range.
- Tier III: You get a massive upgrade to a gasoline-fueled lantern with the final tier. This will last for the entire contract, has a range of two meters, will reduce your sanity drain by 66 percent as long as you are standing near it, and is waterproof.
Igniter
- Tier I: A box of matches provides you 10 uses to ignite Firelights or Incense. Each one only lasts for 10 seconds, so be sure to only light them when you’re ready.
- Tier II: The second tier is a gas lighter that lasts for five minutes and provides a bit more light than the matches do.
- Tier III: This fancy black and gold lighter can last you a full contract as long as you aren’t wasting it. It has a duration of 10 minutes, provides a solid amount of light, and is waterproof.
Head Gear
- Tier I: A basic camera is wrapped around your head on this tier. It has medium camera quality and medium ghost interference. Your teammates can watch a live feed of your findings from the truck.
- Tier II: The second tier is not a camera and instead is a flashlight that doesn’t take up a precious inventory slot since it’s strapped to your head. The light it projects isn’t very bright or wide though.
- Tier III: This item is a fancy set of night vision goggles that let you see in the dark without needing a flashlight. When you are close to a ghost, it may interfere with the goggles which will render them entirely useless.
Sanity Medication
- Tier I: Down a bottle of snake oil to slightly improve your sanity. This blend will then restore some of your sanity, the amount depending on your difficulty level, slowly over the next 30 seconds.
- Tier II: These sanity pills are a much more reliable blend and will restore your sanity more quickly over the 20 seconds that follow you consuming them.
- Tier III: Give yourself a sanity and sprint boost with the highest tier, which is an adrenaline shot. This will restore your sanity rapidly over 10 seconds, will grant a speed boost for those 10 seconds, and will pause the stamina drain while the 10-second duration is active.
Photo Camera
- Tier I: This is an old polaroid camera that has a long cooldown between each photo you can take.
- Tier II: You’ll be working with a digital camera on the second tier. This camera can snap photos at a quicker pace and has a display screen you can check.
- Tier III: The final tier is a fancy camera with a very short delay between photos and a low likelihood of ghost interruption. It also has a display screen so you can see how your photos come out as you take them.
Others Asked
What is the main new feature introduced in Phasmophobia's Eventide update?
The main new feature in Phasmophobia's Eventide update is the Point Hope map, a highly anticipated lighthouse map with 10 floors and 12 rooms.
How can playing Phasmophobia with friends or other players make the game easier?
Playing with friends or other players divides the workload, making finding the ghost a quicker process and providing more opportunities to investigate if someone fails to escape a ghost during a hunt.
What new features were introduced in the Phasmophobia Nightmare Update for Halloween?
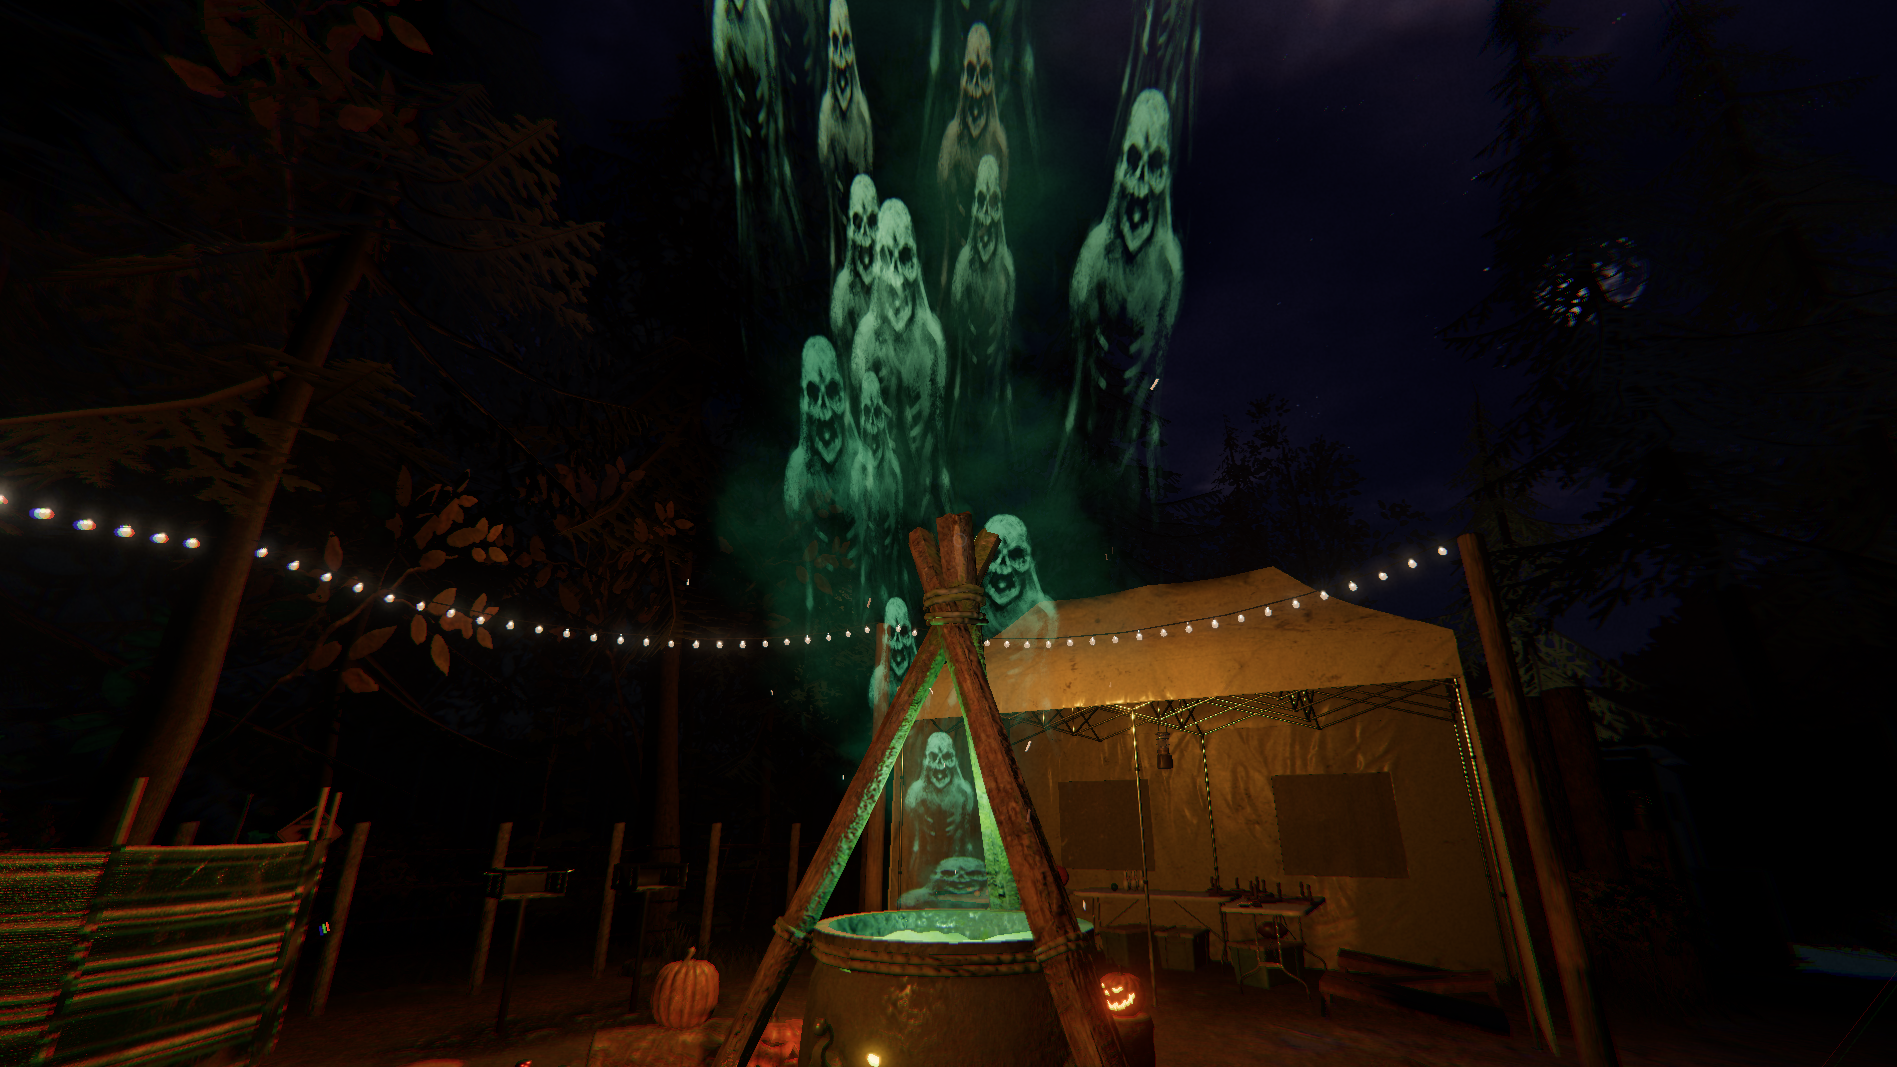
The Nightmare Update introduced a new game mode, four unique ghosts, a new map called Maple Lodge, another difficulty, and the addition of Slender Man as an easter egg.









Published: Aug 21, 2023 05:20 pm