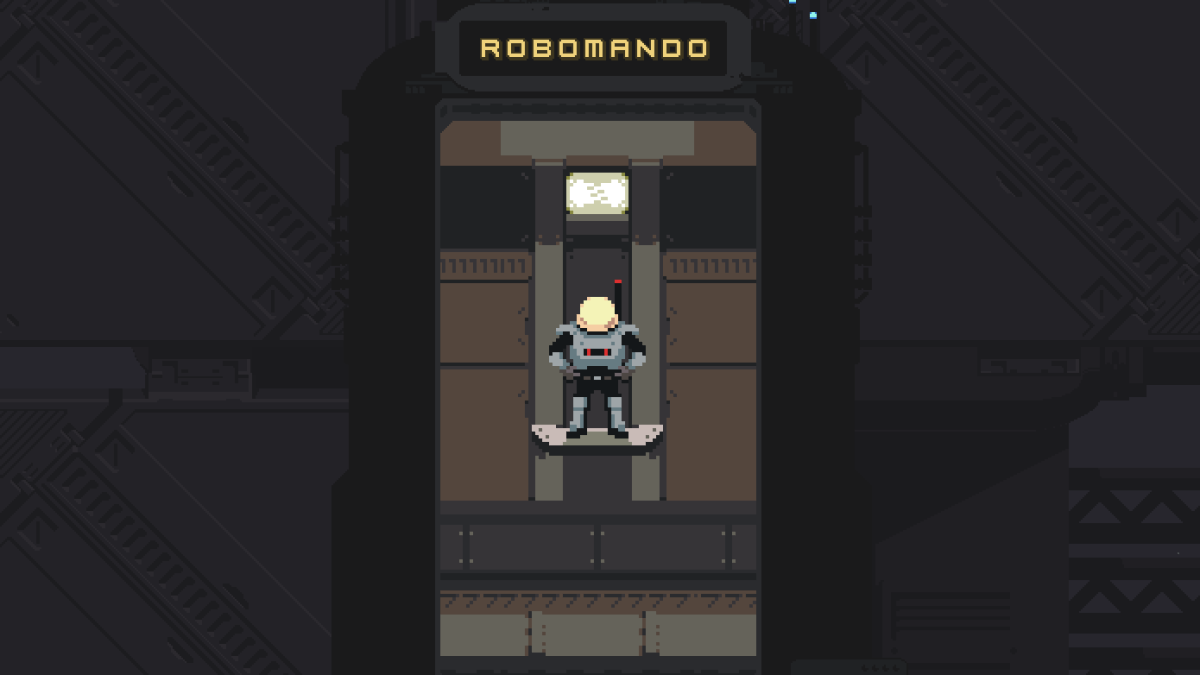
Risk of Rain Returns, the remake of the original Risk of Rain, adds in quite a few extras to keep veterans and new players alike searching. One of these is the secret 16th character, the Robomando, a gimmick character that’s extremely fun to play.
What’s less fun is how you have to unlock Risk of Rain Returns‘ 16th class. The Robomando’s challenge is not available on the logbooks by default, and its class icon is not silhouetted until you unlock it. You are going to need a minimum of two runs if you want to grab it, and those runs should be consecutive.
How to unlock the Robomando secret class in Risk of Rain Returns
The Robomando requires two runs: one on Drizzle and one on any other non-Drizzle difficulty. Some accounts say you can do the first run on any difficulty, but we recommend saving yourself some headache and making it as easy as possible for yourself.
That means using the Command artifact and Game Rules to set your damage high, too. This character requires two runs in a row to go well for you, so you should give yourself every advantage you can manage. That means building crit damage with Lens-Maker’s Glasses, healing with Harvester’s Scythe, and mobility with Hoopoo Feather.
Run one: Get the Strange Battery
In order to start the process, you must start a run on Drizzle difficulty, with any character, with any game rule, and using any artifact—except for Sacrifice. I used characters with innate vertical mobility—the Pilot, Loader, and Miner are the two easiest ones. The Artificer, Huntress, Mercenary, and Drifter can access the needed areas with alternate abilities from Providence Trials.
Once you’re in, you need to get to area five, or the Temple of the Elders. Then, you must either head to the far left or far right of the map, depending on your map variation. You’re looking for the massive marble temple, reaching vertically to the sky.
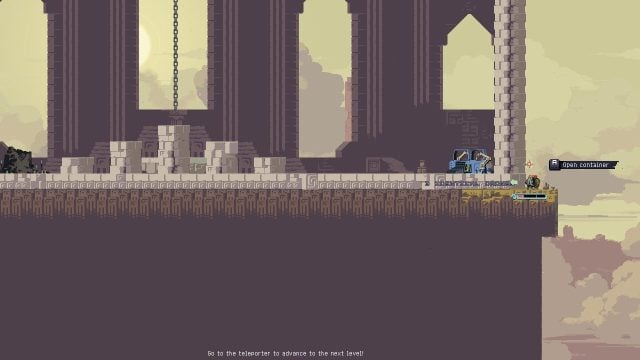
Head to the far side of the temple and you’ll see a ledge with several pots in the background. The ledge is tiny, but the temple will always have a way to access it by climbing up the inside of the building and dropping down while hugging a wall. Make sure you have the health to survive the fall and however many wasps chase after you.
Interact with the pots to get your hands on the Strange Battery, a terrible equipment that gently tickles nearby enemies with a long cooldown. You will likely have to drop off of the side of the cliff and teleport back into the temple to make your way back.
That’s because this is the key to victory. Make sure you don’t die and head to the Final Map, the UES-Contact Light. Here, you’ll need to pick up a Keycard from the cargo bay, which you can consistently find in any Golden Canister.
Once you have the Keycard, head to the right until you reach a ladder that goes down. While you’d normally climb up to access fantastic item rooms, we’re going to head down to the Cabin.
Keep heading to the right until you reach the outside and a cliff. Hug to the left and, potentially, save a mobility move to access a small cave on the cliffside.
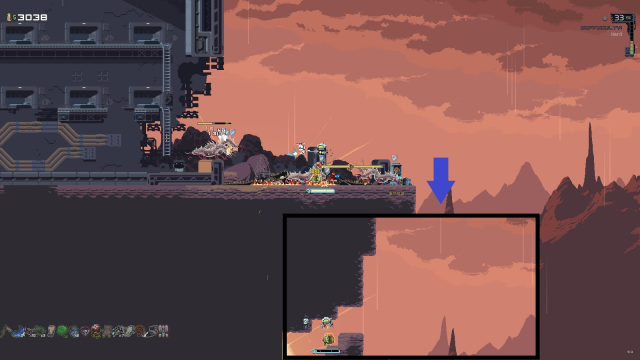
Pass by the dancing Golems and jump into the small divot above them. Any character can do the task with the right items, but there is a height requirement needed for the last bit of this run which not all characters can do without Hoopoo Feathers. This divot, above the dancing Golems, is the entire reason we recommend a class with vertical mobility.
Head through the divot and do some sweet parkour until you reach a small, black chest asking for Equipment. Throw your battery right in there.
You’re now done with the run. Feel free to perish here, or take down Providence.
Run two: Install the Strange Battery
Your second run, which needs to be done while the Strange Battery is in the black chest, can be done on Rainstorm or Monsoon difficulty, using any game rules or artifacts—except for Sacrifice. Unlike the first run, you can do this run with any character, regardless of mobility.
I set my damage to 200 percent but kept my durability normal. I wanted to kill things fast, but also wanted to die relatively quickly.
The first step of this run happens on Stage Two. Within the Damp Caverns or Sky Meadow, you will find the Black Box somewhere on the stage, costing about as much as a small chest. Crack that open and pick up your Strange Battery again.

Once you’ve got the Strange Battery, you must get to the fourth stage AFTER 22 minutes have passed. You can spend as much time on the second and third stages as you’d like—as long as the clock reads 22:00 or later, you’re set to move on.
In the fourth stage, look for the hidden room with a green arrow in it. This is pointing to the body of the Robomando, our 16th class. You must head in there and interact with the body, which will destroy your Strange Battery and reactivate the Robomando. Entering the hidden room can be tough, but look around the outskirts for signs of ropes or hidden passageways that head into the room.
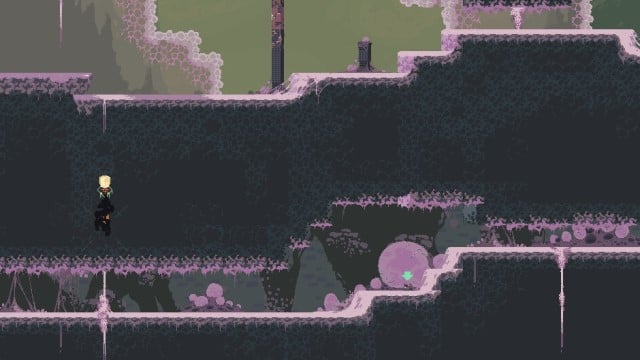
It’ll then try to kill you. Unlike with unlocking Acrid, let the Robomando kill you. As long as the enemy robot is alive and you are not, you will unlock the 16th class. You will get the challenge notification as soon as you die, letting you know that you’ve done the process right.
If you die while you have the Strange Battery, you will have to do the whole thing again. Try your best to make this run one you survive. However, if you die stage one, you’re fine to try again, since the black box hasn’t been emptied.
Can I unlock the Robomando in multiplayer?
Yes, you can unlock the Robomando in multiplayer. Not everyone in your lobby even has to get the Strange Battery either. As long as the host of the lobby did the Strange Battery run, everyone else can unlock the Robomando during the next run.
There are some important caveats here. The black box you put the Strange Battery in can be a bit ornery with multiplayer lobbies, so we recommend keeping the lobby alive between the two runs. That should be enough to make sure the battery stays in the box.
In addition, everyone but the Strange Battery holder must die, as well as the holder. While it is important to ferry the Battery along, it is just as important the entire party wipes on Stage Four.
The party does not need to die to the Robomando for the event to count, mind you. Everyone just needs to be dead when the Robomando is active. This means everyone can hop into lava or a pack of Lemurians before the Strange Battery holder even activates the event.
Is the Robomando good in Risk of Rain Returns?
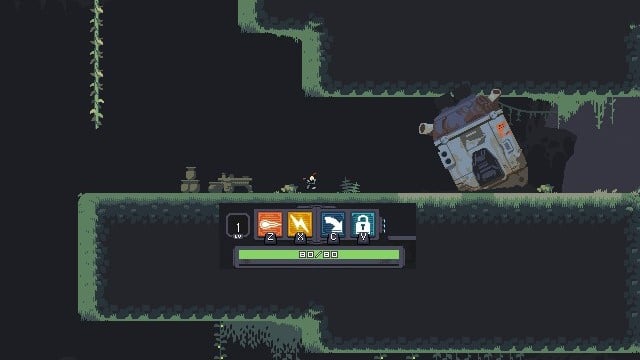
The Robomando is an okay class, especially for speedruns, but can quickly fall off in the lategame. It has the worst stats of any class, but exceptional movement speed and the ability to open any technological chest without paying for it. Its terrible attack rate and damage will catch up with it by the endgame, though.
The Robomando is stuck with a facsimile of the Commando’s toolset, but all neutered. It sports a gunshot that fires much slower, a short-ranged taser that pierces and stuns enemies for mediocre damage, and a dive which—while invincible for a moment—leaves Robomando wide open afterwards. These abilities are straight downgrades of the Commando, except for the taser which stuns for a bit longer than Full Metal Jacket. The Robomando also has no alternative abilities, so you’re stuck with this. This is all without mentioning its terrible starting health at 80, and your HP growth isn’t exactly saving you either.
It’s not without upside. It doesn’t pay for anything except shrines thanks to its fourth ability, which lets it hack almost anything. That includes chests, drones, timed chests, tri-shops, and randomized shops. This money-saving snowballs into an absurd early-game advantage, since the Robomando will level up quite a lot while still collecting every item in a stage.
The Robomando’s speed is also significant. It moves much faster than any other character, giving it surprising survivability. It’s not great at running and gunning, but it works fine for looting and getting out of dodge.
It’s quite easy to get a huge early-game lead with the Robomando, but that lead will dissipate. Money isn’t a problem after a certain point in Risk of Rain Returns, so this little fella’s usefulness will start to run dry.
Still, if you want to clear a run very, very quickly, you could do worse than the Robomando.





Published: Nov 19, 2023 10:24 pm