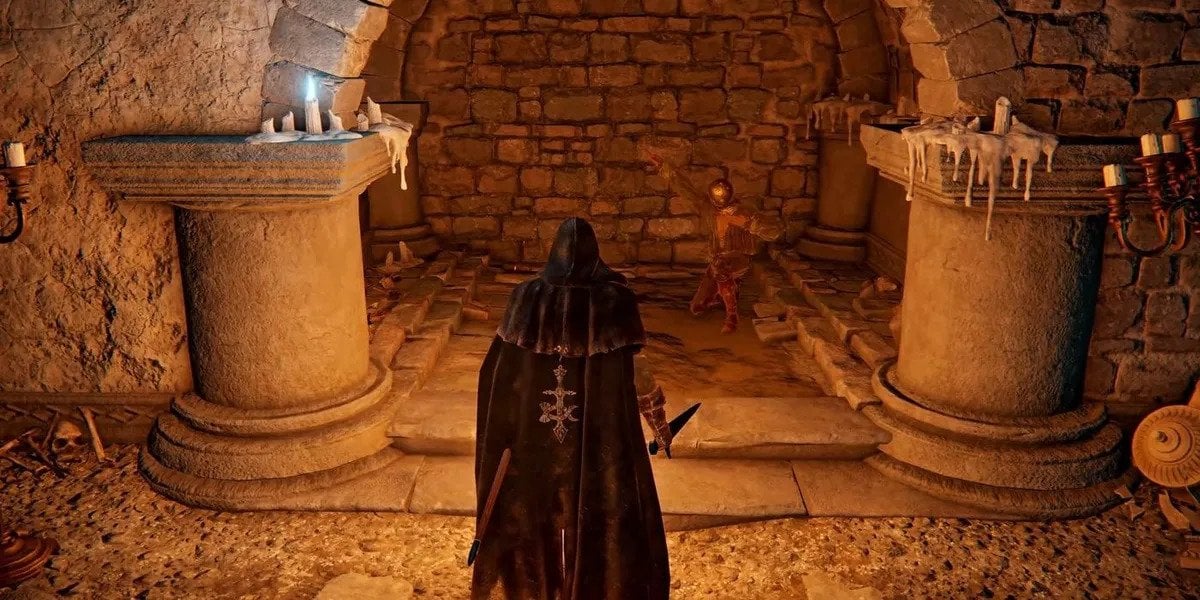
Illusory walls have been an obstacle FromSoftware loves throwing at players since the original Dark Souls, and nothing’s changed in Elden Ring either. These walls are not really solid sheets of rock, they are in fact, as the name implies, illusions created by sorcery.
These illusory walls tend to block players’ passage by deceiving them into thinking a wall exists where there should be a free path ahead. These illusions can be easily dispelled by hitting them with a weapon or spell. Upon doing so, these walls fade away, leading to either treasures, hidden passageways, or even optional bosses.
Seeing as they hide a lot of bonus rewards, illusory walls can be difficult to find in most cases. Fret not, however, since we have curated a list of all possible illusory walls in the game (that we know of) and their locations.
All Elden Ring illusory walls & where to find them
| Locations | Directions |
| Academy Crystal Cave | Hit the wall to the left of the room guarded by one of the stronger mages. |
| Academy of Raya Lucaria | After the Schoolhouse Classroom Site of Grace, at the bookshelf with the corpse on the left. |
| Academy of Raya Lucaria | Back from the Debate Parlor Site of Grace, at the bookshelf with no books on the right, near the stairs. |
| Academy of Raya Lucaria | Get to the Church of the Cuckoo and hit the first wall to the right upon entering. |
| Auriza Side Tomb | Final room of the tomb, face the chest and hit the wall to the left. |
| Black Knife Catacombs | The optional boss in this dungeon can be accessed by traveling up the blades in the middle area and hitting the wall at the end of the passage after jumping off. |
| Caelid Catacombs | Turn directly behind from the locked door at the end of the dungeon, walk straight into the previous room, and hit the wall on the column in the middle of the room. |
| Caelid Catacombs | Turn right from the entrance to the swamp area and hit the wall on the right corner under the platform. |
| Cathedral of the Forsaken | Hit the wall behind the chest near the Site of Grace. |
| Frenzied Flame Proscription | Hit the wall under one of the arches in the hallway near the Site of Grace to access a chest. |
| Frenzied Flame Proscription | In the same area, hit the wall behind the chest, leading to a hidden Site of Grace. |
| Giant-Conquering Hero’s Grave | Go down from the Site of Grace, take the first right and hit the wall on the left. |
| Giants’ Mountaintop Catacombs | Take the lift down into the secret area till a couple of frost traps are encountered. Hit the wall between the two traps, just before the second trap. |
| Hidden Path to the Haligtree | Go through the invisible floor at the broken railing, then under the arch and into the hallway. Hit the wall at the end of the hallway. |
| Kingsrealm Ruins | Hit the brick wall at the northern end of the ruins. |
| Kingsrealm Ruins | Hit or roll on the large square brick patch on the floor to reveal an underground room. |
| Leyndell Catacombs | Go up from the Site of Grace, run past the enemies, and right before the snail, there is a set of stairs above two walls. Hit one of the walls. |
| Mirage Rise | Southeast from the Site of Grace, hit the huge rock on top of the cliff. |
| Moonfolk Ruins | Hit or roll on the large square brick patch to reveal an illusory floor leading to the underground room. |
| Road’s End Catacombs | Hit the left wall on the level underneath the lever. |
| Road’s End Catacombs | Hit the right wall on the level underneath the lever. |
| Road’s End Catacombs | Hit the left wall two levels underneath the lever. |
| Road’s End Catacombs | Hit the right wall two levels underneath the lever. |
| Road’s End Catacombs | Hit the wall after the first two walls, leading to a chest. |
| Sage’s Cave | Hit the wall near the path to the campfire. |
| Sage’s Cave | Follow the path further and hit another wall near the same path. |
| Sage’s Cave | Hit the wall between the two bazaars. |
| Sage’s Cave | Hit the left wall under the waterfall. |
| Sage’s Cave | Hit the right wall under the waterfall. |
| Sainted Hero’s Grave | Go left past the Site of Grace till the room with the two casters is reached. Hit the wall behind them. |
| Sealed Tunnel | From the Capital, go to the west entrance and take the tunnel down from the lake. Follow the tunnel till a slight hole in the wall is revealed. Hit the wall to get to an area with a chest at the end. |
| Sealed Tunnel | Hit the wall behind the chest from earlier. |
| Sealed Tunnel | Take the main elevator down and run straight ahead. Hit the first wall to reveal a passage. |
| Sealed Tunnel | In the hidden passage, hit the wall right after the first one. |
| Sealed Tunnel | Enter the room full of exploding enemies. Directly opposite the stairs in this room are a lot of barrels. Go behind them and hit the wall there. |
| Sellia Hideaway | Following the Sellen questline will lead players to an illusory wall just below Greyoll’s Dragonbarrow. This wall is northeast of the Church of the Plague. Hit sections of the cliff wall to eventually find it. This wall is also the entrance to the Sellia Hideaway. |
| Sellia Hideaway | Hit the first wall at the end of the slopy area leading to the boss room. |
| Sellia Hideaway | Hit the second wall at the end of the sloppy area leading to the boss room. |
| Sellia Hideaway | Go straight ahead from the Stake of Marika. Following the right path will eventually lead to a corpse with Preserving Boluses on it, followed by a minor clearing. Hit the wall on the left of this clearing. |
| Three Sisters | Hit or roll on the square brick patch to reveal the entrance to the underground section of the tower. |
| Three Sisters | Follow the underground passage to the end and hit another wall that leads to a checkpoint in the Sellen questline. |
| Volcano Manor | Unlock the first door to the right after getting the Drawing Room Key. Hit the wall next to the corpse. |
| Volcano Manor | Follow the passageway till an opening on the left. Hit the wall at the end of the passage. |
These hidden walls can also be revealed as illusory by using the incantation Law of Regression. This spell dispels nearby illusions when cast, be they statues, messages, or even walls. Getting a little creative with the Law of Regression usage might lead to Elden Ring lore secrets being discovered that were previously unknown.


Published: May 6, 2022 01:55 am