The secrets in Destiny 2‘s Season of the Witch are almost coming to an end (at least until Savathûn pulls something new), and the Witch Queen’s final test is at hand. The Navigation Test in the Imbaru Engine is available for those who want to test their wit against Savathûn.
You can’t just waltz into the Imbaru Engine and demand another test, though. First, you need the last Opaque Card to unlock the Navigation Test. This will wrap up the trinity of tests in honor of the Hive Gods, after the Test of Cunning (Savathûn) and the Test of Strength (Xivu Arath).
After you have it, though, you can load into the Imbaru Engine from the H.E.L.M. and try your hand at the new challenge. And you can even skip the first two tests, if you don’t want to run them again. Here’s what you need to do to complete the Navigation Test in the Imbaru Engine.
Imbaru Engine Navigation Test explanation
The Navigation Test is simpler than it looks, though it may still take a few tries before you figure it out. You’ll find seven doorways with a series of Hive runes close to them. You just need to find the symbol matching the element and position of the one on the doorway. Finding the odd one out also works. This is pretty straightforward, at least until Savathûn intervenes.
Much like the symbols in Savathûn’s Spire, they light up when you damage them with the matching element, so we recommend swapping between Energy primaries or just grabbing Hard Light (your Legendary Shards will soon become useless anyway, so you might as well). Shooting all symbols gives you more doors to choose from, but it doesn’t fail the challenge.
Imbaru Engine Navigation Test guide and solution in Destiny 2
The first symbol is an Arc rune that looks like an ice cream cone, and it’s located to the right of your doorway. Your goal is to find the door that also has an Arc rune in the same position as yours. Shoot the Arc rune on the second doorway to the left, then step through the portal that just opened. If you have your back to this door, the rune matches the location of the symbol on your door, so you know it’s the correct one.
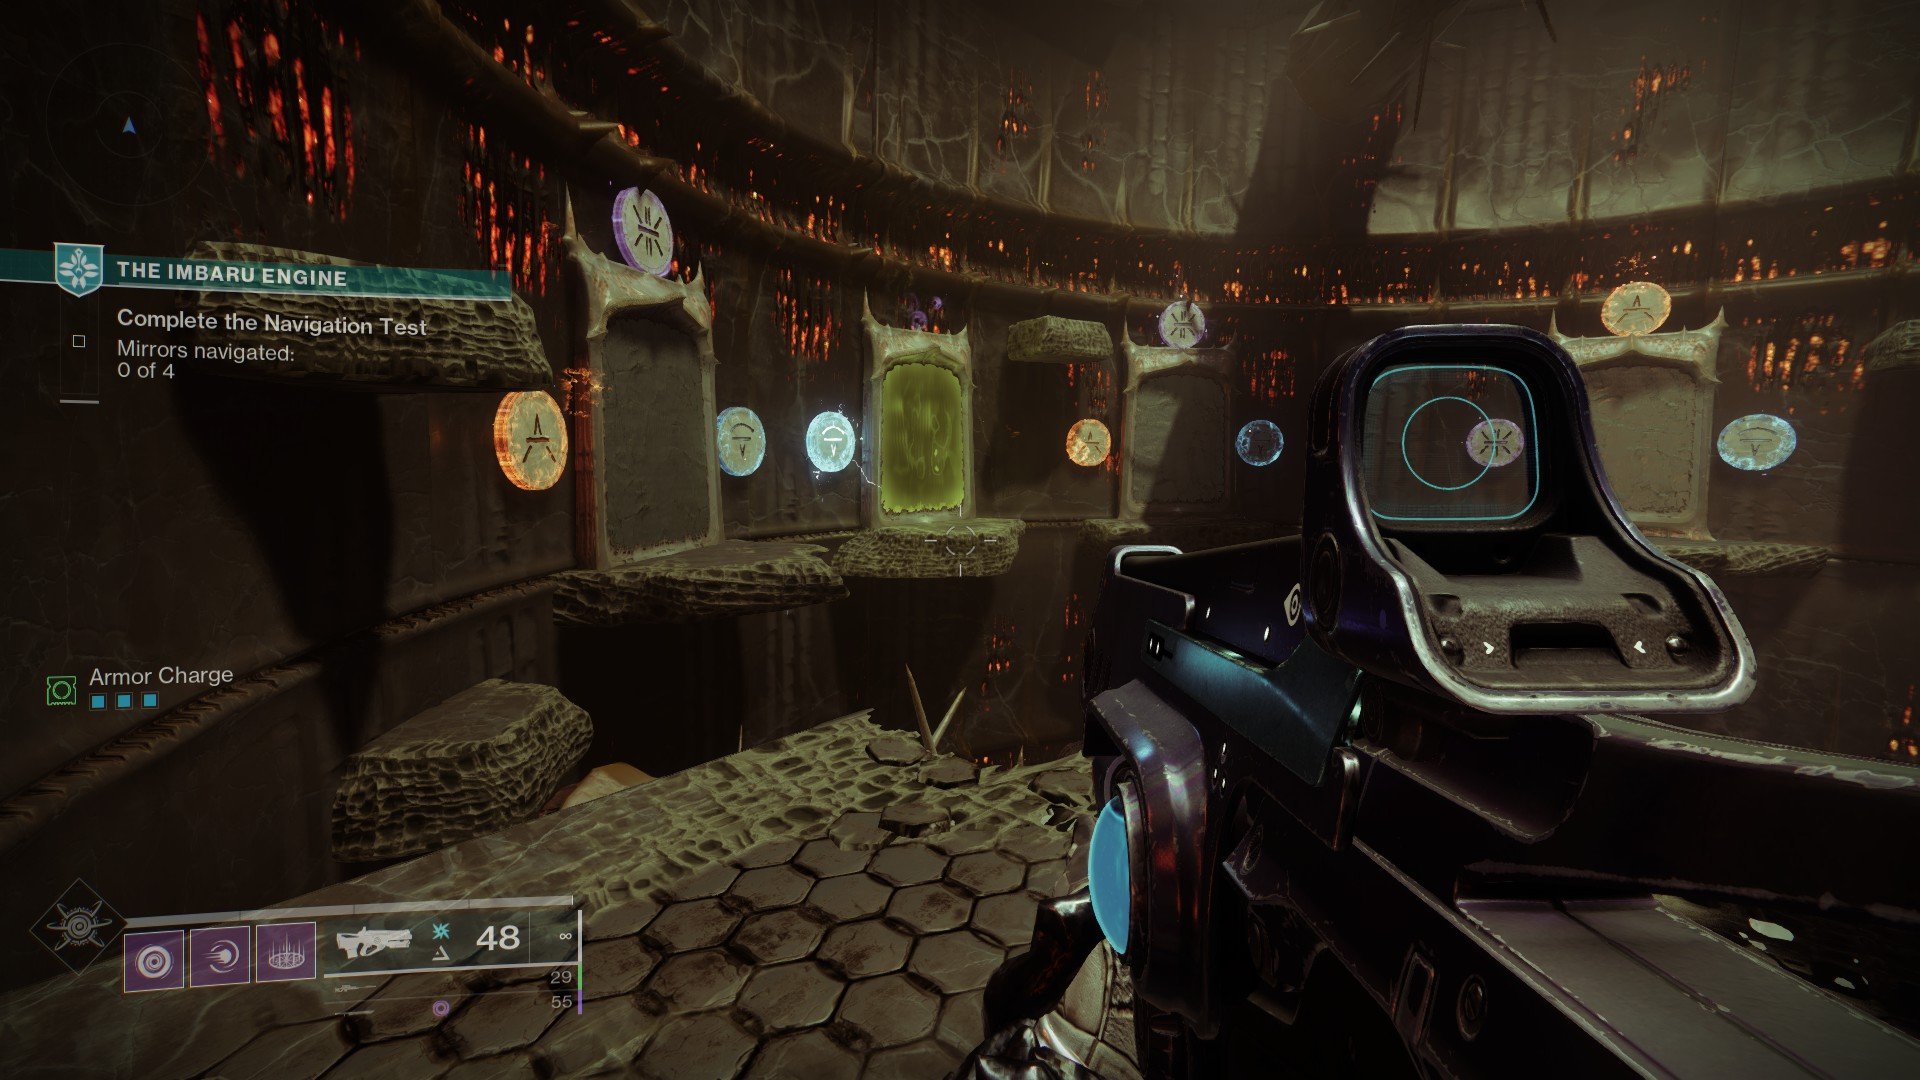
The second rune is Solar and stands above the doorway. Look for the door with a matching Rune on top of it, then shoot that one with a Solar weapon and head inside. It will be the third one on the right.
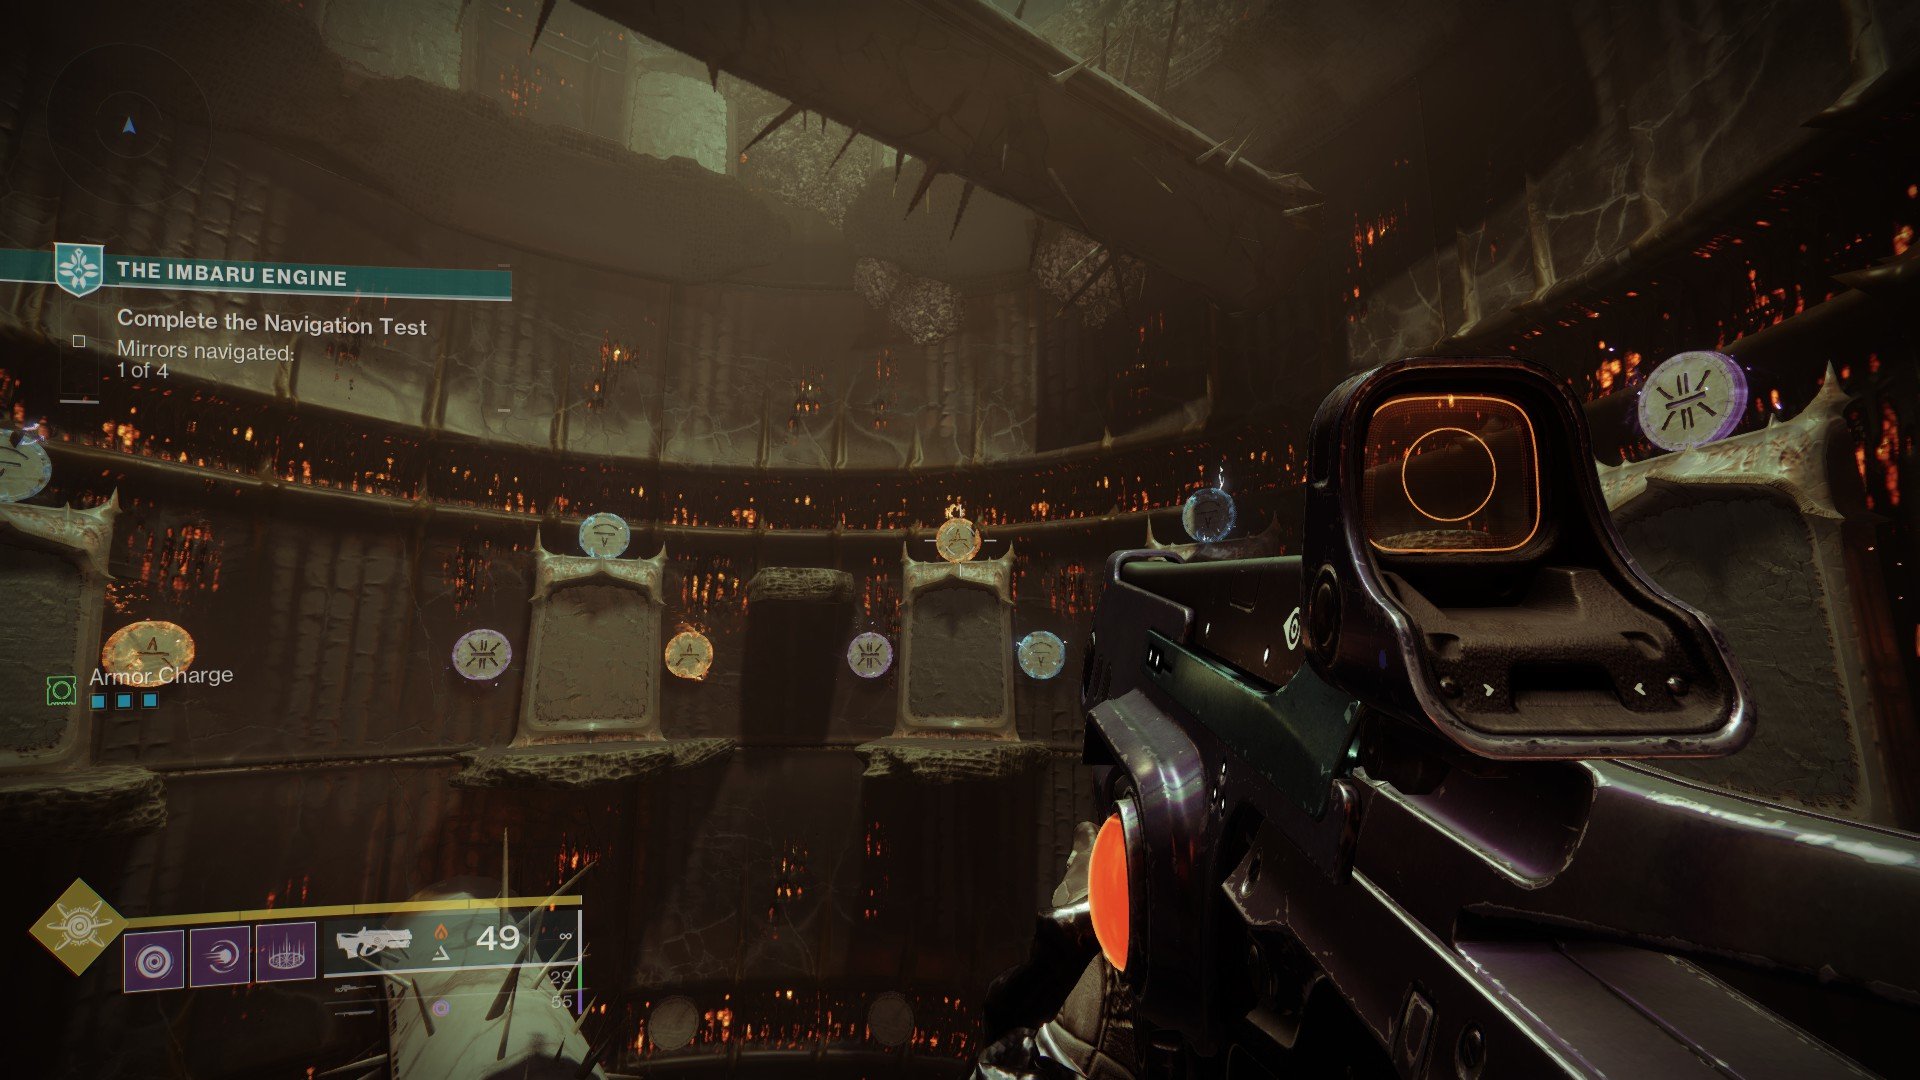
The third test has a series of Void Runes and it starts with Savathûn laughing, so you know to expect some trickery. Look for the door without a Void symbol, which should be just ahead of you. Move around into one of the ledges in the room to spot a Void Rune hidden behind the Arc one on the right. Shoot it and go through the door.
Navigator Test final puzzle answer
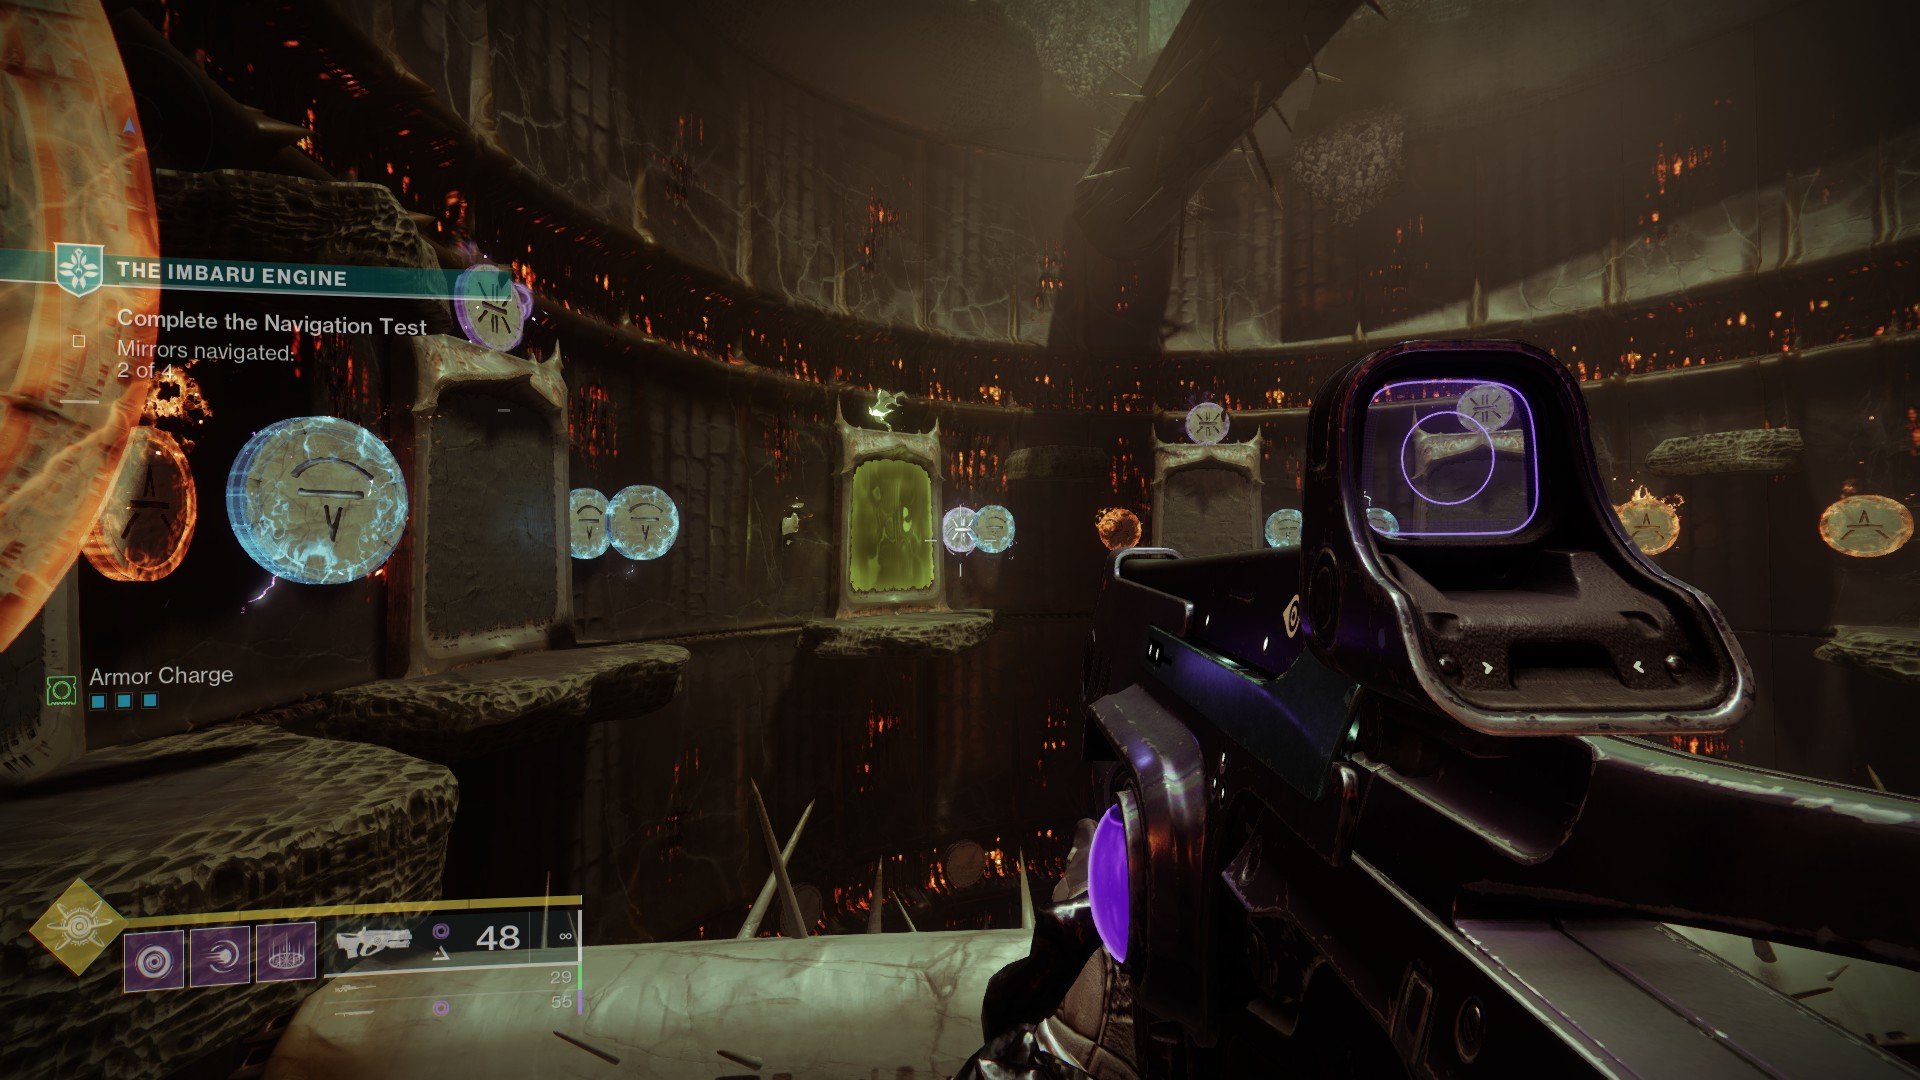
The fourth symbol is the trickiest, and we discovered it through trial and error before finding the right spot. Once again, the rune has to be in the same position as the one on the door you spawn in (to your right, if you’re facing the door head-on). The problem is, everything is floating in the air.
Head to the second stone ledge from the left, between doors two and three. If you stand there, you’ll see one of the Solar runes aligns perfectly on the right side of the rightmost doorway. This is the door you have to go through, and doing so will complete the Navigation Test. (Alternatively, you can just shoot all the Solar Runes and go through the first door on the right, which is what we did the first time.)
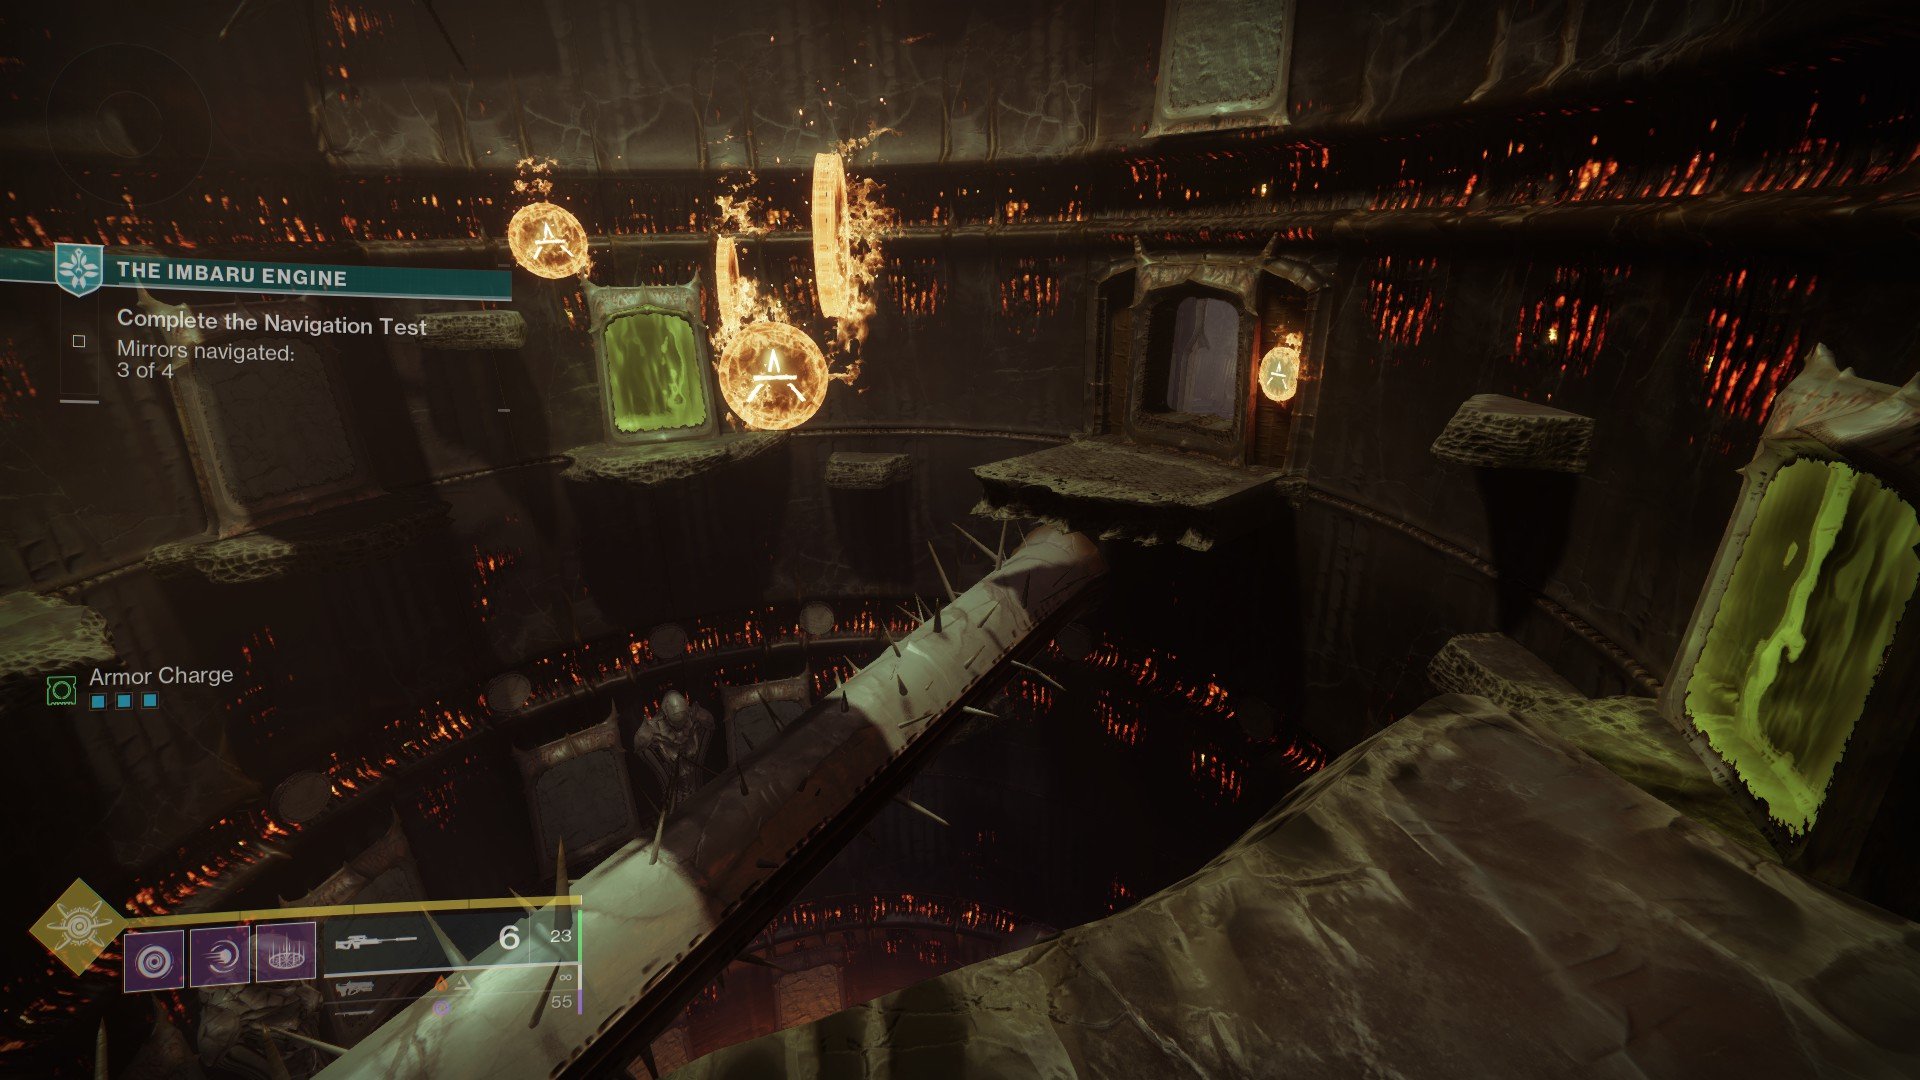
After you’ve successfully decoded the Navigation Test, you’ll get some seasonal gear and an Ascendant Shard, which is not bad for a mini-activity like this.
Can you skip to the Imbaru Engine Navigation Test?
You can skip the first two tests in the Imbaru Engine if you’ve already completed them. Once you load into the actual Imbaru Engine, open the first door across from where you place your Acolyte’s Staff. Then, run through the gauntlet filled with spikes and reach the elevator.
Once you’re on the top floor, look for another door. You should already be facing that door when you land, but it will be opposite the portal if you need some guidance. (It’s also the door that doesn’t have the Test of Strength.)



Published: Oct 10, 2023 02:46 pm