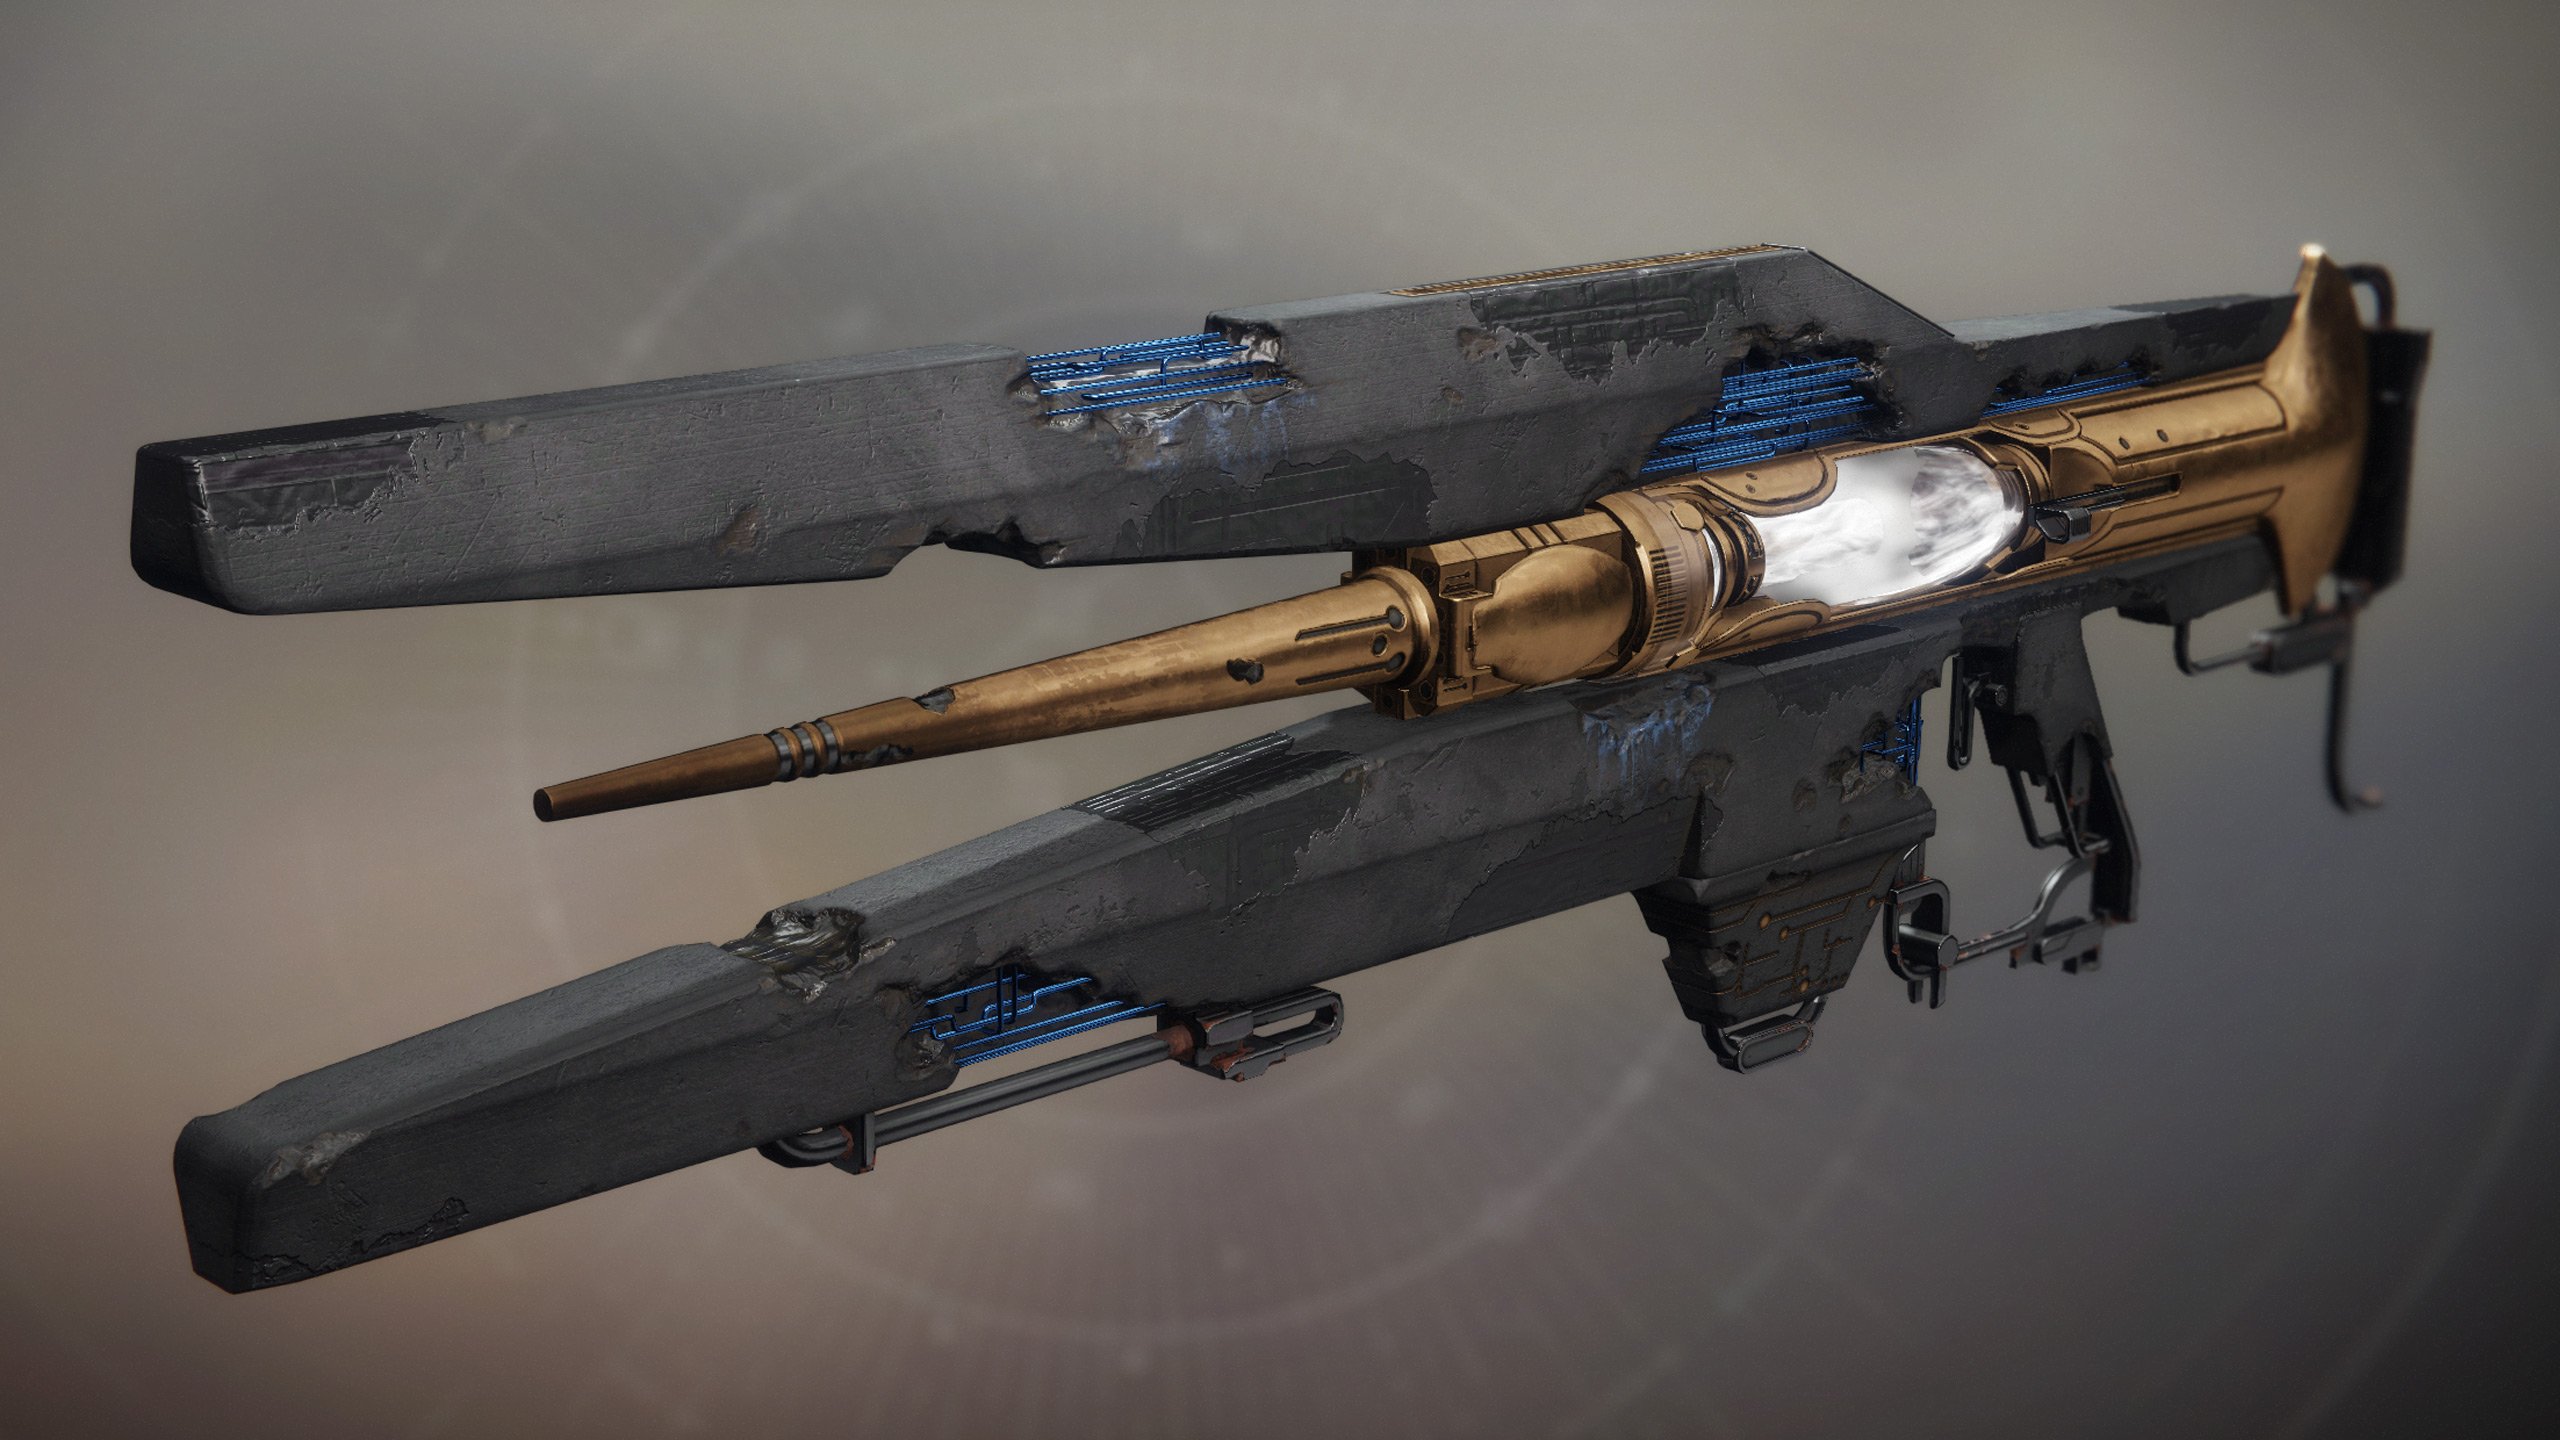
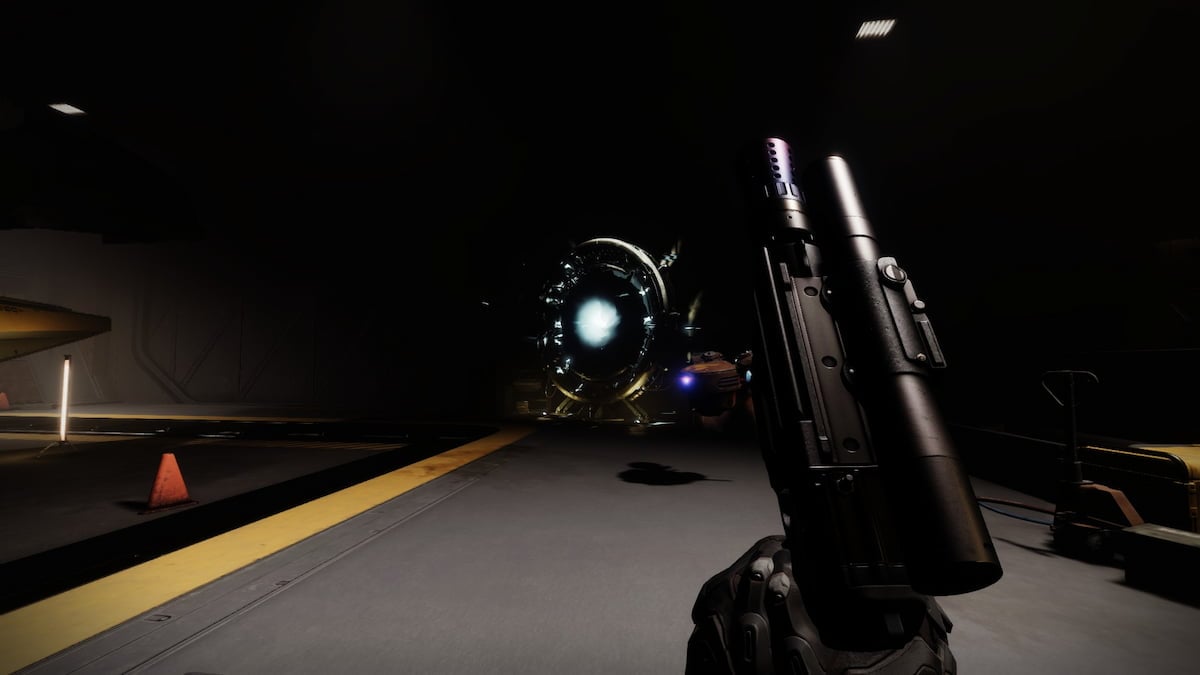
Divinity is a strong exotic trace rifle that makes its way from the Garden of Salvation raid in Destiny 2: Shadowkeep and is one of the most valued and powerful weapons players can have in Destiny 2 at the moment.
This weapon creates a large critical hit spot on a target if you are dealing sustained damage to them. The Divinity can also lock enemies in an arc cage and deals large amounts of damage to caged enemies.
Divinity is one of the strongest Overload solutions for dealing with Champions since a single zap will stun them immediately, making this trace rifle a scalable, powerful, and a must-have weapon for the end game.
The process to get Divinity, however, is far from being just a fortunate drop from a tough boss fight. Players will have to get through the Garden of Salvation raid in addition to completing seven challenging team-based puzzles, on top of the various pre-raid quests you need to complete beforehand.
Don’t worry, though, because this guide will cover exactly what you need to do in Destiny 2 to get your hands on Divinity, one of the most powerful weapons in the game.
How to get Divinity in Destiny 2
First of all, you will need to get the Divine Fragmentation quest, which is only activated after the first team completed the Garden of Salvation raid. To get it, you need to travel to the entrance of the raid, which is on the Moon.
Your exotic quest begins in the Lunar Battlegrounds, the first place in which you would have battled with the Hive. Head to the southern exit of Sorrow’s Harbor and proceed to go left when you reach the spot where you captured multiple nodes in the first Shadowkeep mission, rather than going right.
Once you’re inside the cave, make your way toward the back, where you should come across the Vex gate. Be ready to face three waves of enemies before the Minotaur boss spawns. Defeat the Minotaur boss to have an exotic engram drop. Pick the exotic engram and it will reveal the quest for Divinity called “What’s This… What’s This?”
Reclaiming three oracles
Now that you have the engram, you will have three oracles that you need to find and reclaim, all of which can be found on Nessus. Make your way from Artifact’s Edge and work your way to Orrey Lost Sector. Once you come across a room filled with blue light, there should be a wall that has an opening that you can jump in.
This hidden area contains the first oracle that you need to activate. Interact with the oracle, kill the enemy that spawns, and then activate it.
The second oracle can be found in the Tangle. Once you’ve reached the Tangle, head to the Ancient’s Haunt and all the way to the boss spawns. Right there, on the left wall, there will be a cave where the second oracle resides, where you can reclaim it.
The third oracle can be found in the Conflux, inside of the Cistern. Maneuver through the area and head into the cave found at the base of the waterfall beside the wreckage. Keep going until you find the first large room, and then head to the right wall where you will find a hidden cave near the ceiling. Get inside the cave to find and activate the third oracle.
Decryption
This part of the Divinity quest requires 120 Decryption Core Fragments. These can be easily retrieved by either destroying Vex on the Moon or simply playing through the Vex Offensive mode.
Once you have collected all 120 Decryption Core Fragments, you will now need 30 Phantasmal Fragments at Eris Morn’s Lecter, which will then reward you with an Empowered Decryption Core. The Phantasmal Fragments can easily be picked up from Nightmare enemies or simply be purchased from Eris for Helium Filaments.
After you’re done with this part, it’s finally time to get to the Garden of Salvation raid puzzles.
All Garden of Salvation raid puzzles
These raid puzzles require patience, dedication, and teamwork. You will need five other friends to help you complete them. There are seven puzzles in the raid and all of them need to be completed in one attempt of the raid.
When you spawn in the raid, you will find yourself on a cliff. Simply jump off of it to reach a cave below you. Enter it and interact with the node present there, which will then spawn you in blocks, putting you back at the start. Continue through the raid until you reach a huge set of stairs that have two curved walls on each side before the first encounter.
Puzzle one: There are two hidden rooms beneath the curved walls. Make your way on top of one of the curved walls to put you on one side of the room. You will need six players to complete this, where the left side is the start and the right side acts as the end.
Three players need to stand in the left room. One of them needs to stand right next to the node while the other two remain distanced towards the window near the stairs. The three other players stand in the same manner in the right room. The player that is nearest to the node will activate it, chaining the electricity from player to player. If every player is distanced properly, the electricity will chain to the end, and you will receive a completion message.
Puzzle two: You will come across the second puzzle after the first encounter. Make your way along the right side of the section filled with flowers until you come across a pink tree. Right next to it, there should be a cave which you should crouch to reach. Once you have fallen inside, your task would be to assign players to spots along the winding path.
The first player should always be at the entrance. The rest of the players need to position themselves in the spots along the cave that have circular holes in them. Once every spot is filled, the final player should make their way outside the cave and keep to the left, reaching the tether box shortly. Activate it to lift the forcefield around every player, with everyone being able to make it out of the cave.
Puzzle three: Make your way inside the underground tree platforming section of the raid. Once you see a branch emerging from the ceiling, you should find a tether box underneath it, beside a giant shootable pod. An array of nodes will be present around the branch, and players will need to split up to link electricity through each of the six nodes, completing the puzzle.
Puzzle four: You will find the fourth puzzle after the third encounter, towards the end of the tiny platforming chasm, on the west. Activate the box there to spawn six extra nodes, which then need to be lit up to progress further. Breaking the line of sight resets the puzzle, so make sure to form a circle around the main pillar before you start the chain.
Puzzle five: This puzzle can be found in the very same room as the fourth one. You will need to move as a group, however. Once both ends of the chain get linked, you are able to move as a group, and moving away from each other resets the puzzle.
You can either walk around the chasm from the left side or just jump to the other side. As you enter this area in a group, Supplicant Harpies will start to appear. Work together to get the harpies to explode, and then proceed to link all six of the nodes.
Puzzle six: This puzzle is also located after the sixth encounter. Make your way into the large field and spot the two waterfalls there, heading in between them where you should find a small cave. Enter it and head to the left, where you will find the starting node.
Shoot it to make the ending node appear, hidden up on a ledge. Chain all six players as you stretch the electricity as much as possible to complete the puzzle.
Puzzle seven: Head into the room where the last puzzle began to start off the seventh and final puzzle of the raid. You will notice six plates glowing on the ground. Connect all the players and have each one stand on one plate, making a line similar to the carvings on the ground.
After that, the glowing lights will project seven formations that you and your teammates need to replicate quickly. Once you have replicated all seven correctly, the ground will begin to shake.
After the puzzles are finished, you will still have to complete the raid.
Claiming Divinity in Destiny 2
Once you have finished the raid in its entirety, drop down past the final boss area and head straight toward the reward room. If you completed each puzzle and the pre-raids tasks, you will unlock Divinity in Destiny 2. Have fun with it.




Published: Aug 25, 2022 07:00 am