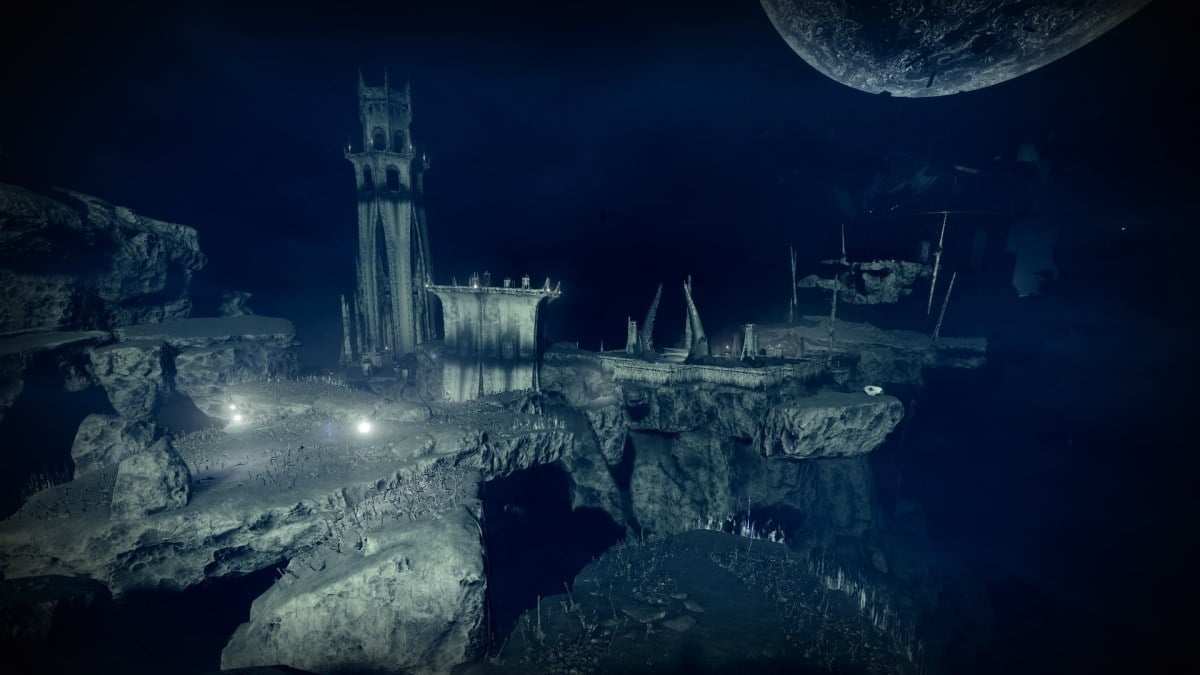
Destiny 2‘s Shattered Realm sent players into warped versions of the EDZ and the Tangled Shore, and now it’s time for guardians to meet the Ascendant Plane version of the Dreadnought, complete with a horde of Hive to match in Shattered Realm: Ruins of Wrath.
Ruins of Wrath is simpler than both Forest of Echoes and Debris of Dreams. Like the other two Shattered Realm activities, guardians must activate beacons around the field to activate the Ley Lines, and the final beacon will trigger a boss fight.
Here’s how to complete Shattered Realm: Ruins of Wrath.
Align the first beacon
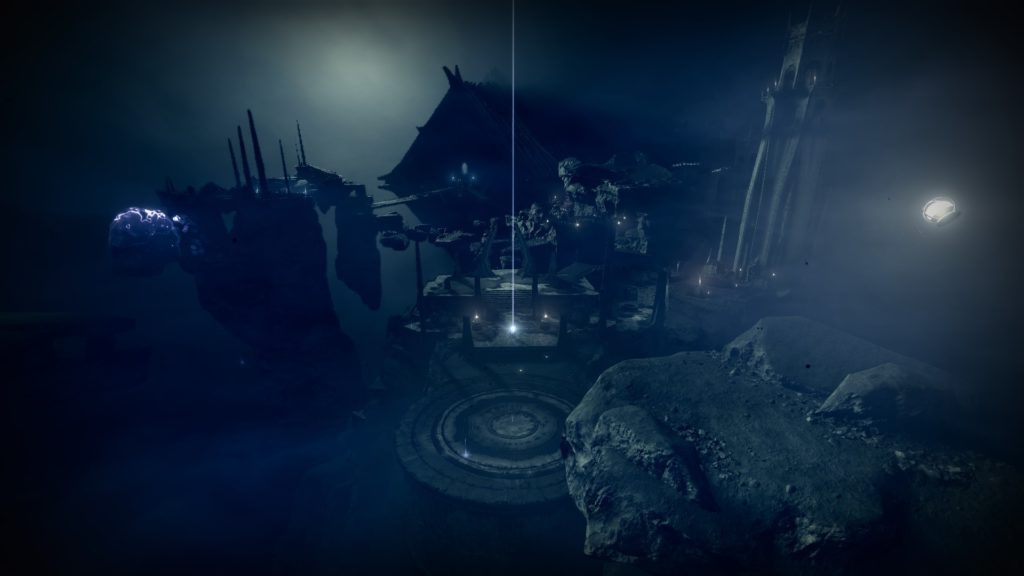
Unlike the previous two Shattered Realm activities, the first beacon in Ruins of Wrath is right in front of you. Jump from platform to platform until you see the beacon, taking note of the nearby Ascendant Anchor on the left, and activate it.
Aligning the beacon will cause a horde of Hive to spawn, but they won’t put up much of a fight. There is a fair bit of cover around the first beacon, so take advantage of it for killing the enemies. After you get around the halfway mark, a big portal will open, bringing Wizards and Ogres. Take them out quickly (using cover to block their shots when necessary) and wait for an Unstoppable Ogre to spawn. Take it out and finish the horde to close out this part of the activity.
Align the second beacon
After taking out the Hive, the Ley Lines will point you towards another beacon, but don’t go towards it just yet. Now that the first beacon is done, you can use the True Sight totem behind you to find an Ascendant Anchor and two Trivial Mysteries in the area—one with True Sight and another with Barrier Breach. Drop down and make a left to find the Barrier Breach totem, and the barrier will be up ahead.
Backtrack to the main area and head to the left for another True Sight totem. Cross the gap, but make a left instead of following the Anchor for another Barrier Breach totem and a barrier further up the path.
Go back to the main area in the Staging Grounds and head straight from where the beacon was to find another Ascendant Anchor right before the Field of Strife. Jump carefully from platform to platform due to the slow effect and watch out for the Hive ships bombarding you. Follow the path until you get to the beacon and activate it, summoning another batch of Hive.
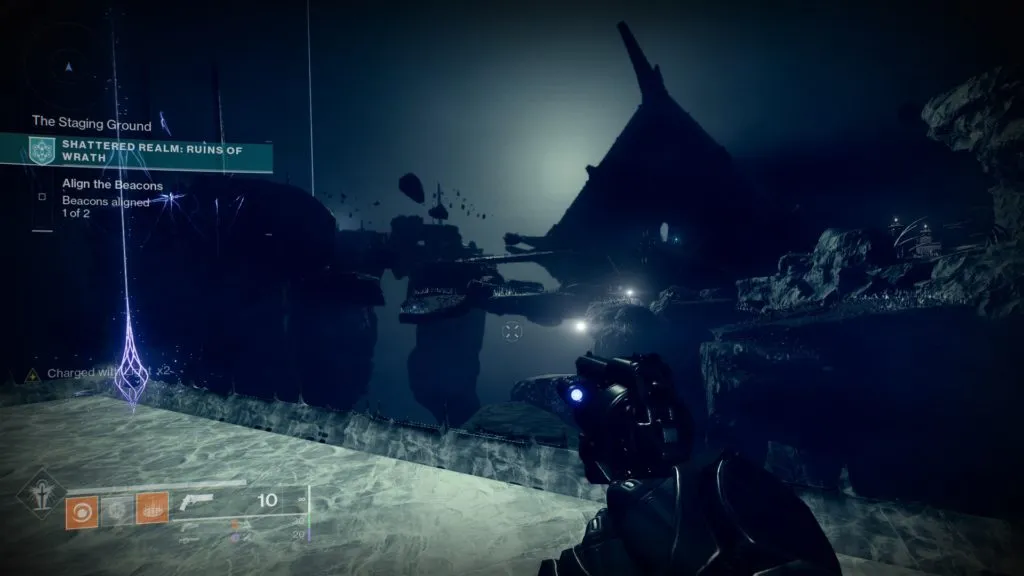
The main platform has little cover to fall back to, but you can jump around to the other platforms as long as you’re careful of enemy spawns. Keep an eye on your radar to know where enemies are coming from, and take out Revenant Knights first due to their annoying ranged attacks. A Barrier Champion will appear close to the end, so take him down and sweep the rest of the Hive.
Align the third beacon
After you finish taking out the Hive enemies, look to the True Sight totem nearby and use it to cross. Find a Barrier Breach totem to the right of where you walk in, then jump on the ledge to your left to find the barrier before the time runs out. You’ll also find another Ascendant Anchor around the bend. You can explore the rest of the areas for more secrets or head out to the boss room for the final fight, and it’s going to be familiar for players who have done Wrathborn Hunts.
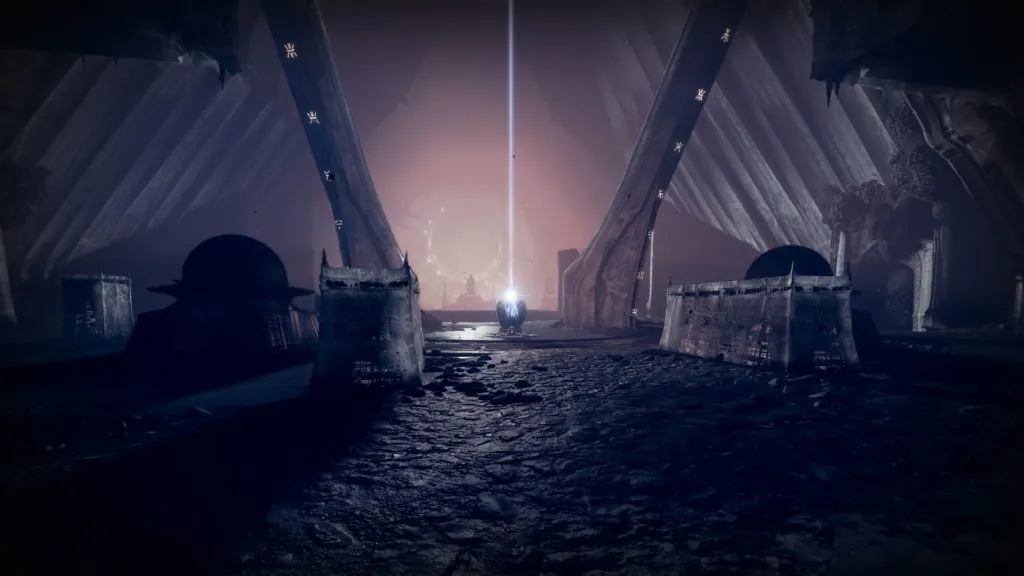
After you deal enough damage to An Xohol, Jaws of Xivu Arath, the boss will envelop itself in an immunity shield. You’ll have to take out an enemy called Ritualist of Xivu Arath and stand where it died to receive the Wrathful buff, which will allow you to pierce the shield and do damage to the boss.
The tricky part about this fight is surviving the assault from the horde of Hive enemies that spawn alongside the boss and the Ritualist. You can use cover to clear out the enemies one by one, saving the Ritualist for last to make the most out of Wrathful. Standing on the buff won’t drain its duration while it’s up, so it helps open up bigger damage windows. As long as you have the buff, you can launch a high-damage Super to put a dent in the boss’ health, then continue the assault.
You’ll make short work of the boss with a Linear Fusion Rifle and Particle Deconstruction if you have the buff—as long as you stay alive. A Warlock with Well of Radiance can shoot the ritualist first with a hard-hitting weapon, then put down a Well where the Wrathful buff is for easy survivability.






Published: Sep 7, 2021 06:26 pm