Destiny 2’s Season of the Haunted brought back the Derelict Leviathan, a perfect spot for players who missed the Glykon from the Season of the Chosen’s Presage weekly mission, for players nostalgic about Calus and his dwellings, or just for any fan of missions with a darker, more macabre atmosphere. And in that case, Sever delivers.
The weekly Sever mission is bringing a throwback to Presage, and it adds some even more compelling storytelling than its spiritual predecessor. As part of the storyline in Season of the Haunted, the Guardian and Crow will set up Ritual Amplifiers around the Derelict Leviathan to mitigate the effects of the Darkness surrounding the ship now that Calus has returned, closer to the Witness than ever.
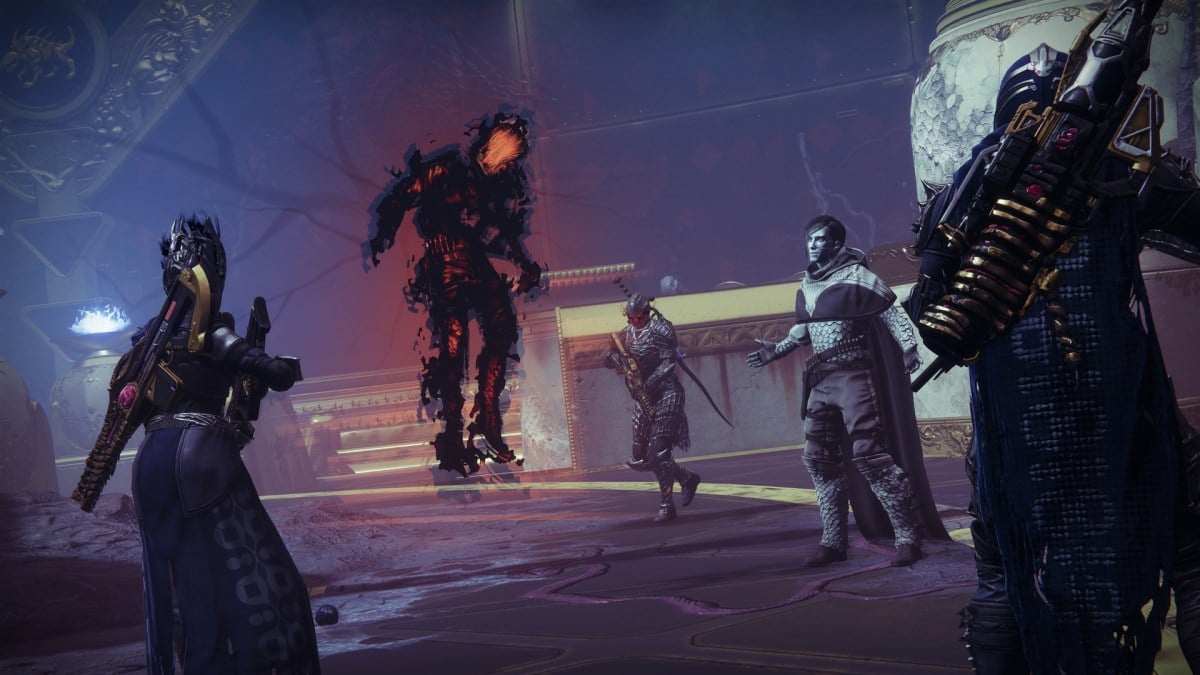
The ride isn’t exactly smooth, however. Outside of the horde of murderous Scorn and Cabal coming at you, Crow is confronted with the Nightmare of Uldren Sov, who continuously taunts him throughout the mission. It’s an important mission for Crow’s character arc and its storytelling is definitely an important part of its allure.
Outside of the story, though, Sever brings a treasure trove of rewards at the end of it, with plenty of seasonal gear for players to find and a Pinnacle each week. Here’s how to complete it.
How to complete Sever – Shame in Destiny 2
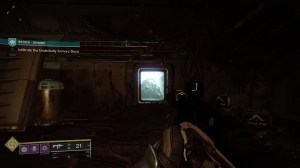
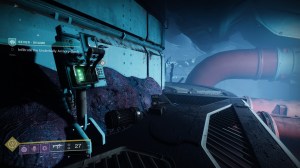
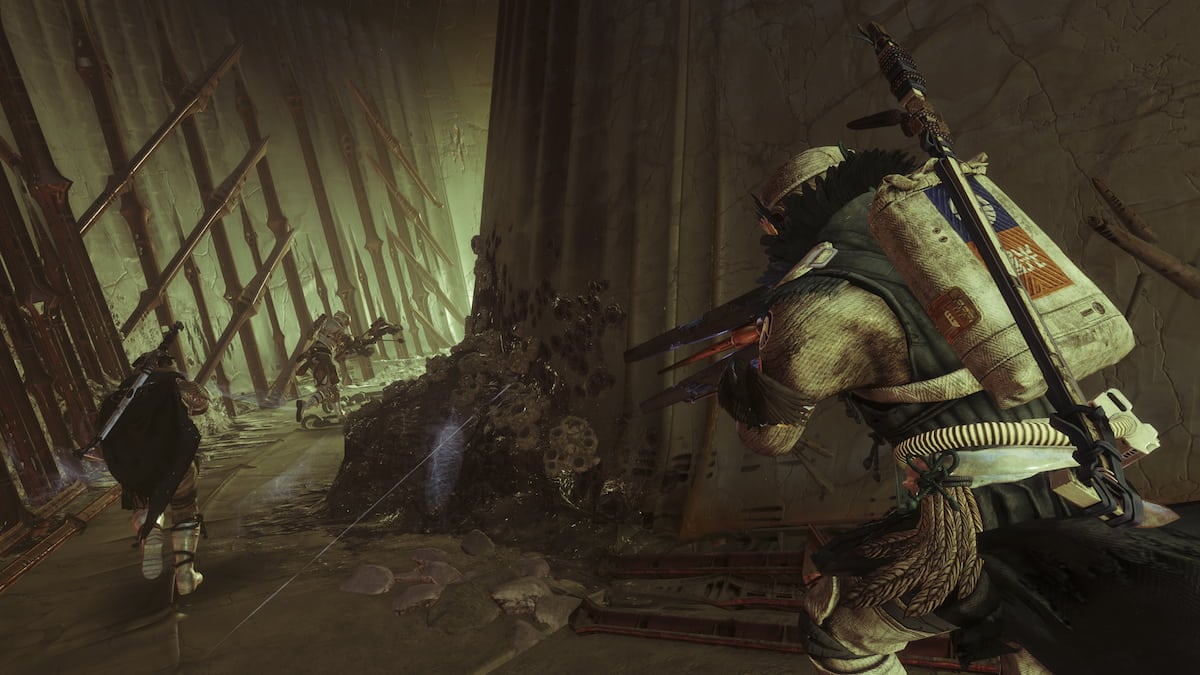
You’ll start the mission in a small, dark room. Follow your map indicator to a locked door that’s glowing red, then look up and take note of the glowing fuse above it. Much like Presage, shooting those Arc fuses will be an important mechanic. Shoot it and the door will open. It’s simple enough if you know where to find the fuse—but not all locations are this straightforward.

Go inside the door with the fuse and place a Ritual Amplifier, then follow the map marker to a room with more fuses. Shoot them for your daily fix of wanton destruction, then go inside the duct that was closed off by an electrical current for the next step of the mission: clearing the Armory from loyalists.
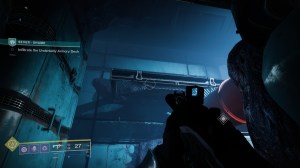
Soon, you’ll come upon an Egregore Spore, another important mechanic for Sever (and one that Presage players know by heart by now). They appeared in the introductory mission of the season, but if you need a refresher, shooting this macabre, Darkness-infused plant-fungus hybrid lets you move through the Egregore walls if you have the Egregore Link buff.
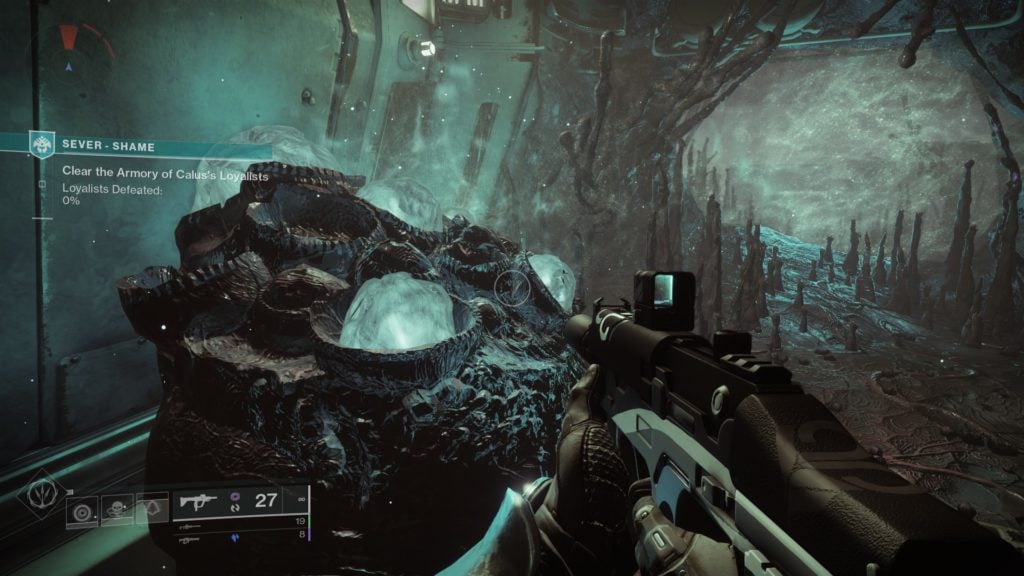
Shoot the buff, then walk through the door and into the Cabal-filled Armory. There isn’t much to worry about here since most enemies are minions and there’s plenty of cover to use, but be cautious around the Major that will spawn.
After you’re done, the lights will go out and you’ll have to fix them. Before you do, though, Crow and the Nightmare of Uldren Sov will have a conversation in front of you, which is worth paying attention to if you’re keeping track of the story. After they’re done talking, follow the indicator and turn on the lever to progress the mission.
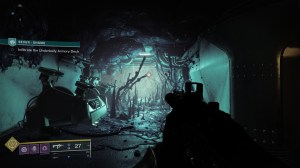
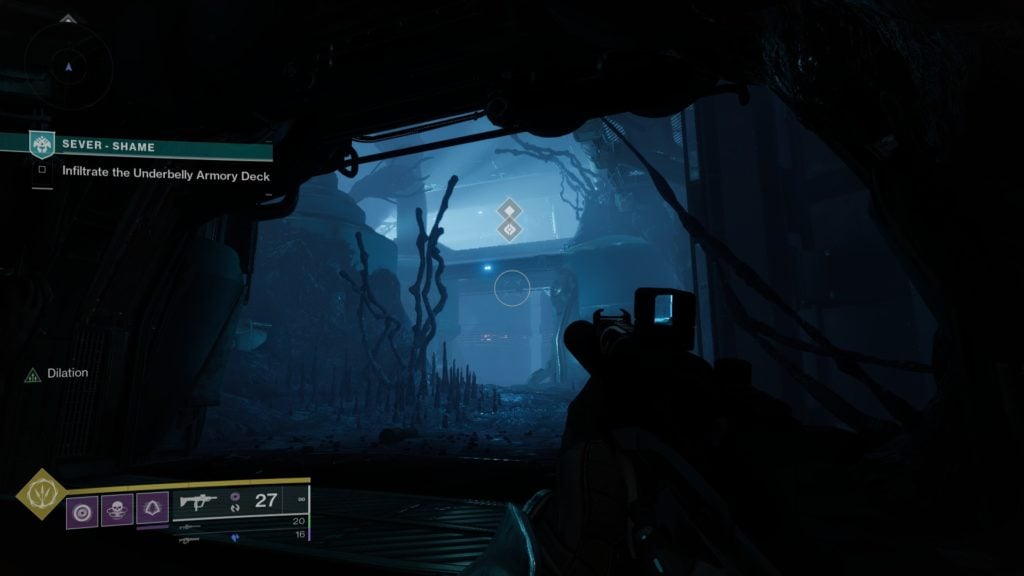
Infiltrate the Underbelly Armory Deck
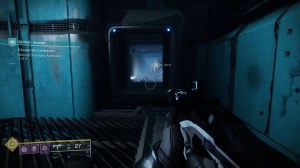
Follow the map marker again and it will point you to another Egregore wall. This time, it’s not entirely evident where it is at first. From the door, turn around and head back into the Armory. Before you go inside, though, notice the fuse on your left. Shoot it and it will open a small chute with another Egregore fungus. Destroy that, then walk through the wall.

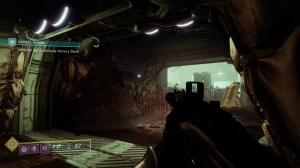
On the other side of the room, you’ll find a series of explosive barrels. Go to a safe distance and shoot them for another dose of wanton destruction, then crouch into a duct on the right side of the room, Metal Gear Solid style. You won’t get a codec call from Master Miller in the duct, but do keep track of the flames that will try to scorch you alive as you’re going through. Pace yourself and you’ll come out of the duct unscathed. Set down another Ritual Amplifier and prepare for one of the high points of the mission.
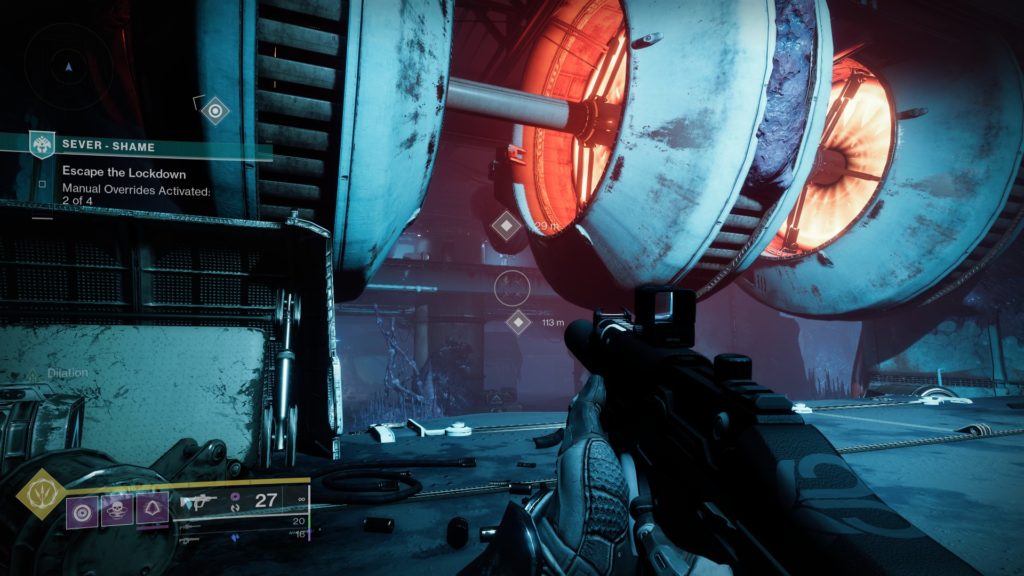
Escape the Lockdown
You’ll come up in the center of the room. The map marker is pointing to a big control device on top of a catwalk. Knowing the layout of the next room is important if you want to escape the lockdown, so don’t go there just yet. Instead, move to the left side of the room (if you’re facing the control panel).
If you head to the left side of the room, you’ll see a walkway on top of you. Below it and to the left, there is a small tunnel that will be extremely helpful in this encounter. If you hop on the walkway, you’ll find another lever that you’ll need to activate, and the control panel will be on your right. These are the most important ones, but feel free to explore the rest of the room.

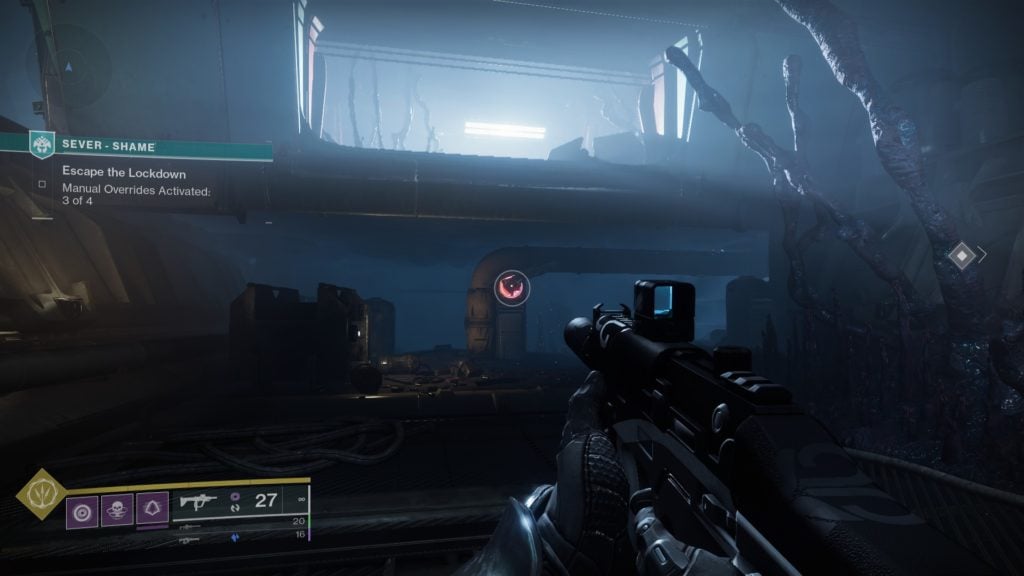
Once you’ve got those locations committed to memory, head to the control panel in the middle of the room and get ready for a surprise. Activate the first lever quickly, then make a right (if your back is to the control panel) to activate the lever on the walkway earlier, then drop down to the duct. The little tunnel connects this room and the next one, and the Unrelenting Nightmare that’s chasing you like something out of Resident Evil won’t follow you inside, in our experience.
Once you’re inside the tunnel, come out on the other side and look to your left to find another lever you need to push. It will be across the room, but you can get to it quickly and back to the tunnel before the Nightmare makes minced meat out of you. This should be the third manual override, and the fourth one is a ways away.
Follow the round marker on your HUD pointing to a wrench. Pick it up, then follow the final quest marker to a small room across from where you are. The Unrelenting Nightmare will still chase you, so be careful going in. You’ll need to use the Wrench on a key inside a small room to open up the final override.
Using the wrench will disable the current that was blocking your path, so hop up on the ledge and follow your marker to find the last one. Once you head inside, the Nightmare of Uldren Sov will talk to you. Activate the override and, before you leave, try to jump up to the catwalk high up in the room to find one of Calus’ Bobbleheads on top of it.
After you’ve activated all four overrides, you can head out. Go to the control panel, but be careful with the Unrelenting Nightmare that may still be prowling around (the developers weren’t joking when they said it was unrelenting). This will lead you to another area.
Take care of the Scorn near you, then follow your map marker to the final Ritual Amplifier. Setting it down will open a door, and the final fuse you need is inside it and to the left. Destroy it, then head to the newly opened duct on your right (with your back to the wall) to reach the Gauntlet.
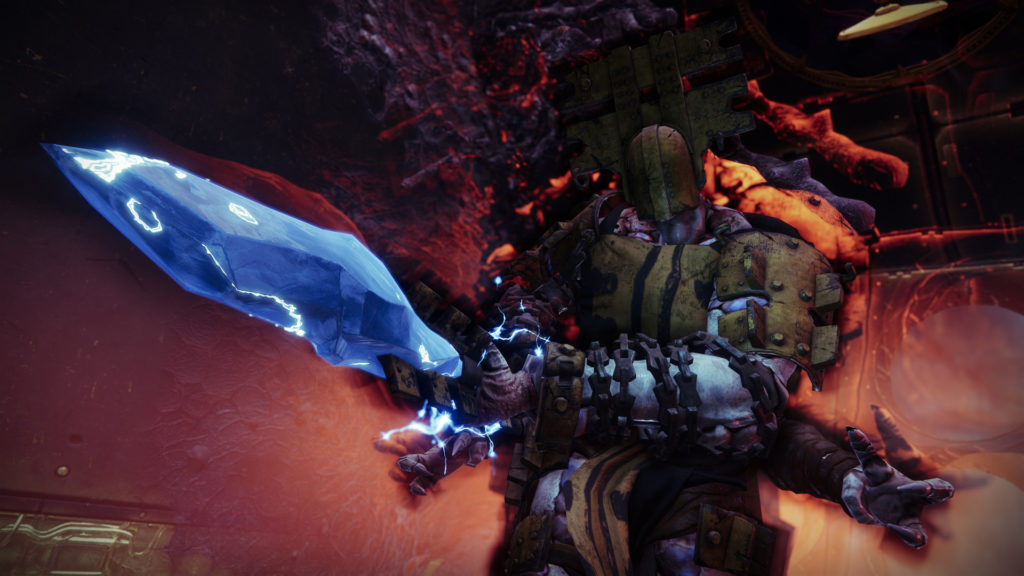
Sever the connection: Nightmare of Fikrul, The Fanatic
Just because Bungie vaulted the Tangled Shore and the Hollowed Lair doesn’t mean Fikrul will stop tormenting us. This time, it’s the Nightmare form of him, ready to bother us again. Thankfully for players, though, there are no absurd shield mechanics involved.
Fikrul’s boss fight is fairly straightforward. Whittle his health down until he opens up a Scorn portal, then follow him inside. You’ll be in the outer ring of the arena, in a tight area blocked off by a Cabal shield. Take care of the adds and keep bombarding the Fanatic until he teleports you back to the open section of the Gauntlet. Keep in mind his Scorn totems that everyone loathes.
Keep killing the adds he throws at you until the game gives you another scythe, then use it to destroy even more Scorn. Once the room is clear, Fikrul will once again summon a portal. Go after him and take him down.
After Fikrul’s health bar goes down, you’ll get more dialogue between Crow and the Nightmare of Uldren. An Opulent Chest will spawn as well, and you can spend one Bound Presence to open it and score some Season of the Haunted loot. If you have more than one Bound Presence in your inventory, you must use them all at once, though only the first one will be a Pinnacle.
If you don’t have any Bound Presence, though, don’t worry: The first time you bind a Nightmare Containment boss by using Vestiges of Dread in the Nightmare Harvester each week, you’re guaranteed a Bound Presence. Guardians can get more Bound Presence at random by binding Tier Three Nightmare Containment bosses, though if you want to save some for your alts or for the future, we recommend burning through them in Sever straight away.


Published: May 25, 2022 12:46 pm