
Destiny 2’s Season of Plunder brings a hefty seasonal loop, with players alternating between Ketchcrash, Expeditions, and Pirate Hideouts for their loot. Though there’s plenty to do throughout the season, Ketchcrash is bound to draw the attention of most Guardians.
The premise of Ketchcrash may sound alluring enough on its own—it’s six-guardian ship-vs-six combat, after all—but the prospect of seasonal loot also weights heavily towards its role in the seasonal loop. Completing Ketchcrash has a chance of awarding seasonal items, but it’s also the only way to obtain Map Fragments, which are a key ingredient to making Treasure Maps. Treasure Maps, on the other hand, are used to unveil rewards in Expedition missions and advance the weekly story by letting players track down Pirate Hideouts.
Here’s what you need to know about Ketchcrash so you can finish the new Destiny 2 activity easily (at least on the base difficulty).
How to complete Ketchcrash in Destiny 2
Much like Season of the Lost’s Astral Alignment activity, Ketchcrash features a rotation of different objectives, which culminate in a boss fight. Here’s what you need to know to complete the activity.
Align the Cannon Accelerators
The first objective is fairly simple: to align the cannon accelerators, you’ll need to gain control of four plates, one on each corner of the Ketch.
Taking control of them is similar to the plates encounter in Vault of Glass or the Vex Construction public event: just stand on their vicinity for enough time to flip them to your side, then defend the plates from the incoming enemies to bombard the enemy ketch with cannonballs.
After you’ve completed the first step, the game will ask you to board the ship. Head into the large Eliksni cannon and hurl yourself into the other ship like you’d do in Grasp of Avarice or even Sea of Thieves. Once you’re inside the enemy ketch, your path will be random, and the game will task you with two out of three objectives (based on our testing).
Here’s what you need to do for each of them.


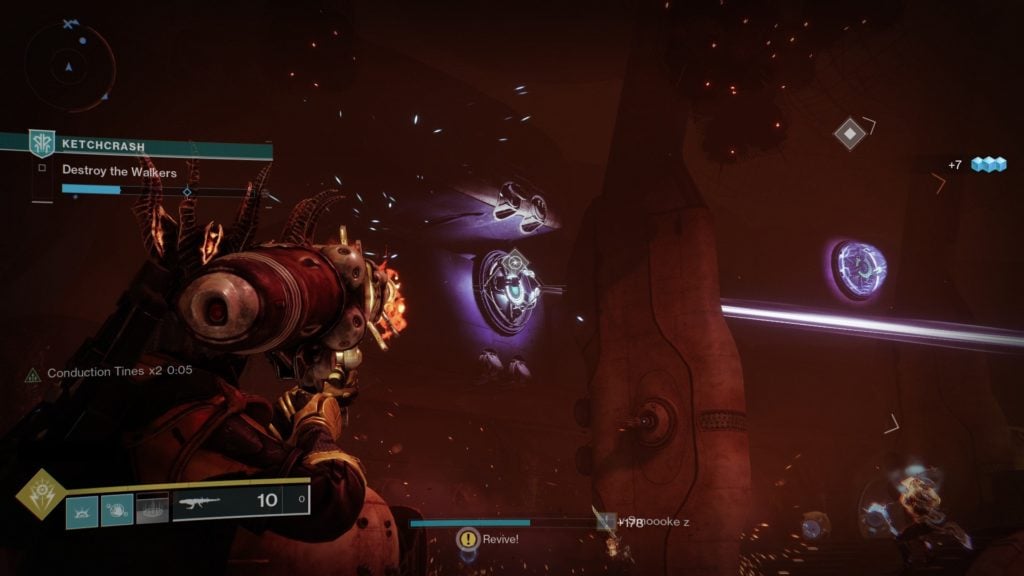
Destroy the Walkers
Walkers will be a familiar sight for any guardian who’s done their share of public events, and even New Lights stumbled upon them in the Cosmodrome’s Divide area. For this part of Ketchcrash, you’ll need to take down two Walkers around the area. The catch is they’ll be protected by shields, so your goal is to crash their protection (with a little help from the Eliksni’s Scorch Cannons) and take them out.
Damage the first Walker until it pops into a shield, then hunt down a Scorch Captain, who will be marked on your HUD. Take them down quickly, then use their Scorch Cannon to destroy the shield generators protecting the Walkers, which will be marked with a star icon on your HUD.
If you have a Scorch Cannon on hand, go to whichever Walker is being protected and destroy the shield generators to make it vulnerable again.
After the two Walkers die, you’ll move to the next objective.
Destroy the Storage Tanks
Similarly to the Destroy the Walkers objective, destroying the storage tanks involves you hurling explosives at key enemy infrastructure. In this case, you’ll need to find the orange-bar Heavy Shanks called Gunnery Mates. Once you do, kill them (make use of that hard-to-miss crit spot on their front-facing plates) and use their explosive charges to blast the purple-glowing storage tanks in the area. Unlike Destroy the Walkers, however, this objective ends once all the storage tanks have been destroyed.


Destroy the Security Optic
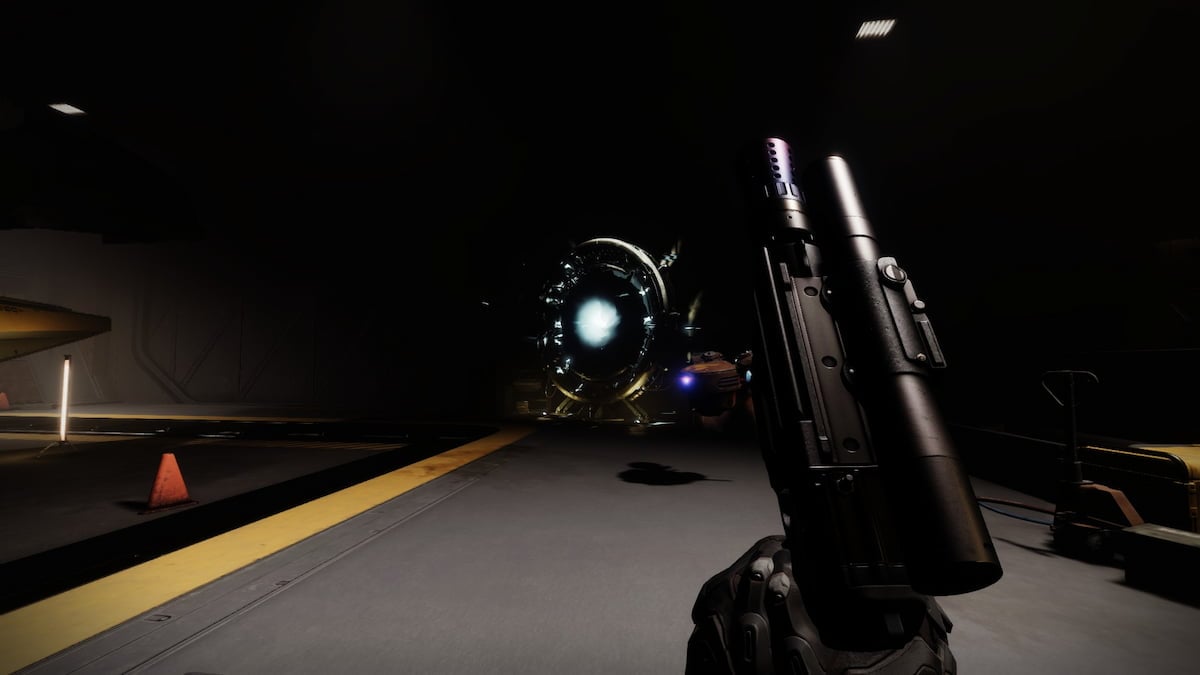
The last objective in Ketchcrash is also in line with the tone of wanton destruction present throughout the mode. During this objective, you’ll need to kill Servitors to expose vulnerabilities. You’ll also have to dodge the turret fire from the security optic if you’re unlucky enough to be spotted by it. Keep note of the large Servitor protected by two small turrets: that’s what you’ll aim at.
Like the cannon section, destroying the Security Optic will require you to capture plates in the treasure room. To expose the plates, however, guardians must first kill Servitors that roam the area, then stand on the plates until they’re captured. Capturing enough plates should knock out the Security Optic’s shield, so aim at it when it’s no longer covered by the purple hue of the shields and hit it hard.
Keep note of its health bar, too; once it hits half, you’ll have to repeat the process.
If the security optic spots you, it will slow you down and fire at you with its turrets, so be on the lookout against it (or, if you’re a Titan, just slap a barricade in front of you and call it a day).
Whenever you finish two of the three encounters, you’ll head back to the bridge of the enemy ketch for a final showdown against one of Eramis’ captains.
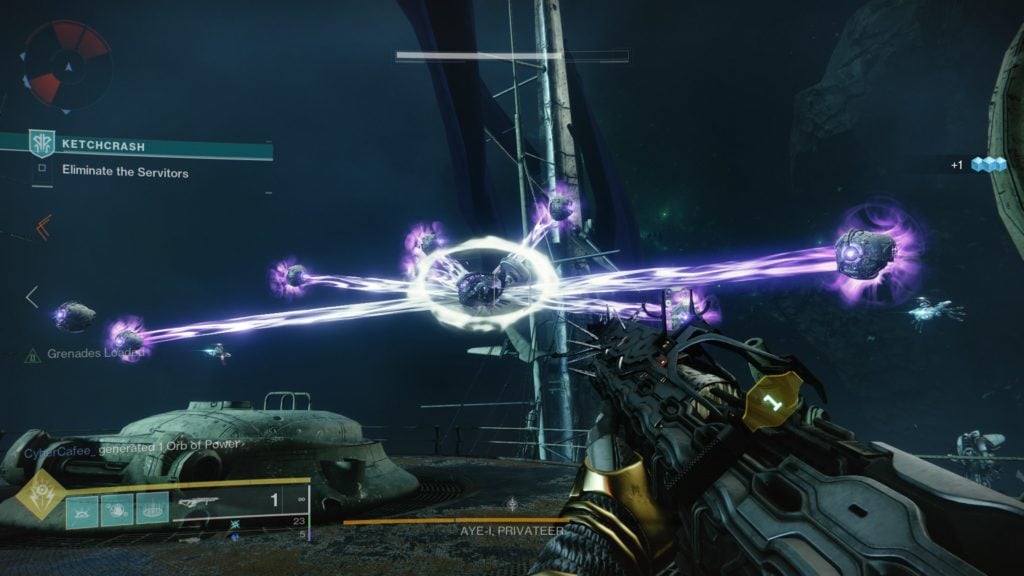
Final boss: Aye-I, Privateer
The fight against Aye-I isn’t particularly challenging. It’s like a Heroic version of the Ether Harvest public event: take out the tiny Servitors to open up the big Servitor, then hit it until it dies. It’s a fairly straightforward process, but that doesn’t mean it’s fun.
For the first third of its health bar, Aye-I will be aboard the enemy ketch, so most close-range weapons should do the trick fairly easily. After a third of its health bar goes down, Aye-I will teleport to the deck, just slightly out of range enough to make you carefully calculate your positioning if you’re running a fusion rifle or a shotgun. Once Aye-I teleports, it will also summon a wave of smaller Servitors, which you must destroy before Aye-I becomes damageable.
After all the Servitors have been destroyed, Aye-I will become damageable. Hit it with your Heavy until its health bar drops by another third, when the boss will summon more Servitors. Wipe them out, then finish the boss for your drops.
Don’t forget to emote after you’ve finished the activity for a special celebration.
It likely doesn’t affect your rewards, but also, it’s not every day the game actively prompts you to emote as a celebration with your Destiny 2 teammates.


Published: Aug 23, 2022 10:15 pm