Season of the Seraph is now live in Destiny 2, and with it comes a brand new take on the popular Battlegrounds activity in Heist Battlegrounds. Heist Battlegrounds has a team of three players tasked with infiltrating a Seraph bunker and reclaiming the code of one of Rasputin’s subminds that’s locked inside. With Xivu Arath’s forces geared toward the same goal, Guardians will have to fight their way in for a chance at doing so.
While multiple arenas will eventually be available, the first Heist Battleground is set on the Moon. Here, players hunt down fragments of the submind Malahayati at the beckoning of Ana Bray and Mara Sov, who serve as your aides in this battle. As with previous Battlegrounds activities, Heist Battleground: Moon is focused on enemy dense encounters, which make it a fun activity to grind, and the Seraph chests at the end of each run offer more than enough reward to incentivize repeat runs.
There’s a little bit more depth to this activity than its previous incarnations, however. Timed encounters, powerful enemies, and debuffing warsongs can all contribute to making Heist Battlegrounds more challenging than the usual seasonal activities. The recommended power level is only 1350, though, which allows any player to dive in regardless of experience.
Infiltrating the Seraph Bunker in Destiny 2
When you first transmat onto the Moon’s surface, you will need to gain access to the Seraph bunker. Multiple Cryptoliths stand between you and the entrance, and you’ll need to take them out to proceed. To do so, approach the Cryptoliths and take out the Hive that spawns forth from them. After killing enough combatants, text will appear on the left side of the screen informing you that “Xivu Arath’s Cryptolith host challenges you.”
These hosts are powerful boss enemies who, once destroyed, will remove the Cryptoliths from the battlefield. There are three such Cryptoliths on Heist Battleground: Moon, meaning three host bosses to deal with.
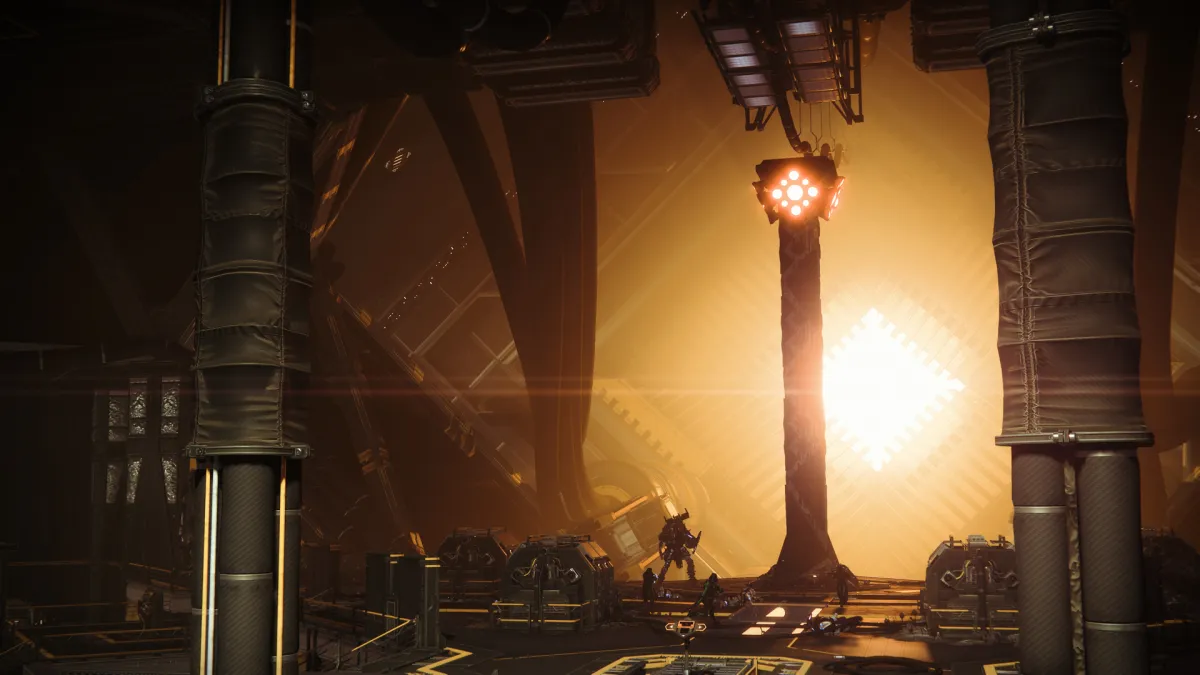
On top of this, after the first Cryptolith falls, Xivu Arath will summon a Deathtongue enemy as the first boss. This is a Hive Acolyte with an extraordinary amount of health called “Deathtongue Chorister.” Once he spawns in, he will move toward an Annihilator Totem located between both Cryptoliths. If he reaches the Totem, he will begin to channel Xivu Arath’s warsong. When successfully channeled, the warsong will prevent you from using your melee, grenade, and Super abilities. Only killing the Deathtongue Chorister will stop the warsong’s debuff.
As you continue to clear out Hive, you may notice that you can be targeted by the Seraph bunker’s perimeter towers. If you’ve been spotted by one, you will have a targeting laser on you and a ‘Threat Detection’ debuff will start counting down from 15 seconds. If you remain in sight of the tower and it reaches zero, you will die. To cleanse the debuff and reset the timer, simply get to cover and block the sightline between you and the tower.
Once all three Cryptolith hosts have been killed, Ana will be able to open the Seraph bunker and turn off the perimeter towers. Follow the waypoint inside to reach the next encounter.
Granting Ana Bray access in Destiny 2
As you move through the Seraph bunker following the waypoint, you will stumble across multiple rooms filled with Scorn enemies. Fortunately, these are not required kills to progress and can be skipped past if you so desire to save on time. Eventually, you will reach a room with a console that your Ghost will need to access. Once accessed, you will need to defend Ghost from multiple waves of Scorn while he gives Ana a window into the system.
Killing waves of Scorn is simple enough, but there are a few unique elements to bear in mind as the encounter continues. First of all, a glowing Scorn enemy with a large amount of health will occasionally spawn. This is a Disruptor, and they will move toward where Ghost is hacking to stop him. If they reach him, Ghost will be prevented from making further progress until the fireteam kills the Disruptor.
During this fight, some Scorn Captains can also drop items marked by your HUD that will grant bonus progress to Ghost’s hacking percentage when picked up. These reward efficient clearing of each wave and can make the encounter pass much quicker. Once Ghost has finished hacking and Ana has access, a door will open behind the console that allows for even deeper access into the bunker.
Breaking through the Hive wards in Destiny 2
The submind core at the heart of the bunker is blockaded by five Hive runes that seal the security door. Breaking in means finding two PDT Refraction Cores hidden away on either side of the room, defended by a squad of powerful Scorn.
There are walkways on both the left and right side of the security door, and following either of them will take you up onto upper catwalks where the Refraction Cores are located. They won’t spawn until the three Scorn guarding them are taken out and then have a set ammo count after being picked up so they need to be used wisely.
Pick up the Refraction Core and return to the security door. The Refraction Cores have a beam weapon, and shooting at the Hive wards on the door will eventually destroy them. One Refraction Core will only be capable of destroying up to three of the five wards, meaning that both will be needed in order to dispel the curse placed on the door and gain access.
The challenge in this encounter is being efficient with your time. From the moment the encounter starts, you only have a few minutes to break the runes before enemy reinforcements arrive and the encounter becomes a lot more challenging, as marked by a timer next to the objective on your HUD.
Beat the boss, salvage the submind in Destiny 2
The boss in Heist Battleground: Moon is a Scorn sniper with a single immunity phase. For the most part, the fight is business as usual, with waves of smaller Scorn summoned to aid the boss in an enemy dense encounter that requires efficient methods of killing. Once the boss reaches half health, however, they will gain an immunity shield that has to be discharged.
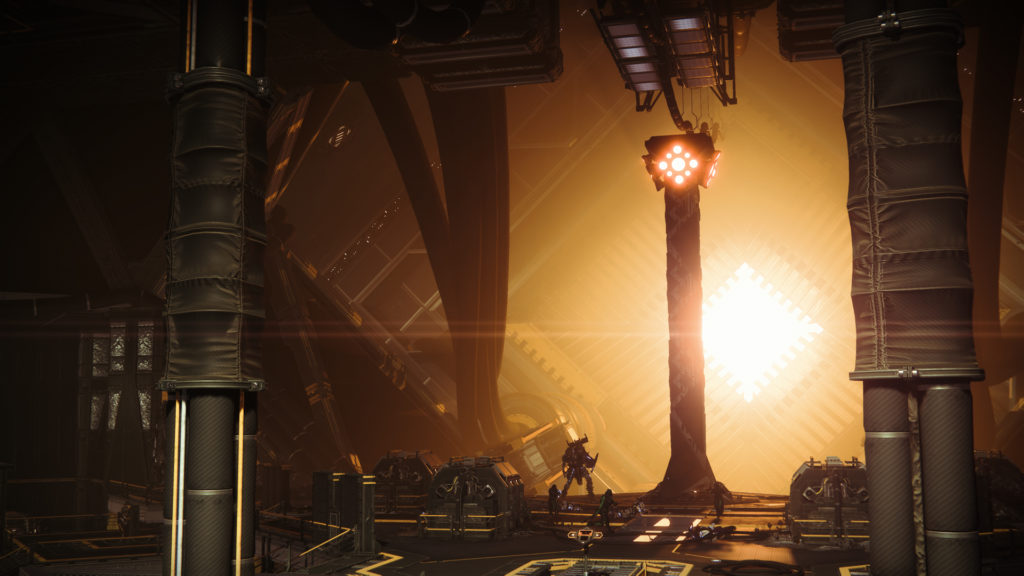
To discharge the shield, players will need to obtain and dunk five Arc Charges. These Arc Charges drop from enemy Scorn labeled as ‘Arc-Charged Scorn’ in the arena. Once you’ve picked up a charge, take it to the Warmind column marked by a waypoint on your HUD and approach it to get the prompt to dunk a charge inside of it. Once all five Arc Charges have been deposited, a laser will hit the boss’s shield and allow them to start taking damage again.
Once the boss is defeated, you have completed a run of Hive Battleground: Moon and can collect your reward from a Seraph chest located at the back of the boss arena.


Published: Dec 6, 2022 05:54 pm