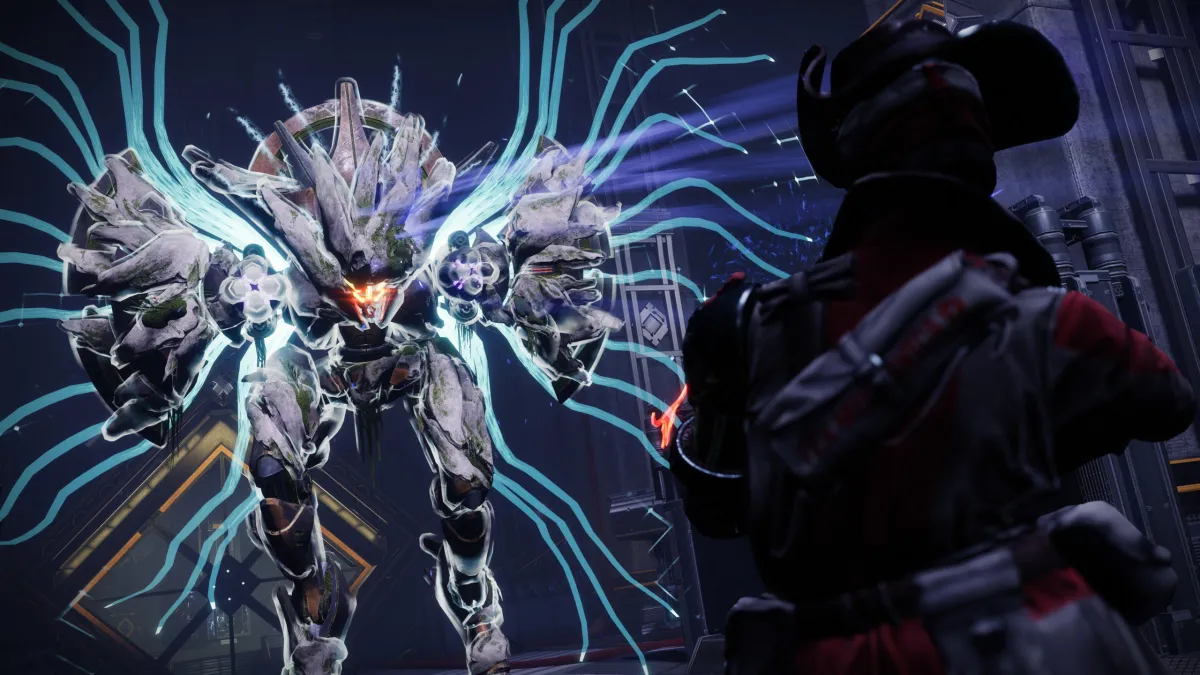
Getting through the Spire of the Watcher dungeon in Destiny 2 can be tricky, particularly when you get to the final boss. Persys, Primordial Ruin requires guardians to use the two mechanics the dungeon has presented so far: the yellow wires and the red wires, both of which require the Arctrician buff to activate.
Knowing the layout of the area is also important since a major part of this encounter hinges on direction.
Keep note of the four pillars close to the center, all of which have red wires (with a fifth red wire above the doorway in the center of the room). Also, keep track of the three doors leading to the middle area and the two alcoves where the Minotaurs will spawn, and note the four yellow wires on the other side of each pillar.
The goal in the Persys encounter in Destiny 2 is to open the door to the reactor room, lure the boss inside, then discharge the reactor energy onto the Wyvern to break its shields. Of course, this is easier said than done: Guardians will have to put everything they learned in the dungeon into practice.
Taking down Persys, Primordial Ruin is a matter of perseverance and direction. The third encounter has more moving parts than the other two, and players must also deal with a colossal Wyvern’s surprisingly tiny critical spot.
Here’s how you can defeat Persys, Primordial Ruin and finish the Spire of the Watcher dungeon.
Persys, Primordial Ruin (third encounter) in the Spire of the Watcher dungeon guide
When the encounter starts, you’ll notice two Hydras and several other Vex enemies will spawn on each side. Look around the room and you’ll spot four pillars with a red node on one side and a yellow one on the other. There’s a reactor room across the rally banner, and you’ll need to use that reactor to bust down Persys’ defenses. The boss and its minions will patrol the two areas, though, so mind their damage.
Clear the two Hydras and their goons, which will allow the familiar Minotaurs to spawn. Like in the rest of the dungeon, killing the Minotaurs drops the Arctrician buff. Pick it up and shoot the four red wires in the center of the room, as well as the fifth node above the doorway dead ahead of the rally banner. This should open the doors leading to the reactor in the middle of the room and activate the current on two of the yellow wires that are on the other side of the pillars.
Finishing this mechanic correctly will put you in the damage phase. Don’t worry if you miss it, though: Persys doesn’t have Enrage mechanics, so you can take as long as you want.
How to trigger the damage phase on Persys, Primordial Ruin
Once you figure out where the two open circuits start, you’ll need to close them out by connecting the yellow wire on the wall to a yellow wire inside the reactor room. Once players activate the circuit by shooting the first node, they must shoot five nodes in each wire’s path, with the final one closing the circuit. Though it’s somewhat easy to follow the wires, you’ll have to juggle following them with fighting off the hordes of furious Vex and the boss itself, which will be coming for the guardians. Before you activate the final circuit, though, be sure to bring the boss into the reactor room since Persys needs to be there to properly trigger the damage phase.
If you’re inside the room, you will receive an ominous debuff telling you to get out of the room, so naturally, run out as quickly as you can. Persys will be stranded close to the reactor and the five red nodes will once again trigger while the boss is near the reactor. Shoot them all quickly to unleash a bolt of arc energy on the boss, wiping its shields. You’ll see if it worked by looking at its health bar.
Of course, now the Wyvern is angry, and it’s coming at you. Make the most out of its fury by shooting it as it chases you and your teammates. A Well of Radiance helps protect from incoming damage, but you’ll still face a good deal of flinch depending on where the boss shoots. Once the damage phase ends, the Hydras will spawn again and you’ll need to rinse and repeat the process.
Here’s a quick breakdown of the Persys encounter from the second you start the boss fight:
- Clear Hydras to spawn Minotaurs
- Kill Minotaurs to get the Arctricist buff
- Use the buff to shoot the five red wires to open the door and activate the new circuits
- Follow the yellow wires to complete the two circuits (lure the boss into the room before finishing the second circuit)
- Shoot the five red wires again to trigger a reactor core discharge
- Damage Persys and repeat
Best weapons for dealing damage to Persys, Primordial Ruin
The best weapons for Persys are ultimately what works for your party, though some top contenders emerged after the dungeon launched in Season of the Seraph.
Destiny 2 juggernaut SaltAgreppo recommends using two Adept Hotheads with Clown Cartridge and one Gjallarhorn for damage, paired with Font of Might, Witherhoard shots, Tether from Hunters, and buffs from a Lumina. Triple rocket seems to be the go-to strategy due to its simplicity since you don’t need to worry about landing critical hits, with a lot of help from Gjallarhorn’s Wolfpack Rounds.
Linear fusion rifles continue to hit hard in the Season of the Seraph sandbox, so they are still a good choice. Landing precision hits is difficult due to the size of Persys’ critical spot, though, and with the Divinity nerf, using the trace rifle is far less beneficial due to it applying a 15 percent debuff instead of a 30 percent debuff.
Hunters should consider running Tether for debuffing enemies, though, since the Super will provide the same amount of debuff as the old Divinity did—and without having a third of the team running a non-DPS weapon, assuming guardians can land good critical hits.
Persys, Primordial Ruin (third encounter) map and boss room layout in the Spire of the Watcher dungeon
As an extra way to keep track of the wires involved in this part (and the ones in the next phase), here’s a map of the room made by community artist HoldenAGrenade.

In the map, the red squares signal the five nodes players need to shoot at the beginning of the encounter (which are the same five required to trigger the damage phase). The orange, blue, yellow, and pink wires represent the parts that will be used further into the encounter, when players need to shoot them to connect the nodes.


Published: Dec 11, 2022 09:11 pm