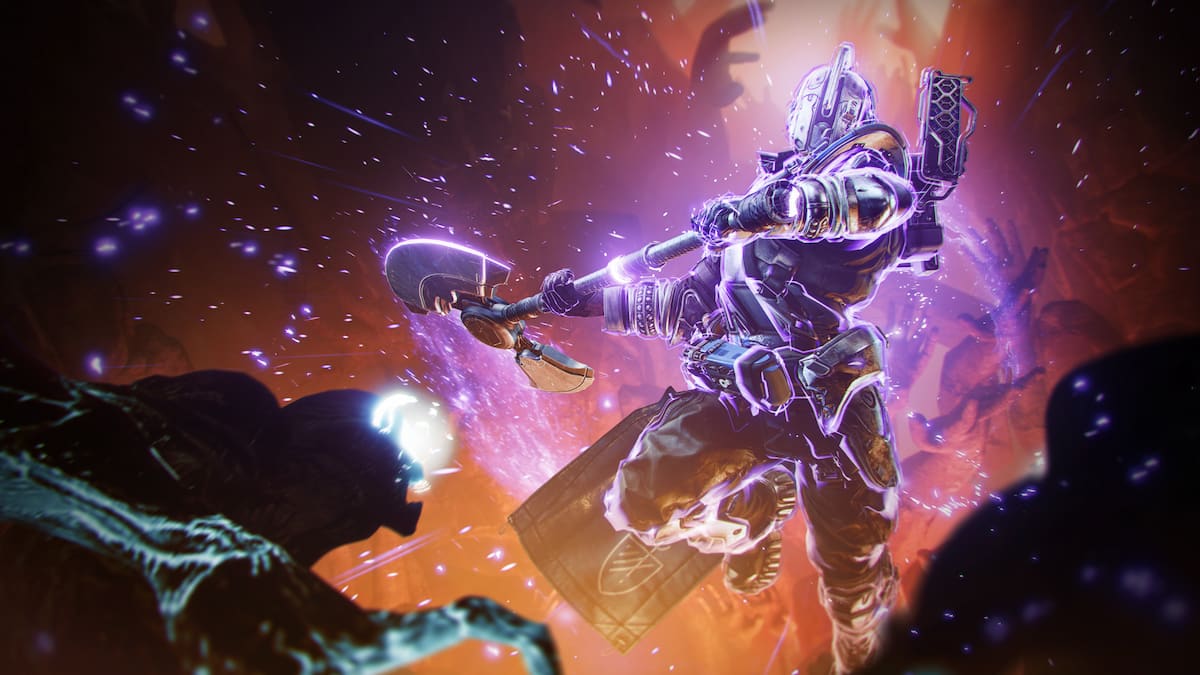
Destiny 2‘s new raid, King’s Fall, has you going through several obstacles and bosses to finally defeat Oryx, the Taken King at the end of it all.
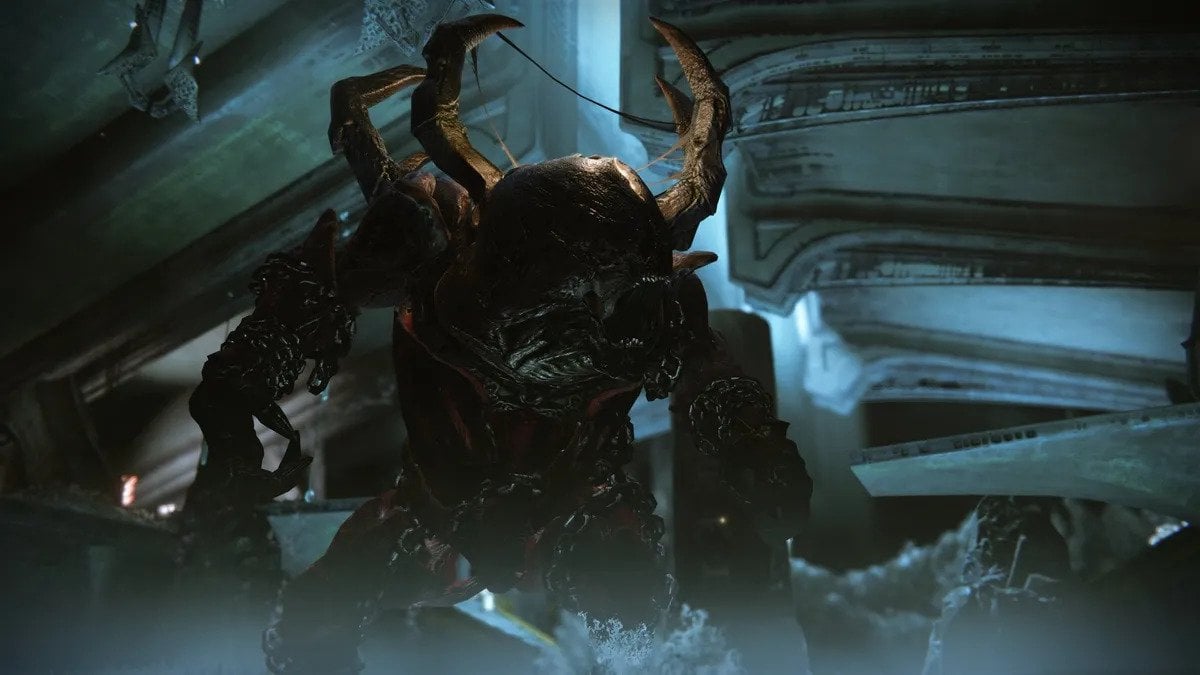
But before you get to Oryx, there is a powerful entity that waits at the midway point of the raid. The massive grotesque monstrosity named Golgoroth stands as quite a challenge to the party attempting to take down the Taken King. He must be defeated before proceeding further into the raid.
How to beat Golgoroth in King’s Fall
Golgoroth is a Hive Ogre who appears as the second boss in the King’s Fall raid. This beast of an enemy was previously the creation of the Worm god Xol, who was branded a traitor. This was because Xol created Golgoroth with the purpose of consuming Oryx and his family.
Before this could happen, Eir intervened in his creation and turned Golgoroth into this twisted monstrosity we see today. Now fiercely loyal to Oryx, Golgoroth is one of the most powerful Hive Champions in the Taken King’s court. He was further strengthened with a Tablet of Ruin by Oryx when he embedded one of them in Golgoroth. This only further increased his power.
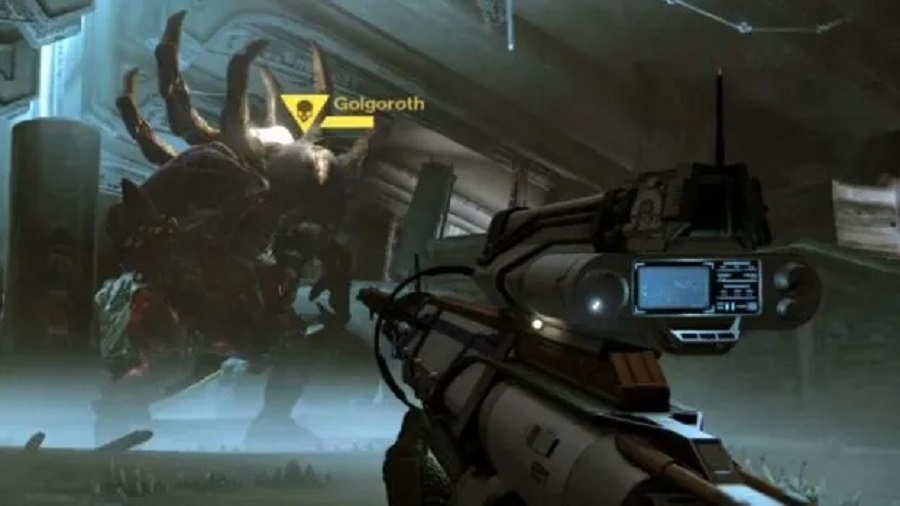
As powerful as Golgoroth is, he has his weaknesses like any boss in Destiny 2.
Starting out
To start off, you will want to divide your party into two teams, one consisting of four people and one consisting of two people. The four-player team will be focused on damaging the boss, while the two-player team will be responsible for drawing Golgoroth’s gaze during the fight.
In terms of offensive capabilities, it makes sense to run a combination of any of these weapons and abilities for maximum effect.
- Sniper Rifle
- Linear Fusion Rifle
- Divinity, the Exotic Trace Rifle
- Golden Gun
- Well of Radiance (Warlock Super ability)
- Ward of Dawn (Guardian Super ability)
Apart from these weapons and abilities, if you happen to have additional burst damage capabilities, they are more than welcome in this lineup. Once everything is set up, it’s time to take down this powerful Hive Ogre.
Initial setup strategy
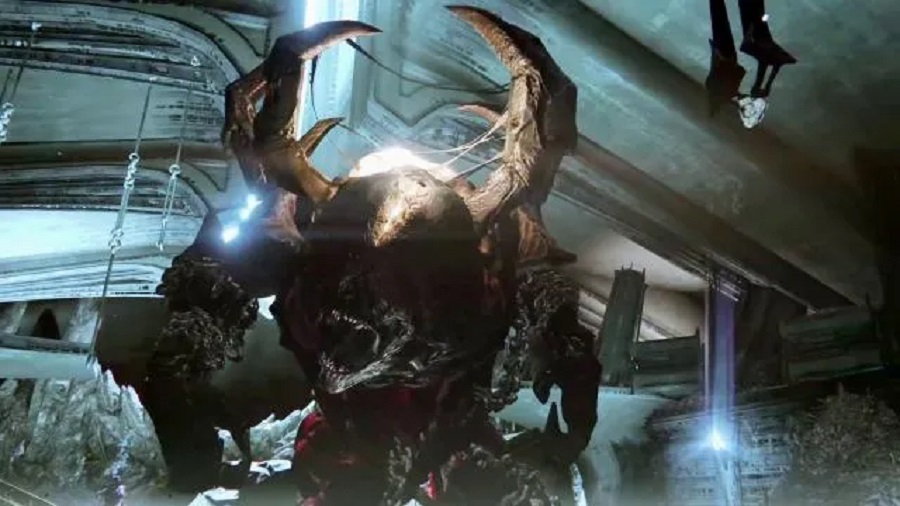
Once the fight begins, the entire arena turns into a sprawling battlefield. Enemies will spawn along each of the two walkways in the arena and charge toward you, while additional reinforcements will spawn at the back of the arena. Keep killing these enemies till you see the Hive Wizard spawn.
The Hive Wizard will be stronger than the other foes you have killed thus far, so it would be best for the team to focus your firepower on the Wizard till it dies. Once it is slain, get your team of four to head back to the point where a Rally Flag can be dropped. Look above you and you will notice a large orb hanging.
Damage phase strategy
This is the part where you start doing damage to Golgororth. You should notice that the orb will be floating right above the pit in the middle where Golgoroth stands. Focus your firepower and destroy this orb first. Once destroyed, it will drop a pool of light. Get your team to stand in the pool of light to deal high damage to the boss.
You can also deal damage to Golgoroth when you’re not standing in the pool, but the damage will be greatly reduced. This is not advised because you might not be able to kill the boss in time and progress through the raid.
This is further accentuated by the fact that these pools of light only last for around 15 seconds before they disappear. Once they evaporate, you will need to shoot down another orb and get to it quickly in order to deal damage before it disappears too.
There are a total of six orbs floating below the ceiling of the arena and they all spawn in a certain order. Once your party starts to get used to this round, it will be time to push Golgoroth back. To start off with, his weak point will need to be identified. If you look closely at his chest, you will notice a huge gaping wound. This is the point to strike during this phase.
The damage dealt to Golgoroth will increase each time you stand in a new pool of light and open fire on that weak spot. The recommended course of action would be getting your Warlocks to fire off Well of Radiance as often as possible to ward off all of the Hive Thralls, Hive Knights, and Taken Phalanxs that will stop you from damaging Golgoroth.
Final phase strategy
In this final phase of the fight, there are a few more actions that can be taken to finish Golgoroth off for good. First off, every pool of light that spawns has a chance to give one of your teammates standing in it a debuff called Unstable Light. This six-second debuff will count down and finally explode, dealing damage to all allies around the affected teammate.
The best way to avoid this damage would be to keep the person affected with Unstable Light away from the rest of the team during this time. To be more efficient, the affected teammate can destroy the next orb to ensure sustained DPS while the rest of the team fights off the enemies.
This is also the phase where your two-man team comes into play. Their job will be to draw aggro by making Golgoroth gaze at them and away from the rest of the team. To do this, simply shoot the glowing spot on Golgoroth’s back to enrage him and make him attack the player that shot it.
The player(s) who taunted Golgoroth will also get a debuff called Golgoroth’s Gaze applied to them for 18 seconds during this time. To ensure this debuff does not last very long on an ally, it is recommended to have two people in this squad to keep drawing the aggro off of each other. Once one of them takes Golgoroth’s Gaze, the other one can aggro Golgoroth before the duration of the Gaze is up.
Consistently shuffling the Gaze between both teammates will also open up Golgoroth’s chest. This is when the four-man damage squad should pump in as much damage as possible to the weakened area. Keep repeating this step between the pools of Light till Golgoroth is finally defeated.


Published: Aug 31, 2022 08:26 am