The second encounter in the new Spire of the Watcher dungeon in Destiny 2 sports a familiar looking Vex boss, but the mechanics at play vary quite differently from when it was first seen in the Garden of Salvation raid. Akelous, The Siren’s Current awaits you at the very top of the spire. Utilizing the yellow power line mechanics that you mastered in the prior encounter, this boss fight can be a simple affair with the right focus and the right tools.
The loot for this encounter includes both the Terminus Horizon machine gun and the reprised Seventh Seraph Officer Revolver, alongside an opportunity at the class item, chest and arms. With Spire of the Watcher confirmed to be farmable for new drops, this is a great encounter to run multiple times thanks to its short duration and the juicy rewards available.
The best loadouts to beat Akelous in the Spire of the Watcher dungeon

Team composition for this encounter isn’t all too important, but a Warlock running Well of Radiance or a Titan with Ward of Dawn can be a useful boon during the damage phase. Akelous is a mobile boss, meaning that you won’t be able to get the maximum out of a debuffing Super like Shadowshot for Hunters. Instead, aside from the previously mentioned support Supers, other fireteam members should instead focus on Supers with a high damage output like Golden Gun paired with Celestial Nighthawk.
As for your choice of weapons, Akelous has a generous weak spot compared to Persys in the final encounter, meaning that precious weapons will work here for most people. Linear fusion rifles such as Cataclysmic, Reed’s Regret and Threaded Needle are perfect choices with the right roll. Perks such as Vorpal Weapon and Focused Fury will serve you well here.
Special weapon recommendations hinder on whether you’re using Special ammo for additional boss DPS or ad clear during the encounter. Picks such as Izanagi’s Burden or the IKELOS_SR_v1.0.3 can be a great alternative if you’re running low on Heavy ammo, or in Izanagi’s case, Honed Edge shots can be interspersed with damage from linear fusion rifles for optimal efficiency. Otherwise, Witherhoard and other grenade launchers can offer a little more breathing room when it comes to clearing out combatants.
How to beat Akelous, the Siren’s Current
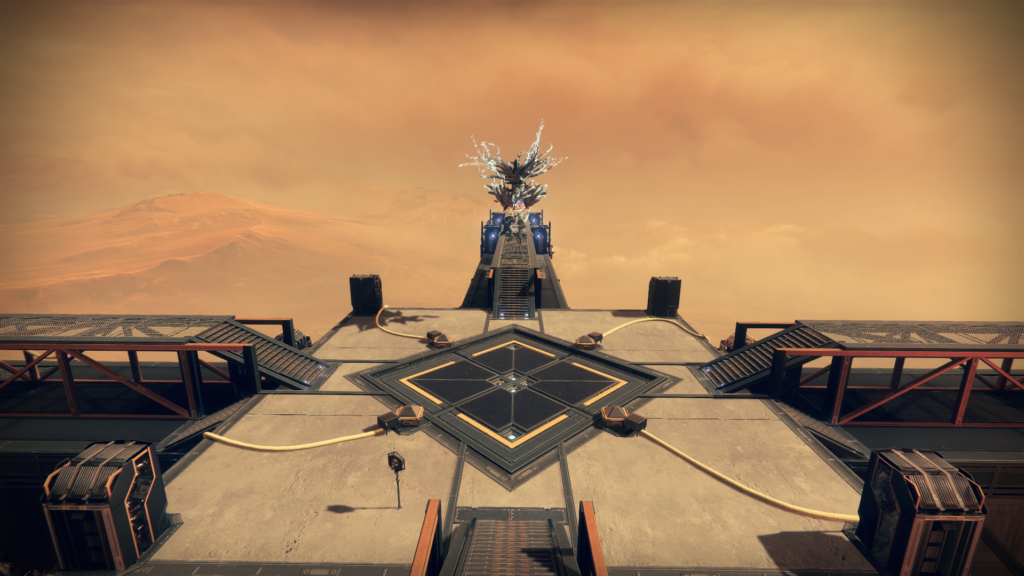
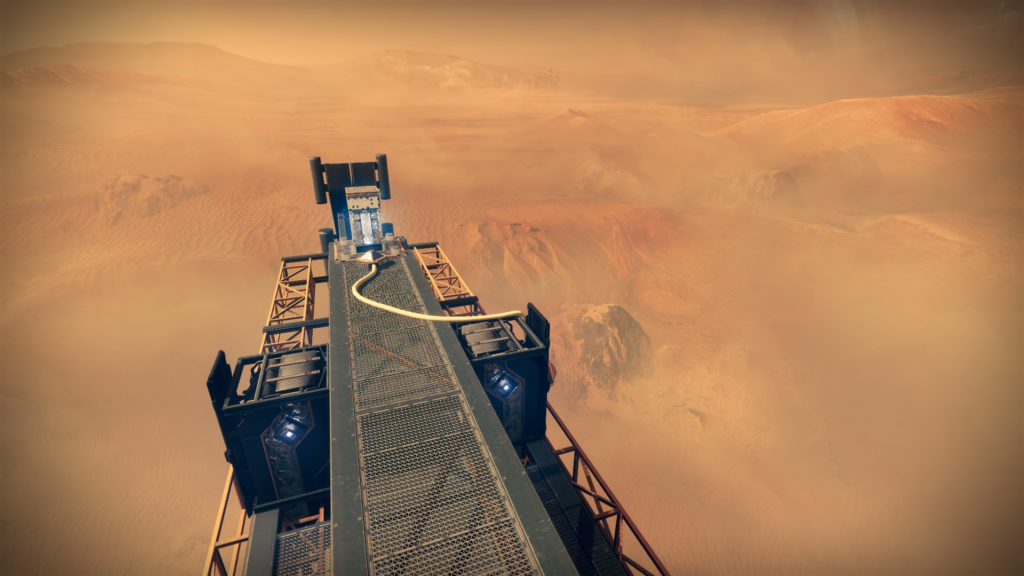
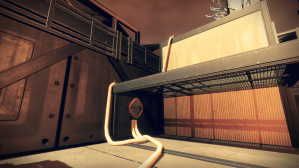
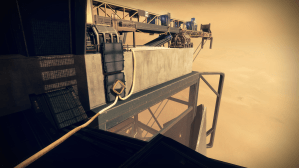
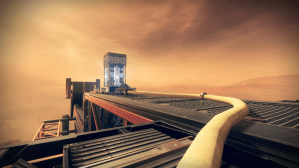
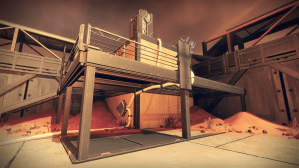
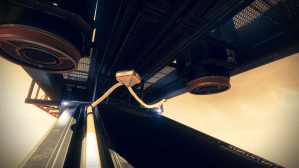
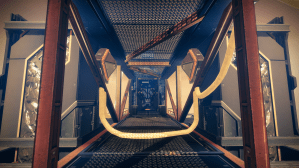
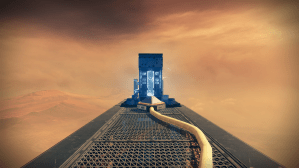
The arena for this encounter is quite small. A central platform houses the starting nodes for four different yellow power lines, which extend out toward four catwalks that surround it. These catwalks are each assigned numbers—marked as 01 to 04—that can be seen on signs attached to the sides of each one.
At the end of each catwalk is an exposed fuel rod crackling with Arc energy. The goal of this encounter is to connect all four power lines to their respective fuel rods, which will activate them. Once all four fuel rods have been activated, you will be able to begin the damage phase against Akelous.
During the encounter, three different groups of smaller combatants can spawn in to face you in the arena. One group includes a number of Goblins and a Conduit Minotaur, which needs to be killed as in prior encounters in order to pick up the Arctrician buff. The second group is a handful of Goblins that can spawn in the bowels of each of the catwalks, which are easy to deal with but can be overwhelming if you don’t spot them right away. The third and final group, squads of Harpies, will by far cause you the most trouble throughout the encounter, and it’s best to deal with them from the moment they spawn in.
Success here depends on balancing ad clear with objective play. If you activate all of the fuel rods and begin a damage phase while ignoring the smaller Vex spawning in, you can be vulnerable to a lot of flinch and potential deaths during the damage phase against Akelous. You aren’t on any time limit here, so take the extra seconds to clear out the arena before hitting the final node on the fourth fuel rod’s power line.

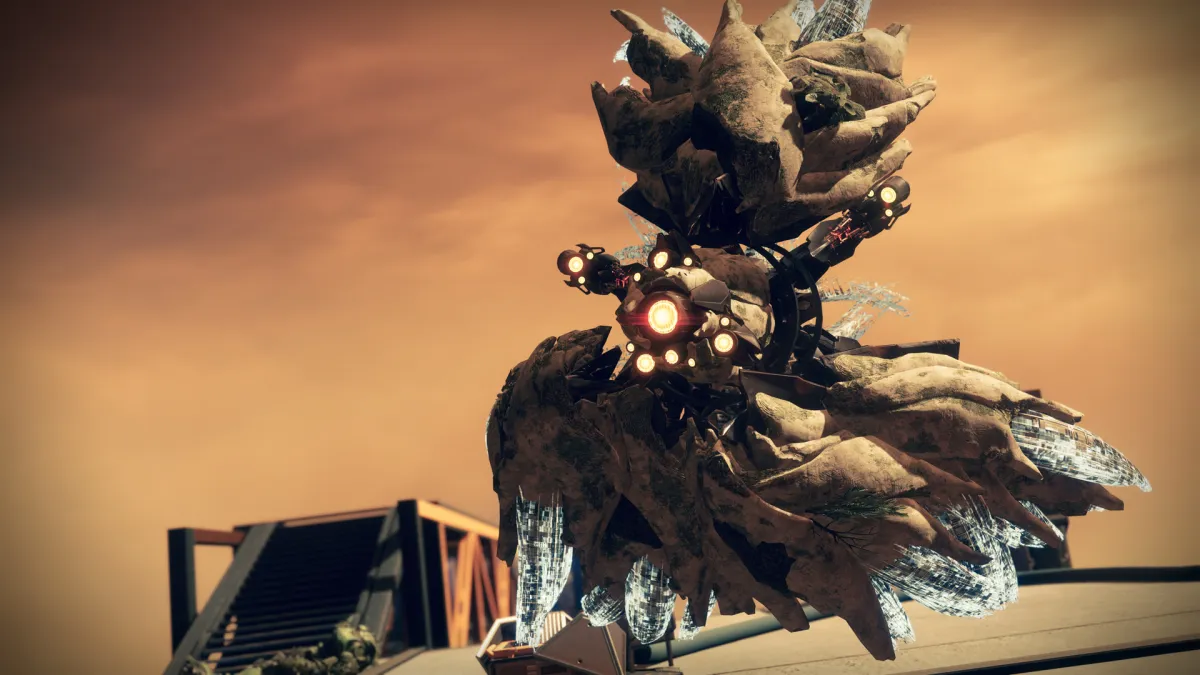
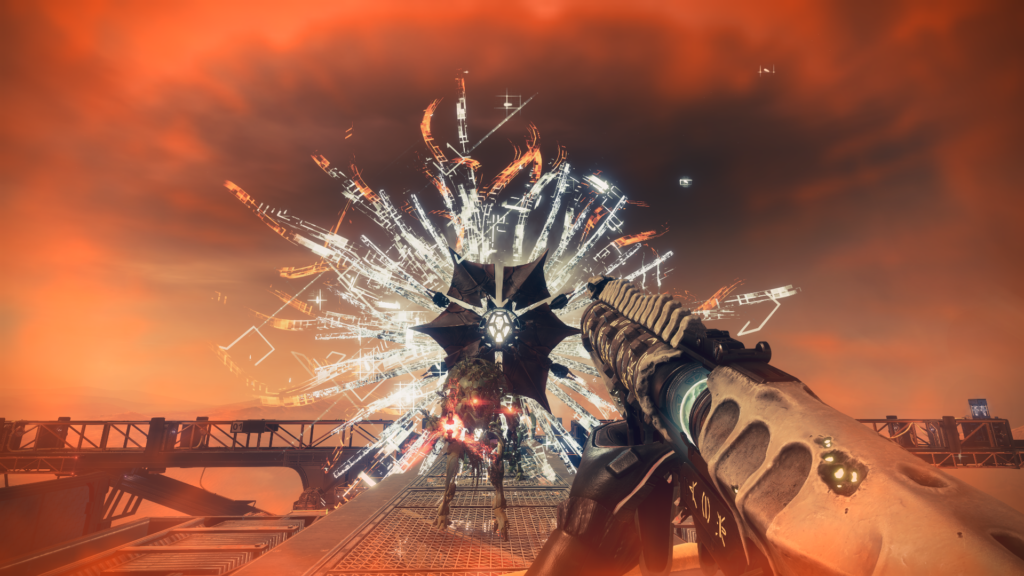
When you connect the final of the four fuel rods, Akelous will fly over to that fuel rod. This is where the damage phase will begin, so all players in the fireteam should group up on the fuel rod ahead of it being activated if at all possible. Once Akelous arrives, it will begin channeling a brutal knockback attack. To stun it and reveal its weak spot, you will need to shoot the glowing red eyes that appear on the moving pieces of its shell.
Once all of the red eyes have been destroyed, Akelous’ central optic will begin to glow a bright white. This means that the boss is now both vulnerable to damage and that its central eye serves as its critical weak spot.
Throughout the damage phase, Akelous will slowly retreat back toward the middle of the arena. It can be tempting to follow it closely to have the easiest shot in its white eye, but at the end of the damage phase, it will finally release the knockback attack and anyone nearby could be potentially killed from the attack itself or from being thrown off the side of the tower by it. It’s best to complete the damage phase from where you started it.
Eventually, Akelous will become immune to damage once again, and this will mark the end of one phase. Simply repeat the full loop—activating fuel rods, shooting red eyes and then damaging the white eye—until Akelous’s health bar drops to zero and the boss is no more. With Akelous’s death, you will complete the encounter.
Locations of all yellow power line nodes in Akelous, the Siren’s Current encounter
One of the great things about the key mechanic for Destiny 2‘s Spire of the Watcher dungeon is that completing power lines can be done at a rapid pace. The location of the nodes that have to be hit in the correct order don’t change, and with each successful node connected increasing the duration of the Arctrician buff, you can connect most power lines without needing to kill a new Conduit Minotaur.
To save you some time trying to memorize the placement of every single node, here’s the location of each of them for all four of the fuel rod locations.
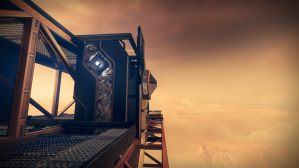
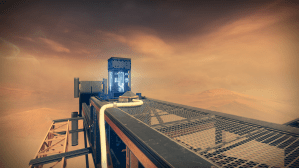
Catwalk 01


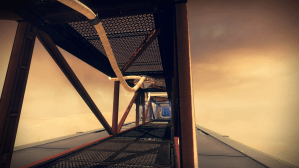
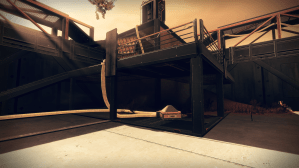
Catwalk 02


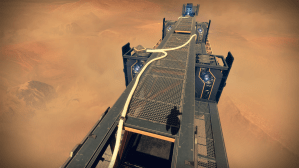
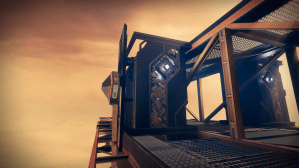
Catwalk 03

Catwalk 04


Published: Dec 11, 2022 01:29 pm