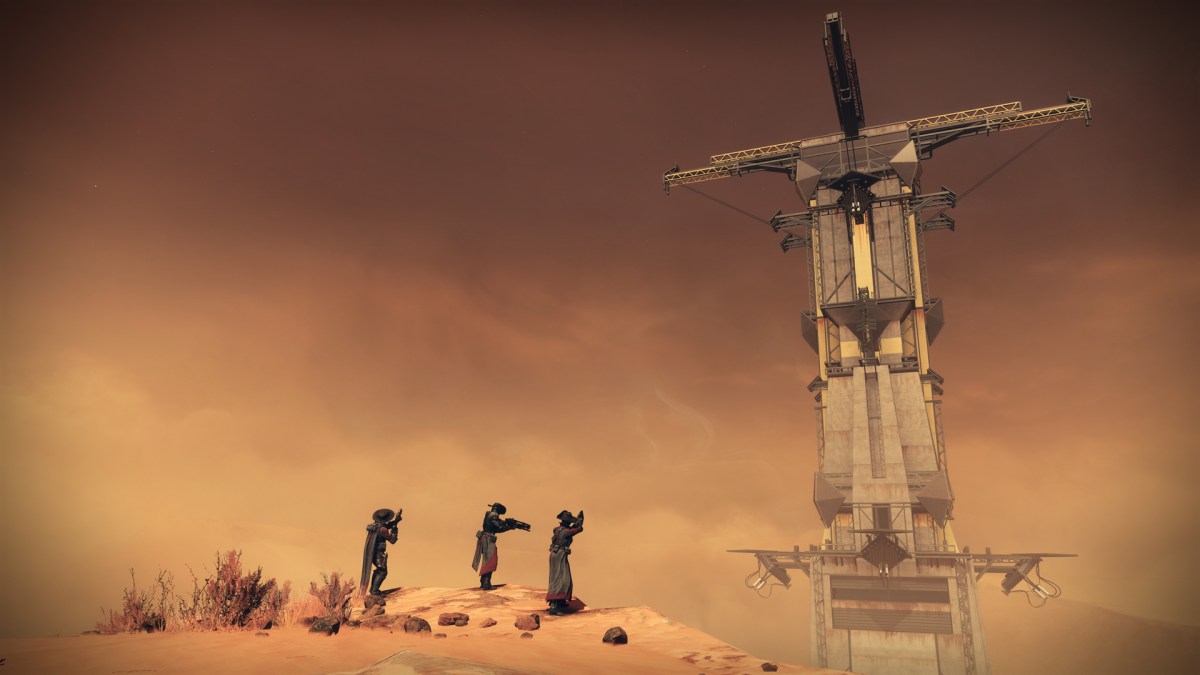
The Spire of the Watcher dungeon brought a slew of new mechanics, and players will have to use them against the Vex if they want to prevent the Sol Divisive—yes, that Sol Divisive from the Black Garden—from taking control of valuable information. Of course, to get there, they must first fight their way through the Spire of the Watcher.
The first full-on encounter of the dungeon is the easiest and serves as a second show of what you can expect from the rest of Spire of the Watcher. Mastering the Arctricist mechanic and the location of the nodes will help them clear this encounter quickly, and an experienced Destiny 2 fireteam can easily farm it.
Here’s how to Ascend the Spire and get through the first encounter of the Destiny 2 season 19 dungeon.
How to Ascend the Spire and complete the first encounter in the Spire of the Watcher dungeon
This encounter is relatively simple and is an extension of the introduction to Spire of the Watcher, though with far more verticality, far more distance, and far more enemies. The mechanic requires players to kill Minotaurs and receive the Arctricist buff, then use it to activate nodes located around the Spire.
Players must close two circuits on each floor, similar to the intro section.
While the encounter itself is relatively straightforward, Destiny 2 players should keep an eye out for the Supplicants and the Hydras.
Supplicants spawn after closing a circuit, and the Hydras can overwhelm players if they’re also fighting adds. Since there isn’t much of a need for hard-hitting boss weapons, Xenophage can make short work of the Hydras and Minotaurs, but having something for close range isn’t a bad choice either in case you want to have a backup option for blowing up those Minotaurs.
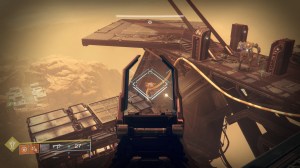
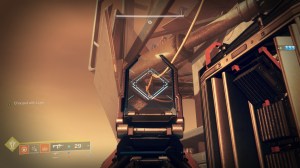
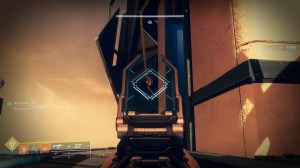
Here are images of all the wires players need to shoot for the first encounter in the Spire of the Watcher dungeon.
All wires and nodes locations on the first floor of the Ascend the Spire encounter
For the circuit that follows the right side, look for the first node between the set of stairs on the right. From there, look up to spot a node on the top of the wall and another one up high, a bit further up ahead. From there, look for another one between a set of stairs and close the circuit by heading to the generator in the other area with the Minotaur.

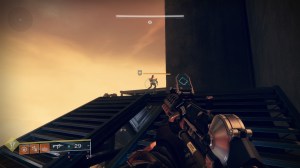
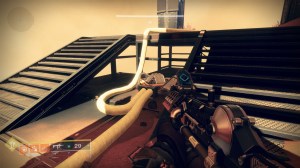
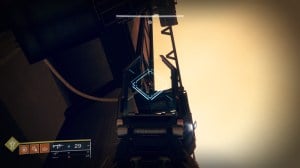
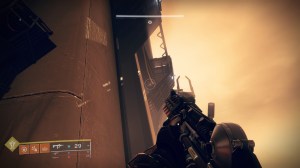
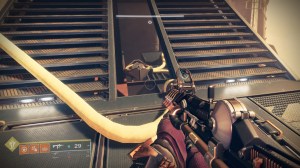
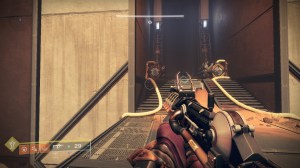
For the circuit on the left side, open the current and look for a hidden node in a corner on the top left. From there, find the next node below a catwalk, then jump to a nearby platform and look below you to spot another node.
From there, continue following the wires and look for a node between the two stairs, then head to the platform across (where the Minotaur may spawn) and complete the circuit.

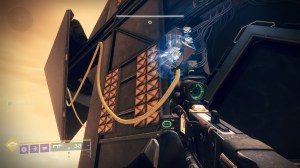
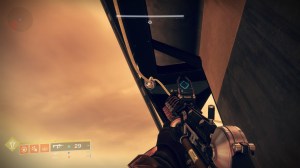
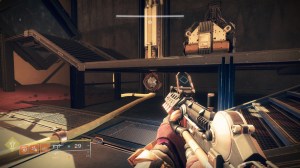
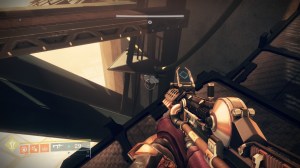
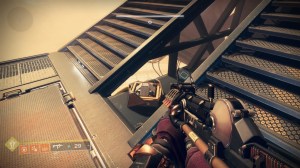
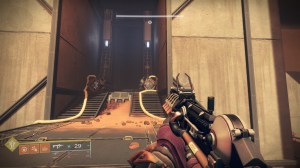
Once you finish this mechanic, an anti-gravity lift will propel you to the second floor, where the Arctricist mechanics continue.
All wires and nodes locations on the second floor of the Ascend the Spire encounter
The Minotaur will spawn by the shock room to the right of where you spawn (if you’re facing the lift). Take care of the adds, then defeat the Minotaur to get the Arctricist buff, as usual. Activate the first node inside the room with the shock walls.
Once you open the circuit, look behind you and high on the tower to find a node, then head below the tower and look across the small gap to find another point of contact. Jump the gap and head to your left to spot a node in the wall and behind some stairs, then head to the next room with the shock walls. One of the nodes will be activated, and the final conduit will be on the other side of the wall. Jump to the platform on your left and shoot it to get you halfway to the third floor.


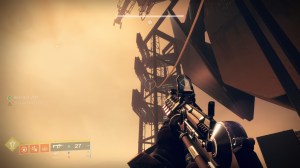
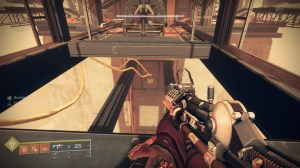
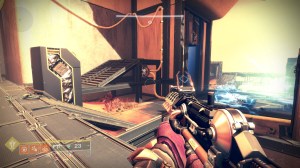
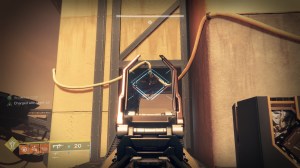
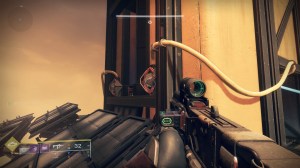
For the second circuit, look for a node stuck to a wall below the floor, then follow the wires and look up to spot another conduit. This one is easier to spot if you go to the tower on your right. After you shoot this conduit, continue following the wires until you get close to a shock room, then shoot the node just before entering the room, the one on the ceiling inside the room, and lastly the one on the right side of the wall, where the other circuit was.

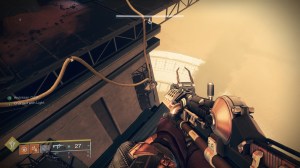
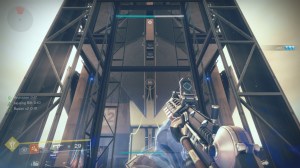
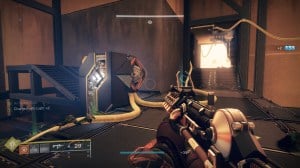
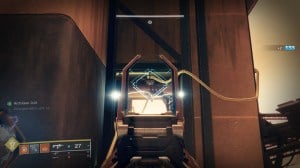
All wires and nodes locations on the third floor of the Ascend the Spire encounter
Activate the circuit as you go in, then look to your left (facing the circuit) to spot this node on a wall. From there, jump to the high ledge near you and look for a node below the helipad-like platform. After that, the next node will be on the ceiling. Shoot it and keep following the path until you stumble upon another activation node (which you can walk past or shoot), then look ahead and above to find another conduit.
Close the circuit by shooting the last node you need.

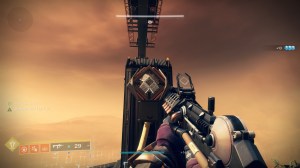
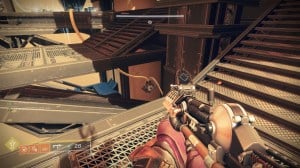




For the second circuit, head back to where you found the second activation switch, then look below you to spot another node on a wall. Go to your left to spot a similar helipad-like platform and shoot the node below it, then cross the catwalk filled with Vex and move on to another platform. The next two panels will be on the ceiling, and you’ll spot the first activation switch between the two. After lighting up both nodes, close the circuit by shooting the node on the wall close to you. This will end the encounter and grant you some loot for your trouble.

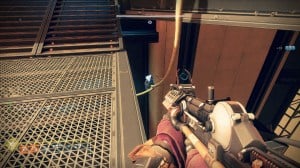

Ascending the Spire is the simplest encounter in the dungeon since it doesn’t have a sturdy boss, but the Arctricist mechanics will be vital to getting through the rest of the Spire of the Watcher dungeon.
Since Spire of the Watcher is farmable as long as it’s the Pinnacle raid, Destiny 2 players can easily farm this encounter, once they get the hang of it.






Published: Dec 12, 2022 08:02 pm