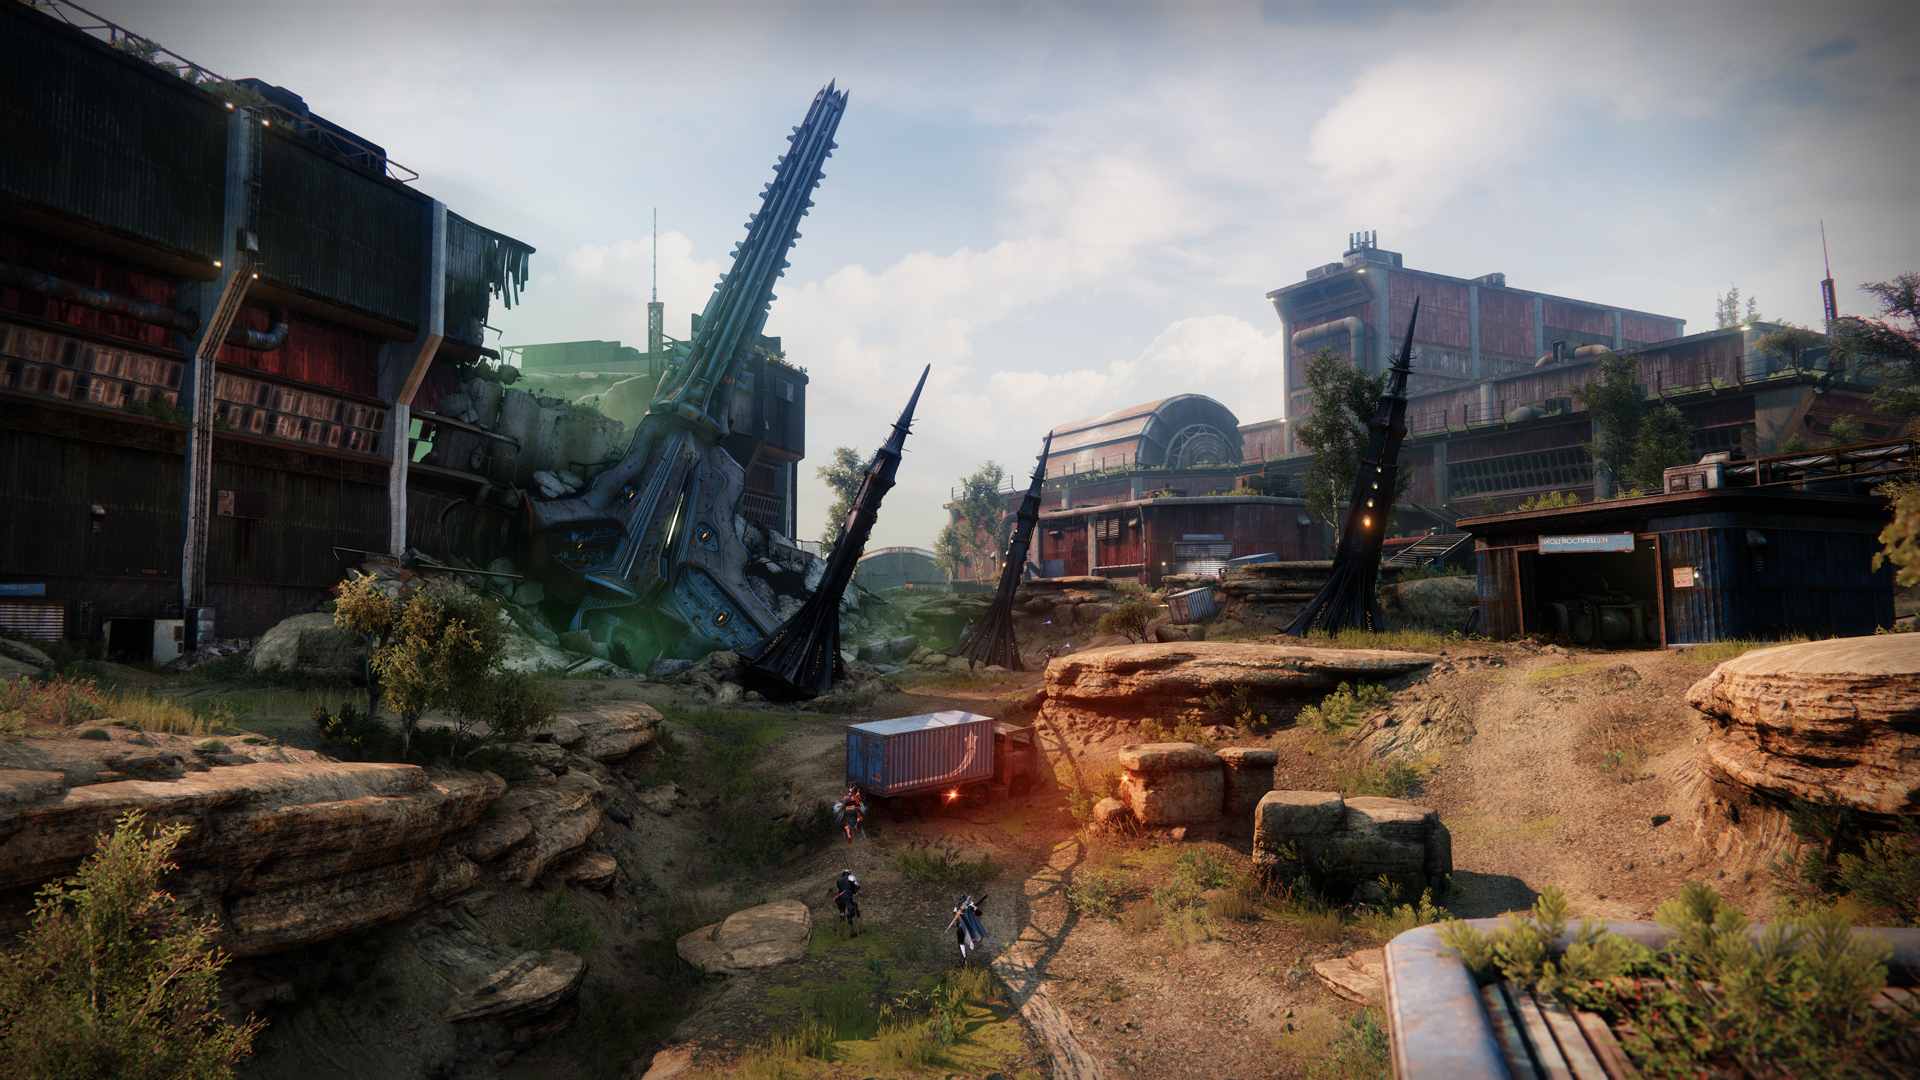
Destiny 2‘s new Grasp of Avarice dungeon takes guardians through a new part of the Cosmodrome, which kicks off with a throwback to the original loot cave in Destiny. The mission has players follow the path to Wilhelm-7’s loot cache and he’s protective of his loot—even from beyond the grave.
Here’s how to complete the Grasp of Avarice dungeon in Destiny 2.
The original loot cave and Burdened by Riches
Fittingly, the dungeon starts in the location of Destiny’s original loot cave in the Cosmodrome. As you shoot enemies, you’ll spot several Exotic Engrams dropping, but they aren’t the real deal. Picking them up grants you the Burdened by Riches debuff, which is a core mechanic in the dungeon going forward. The buff lasts for 30 seconds and renews its duration after you pick it up. If the timer ends while you have it, though, you die.
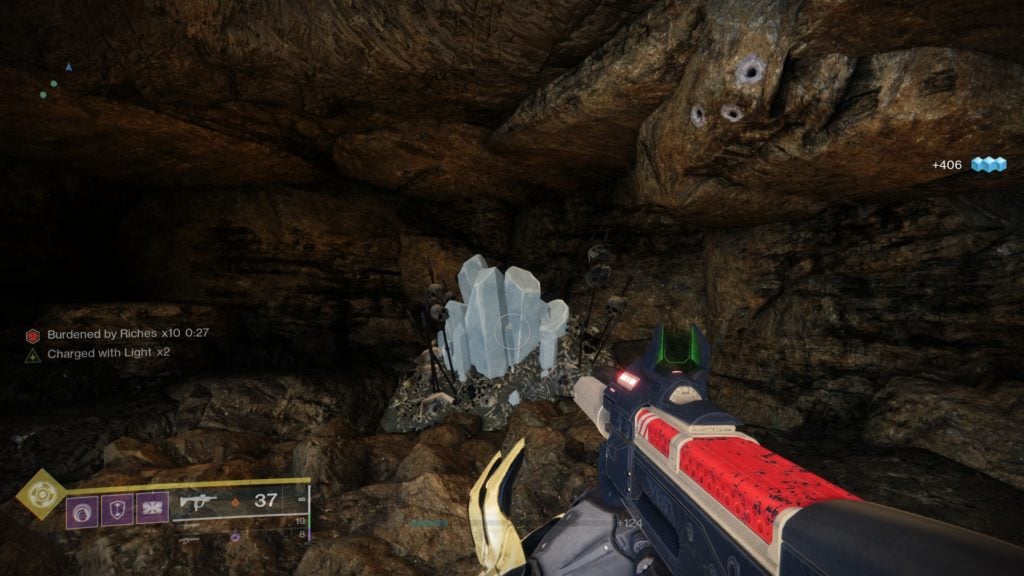
If you head inside the cave, you’ll find a crystal. Standing close to this crystal will slowly dissipate your stacks of Burdened by Riches, and that’s the main way to get rid of the debuff. For this encounter, you’ll want to stand outside the entrance to the cave and vaporize any enemies within, then stock up on Burdened by Riches and deliver the stacks to the crystal. Enemies don’t spawn if you’re in the cave.
After you’ve deposited enough stacks of the debuff, the crystal will shine and open up a hole at your feet. This is where the actual dungeon begins. Follow the path and hop to a ledge to the left side of where you come out, then jump onto the nearby crystals if you have to. Kill the Hive and keep following the path until you reach an area called the Rusted Gangplank.
It’s a trap!
The area called the Rusted Gangplank leads to a door with half a dozen arrows pointed at it. You’ll notice two doors to your right when entering the arena and they’re both booby-trapped. The one closest to the door will release spikes on you, while the leftmost one has a pressure plate that will kill you. Avoid it by either jumping over the plate (watch your head on the ceiling) or walking over the desks on the right side. Hit a switch and the large door will open. Head back out and don’t step on the pressure plate.


Go through the door with the arrows and be careful of the gap. The two platforms in front of you will collapse and the one on the right (from the entrance) houses a secret passageway that you have to go through for the next step. The lever on the other side of the room is a decoy.
Head back to the hallway with the booby-trapped doors and look up to see that the floodgates on top are open. Move up on them, then take the one furthest from you on the right side. Standing on the pressure plate should open up a hole through the ceiling.


From there, go straight ahead and make a note of the ledge with an arrow on it. The arrow points to a pressure plate, so land just to the right of it, then jump across. The suspicious-looking floorboards will open, so jump over them and go inside the next area.
Puzzles, switches, levers, and possibly death
For this first part, players will have to open the entrances to the rooms so they can make their way to the next part of the obstacle course. The doorways also serve as a foothold and guardians can use them to hop from platform to platform. The goal is to get to the last platform on the left. On the other side of each door/platform, there’s a room with a lever that opens the next passage. Follow that until you cross the room, then head upward and trigger a lever near the window. This should open up the door at the end of the room. Cross the area again, in the same way you traversed it the first time, then activate another lever to open up a passage on the other side. Once you get there, take the door on your right (the left one is a trap) and follow the path across the area.
This will bring you to another puzzle, this time with four numbered platforms. Activate the lever on No. 4 to open up the doorway on No. 3, then clear the Hive and trigger a lever inside. This should open up the first gate. There’s a hidden chest in this area, and much like Prophecy, it will give you another shot at gear you have already obtained.
Repeat the process and head inside to open No. 2, then kill the Eliksni with a Scorch Cannon. Take it and shoot it at the device by the fourth hallway. Charge your shot by holding down the right mouse button and release it after reaching maximum charge (the third level) to open the door. Watch out for the trap that will roll down the stairs (the crevices in the walls make for perfect hiding spots).
The Scorch Cannon is another mechanic in the dungeon—one that will serve you all the way to the boss room. Players can use Scorch Cannons to charge several devices and these will be necessary to complete Grasp of Avarice.


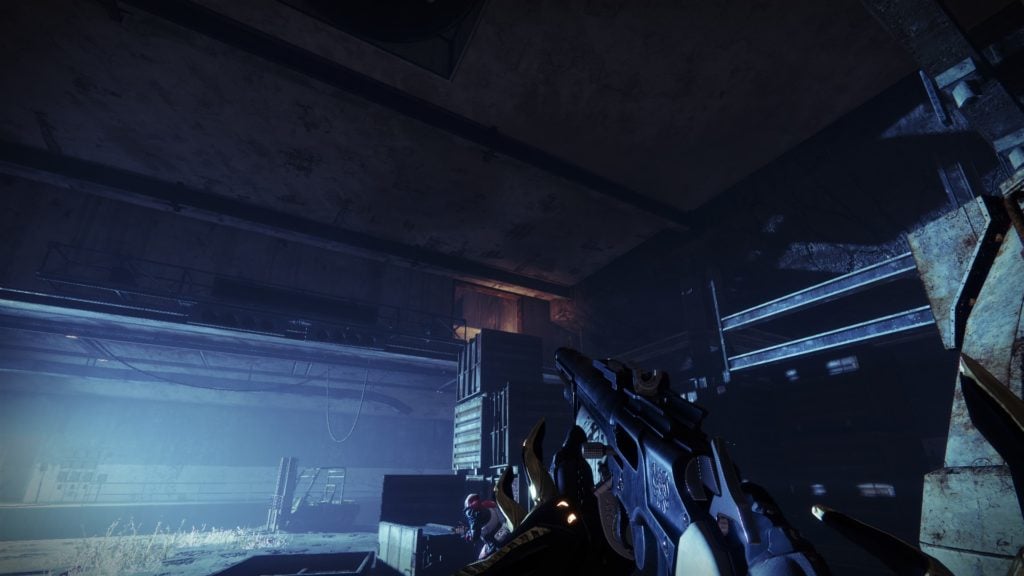
Go through the door and you’ll come out in an office-like area. There’s a door with a pressure switch, but it’s a dead end (aside from a collectible inside). The real way forward is through a stack of boxes that lead to a vent (Counter-Strike fans may think it’s a remake of cs_office). From there, you’ll come out in a large room with a long gap between platforms. Jump across and you’ll find the first encounter in the dungeon.
Phry’Zhia the Insatiable
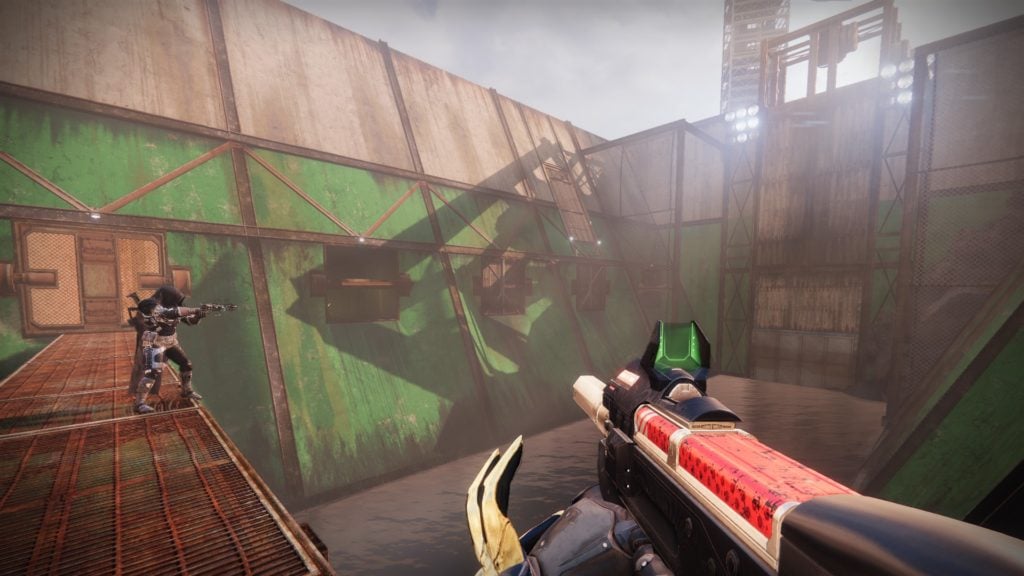
This boss encounter is a recap of all the mechanics in Grasp of Avarice. Players will have to take a Scorch Cannon from a Fallen soldier that spawns on the far side of the room, then use it to open the two doorways on either side of the arena. Once they’re open, Hive will start pouring in, and killing them will drop Engrams with the Burdened by Riches debuff. Stack them, then cleanse them on the crystal at the edge of the area, on the closest side to the entrance. After you’ve deposited enough debuffs, the damage phase will begin.
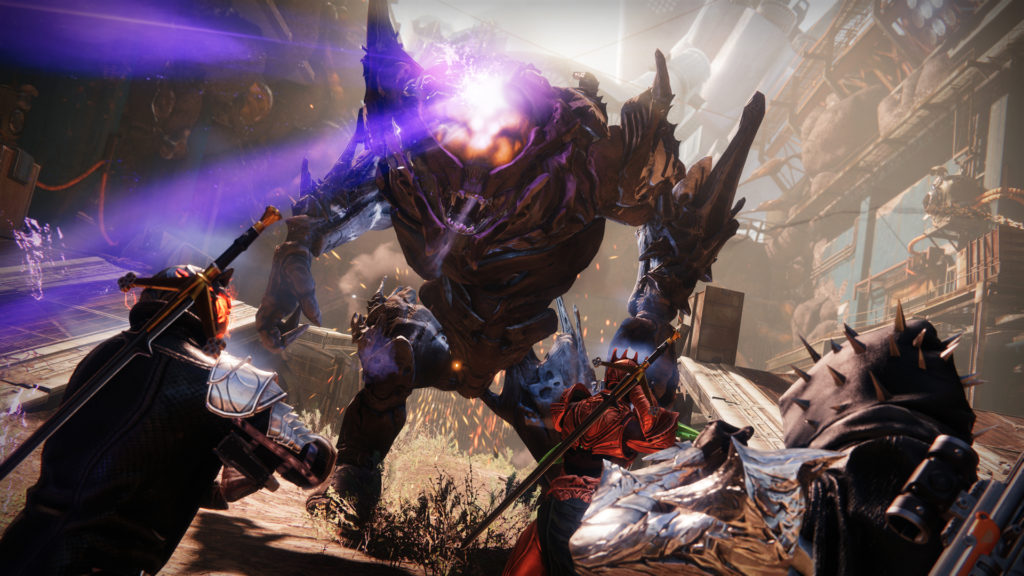
We recommend having at least one designated guardian to handle the Scorch Cannon and one or two players stacking debuffs. Since picking up the Engrams grants a hefty amount of Super energy, it could be best to have a player—preferably a Warlock with Well or a Bubble Titan—cast their Super, then refill that energy by getting the debuffs to have another round of their Super ready for a damage phase.
After taking out the boss, another door will open, bringing players to a room with two levers. And, you guessed it, one of them is a trap. Press the one on your left and get on your Sparrow because you’ll need to be quick.
Sparrow Kart
This next section is the Sparrow part of Deep Stone Crypt mixed with the minefield from Prison of Elders. Guardians have to disable four mines scattered across a path and they’re on a timer. As you make your way to the floating mines, you can spot a few objects that look like landmines and have a glowing red light on them. Touch them with your Sparrow and they’ll turn green, granting your team some invaluable seconds on the timer.


There are a few ways to go about this encounter. Either one player can hurry ahead and the rest of the team stays behind to collect the extra time or players can try to do both at the same time. It’s tricky looking out for all of them on your first attempt, but there should be more than enough to finish the race in time. Keep in mind that you don’t have to stand too long on the mine to defuse it. This is useful considering how hard the enemies hit. There’s another hidden chest near an opening—just get to the top of the platform and look backward.
Fallen Shield and Explosive Servitors
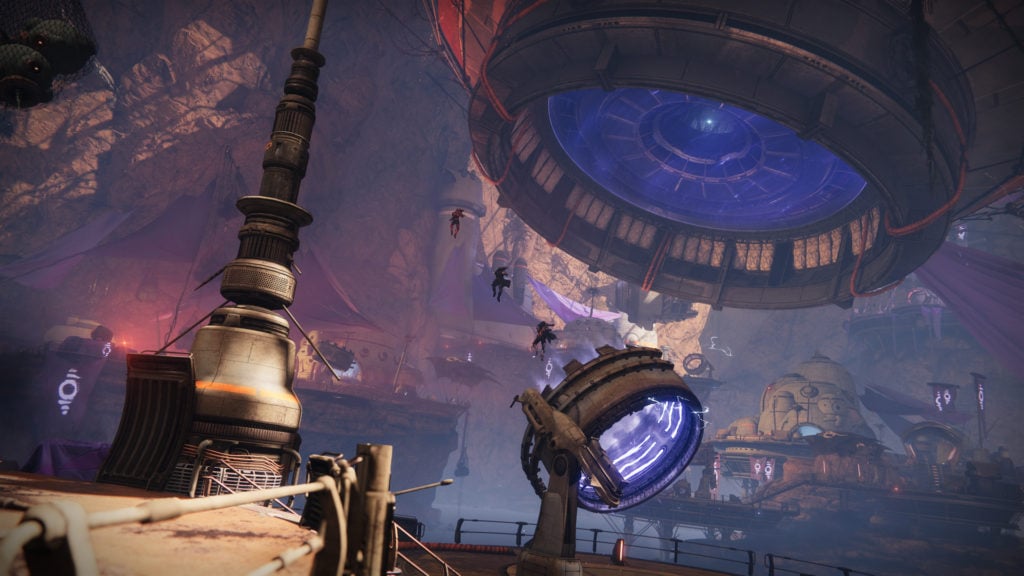
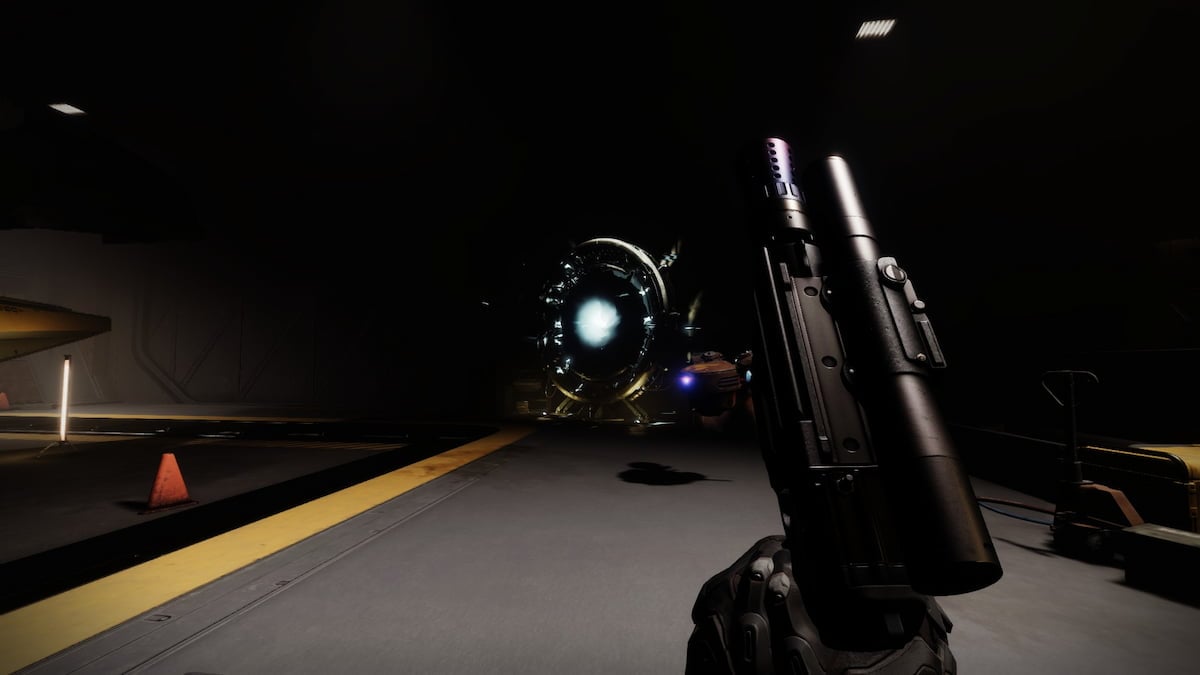
This is arguably the most unique encounter in the dungeon and it requires players to hurl exploding Servitors at an Eliksni shield generator. When you drop down, you’ll notice some cannons in front of you and an angry Eliksni with a Scorch Cannon to your left. Using the Scorch Cannon, you can jump from island to island and go where you need to be. Before jumping, though, look in the distance for a shielded Servitor.
Make your way to the islands with the shielded Servitor, then take out the enemies there. They’ll drop the Burdened by Riches debuff. Head to the hut in the middle of each island and find a crystal, where you’ll once again cleanse the debuff. Stack enough of them and you’ll take out the Servitor’s shields. Once you kill it, it will remain in the area with a countdown. Drag it to the cannon, aim it at the shield generator, and use the Scorch Cannon to send it hurling across the sky—and straight into the shield generator. Move to the next island with a Servitor (with the help of the cannons) and repeat the process until you’ve taken out all the shields. Grab your loot, then use another cannon to head inside the shield generator, which will open a path to the final boss.
Captain Avarokk, the Covetous

The boss fight is fairly simple, but combat in it is fast-paced and there are a lot of adds around the room. Before starting the encounter, take note of the crystal in the middle of the room and the Eliksni devices on either side of the middle platform, which only open with a Scorch Cannon. These will be the two main mechanics for the encounter. To start the fight, pick up the Burdened by Riches Engram on the floor near the middle of the arena. The boss and two minions will appear in the center platform.
Look for the Eliksni with a Scorch Cannon, as usual, and take them out. Shoot the Scorch Cannon on the device to open up some trapdoors on top of the area, which will drop 10 to 15 Engrams with the Burdened by Riches debuff. Grab them, then head to the other side and repeat the process. Deposit them in the middle of the arena once you’re done. Don’t forget to get rid of all your stacks. Otherwise, you’ll still die if the debuff runs out.
Once the team has banked enough debuffs, the game will say the boss succumbs to temptation, which is a sign that the damage phase has begun. Unleash the big guns and throw as much damage as possible until the invulnerability phase starts again. Repeat the process until Avarokk is dead.
We recommend taking advantage of the Super regen to throw Supers like Well of Radiance or Dome Shield during the fight, since these last for a fairly long time and will help with survivability. In our testing, carrying 10 stacks of the debuff refills your Super and keeping your bar topped off shouldn’t be much of a problem with the sheer flow of Engrams.
After taking down Avarokk, you’ll find Wilhelm-7’s treasure trove—with the dead Exo there as well.


Published: Dec 8, 2021 06:00 pm