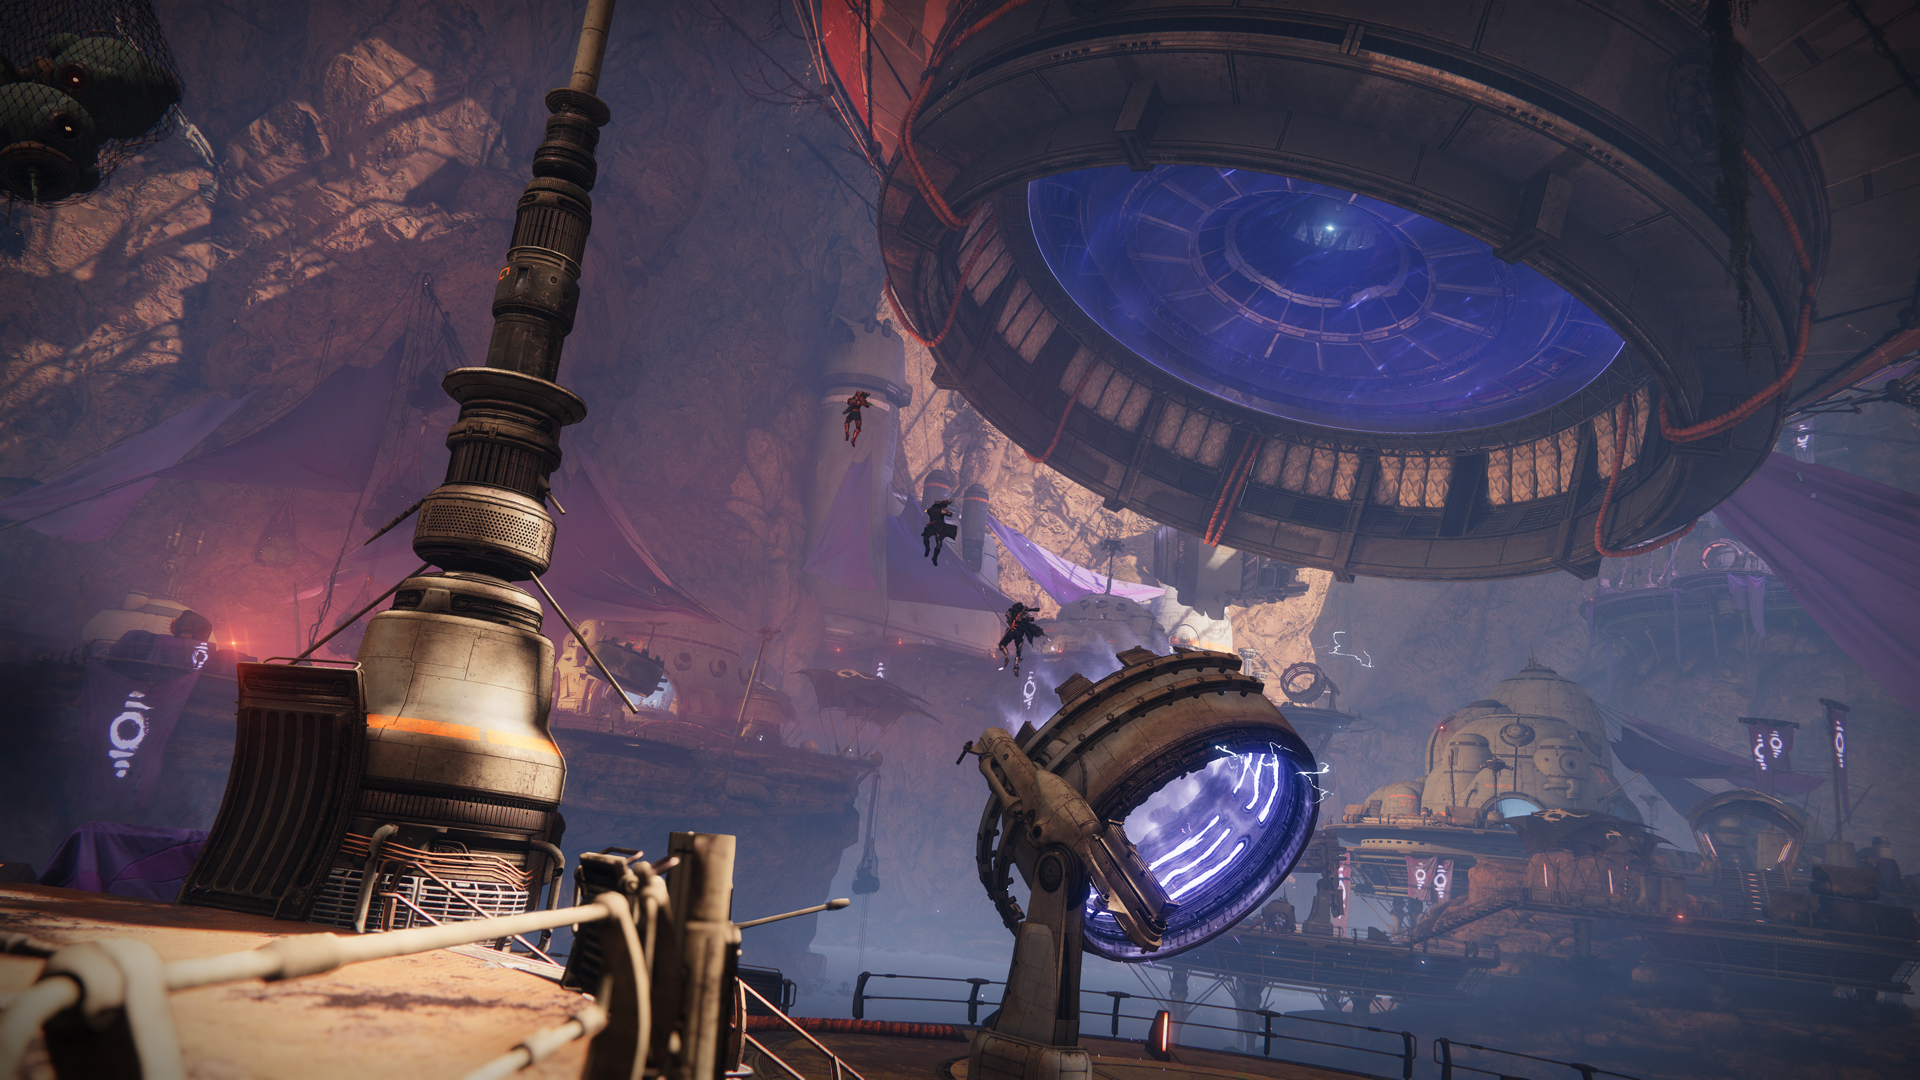
Destiny 2’s Grasp of Avarice dungeon comes with its own set of weapons and a couple of secrets hidden for players who want to go on a treasure hunt throughout the dungeon. Gjallarhorn continues to be a reliable choice since its induction into Destiny 2, and players who want to make the most out of the weapon will have to dive into the Grasp of Avarice dungeon.
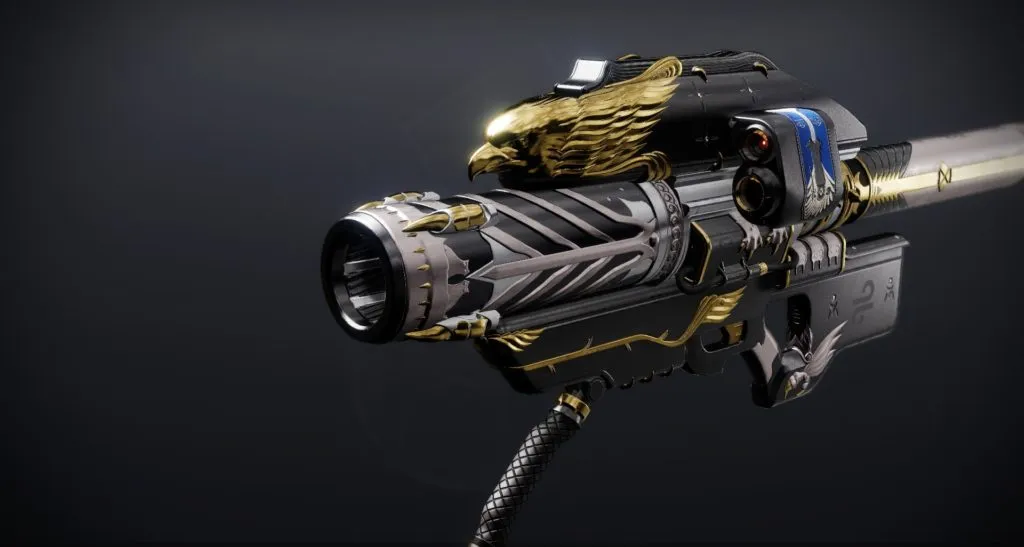
The Gjallarhorn catalyst drops from three secret chests in Grasp of Avarice, and players can collect 12 audio logs from Wilhelm-7 to obtain the Hraesveglur ornament for Gjallarhorn—and listen to the dungeon’s unique story in the process.
The 12 audio logs recount Wilhelm-7 and his fireteam’s slow descent into madness due to sheer greed—a story that involves the promise of great loot, the unwavering grasp of avarice, final deaths, and just a splash of fourth-wall-breaking quips. Wilhelm-7 was taken by the burden of all the riches in the dungeon, always looking for the next great loot cave. The Exo booby-trapped several areas inside Grasp of Avarice to protect his riches and even killed members of his own expedition, convinced they were after his loot.
Here are the locations of all Wilhelm-7 messages to snag the “The Richest Dead Man Alive” Triumph in Destiny 2, whether you’re here for the lore, the completionism, or just want the Gjallarhorn ornament.
Log one: Crystal hallway early into the dungeon
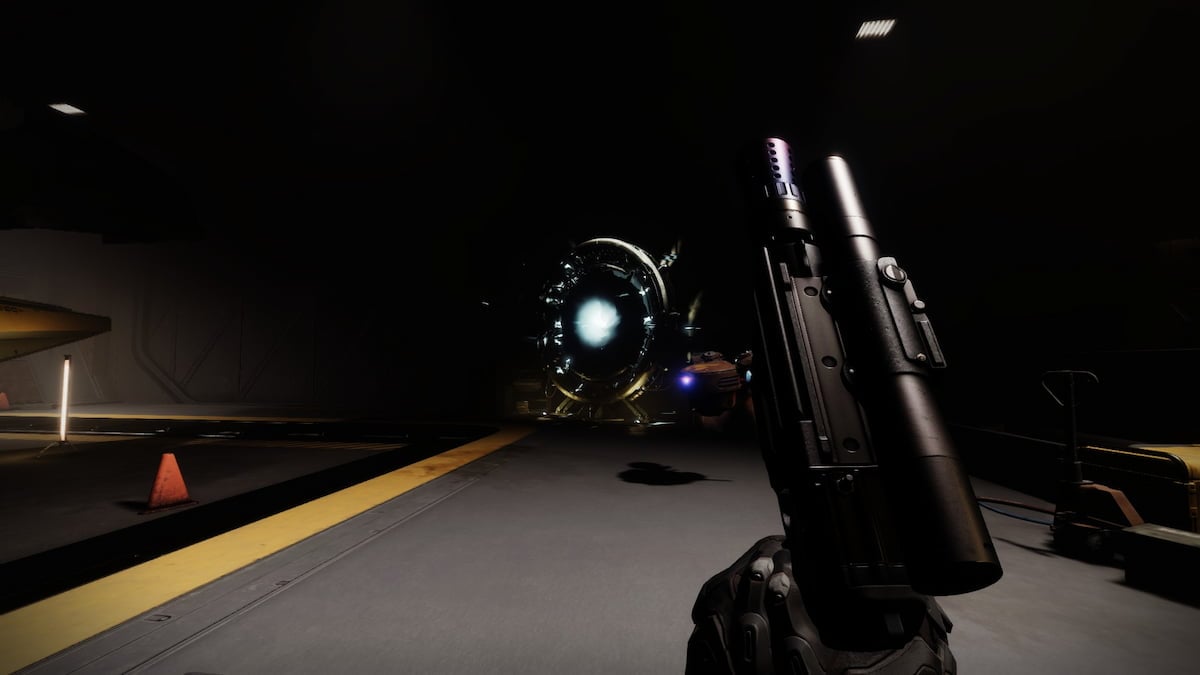
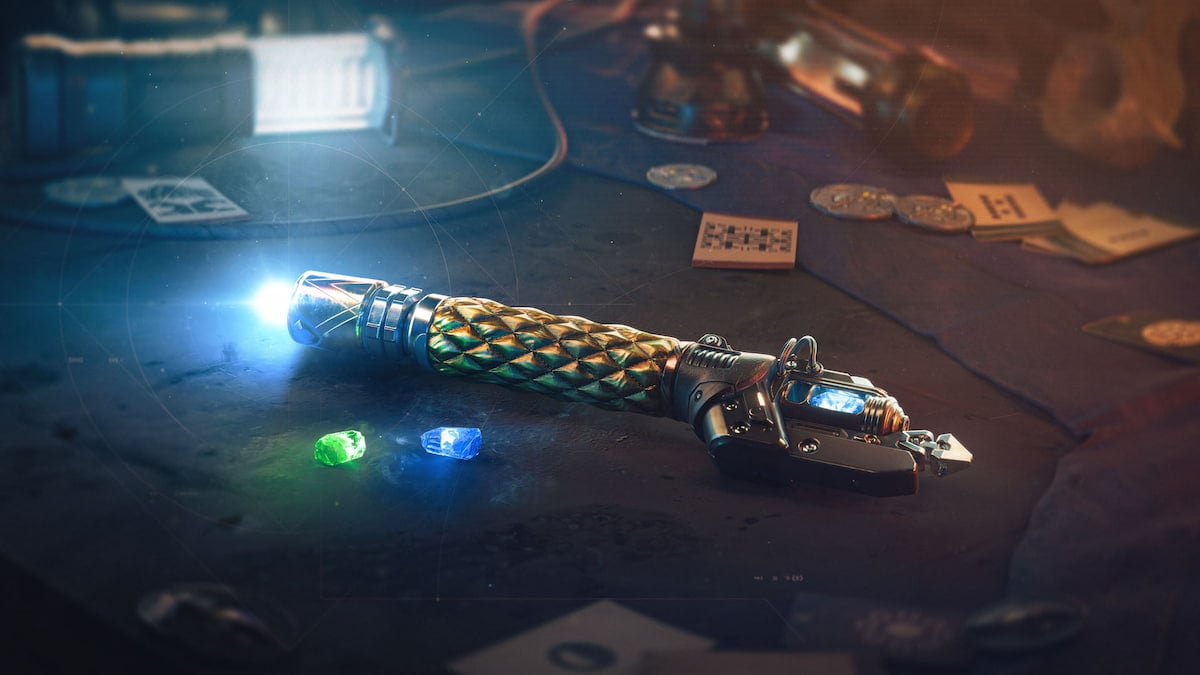
After you disable the crystal in the entrance to the dungeon, head inside and look to your left to spot this collectible in the first crystal-filled tunnel. Like all other collectibles, this is shaped like a message in a bottle, which helps add to the pirate overtones in the dungeon.


Log two: Still at the beginning of the dungeon
Shortly after you take out the Hive in the cave and walk across the crystal bridge, keep an eye on a small crevice on a crystal wall to your left, where you’ll find this message.


Log three: Booby-trapped doorway in Rusted Gangplank
While you’re in the Rusted Gangplank, head into the first room with the pressure plates. Before turning the lever that opens the first floodgate, look up and to your left to spot a vent up top and the third audio log from Wilhelm-7.


Log four: By the spike plates in Rusted Gangplank
After you activate the platforms and make your way to one of six open floodgates, you’ll come out on an area with an arrow pointing to a pressure plate and with trapdoors that drop you into deadly spikes. Stand next to the pressure plate, then look behind you to see an opening that leads to another audio log.


Log five: By the window in a jumping puzzle
Once you get to the part where you have to open doors to proceed, you’ll eventually come across a room with a window. Look to the right of the window to spot a crawl space and the next log.


Log six: In a dead end in the office
When you reach the office-like area with the stack of boxes, head inside the door with a pressure plate. Though the room may seem like a dead-end, you’ll find a crawl space behind some debris. Inside is the sixth log.


Log seven: After a run-in with the ogre
After you take out the first boss, head through the newly opened door and look for a very inconspicuous tube. The seventh collectible is inside the tube. This is before the Sparrow chase area, so don’t drop down to it if you’re missing this log.


Log eight: At the skull’s right cheekbone
After the Sparrow chase section, deactivate the final mine and backtrack. The cannons send you inside a skull-shaped structure, complete with teeth, and that’s where you have to go. Look behind you, then head towards the skull’s right cheekbone (your right). You’ll find a small ledge with a collectible.


Log nine: Inside the skull, before the drop
After you’ve cleared the Sparrow section and gotten the eighth collectible, you’ll face a drop. Don’t jump in just yet, though: there’s another collectible on a crystal ledge slightly above you. The game conceals it behind another set of crystals, but hop onto the ledge for his log.


Log 10: Fallen Shield room, central island
After you’ve cleared the Fallen Shield, head on to the central island where the loot chest is. Instead of continuing on, drop to the ground and look for this collectible slightly ahead of where the chest should be.


Log 11: Fallen Shield room, inside a turbine
While still in the room where you disable the Fallen Shield, look for a colossal turbine on one of the islands in the back of the room. This collectible will be inside it.


Log 12: Wilhelm-7’s corpse
The last log is located on Wilhelm-7’s corpse, which is in the loot vault after finishing the dungeon.


How to complete the “The Richest Dead Man Alive” triumph and obtain the Hraesveglur Gjallarhorn ornament
Now that the hard part is over, all you need to do is find the “The Richest Dead Man Alive” triumph in your log. You can find it under Legends, then Dungeons, then finally Grasp of Avarice. If you’ve found all 12 messages, you can claim the triumph from your log and get the Hraesveglur ornament for Gjallarhorn. If by any chance you missed any messages, however, this triumph will tell you exactly which one(s) you’re missing. Before you claim it, make sure you have room in your ornament inventory for the Hraesveglur ornament to avoid any possible issues.


Published: Sep 19, 2022 10:49 am