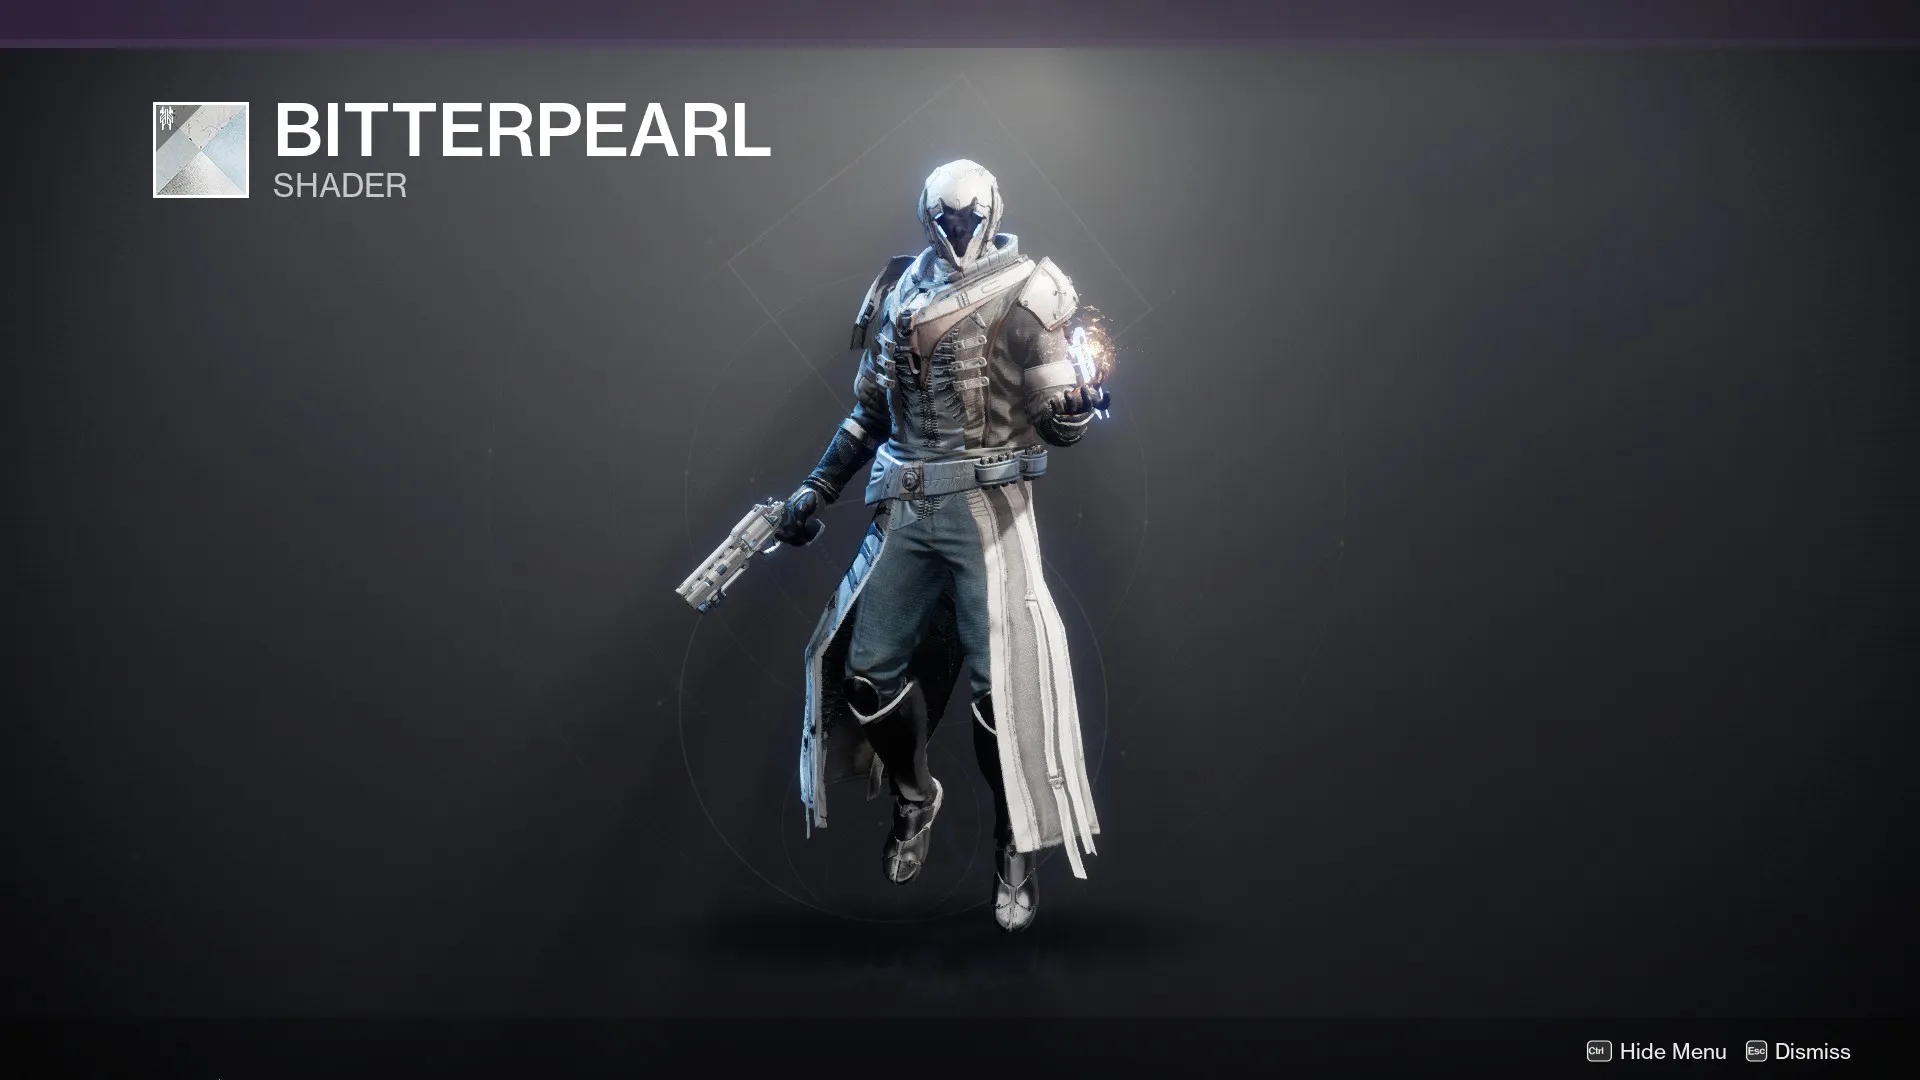
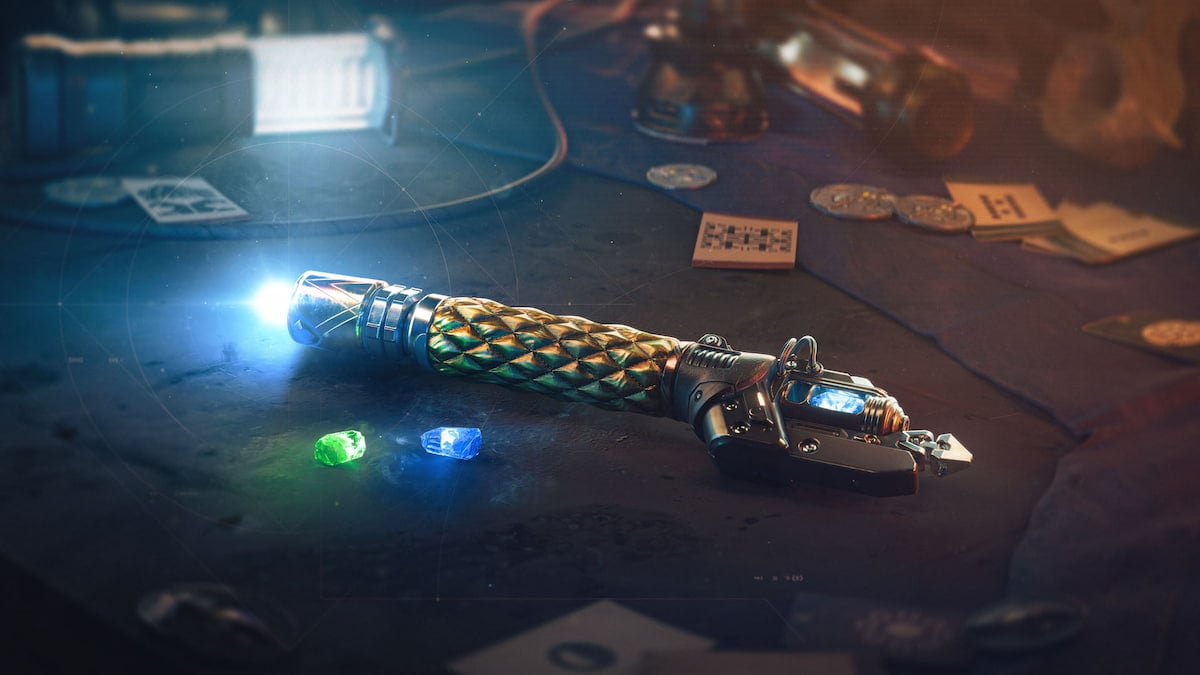
Players who took a tour around the starting area of the Vault of Glass in Destiny 2 may have stumbled upon crystals scattered across the entrance to the raid in Venus. The shiny collectibles are more than just decorations, though. There are 12 of them dispersed throughout the Vault and obtaining them all unlocks the Bitterpearl Shader.
Players can keep track of which ones they already collected by checking the respective Triumph under the Vault of Glass seal tab, thanks to its checklist of individual crystals. Their numbers, however, might vary slightly across players.
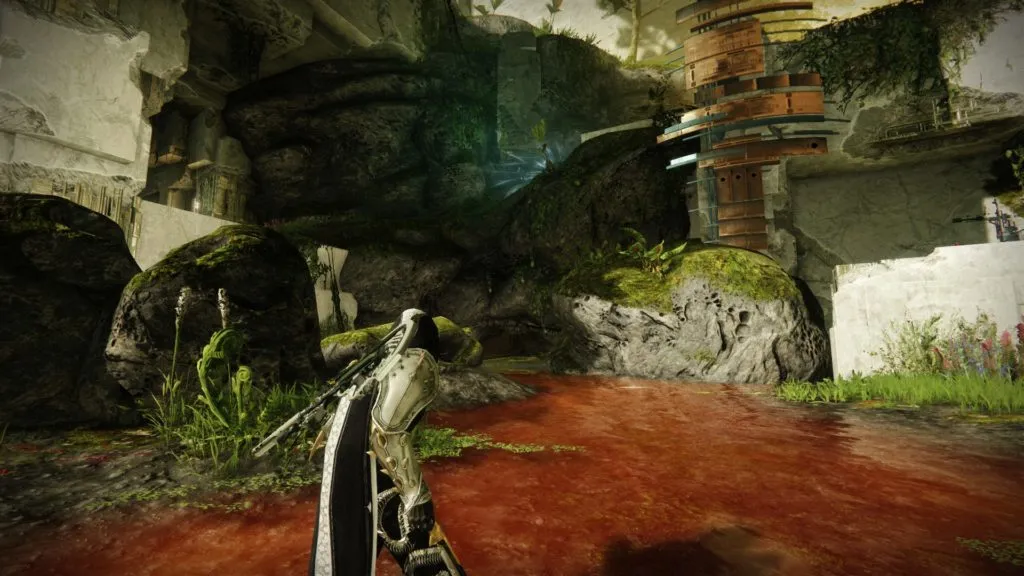
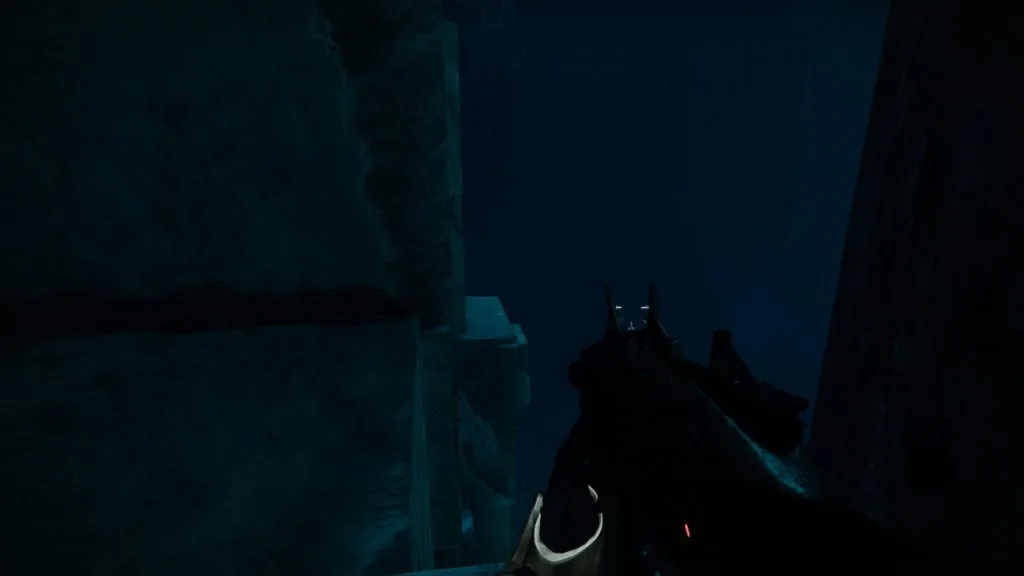
The path to the collectibles spans most of the Vault of Glass, from the opening area in Venus to the entrance to the Throne Room before the Gatekeeper fight. Some of the crystals are fairly easy to find, but others are stashed in nearly impossible nooks and crannies. Here are all of their locations.
Collectible No. 1: Outer Area (Waking Ruins)
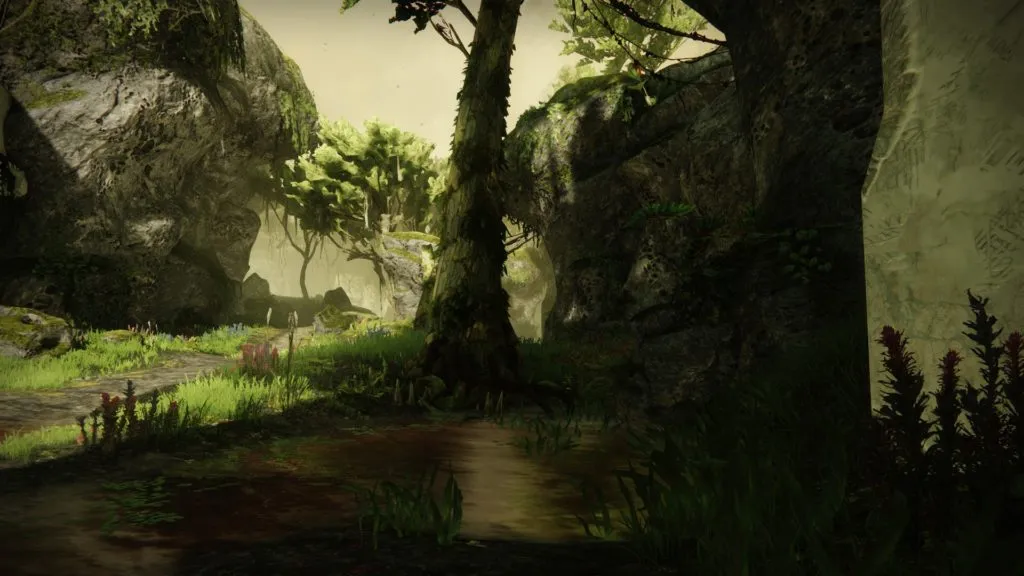
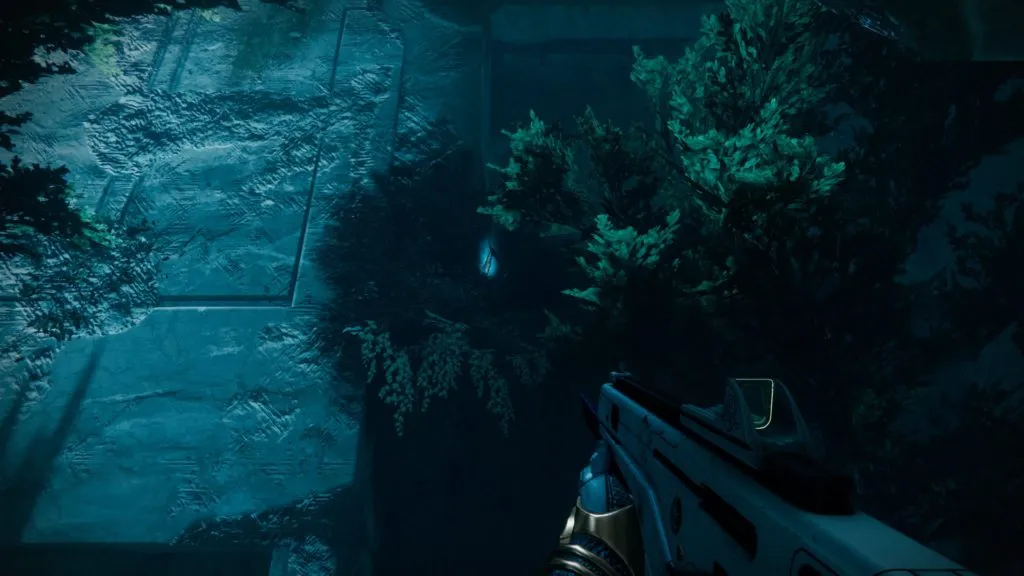
The first crystal is by a tree on the right side of the Waking Ruins. From the spawn point, take the right path until you find a tree with something glinting beneath it, close to a small Vex building.
Collectible No. 2: Outer Area (Waking Ruins)
This crystal is inside the cave on the left side of the starting area, close to one of the plates needed to raise the Spire in the first encounter.
Collectible No. 3: The Trial of Kabr
The third collectible is at the entrance to The Trial of Kabr, right before the drop and before the path forks left. Make a left into the dark alcove between the rock and a Vex wall and run over until you see the crystal.
Collectible No. 4: The Trial of Kabr (Secret Path)
To get this crystal (and the raid chest near it), players must take the secret path from the Trial of Kabr. Drop from the Vex platform and quickly look behind you to see a path hidden inside the Vex wall, then head inside and go all the way to the end and drop down. (This area also contains a plate for the Vex Mythoclast catalyst.)
Once you’re in, grab the secret chest and look in the direction it’s facing to see a crystal shining on a ledge above, near a tree. Climbing onto it can be tricky, particularly with a full fireteam, but the pillar in front of the chest can give you a boost.
To get out of this area, go back to the secret chest and run forward until you find a ledge. Jump to it, then make a left to another Vex platform. Jump to the nearby patch of grass on the right and then onto a rocky passageway ahead. The shortcut should lead back to Templar’s Well, where the next encounter takes place.
Collectible No. 5: The Trial of Kabr, before Conflux encounter
There are two ways to get this crystal depending on your course through the Trials of Kabr. Guardians who took the regular path have an easier time, but taking the secret route won’t stop a player from getting two on the same go.
From the normal path, make your way to Templar’s Well. Drop down onto the first ledge, then turn around and look for the edge of a platform. Jump onto it and carefully make your way around to the location of a crystal. Alternatively, players can jump down from the topmost formation and land on the ledge below.
If you took the secret path, there’s a bit more legwork involved. The exit leads to a crevice that’s one (long) jump away from where the Rally Banner is for the Conflux encounter. From there, make a left and climb the rocky walls to get to where the normal path would lead. Some nooks and crannies on the rock formation can serve as footholds, so make use of them when necessary to get some extra height. If you’re having trouble, bring your class-appropriate mobility exotic along if needed. The third-person view from wielding a sword also helps.
Collectible No. 6: Templar’s Well, after Templar encounter
Much like in The Trial of Kabr, this collectible is hidden inside a secret path. After killing the Templar, don’t take the gate into the Gorgons’ Labyrinth. Instead, make your way to the left side of the arena where you fought him and look for a newly-opened hole in a wall. The collectible is on a high ledge on the right side. If you miss it and drop down further into the area, it’s possible to backtrack (at least on Hunter) with a little help from St0mp-EE5.
Collectible No. 7: Before The Gorgons’ Labyrinth


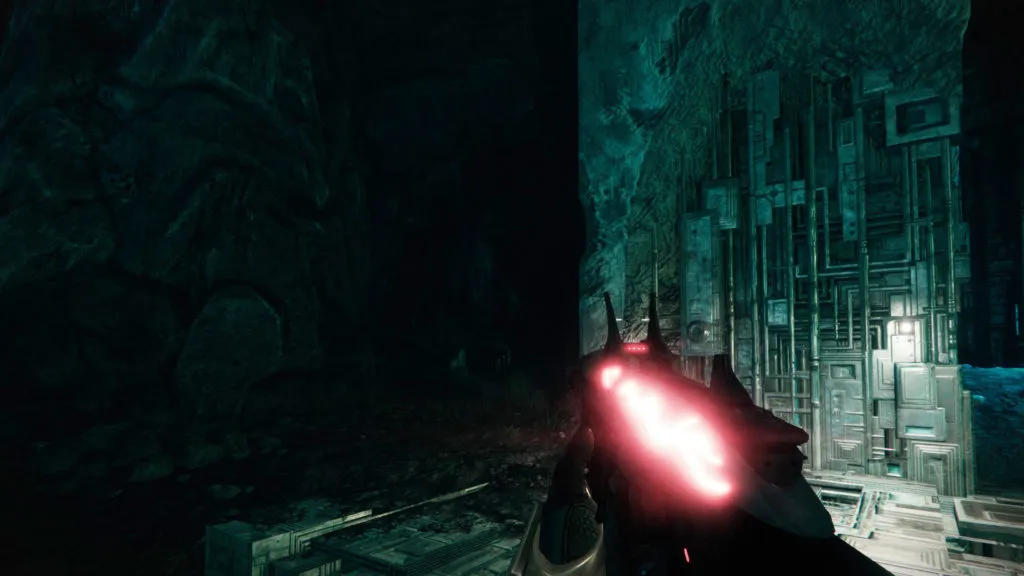
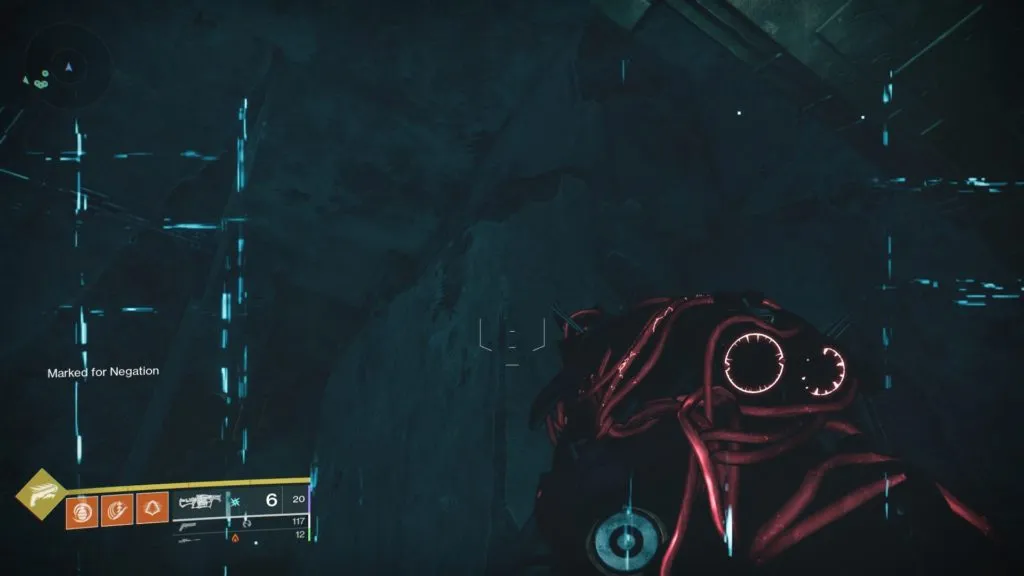
Follow the secret path from Templar’s Well and drop all the way down through a series of platforms and ledges. Once the path funnels into a small, grotto-like area (before the final drop), make a right, then look for an entrance to a cave on the right side. The crystal will be inside, in the center of what looks like a decommissioned Vex portal. This is a tricky one to get because of how dark the inside of the Gorgons’ Labyrinth is, but turning up your in-game brightness can make it a bit less frustrating.
Collectible No. 8: The Gorgons’ Labyrinth
From the spawn checkpoint, make a right past the rock and head inside the cave, then take the right path when it forks. The crystal will be up on a ledge. Keep an eye out for the blue glow and be mindful of a nearby Gorgon that circles the platform.
(Note: Despite being the eighth crystal, this was listed as No. 9 on our in-game Triumphs tab.)
Collectible No. 9: The Gorgons’ Labyrinth
This crystal is tricky to obtain because of the surrounding Gorgons. To get it, follow the normal path until you reach the final rock before dropping down and making a run for the exit in the cave. From there, jump down and run to your left. The crystal will be behind a wall that’s next to a small rock formation. A Hunter with invisibility can make this risky task far less complicated.
Collectible No. 10: After The Gorgons’ Labyrinth


There are two collectibles hidden in the jumping puzzle. The first one is on the top left before you even touch any of the vanishing platforms. Make a left across the chasm and into a cave, then follow it all the way to the end. Jump down onto a rocky ledge below to find another cave, this time with a crystal hidden inside.
(Note: Despite being the 10th collectible in order, this was listed as No. 11 in our Triumphs tab.)
Collectible No. 11: Before the Throne Room

After grabbing the rest of the crystals, clear the jumping puzzle. The easiest way to do this is to make your way to the rocky platforms on the right side, then jump onto the ledge below. From there, hug the wall and keep an eye out for a passage on the right side. A nearby lamp on the wall indicates where you should go.
Collectible No. 12: Outside the Throne Room

It’s incredibly easy to get this collectible and even easier to miss it. The final crystal is on a ledge on the left side of a wall before opening the door to the throne room. Guardians don’t even have to get on the ledge to obtain the crystal since the prompt appears when standing just below it.
The Bitterpearl Shader

After collecting all of the 12 crystals, players can obtain the Bitterpearl Shader by redeeming the “Pearl of Glass” Triumph inside the Vault of Glass seal. The new dye is reminiscent of Destiny‘s Chatterwhite tincture, which makes Precursor Vex Chrome feel like Amethyst Veil.


Published: Jun 2, 2021 12:44 pm