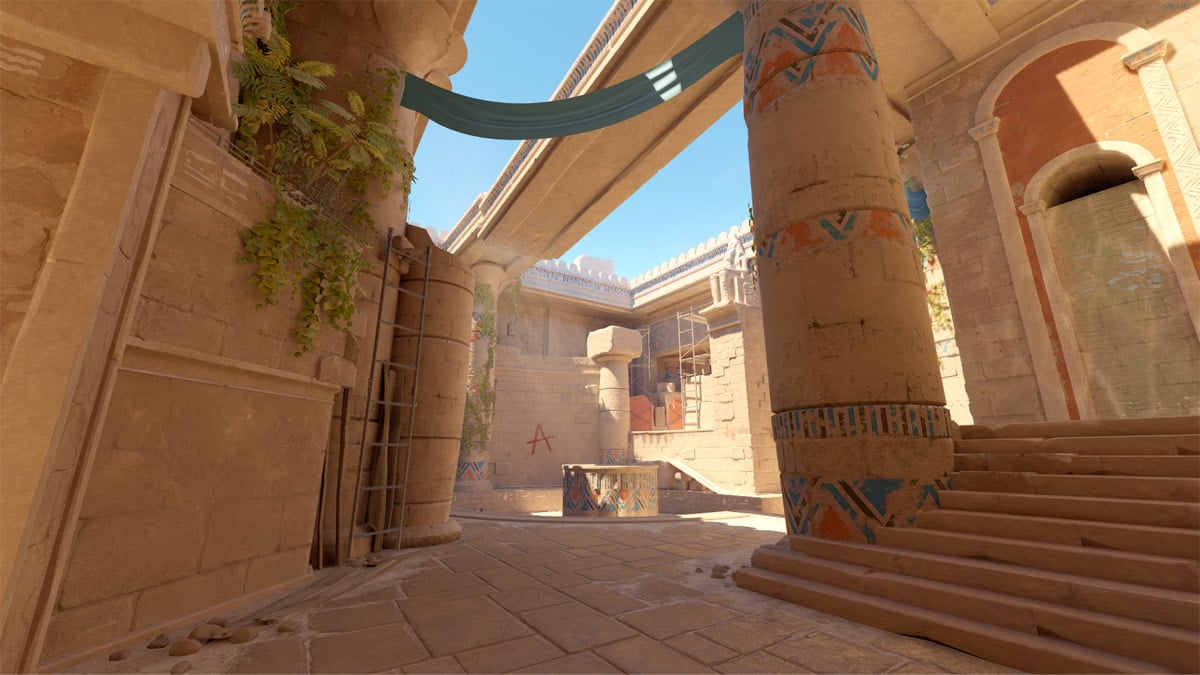
Upon landing in CS:GO, Anubis felt a little off. Something about the map—new to players as Global Offensive drew to its close—played very differently than its predecessors, especially in the way the skybox and smokes worked back then.
But following CS2’s release and the introduction of volumetric smokes, it really feels like the map was made for the sequel. Success on the map, particularly on the T side, lives and dies on how you use your utility.
Here are a few smokes and Molotov lineups you’ll need to know on Anubis in CS2 to win.
The best grenades for Anubis in CS2
B Site
Yes, A does become before B in the alphabet, but on Anubis you’ll find the B Site is where you’ll end up more often than not. Outside of a rush through the very tight Main corridor, you’ll need mid control in order to capture A, so you’ll often see T sides default to the B bombsite.
Thanks to its layout, three well-placed smokes will create a wall around the obelisk and allow the T’s to plant very safely—similar to Mirage!
Blocking Long to CT Spawn
The first smoke we’ll throw will block the long sight line to CT spawn. This is a common AWP angle and covers the entire gap to the plant zone. Be ready for players at close angles, especially tucked into the left ahead of the smoke.
Blocking Corner and Museum walkout
One down, two to go. The next necessary smoke to learn covers the back corner of the site through to the Short Museum walkout. If you’re on T side and you’re lucky enough to have already secured Connector from Canals, then you’ll only need the above two smokes to take B.
Blocking Mid/Canals Connector
But what if you don’t have Con? You’ll need this third smoke to guarantee a wall of smoke and to lock out the CTs from the bomb site. Be careful of any defenders that move to the pillar to the right of the B Main entry when you push through, as well as the use of any HE grenades to clear smokes temporarily.
Mid
T Spawn to Mid Bridge
Next up is Mid, and learning to smoke the most common AWP angle on the map is critical. Anubis’ mid works similar to Dust 2 and is essential for those wanting to push A or take more map control. This one can be thrown at the beginning of the round and beats out CTs to the angle. Don’t forget your jump bind!
T Spawn to Canals/Connector
The Canals/Connector smoke is also important for those wanting to take Canals and set up for an A execute. It’s a common angle for riflers and AWPers alike and CTs in Connector room can ruin a mid-round take very easily. Don’t make it easy for them—smoke them off before you consider entering Canals.
CT Spawn to Mid Bridge
We’re not only about T smokes here. When you switch to CT, you’ll want to take as much room as possible for yourself and limit the Ts movement. This smoke blocks off the T side of the bridge and, barring a straight-up rush, it beats out the opposition to the entry. Post up behind it and watch the Ts squirm as you move up to the Arch to cover Canals.
A Site
Ok, you want to go A but you don’t have anyone in mid, you must be stuffed right? Wrong.
Just like B, you’ll need three smokes (and a very important Molotov) but you can also wall off the site and make it a hell of a lot easier to get that bomb planted. Don’t forget to throw flashes through the archways for your teammates to enter behind!
Canals to CT Steps
First up, we’re blocking the AWP angle from mid to the bomb site with this stairs smoke. I throw this smoke every round; if you only have one to throw, this is it, so make sure you practice it and it lands!
Canals to CT Catwalk
This second smoke, when used in combination with the first, walls off the left side CT entry to A completely. Use in combination much like Mirage’s Stairs and Jungle smokes to ensure maximum coverage.
Canals to CT Heaven
Once the first two smokes land, the CTs will only be able to watch you enter from the third and final spot in Heaven. Deny them this opportunity with this smoke, thrown from the same location as the one above. If you want to get a little freaky with it, have a teammate drop you a smoke and throw both from the same spot, selling a one-max execute!
Waterfall Molotov
With the site smoked off and no help for any CTs left nearby, they’ll likely move to meet you head-on as you enter—which means they’ll be on the pillar in front of the waterfall. In most cases the CTs will smoke off the main entrance meaning you’ll be able to throw this Molotov easily behind cover. Run and throw to ensure maximum distance and follow with a flash to leave the CTs stranded in the open and blind.
CT Spawn to A Main
Again, it’s not all about the T side. Want to stop an attacking rush at the beginning of the round? This smoke lands shortly before the Ts make it to A Main, meaning they’ll need to jump blindly through smokes onto the site. A handy tool to use if you plan on going aggressive in the mid-round and won’t need a later smoke.
That’s all for Anubis smokes and grenades for now. Check back from time to time as we’ll be adding more to better enhance your CS2 gameplay!






Published: Nov 24, 2023 03:41 am