Deadly Hunt is a thrilling and eerie side quest in Avatar: Frontiers of Pandora that culminates with a difficult boss battle.
There are several different hurdles and roadblocks you will need to overcome throughout the quest, most daunting of which is the dreaded investigation mini-game. This guide will save you time and energy by walking you through how to match the clues in Deadly Hunt so you can spend more time hunting and less time sleuthing.
How to start Deadly Hunt in Avatar: Frontiers of Pandora
Deadly Hunt begins when a Na’vi Gatherer in the woods northeast of Aranahe Home Tree tells you that they saw a Stormglider go down somewhere over the Thorny Wilds in the northeast section of Kinglor Forest. Like all side quests in Avatar: Frontiers of Pandora, the quest actually scales with you, so you don’t really need to worry about being a specific level to start or finish this quest (although, the ending will be more challenging if your gear isn’t up to snuff).
While you can complete this quest in Explorer Mode, I highly recommend using Guided Mode to see where your first objective is. This is because the only bit of guidance you receive from the Quest Log is that the Na’vi Gatherer “saw the Stormglider fly over the waterfalls and into the Thorny Wilds.” In other words, all you know is that it’s somewhere within an absolutely massive radius. Save yourself the headache and turn or Guided Mode for a hot second—otherwise, it’s just guesswork to find where the Stormglider finally went down.
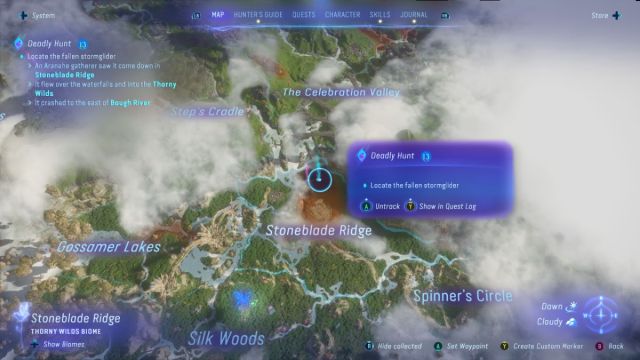
If you turn on Guided Mode, the marker you receive on your map shows you the exact spot that you’ll find the Stormglider’s corpse. If you’re hellbent on using Explorer Mode for this quest, the area you’re looking for is about 100 meters east of the Deeper Connection Ancestral Skill. Once you arrive at the correct location, you’ll be prompted to begin an investigation to learn what happened to the fallen Stormglider.
How to complete the fallen Stormglider investigation in Deadly Hunt
Once you have found the fallen Stormglider by turning on Guided Mode, reading this walkthrough, or banging your head into your keyboard until you got lucky, you can and should use the Stormglider’s corpse as the first clue to start the investigation. This investigation has six total clues, so you need to make three matches. To complete this step of the Deadly Hunt side quest, you must:
- Link the Dead Stormglider Clue to the Piece of Fuselage Clue.
- The Dead Stormglider is impossible to miss.
- The Piece of Fuselage is southwest of the Dead Stormglider and in direct eyeline of it.
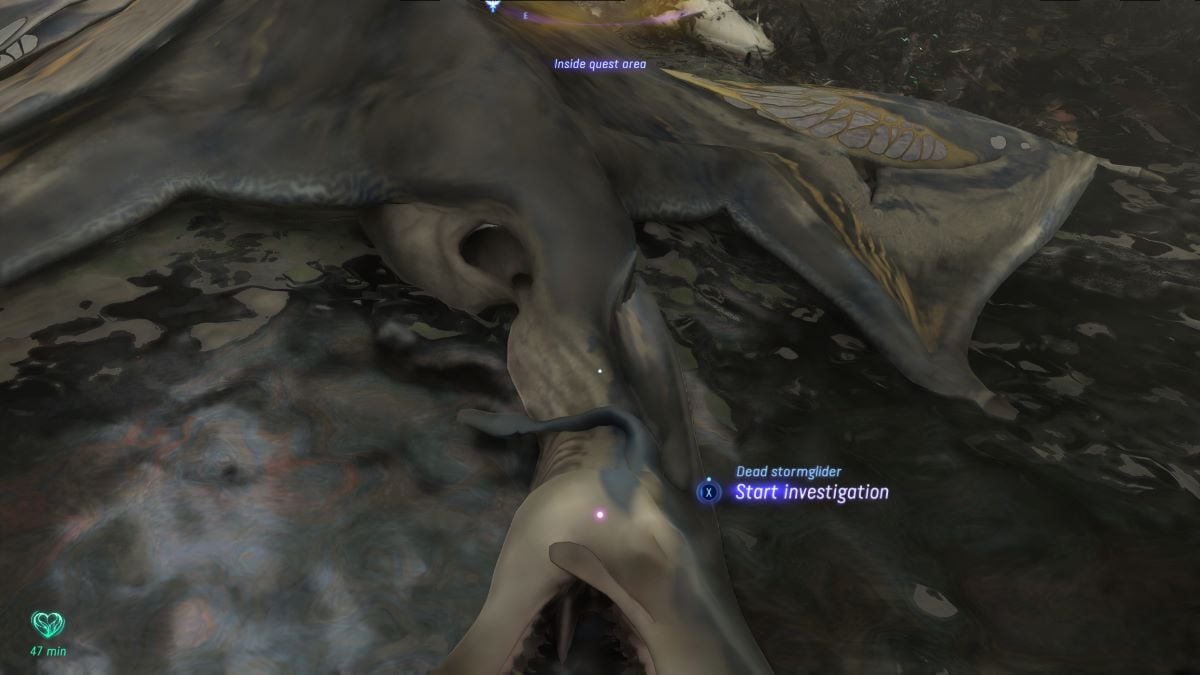
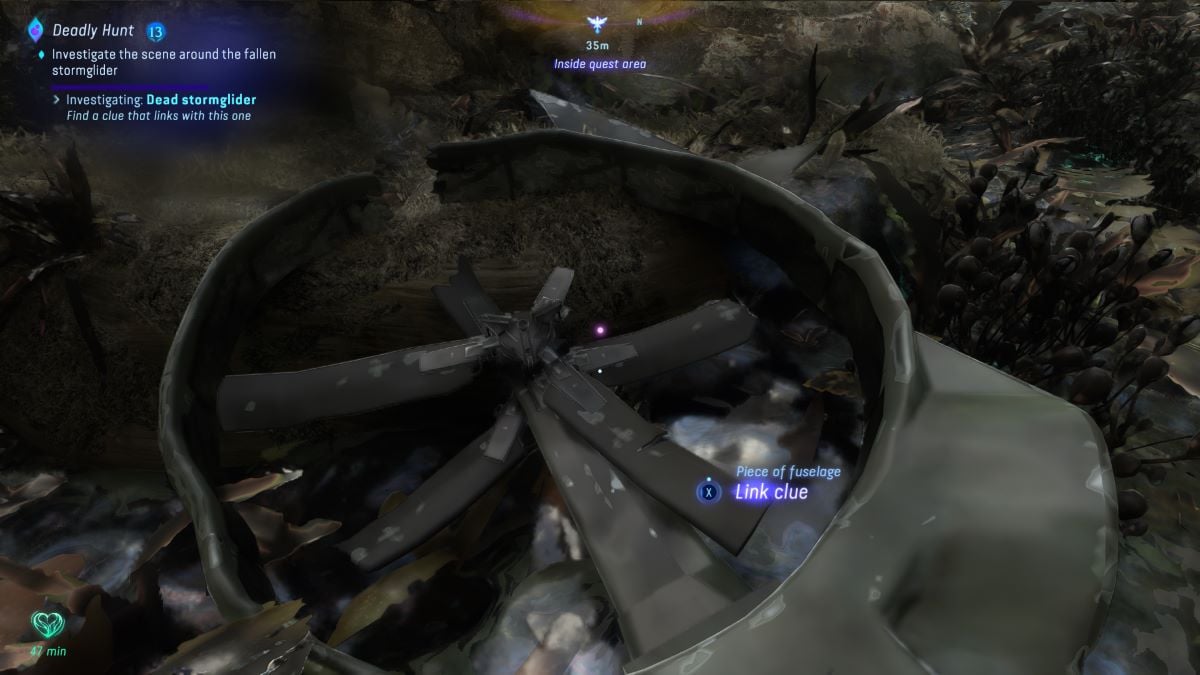
- Link the Dead RDA Soldier to the Claw Marks.
- The Dead RDA Soldier is directly south of the Stormglider.
- The Claw Marks are east of the Stormglider.
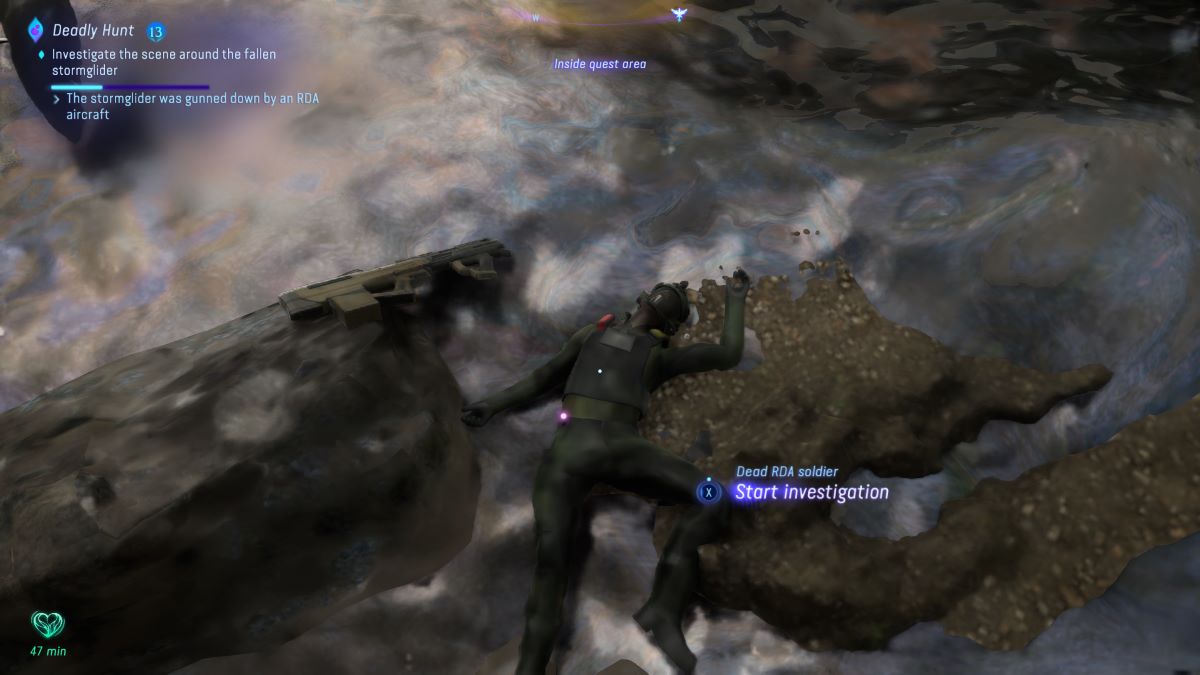
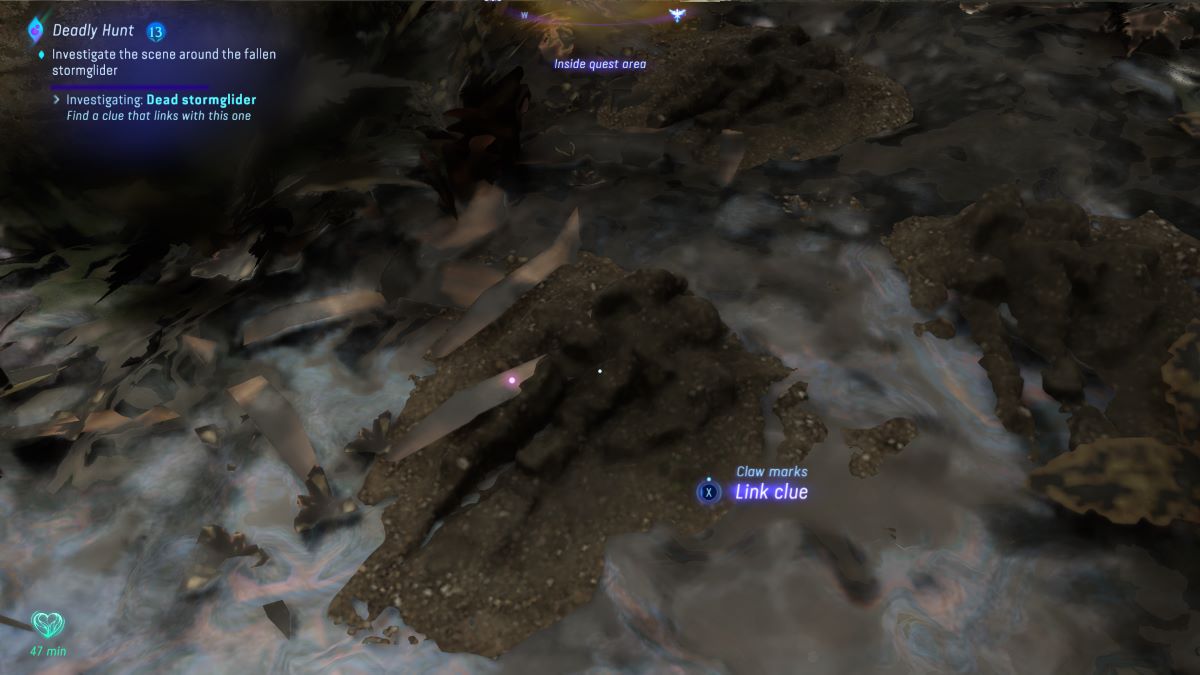
- Link the Fresh Blood to the Footprints.
- The Fresh Blood is under the archway above the Stormglider.
- The Footprints are Southeast of the Fresh Blood.
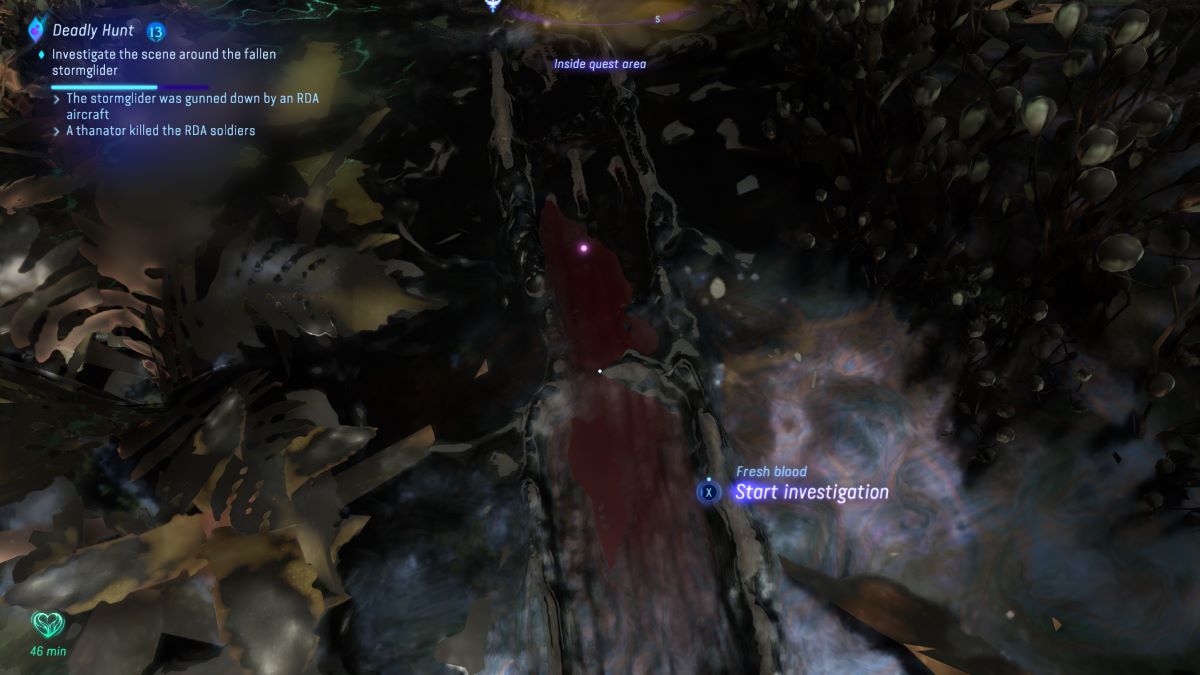
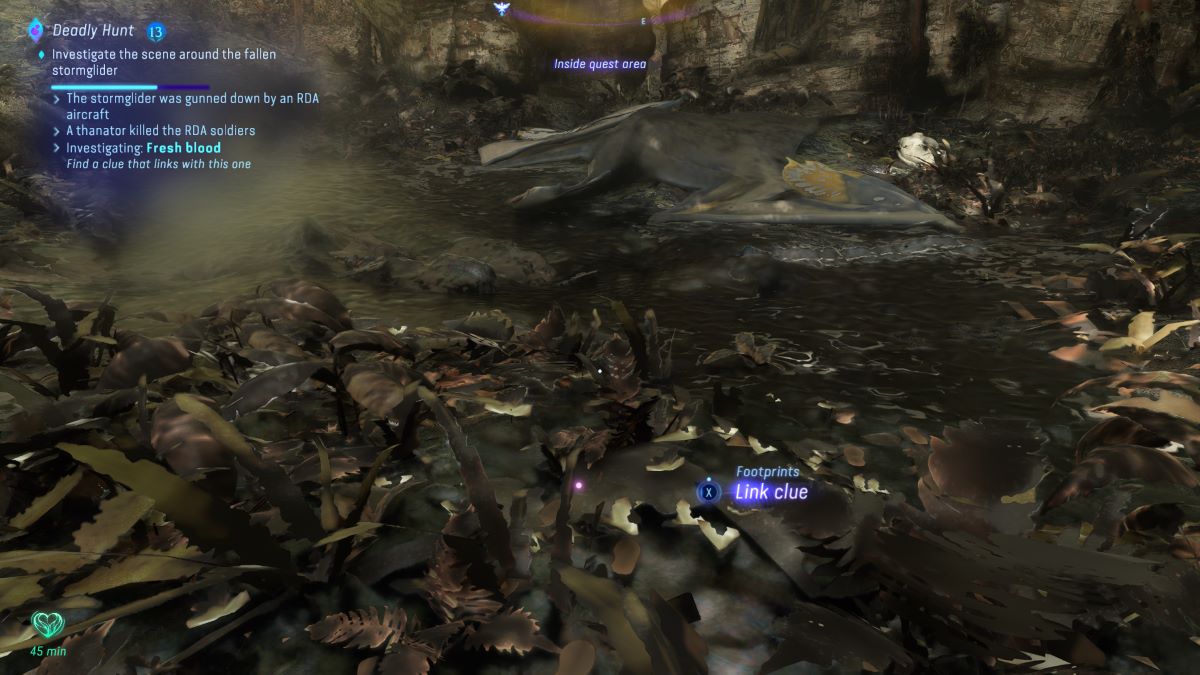
All six clues are contained in a very small radius—you do not need to ever leave the immediate vicinity of the Stormglider’s corpse to complete this leg of the quest. If you climb on top of the stone archway above the Stormglider, you can get a convenient vantage point of all six clues.
After you have paired the six clues correctly, you will get a scent trail to follow to the next leg of the Deadly Hunt side quest.
Follow the Scent Trail to the dead RDA soldier
Like all Scent Trails in this game, following the on screen trail is a more efficient way of explaining where to go than words can ever be. All you need to be aware of is that after completing the investigation, the Scent Trail will start underneath the stone archway right above the Stormglider’s corpse, and it will lead you about 100 meters north into the Thorny Wilds.
At the end of the trail, you will come across the corpse of the second RDA soldier who was dragged away from the initial investigation scene by a Thanator. Your objective will be to check the body of this second soldier, but what you’re actually looking for is the RDA recording that is on the ground to the right of this soldier’s corpse. Activate the recording to play it, and you will hear an ominous conversation about a Thanator/RDA expiriment boogieman that escaped from a nearby RDA testing facility. This Thanator has been nicknamed Hunter Bravo, and you can hear it kill the soldiers at the end of the recording. Your next task is to take down the dangerous predator.
How to locate and defeat Hunter Bravo
Your quest tracker will give you the tip that Hunter Bravo can be heard roaring nearby, but that tidbit isn’t actually needed at all. Instead of trying to use echolocation to find your hunting query, simply activate the body of the second RDA soldier once more, which will enable a Scent Trail that leads you to Hunter Bravo.
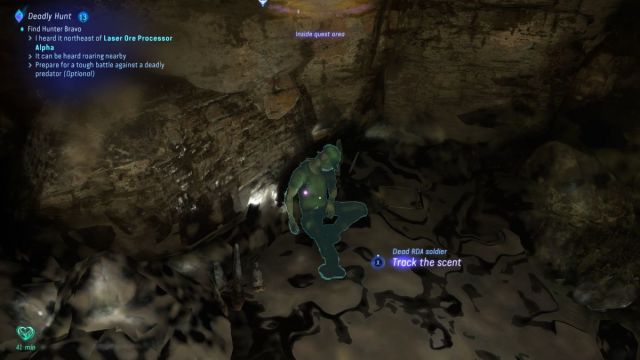
Track the scent using Na’vi Senses, and you will be led to a nearby clearing with a few animal corpses outside of it. Your new task is to search the den for signs of Hunter Bravo, however, as soon as you inspect the first corpse, a cutscene will start—Hunter Bravo has come to you. Anqa tells you on the radio to prepare for the fight of your life, and that you should consider coming back after getting some new gear or something of that sort—however, well…just watch the video.
Still, just because I killed Hunter Bravo in one single shot doesn’t necessarily mean that you will. I do have an obnoxiously powerful Heavy Bow, after all (shout out to the Maker skill tree’s Apex Skill). It’s probably better to lean towards the side of caution and make sure you are indeed prepared for a tough fight.
How to decrypt the signal coming from Hunter Bravo’s belly
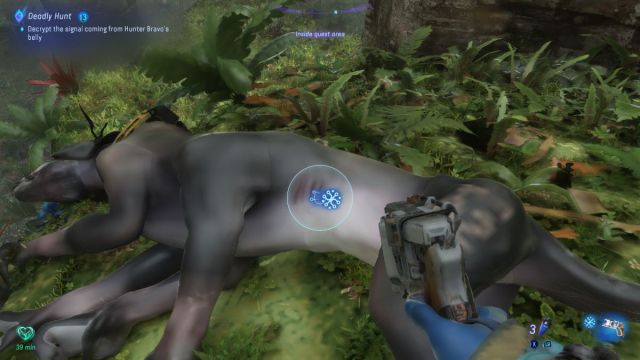
Approach Hunter Bravo’s corpse after you have defeated the Feral Thanator, and you will get a prompt showing that SID can be used. Equip SID, and aim it at Hunter Bravo’s stomach, which will enable you to start and complete a hacking mini-game. After you do this, Deadly Hunt will be completed.
Deadly Hunt quest reward
Make sure you search Hunter Bravo in addition to decrypting the signal—you will receive the Half-Digested Strap, which is a Chestpiece Mod that grants 10 percent melee damage resistance. In addition to the new gear, completing Deadly Hunt starts a new side quest called Feral Hunter.
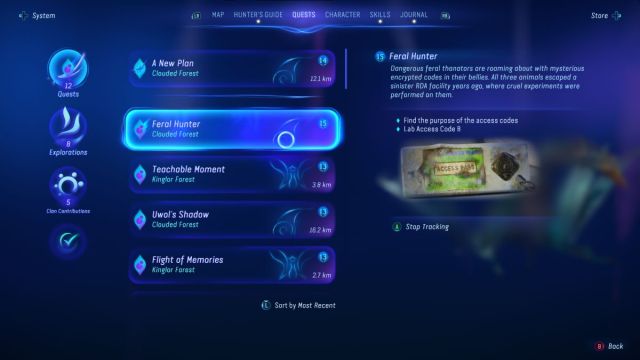
The objective of Feral Hunter is to find two other Hunters (I’m assuming Alpha and Charlie), as Hunter Bravo dropped Access Code B. In addition to finding the other two Hunters, you are tasked with finding out what the access codes do, and I’m both sorry and excited to say that I currently have no idea what the access codes do. As soon as I figure it out, I’ll share my secrets with you.



Published: Dec 13, 2023 02:42 am