
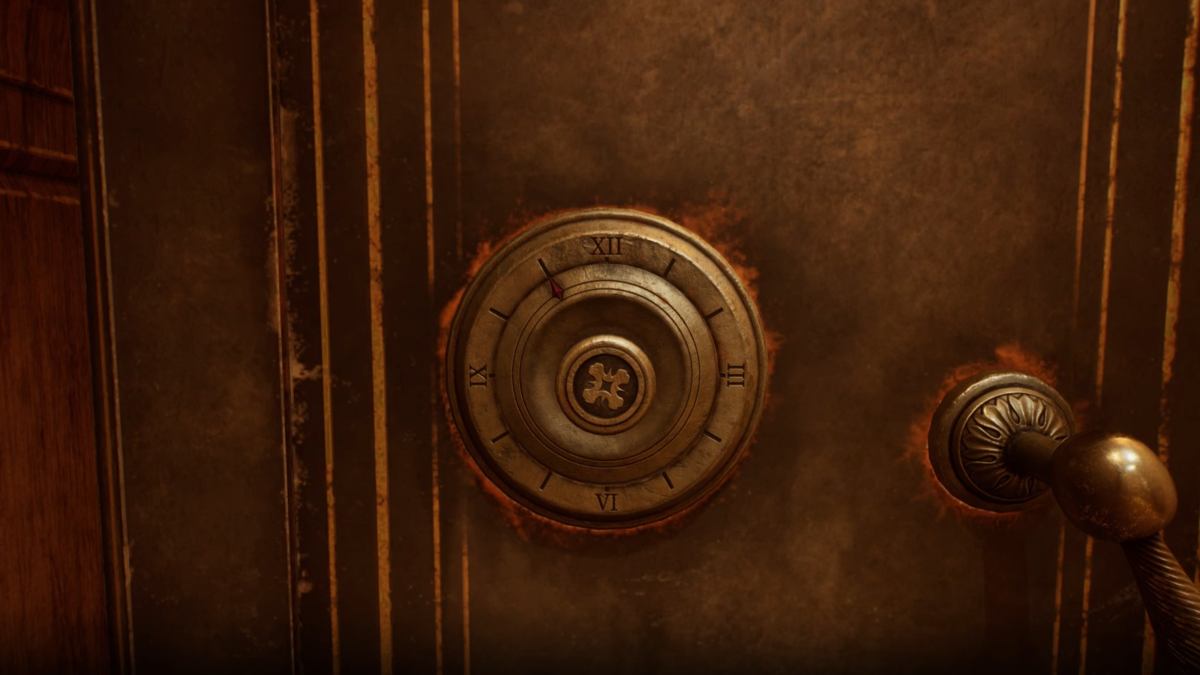
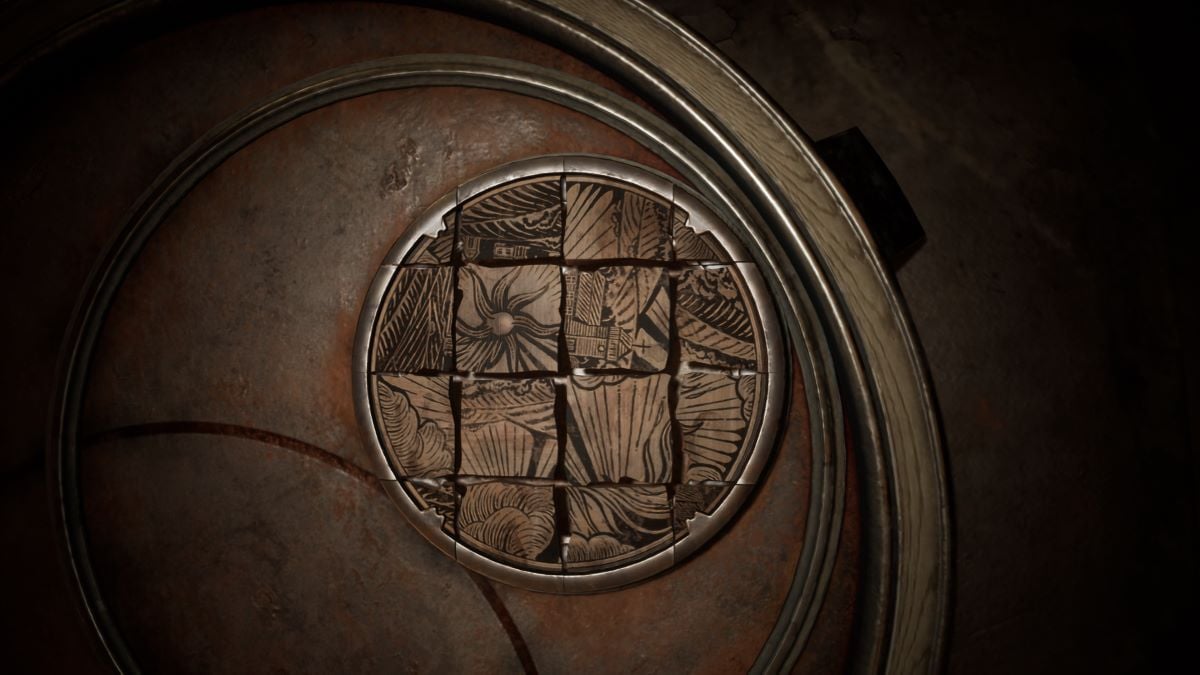
After you’ve gotten a grip on how to use the Talisman in Alone in the Dark, the game mixes things up by adding puzzles to puzzles. The Astronomical Clock in Decerto has a Talisman socket, but there are pieces missing.
Before you can use the Talisman again, you need to solve a picture puzzle to properly align the socket on the clock. Before you can do THAT, you need to find two missing pieces of that puzzle. A puzzle, within a puzzle, within a puzzle—such is Alone in the Dark. Here is where to find both missing plate pieces of the Astronomical Clock and how to solve the puzzles associated with each (add a few more “withins” to that last sentence).
How to get the Astronomical Clock plates in Alone in the Dark
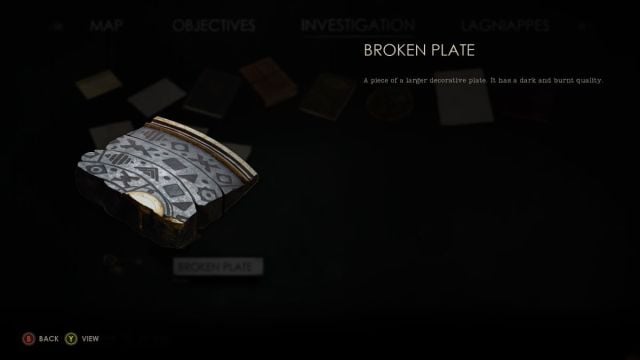
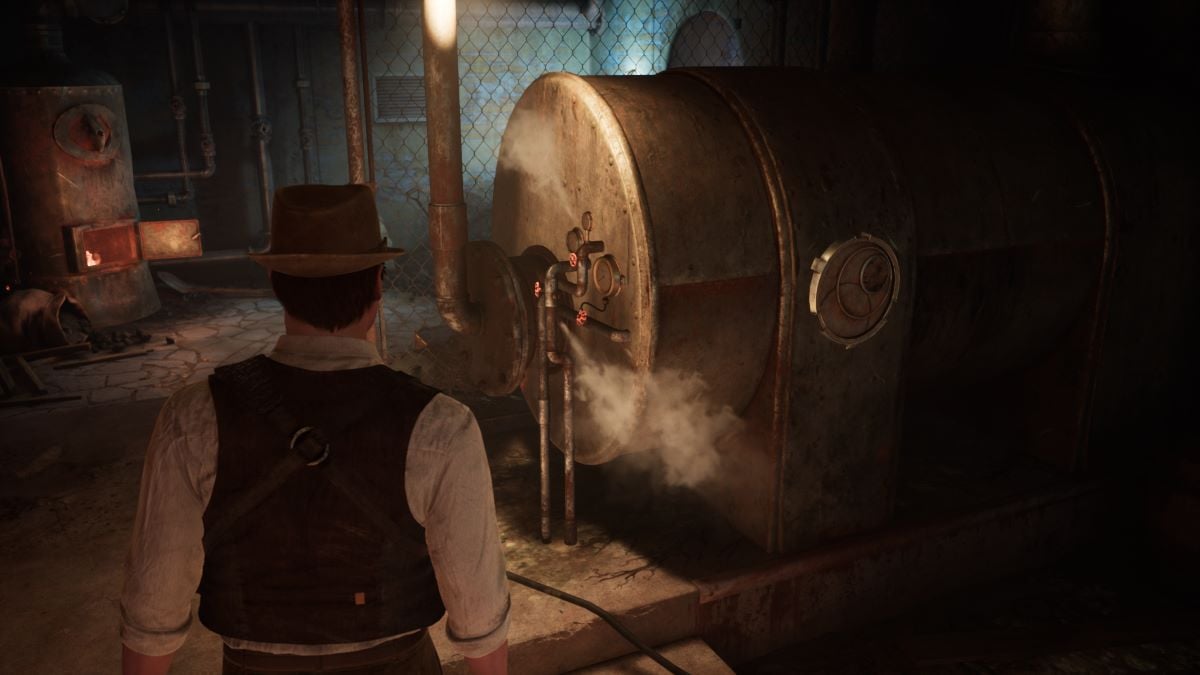
There are two missing plates that you need to find before you can complete the puzzle on the Astronomical Clock. The Boiler in the basement of Decerto also has two missing plate pieces, so it can be easy to mix them up and get confused. The easiest way to tell them apart is this: The Astronomical Clock plates are dark grey, and the Boiler plates are tan.
After returning from the French Quarter with Baptiste’s Keys, you can unlock the Clerk’s Office. In the office, you’ll find a note called “Broken Plates” that says a piece is in the well in the Kitchen Garden (you might remember trying desperately to reach that well at the beginning of the game. I sure did).
Also in the Clerk’s Office, you will find the item Room Key #6 and the Staff and Patient Directory, which will reveal that room number six belongs to Elisabetta Perosi. Once this happens, you will be get a new objective to “figure out what Perosi knows.” Turns out, what she knows is the location of the second broken plate piece: it’s locked in her dresser.
Its up to you which order you get the missing Astronomical Clock plates in, and each of the two comes with its own challenges.

How to get the plate in the well in the kitchen garden
Getting this plate is fairly linear and doesn’t require solving any overly complex puzzles. Head into the Library using Baptiste’s Keys, and then continue into the Small Parlor room that is attached. When you enter this room, a simple but spooky event triggers that ends with you getting the Bolt Cutter key item to quickly escape. Now that you have these, you can get into that shed in the Kitchen Garden that you may or may not have spent hours trying to open in the beginning of Chapter One.
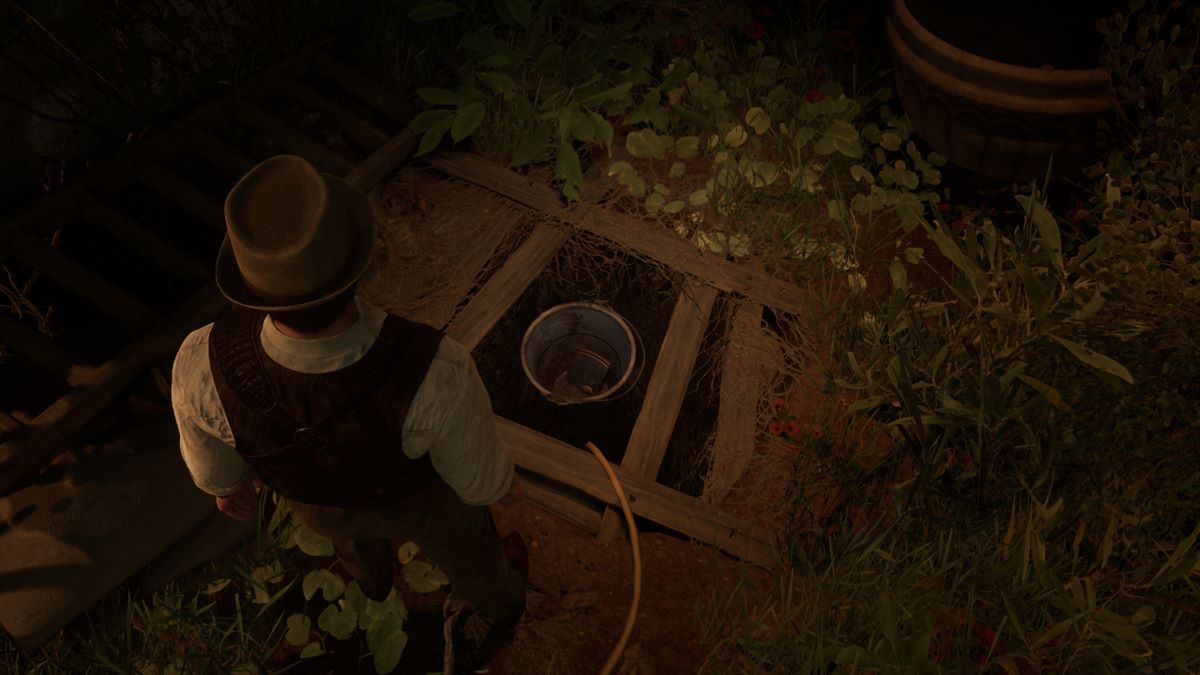
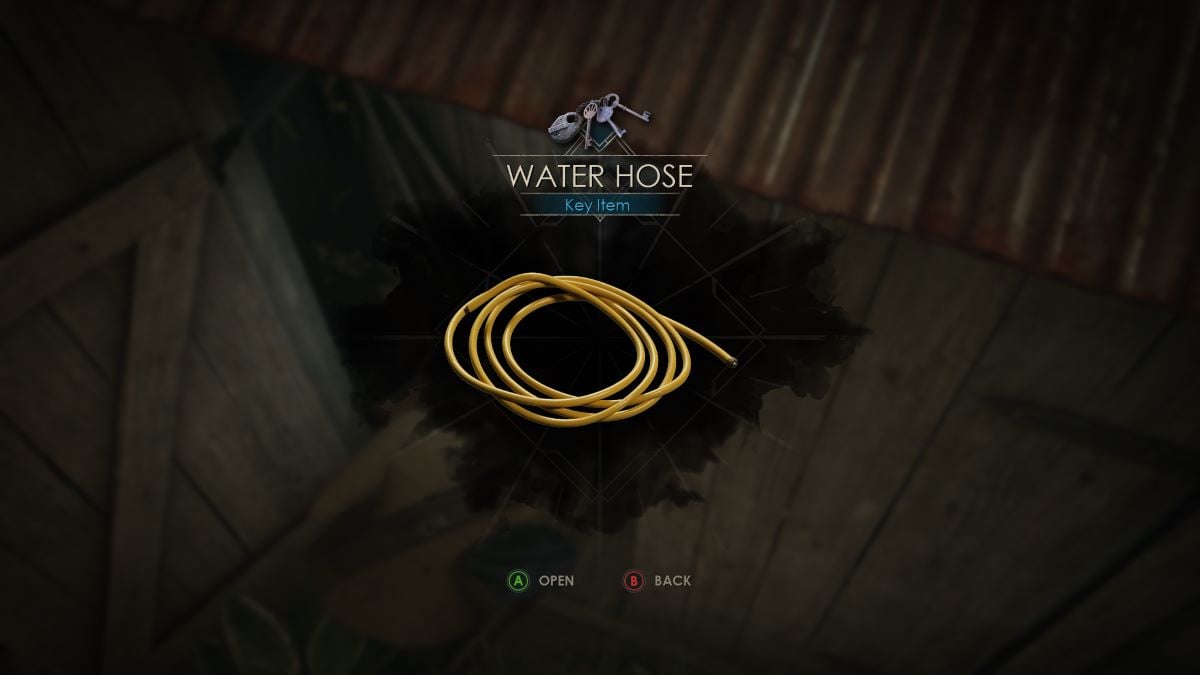
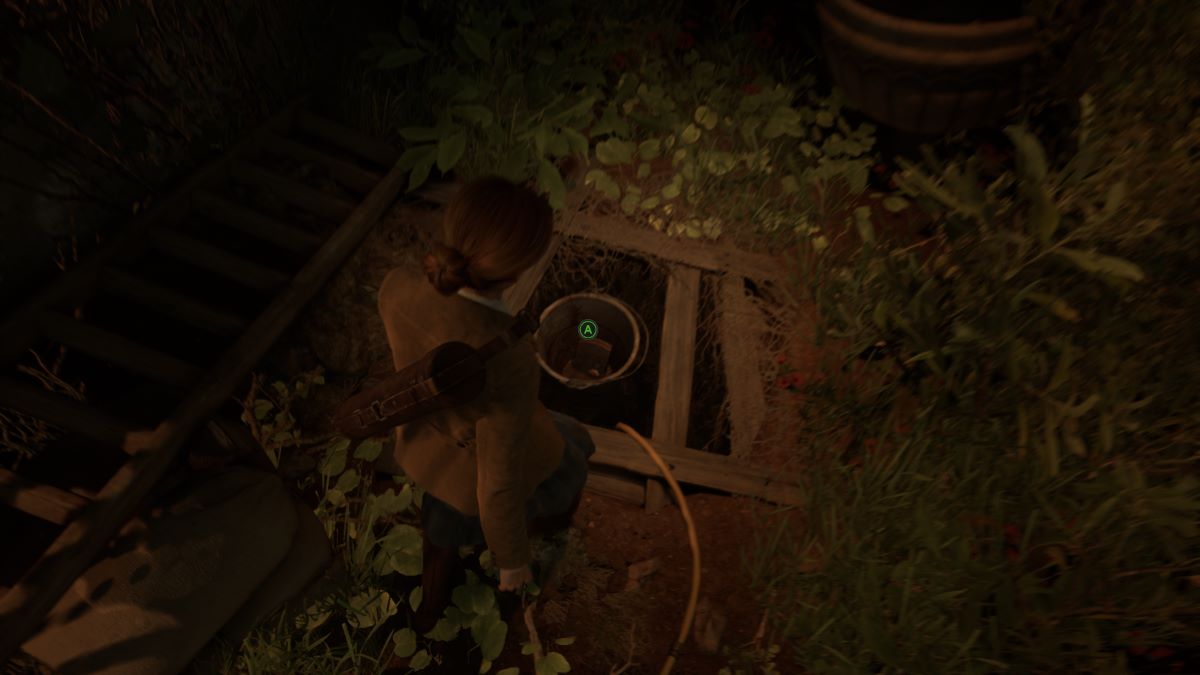
Return to the well, and you will see that a garden hose ends just before reaching the well. Trace the hose back to its faucet, which is right next to the bolted shed. Turn the water on, then use the Bolt Cutter from the Small Parlor to cut the lock on the shed. Inside, grab the hose extension and return to the well. You can now attach the hose from the shed to the end of the one from the faucet, and with the extension, the water will reach the well and fill it up. Wait a couple of moments, and then you can reach the bucket floating in the well and grab the Astronomical Clock plate piece.
If you already got the other piece from Perosi’s Room, you can head back to the Astronomical Clock. Otherwise, read on.
How to get the plate in Perosi’s Room
Perosi’s Room (room six) is the last room in the hallway directly to the left of the Astronomical Clock. If you didn’t grab the key in the Clerk’s Office, quickly head back there and do so. Once you’re in, there is an absolute bear of a puzzle that you need to solve to learn the combination of the lock on Perosi’s dresser. The puzzle is actually so difficult that it really needs its own article to fully explain it.
Feel free to have a stab at it yourself, but the combination is Pisces, Libra, Taurus—the second, ninth, and fourth symbols in Perosi’s Journal.
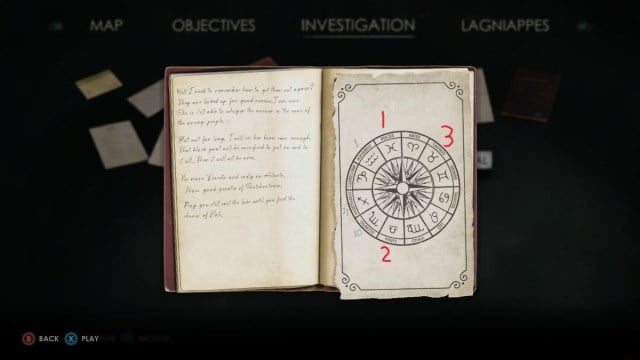
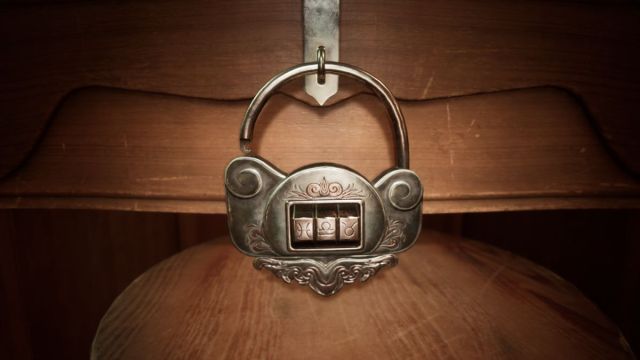
Input the symbols associated with Pisces, Libra, and Taurus into the padlock on Perosi’s dresser in that order, and the lock will open—allowing you to reach the Astronomical Clock plate within.
If you haven’t gotten the piece from the well in the Kitchen Garden, refer back to the previous section for instructions on that. If you have that one already, you’re free to head back to the Astronomical Clock, where the two pieces will (shocker) unlock another sequence of puzzles to keep progressing.


Published: Mar 20, 2024 06:22 am