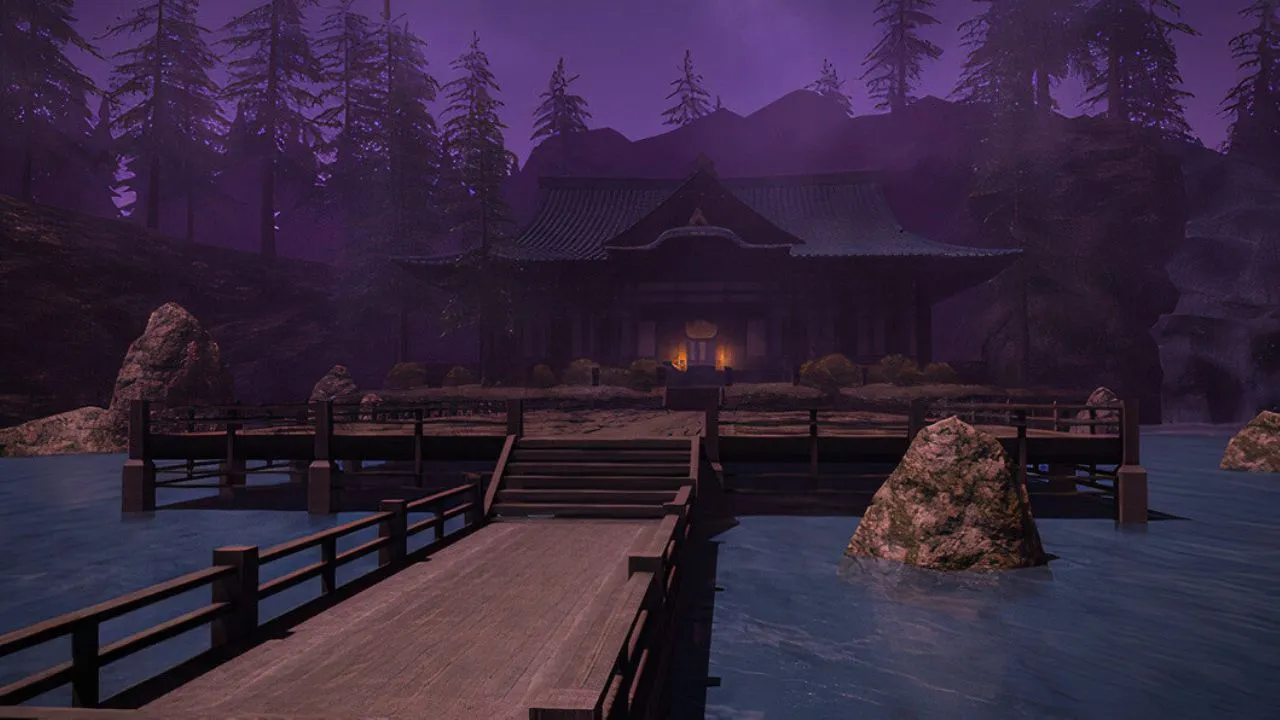
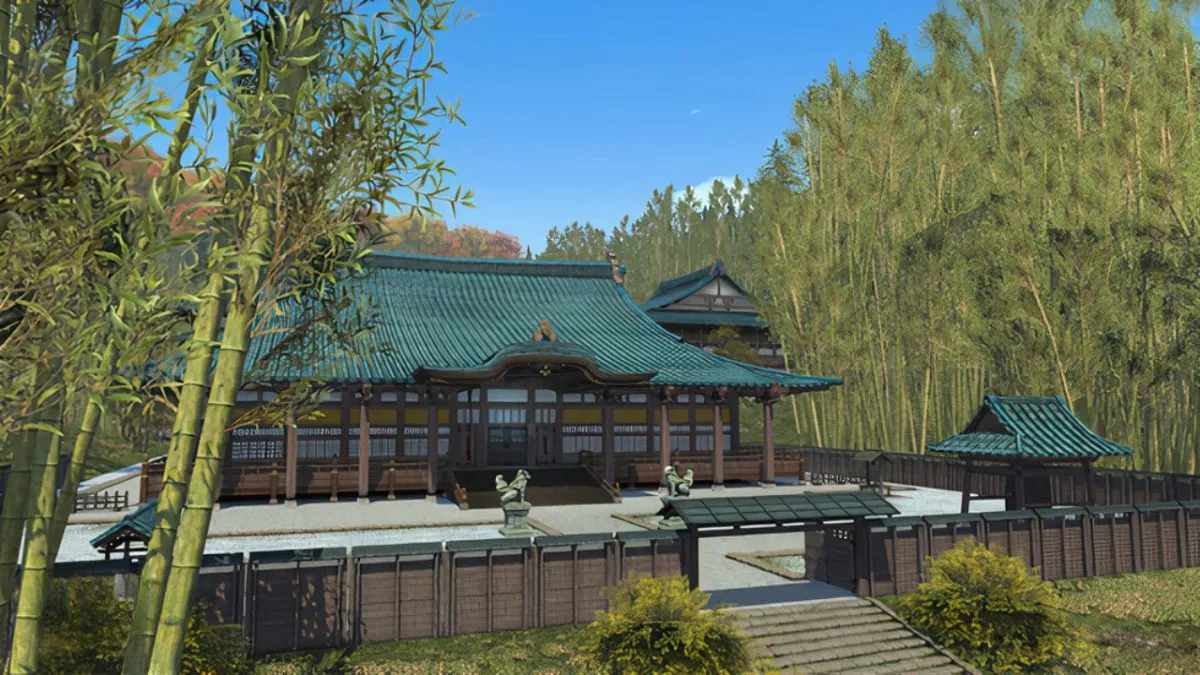
Dungeon Variants are a unique addition to Final Fantasy XIV, and in Patch 6.45, a Variant Dungeon was added—Mount Rokkon.
In this dungeon, there are 12 routes, or possible outcomes, that players can experience. This is determined by the actions you and your party take within the dungeon. So, it’s very much a play-your-own-way experience, albeit challenging and tedious.
Final Fantasy XIV Mount Rokkon guide
Mount Rokkon has 12 routes you’ll need to complete in Final Fantasy XIV to get Mount Rokkon’s Exorcism Records, which symbolize you’ve completed the route. By collecting them all, you’ll earn the Burabura Chochin mount—which is an evil-looking paper lantern.
But before you can get this fantastic mount, you must first unlock Moutn Rokkon and complete all 12 routes.
How to unlock Mount Rokkon in FFXIV
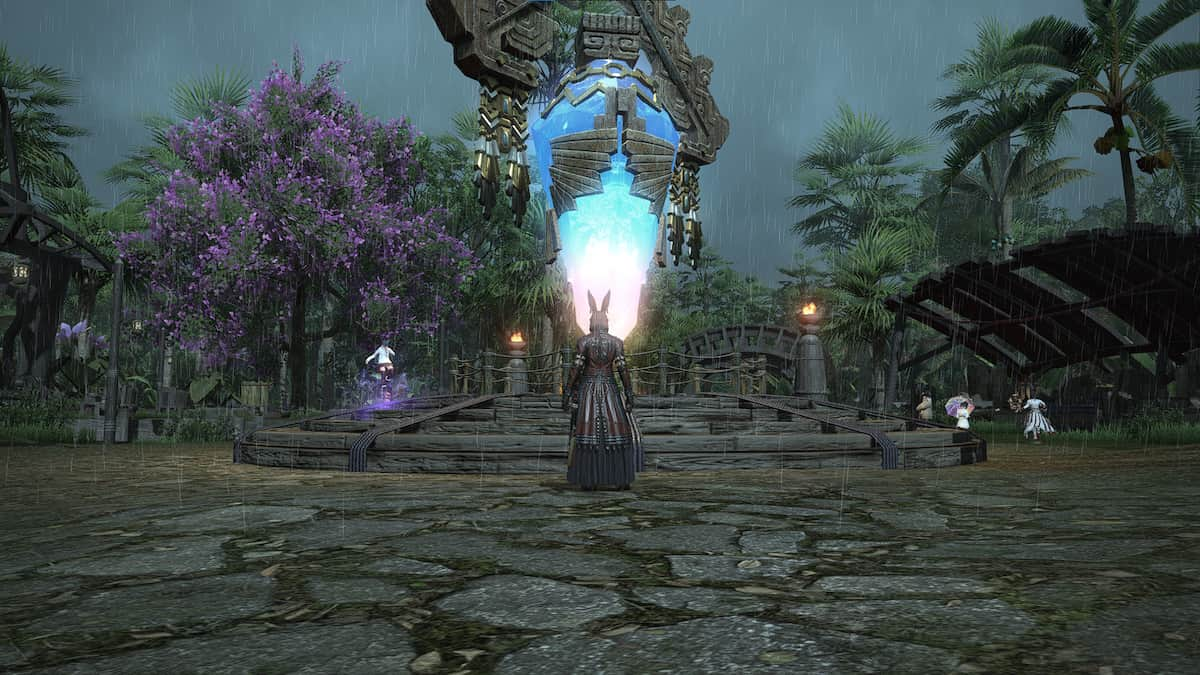
To unlock Mount Rokkon, you’ll need to go to Old Sharlayan and get the quest “Mononoke Aware” from the Shallow Moor. The coordinates are X: 12 and Y: 13.3. However, you must complete the Endwalker quest from Osmon in Old Sharlayan before you can get this quest.
Once you complete the Mononoke Aware quest, you’ll unlock Mount Rokkon and can begin completing all 12 paths.
FFXIV: All 12 Mount Rokkon entries and dungeon routes
For each route in Mount Rokkon, you must take a specific entry portal and then follow a series of steps or actions to complete the dungeon to get the symbol of completion.
While these are Variant Dungeons, and they are fun, it’s important to note they are still dungeons. So, you and your team need to be careful as you make your way through Mount Rokkon because you never know what will happen.
But I’ll include everything you need to be wary of, including which options to take and the entry portal. So, hopefully, you shouldn’t have any trouble. Except for Route 12, you can complete the rest in any order.
Mount Rokkon Route one
For the first route in Mount Rokkon, you must follow these series of events:
- Choose the left entry portal.
- Continue through the dungeon and defeat all the enemies along the way.
- At the door with two statues and a crystal—select the crystal. This will open a door for you to go through.
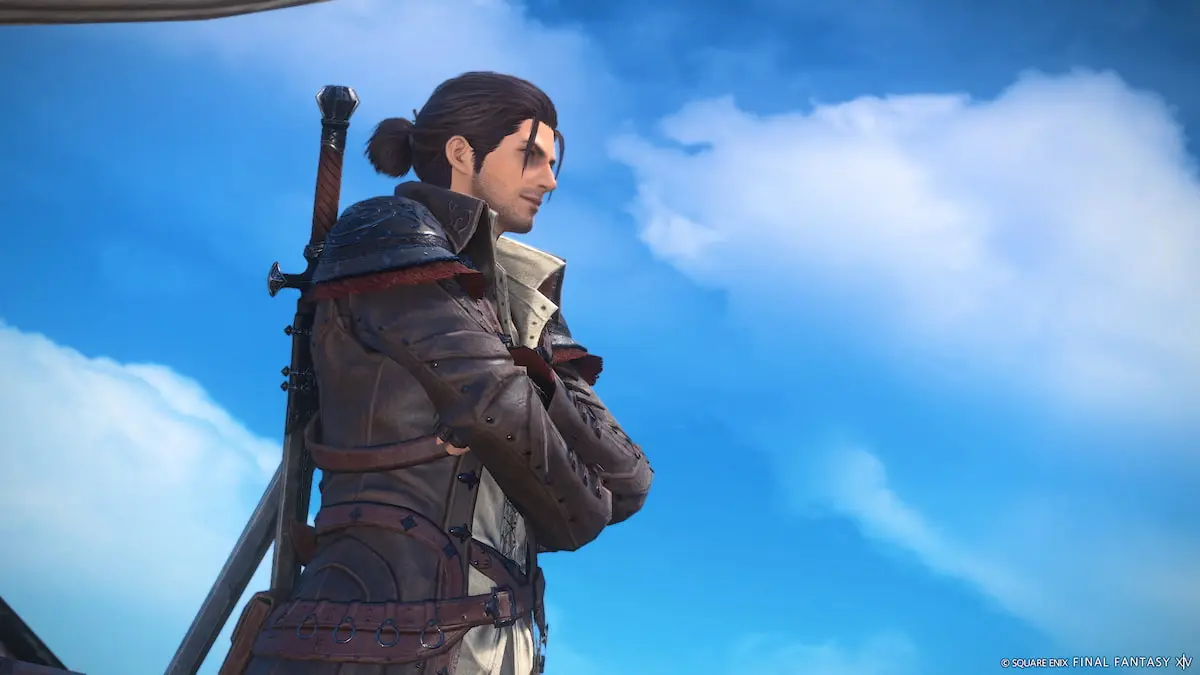
- Defeat the enemies in the room and interact with the katana case after Hancock inspects it.
- Take out the final boss.
Mount Rokkon Route two
The second route in Mount Rokkon will be almost identical to the first route. However, there are a couple of exceptions, so you’ll need to follow these series of actions:
- Choose the left entry portal.
- Continue onward and defeat the monsters in your way.
- At the same door, avoid the statues, and interact with the crystal.
- Defeat the enemies in the room, but don’t touch the Katana case this time. You’ll want to pretend it doesn’t exist and continue to finish this route.
Mount Rokkon Route three
The third route in Mount Rokkon is a little complicated, so try to follow these steps as closely as possible:
- Enter through the left portal.
- Defeat the monsters and continue until you see the same door with the statues and crystals.
- You’ll be rotating the statues this time, but there’s a catch. When you interact with a statue, it will rotate 90 degrees.
- Statue one, or Suzaku, needs to be rotated until it faces the door.
- Statue two, or Seiryu, needs to face Suzaku, which is to the left.
- Once you’ve positioned both statues, interact with the “auspice glass.” If you’ve rotated the statues correctly, a hidden door on the side will appear.
- Defeat the next set of enemies and head into the room to face four enemies. However, this room also has a catch—Apa will cast a water spell and extinguish the lanterns. You must let this happen, so don’t kill Apa until it does this. But once they’re extinguished, you can kill everyone and finish the route.
Mount Rokkon Route four
Route four in Mount Rokkon is almost the same as route three except this time you must stop Apa from extinguishing the lanterns. So, this time, you’ll follow these steps:
- Enter through the left portal.
- Defeat the monsters and continue until you see the same door with the statues and crystals.
- You’ll be rotating the statues this time—but there’s a catch. When you interact with a statue, it will rotate 90 degrees.
- Statue one, or Suzaku the big bird statue, must be rotated until it faces the door.
- Statue two, or Seiryu the giant dragon statue, must face Suzaku, which is to the left.
- Once you’ve positioned both statues, interact with the “auspice glass.” If you’ve rotated the statues correctly, a hidden door on the side will appear.
- Defeat the next set of enemies and head into the room to face four enemies. Be sure to interrupt Apa before he extinguishes the lanterns. You must ensure all the lanterns in the room are lit before you defeat the final boss and finish this route.
Mount Rokkon Route five
For the fifth route, we’re changing entry portals, so be sure to follow these steps:
- Enter through the middle portal and follow Hancock.
- There’s a rope hanging outside the first boss’s room, and whether you pull it or not doesn’t affect the outcome of this path. So if you want to pull it, do so; if not, you don’t have to. You’ll end up at the same destination anyway.
- You must defeat the tiger and enter a room with a box tower shaped like a staircase.
- Avoid the staircase and take the door on the room’s right side.
- Defeat a pack of enemies, and when prompted, you must spare the monkey.
- Move on and defeat the final boss to complete this route.
Mount Rokkon Route six
Route six of Mount Rokkon is similar to route five, except we don’t spare the monkey this time. So, you’ll want to follow these steps:
- Enter through the middle portal and follow Hancock.
- There’s a rope hanging outside the first boss’s room, and whether you pull it or not doesn’t affect the outcome of this path.
- You must defeat the tiger and enter a room with a box tower shaped like a staircase.
- Avoid the stairs and take the door on the room’s right side.
- Defeat a pack of enemies, and when prompted, don’t spare the monkey. This time, you’ll fight the monkey.
- Move on and defeat the final boss to complete this route.
Mount Rokkon Route seven
Route seven is similar to the previous two, but we’re taking the box staircase this time. Here are all the steps you need to take to finish this route:
- Enter through the middle portal and follow Hancock
- There’s a rope hanging outside the first boss’s room, and whether you pull it or not doesn’t affect the outcome of this path.
- You must defeat the tiger and enter a room with a box tower shaped like a staircase.
- Climb the staircase, but when you reach the top, hug the wall, and by that, I mean stick as close to it as possible as you walk along the wooden path.
- Move to the next floor and pull on the rope—this will allow Hancock to join you before you go on to defeat the evil lanterns and finish the route.
Mount Rokkon Route eight
Route eight of Mount Rokkon is the first time you’ll be entering through the right portal, and you’ll need to complete the following steps to finish this route:
- Enter through the right portal
- Continue until you encounter a figurine inside a tree—and while it’s a little weird, ignore it and move on.
- Defeat the boss and interact with all the sacred stones on the path—this will remove the moss. There are only four, but you must clean them all to finish this route.
Mount Rokkon Route nine
In my opinion, Route nine is probably the easiest of all routes, as you’re putting on blinders and pretending nothing exists. To finish this route, complete the following steps:
- Enter through the right portal
- Continue to bypass the tree with the figure, and don’t clean any moss-covered stones—keep moving.
- Kill anything that gets in your way, and that’s it.
Mount Rokkon Route ten
You’ll be happy to know you will take the figure from the tree on Route ten of Mount Rokkon. Here are all the steps you need to take to finish this route:
- Enter through the right portal
- Continue until you reach the tree and remove the figure from it.
- Defeat the first boss.
- Head up the hill until you reach a small shrine. You’ll notice that there’s a wooden fence—but don’t touch it.
- In front of the shrine to the right of the fence, you must use the emote /ebow. This opens the shrine’s doors, where you must place the figure inside.
- Continue until you choose between a large rock and an ancient tree—choose the rock and defeat the final boss.
Mount Rokkon Route eleven
Route eleven of Mount Rokkon is similar to Route ten, but you’ll choose the ancient tree instead of the big rock this time. So, to complete this route, you’ll need to complete these steps:
- Enter through the right portal
- Continue until you reach the tree and remove the figure from it.
- Defeat the first boss.
- Head up the hill until you reach a small shrine. You’ll notice that there’s a wooden fence—but don’t touch it.
- In front of the shrine to the right of the fence, you must use the emote /ebow. This opens the shrine’s doors, where you must place the figure inside.
- Continue until you choose between a large rock and an ancient tree—choose the ancient tree and defeat the final boss.
Mount Rokkon Route twelve
Route twelve is the final route for you to complete, and to complete this route, you must follow these steps:
- Enter through the middle portal
- Don’t pull on the rope by the door and kill the tiger.
- Climb the tower of boxes—it’s after the first boss—and make your way to the end where that rope is.
- Pull on the rope, and then you want to lure the lanterns down the steps to the room below.
- Defeat the evil lanterns—but there’s a catch. In a last-ditch attempt to kill you, they release a fiery cone attack. You need to lure the lanterns to do this attack and hit three paper lanterns in front of the room’s golden tapestries.
- The best way to do this is to single out one of the evil lanterns and pretend like the others don’t exist until that first one is killed, and their last-ditch fiery cone attack has lit the paper lantern.
- When three of these paper lanterns are lit, the fourth will light itself up and open a new path for you to take, and you’ll be able to finish this route.
Like all the other Variant or Criterion dungeons, you can access them through Duty and V&C Dungeon Finder. But make sure you enable party matching if you don’t want to complete these dungeons solo. However, if you want to complete a specific route, you may want to go it solo—which is what I did. When you’re done, you can speak with Trisassant in Old Sharlayan to exchange your tokens for items.
Related: All new Blue Mage Spells in FF14 Patch 6.45
While all 12 dungeon routes for Mount Rokkon in FFXIV are complicated, completing them and getting the Burabura Chochin mount is worth the struggle.



Published: Jul 19, 2023 12:09 am