Destiny 2‘s Vow of the Disciple raid brought with it new bosses and encounters, several new additions to guardians’ arsenals, and a colossal amount of lore. The Witch Queen‘s raid added Rhulk, the Disciple of the Witness, as the final boss, shining a light on his tremendous impact in the Destiny 2 universe.
As usual, Bungie has given fans a few ways to learn more about Rhulk and his connection to the Witness through lore entries in the raid armor or in-game dialogue. Players can also hunt down 10 lore entries spread out throughout the Vow of the Disciple raid and the Preservation mission, and collecting them all will get players the Imperious Sun Ghost Shell.
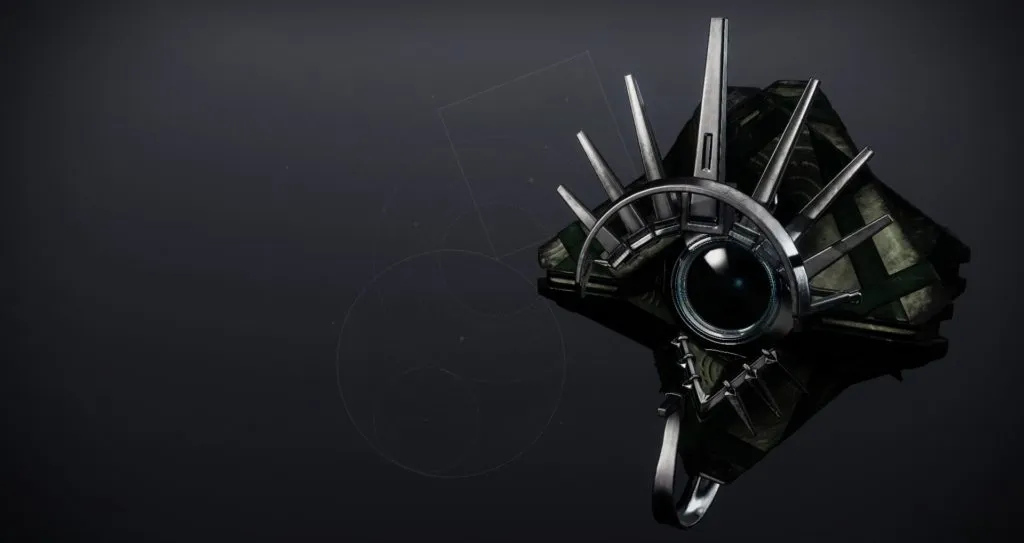
Whether you’re looking for the Imperious Ghost Shell or want to learn more about Rhulk’s history through his voice logs or unlocking the Shattered Suns lore book, here’s where you can find all the lore book locations.
Lore books 1-6 (Preservation or Vow of the Disciple puzzle)
The first five lore books will be in the same location as part of a puzzle available in both the Vow of the Disciple raid and the Preservation mission (essentially a shortened version of the raid experience, comprising the intro area and the location of the first encounter).
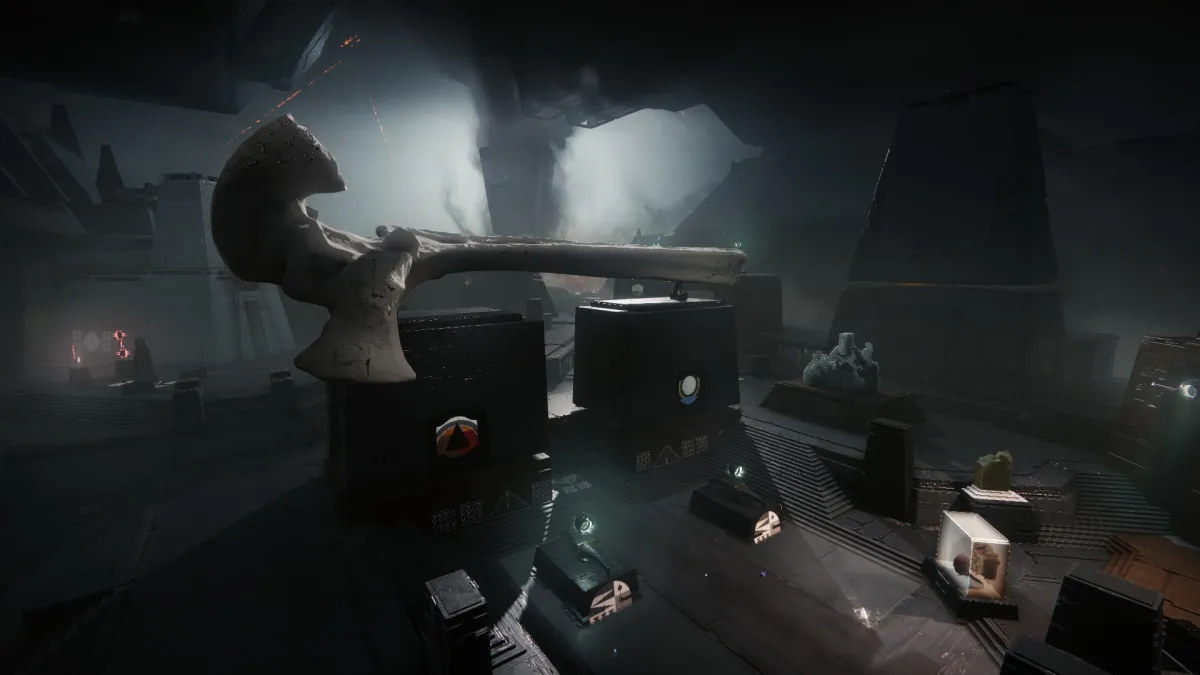
To find this, go into the raid as normal and you’ll stumble upon a room filled with symbols shortly after you enter the Pyramid. This is a puzzle, and guardians need to trigger four specific symbols under specific conditions to unlock a page of the lore book. This can only be done once per life, so if you want to get this all in one go, you should wipe at the first encounter of the raid or during the mission, then backtrack to this area.
The room is hard to miss: it’s located right before the area of the first encounter and the 27 panels with the raid symbols are one of the first things players may remember from the raid. From the entrance, look to the right and you’ll find a window that’s not barred. Head inside and you’ll spot a panel that dictates the symbols players need to interact with to get the triumph.

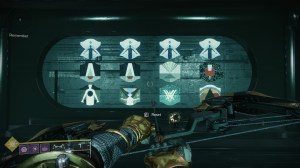
The panel will always have four symbols. Though it’s possible to do this solo, doing it with more than one guardian saves you some running around. The four symbols are divided in three rows and four columns, with each column providing a sequence telling guardians what they should do. The first two rows will always be the same: four glyphs signaling Guardian on top, then two Enter symbols, one Commune symbol, and another Kill glyph. The last row dictates where guradians have to perform these actions.
The Enter symbols require players to stand in front of the plates (though we’ve had better results when meleeing it), while the Commune symbols mean players have to interact with the symbol. Lastly, Kill means players have to shoot the panel. After entering the sequence of actions in the correct glyphs, the triumph should unlock. It’s possible to get five lore books this way, though you’ll have to hunt down the rest of them in the Preservation mission.
In our example, the sequence is:
| Guardian | Guardian | Guardian | Guardian |
| Enter | Enter | Commune | Kill |
| Grief | Drink | Savathûn | Pyramid |
This means one guardian should stand in front of (or melee) the Grief symbol, then do the same for Drink. After that, they should interact with the Savathûn symbol, then shoot the Pyramid glyph.
After doing this five times—regardless if on the raid or the mission and regardless of how many times you took to get there—you’ll need to find the next five lore entries in the Preservation mission. Here’s where they are.
Lore books 6-10 (Preservation)
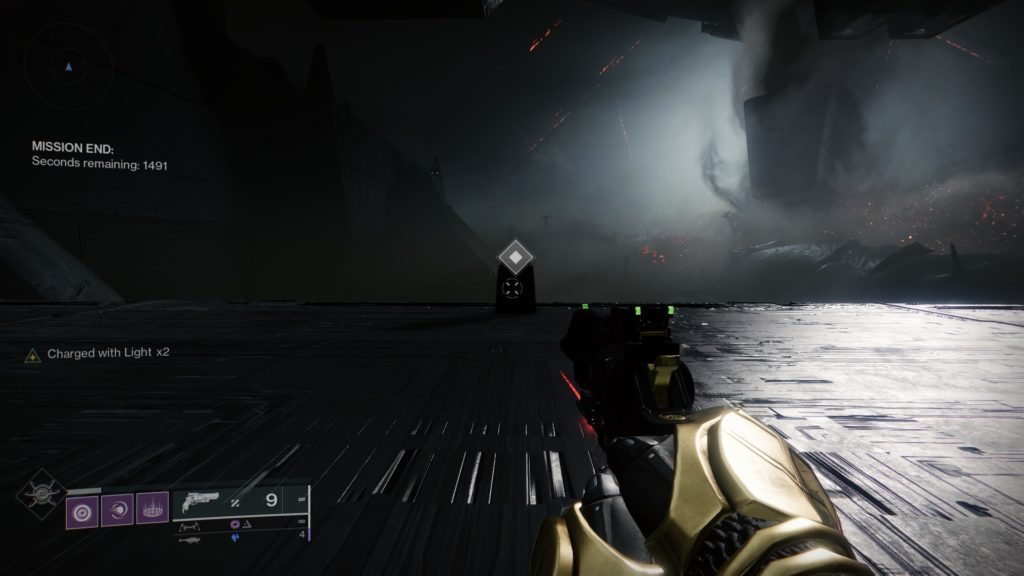
After you’ve finished the mission, head to the far end of the platform you’re in (the one that was filled with Orange-bar Scorn not long ago) and look for a small pillar. It should be marked on your HUD. If you have the Parasite grenade launcher on you, you may get an alternate dialogue involving Savathûn’s Worm.
From the first pillar, head back and move towards Stop (the red square symbol) to find another interactable panel to the right side of the room.

Back out and take a right, following the path to the Give icon (the one with two red hands and a Pyramid). Once inside, look for the interactable in front of a mural to hear Rhulk recount the story of how he destroyed his planet of Lubrae.

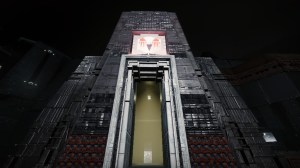
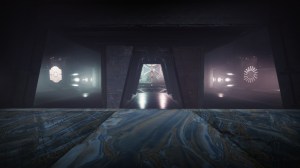
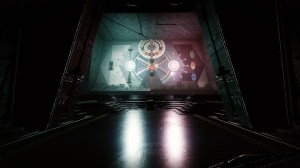
From there, head to your right again and look for another interactable promp right outside the door to where you came in and on the other side of the room with the Enter glyph. This one is right outside the door you came in from, so if you’re having trouble finding it, backtrack.

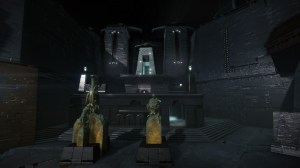
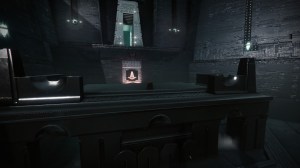
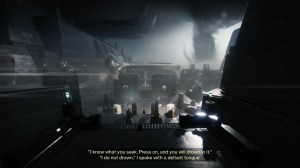
Finally, from the pedestal outside Enter, look ahead and to your left (just right of the Traveler symbol) to find a small stairway. Follow it until the end and you’ll find the last lore entry you need.

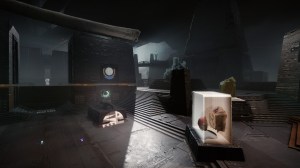
Luckily for players willing to hunt down all the lore book entries (or who just wanted more photo opportunities), the Preservation mission gives players more than enough time to hunt down everything they need after completing it the first time. Instead of the usual 30-second timer after a mission, Bungie gave players 1400 seconds (over 20 minutes) to stand around in the area before being kicked out. This should be more than enough to hunt down all the necessary lore entries and get acquainted with the layout of this room if you haven’t already since it will come in handy for the Vow of the Disciple raid.
After you’re done with the triumph, you can redeem all the related lore books from your Triumphs tab to unlock the 10-part Shattered Suns lore book, which recounts the story of Rhulk early into his connection to The Witness. While fans can read more about Rhulk’s endeavors as a Disciple of the Witness through lore entries in raid armor, the Shattered Suns lorebook tells the story of the destruction of Lubrae, brought by Rhulk’s hand, and shows an important perspective about his relationship to The Witness.



Published: Mar 15, 2022 11:10 am