During Saga’s exploration of the town Watery in Alan Wake 2, you will be tasked with finding four items in your quest to find a device called the Clicker, a powerful tool that is instrumental in the fight against the Dark Presence.
You’ll be traversing the caffeine-themed amusement park in Watery called Coffee World when you realize that a specific float for the Deerfest parade needs to be completed to open up the pathway to the Watery Overlap (after some thorough investigating and detective work).
It can be easy to get turned around while wandering Coffee World in Alan Wake 2 thanks to the encroaching darkness, so we are going to be looking at what each item is and how to find them to make things a little easier for you on your trip to Coffee World.
Finding the list of parade float components
Once Saga has been to the trailer park and spotted the cops from earlier—Mulligan and Thornton—she will realize they have been turned into Taken and are now a part of the Cult of the Tree. They also have the Clicker that we need, so you will need to follow them to find their hideout.
Mulligan and Thornton will lead you to the Kalevala Knights Workshop, the Koskela brothers bike workshop where the Deerfest parade floats are being prepped. Saga will enter the workshop and venture down into the basement, where a close call with the cops leads to them taking the Clicker and hiding it away in the Overlap. After some sleuthing and putting together clues on the Case Board, it becomes clear the somewhat dark float created by the Koskela brothers is the key to opening up the path. The float is incomplete, though, so it’s up to you to find the four pieces needed to make it whole.
When you are at the workshop, go to the workbench opposite the entrance to the warehouse, and you will find a list of the items needed and where they can be found. The items are as follows:
- Cassette tape
- Motor control circuit board
- Puuko knife
- Moose mask
The only one of these items that don’t have an exact location is the moose mask, though I will discuss how to find it a little later on. With this in mind, let’s go through each of these items so that you know exactly where to find them.
Cassette tape
A cassette tape that features a creepy audio recording of deranged laughter is needed for the section of the float that features the Huotari Well, as the scene that the float displays includes haunting laughter emerging from the well. You can collect this tape from the Fair Trade Fun Zone area of Coffee World, as shown on the map above.
You’ll know that you are in the right place when you come to an area with a bunch of carnival-style games. As you continue through the fair, you’ll come to a booth with a love heart picture on it and an eerie coffee pot character cut out standing behind it. The cutout will start to talk and then laugh maniacally. When you hear that nightmare-inducing laugh, you will know that you are in the right place.
Walk behind the character cutout, and you will see the cassette tape and cassette player taped to the back of it. Grab it and there you have your first item from the list.
Motor control circuit board
The motor control circuit board is one of the less straightforward parade float components to obtain, as you need to turn on the Espresso Express ride before you can get it. This means finding a fuse to get the ride going, which is a bit of a wild goose chase if you don’t know where to look.
The fuse can be found in the break room area of the Kalevala Knights Workshop, which you can find just before you descend into the basement of the workshop. You can see the exact location on the map below.
Once you have collected the fuse, head over to the Espresso Express ride, which isn’t too far from the workshop. Check out the image of the map below to see exactly where to find the ride.
When you get to the Espresso Express ride, follow the yellow cable to find the fuse box. Insert the fuse into the box and then head up the stairs to approach the ride. To the right, you will find a small area where the ride technician would sit. Press the power button to get the ride to start spinning. You will then need to press the button again at the right time to stop the ride at the appropriate moment. If timed correctly, there should be a gap that you can jump down into to find the circuit board.
When you jump down into the small space once the ride has stopped, turn around, and you will see a crawl space that you can squeeze into.
Follow the crawl space around, and when you come out the other side, you’ll see the circuit board. You can take the circuit board with you, but be careful as the ride will start spinning rapidly again once you take it. Quickly turn around and go back through another crawl space, and you should be able to escape. Just try not to be decapitated by the ride in the process.
Be wary of the Taken that will appear when you are leaving the Espresso Express area. Make sure you are prepared for a fight in regard to your ammo and health items before you leave the ride to find the next float component.
Puuko knife
The Puuko knife is arguably the easiest float component to find, as it’s found on the counter in the gift shop. The gift shop is the first area you will visit in Coffee World, so it isn’t too hard to find, as per the map image above.
Grab the toy knife from the counter and that’s it, you will have collected the next part of the parade float.
Moose mask
Despite the moose mask not having an actual location, unlike the other components, I found it much easier to track down in comparison to the fuse for the Espresso Express ride. You’ll need to do some detective work on the Case Board as well as some profiling on Mulligan and Thornton and the Koskela brothers to find it, but this is all pretty easy point-and-click clue organization.
When Saga works out that the mask can be found at the Huotari Well, all you need to do is head over there and grab it. It’s quite a bulky item, so it’s best to save it until last so that you can add it to the float along with all the other components.
Putting the float components together
With all four of the parts ready to go, all you need to do is put them together on the float to complete it.
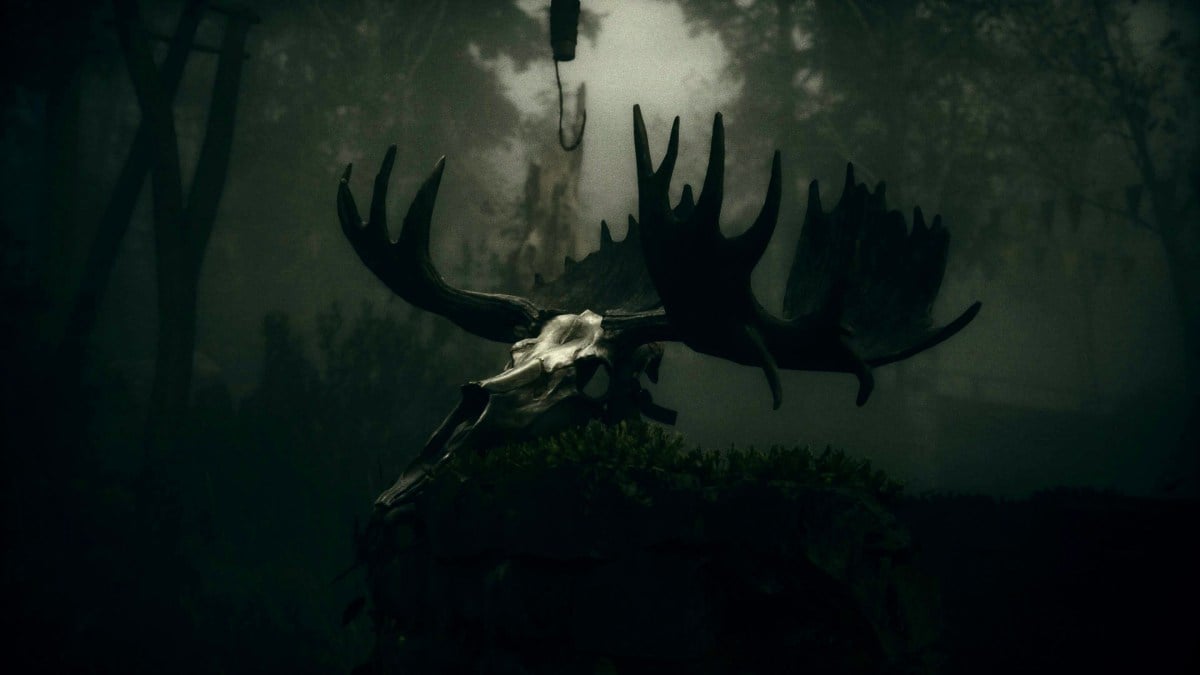
First off, if you did this in the order that we discussed above, then you will be holding onto the rather large moose skull mask, so put that down first to lighten your load. To do this approach the maskless figure on the float and press the action button to put the moose skull on it to act as a mask.
You can also put the Puuko knife in place when you have removed the moose skull mask too, as the same figure that wears the mask will be wielding the knife. Much like with the mask, simply approach the cutout and interact with its hand to put the knife in place.
With the cassette tape and player, go over to the model well on the float and interact with it to stick it to the inside of the well. This will create the illusion of freaky laughter emerging from the well, as per the Koskela brother’s design.
Last but not least, step down from the float and look for the circuit board on the side of it. Attach the motor circuit board that you got from the Espresso Express, and the arms of the cutout should start to move.
If you have placed the knife in the cutout’s hand, it should look like the figure is stabbing the other cutout. Perfect for a family event such as Deerfest.
When the float is complete, you will get a small cutscene to show that Saga has succeeded in opening up the pathway to the Overlap.
Final thoughts on finding the parade float items in Alan Wake 2
Locating the items for the parade float isn’t too hard of a task, so long as you keep your wits about you to avoid losing your way and to ensure that you are prepared for attacks from the Taken. The four items themselves are relatively simple to pinpoint, even the moose mask, which seems like it will be the most difficult to track down at first.
Honestly, I found finding the fuse for the Espresso Express the most frustrating part of the whole thing, as it’s really easy to miss in the break room. It’s on the table in the middle of the room, but you won’t get a prompt to pick it up until you are very close to it. It’s easy to mistake it for a random piece of scenery, too. I’m just making excuses for my own inability to find the fuse easily at this point.
Once you have found all of the items and added them to the float, make sure that you prepare yourself for a fight as you get ready to venture into the Overlap to find the Clicker and defeat Mulligan and Thornton.


Published: Nov 2, 2023 07:53 am