One of the most difficult areas to clear in Remnant 2: The Forgotten Kingdom DLC is the Proving Grounds. The map is comprised of several deadly trap puzzles that you have to come out of alive and complete quickly enough to proceed. Here’s a guide on how to survive each room.
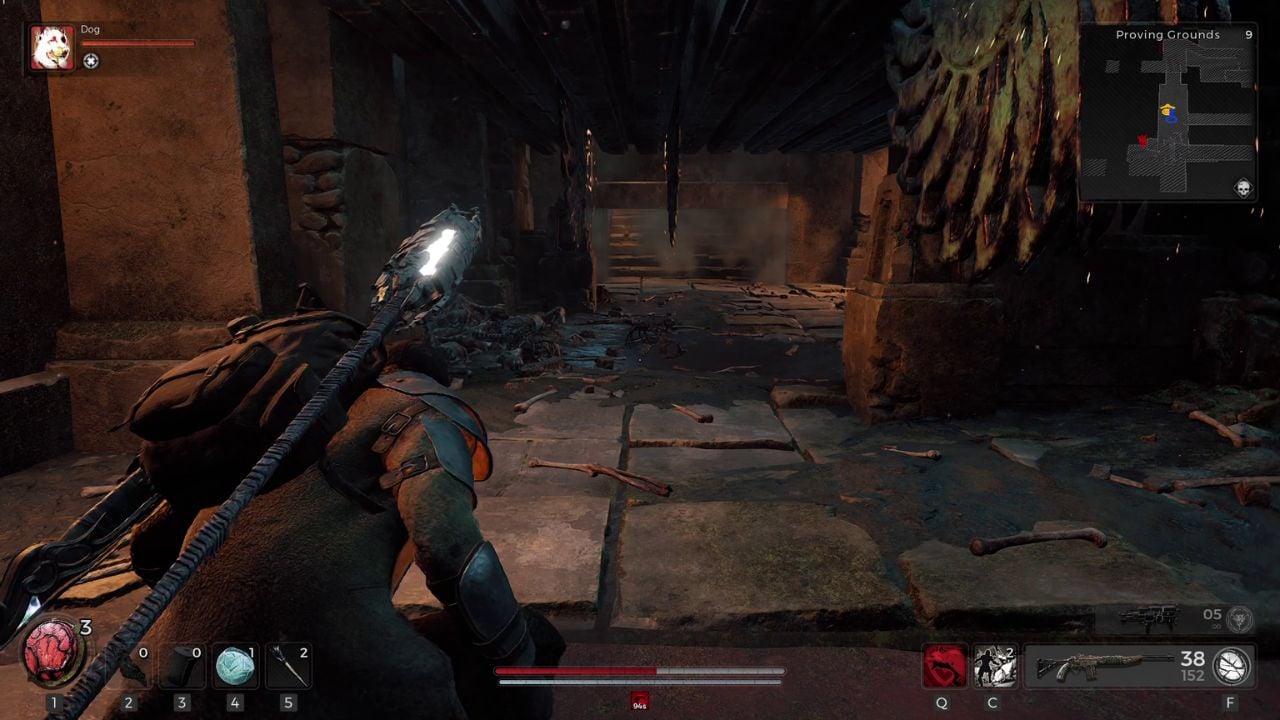
First Proving Grounds room: Arrow traps guide
In the first puzzle room, you’ll encounter several dart traps embedded in walls and platforms, shooting across your path. To navigate, observe the traps’ rhythm; they typically fire alternately in groups of two or three. Move along the path immediately after arrows have been discharged from the traps you’re approaching, as these will not activate again until the opposite ones do.
At the beginning of this room, pause until the nearest traps to the entrance activate. Then, sprint along the arrow’s trajectory and leap to the next platform. As you land, the subsequent set of arrows will land beside you, and your platform arrival will deactivate these traps, ensuring your safety.
For the next leap, use the same strategy: traps fire alternately. Choose a side, wait for it to trigger, then jump promptly. Be cautious here; the platform will not deactivate the trap, so you must sidestep arrows while preparing to jump again.
For the third jump, pick the left side of your platform. It’s longer, letting you land on your feet instead of grabbing the ledge. After waiting for the left trap’s arrows, jump. Upon landing, jump to the right side of the following platform to activate the next traps.
The next set of jumps is similar to the one you just made, but this time there are traps on the walls too. Watch the arrows pattern and jump on the side that triggers along with the wall trap. In my case, I jumped from the right to the left side. Do the same for the next jump, as there is another wall trap, then quickly jump to the platform on its side for a safe area.
Climb the taller platform for the last set of traps. This time, there are vertical and wall traps instead of horizontal.
- In the first jump, jump right after the ceiling and wall traps shoot at the same time.
- For the second and third jumps, jump after the ceiling and the leftmost wall trap shoot at the same time.
When you get past this set, simply follow the path and climb down the ledge to activate a lever and move to the next area.
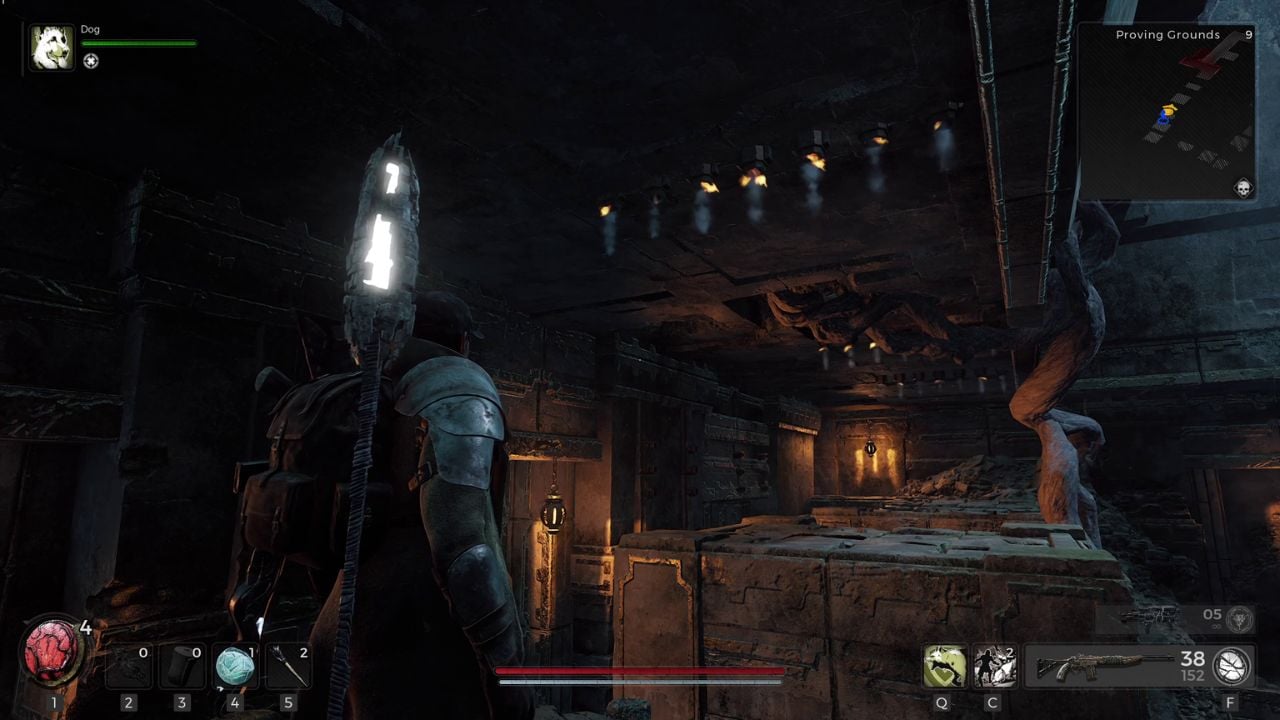
Second Proving Grounds room: Pillars room guide
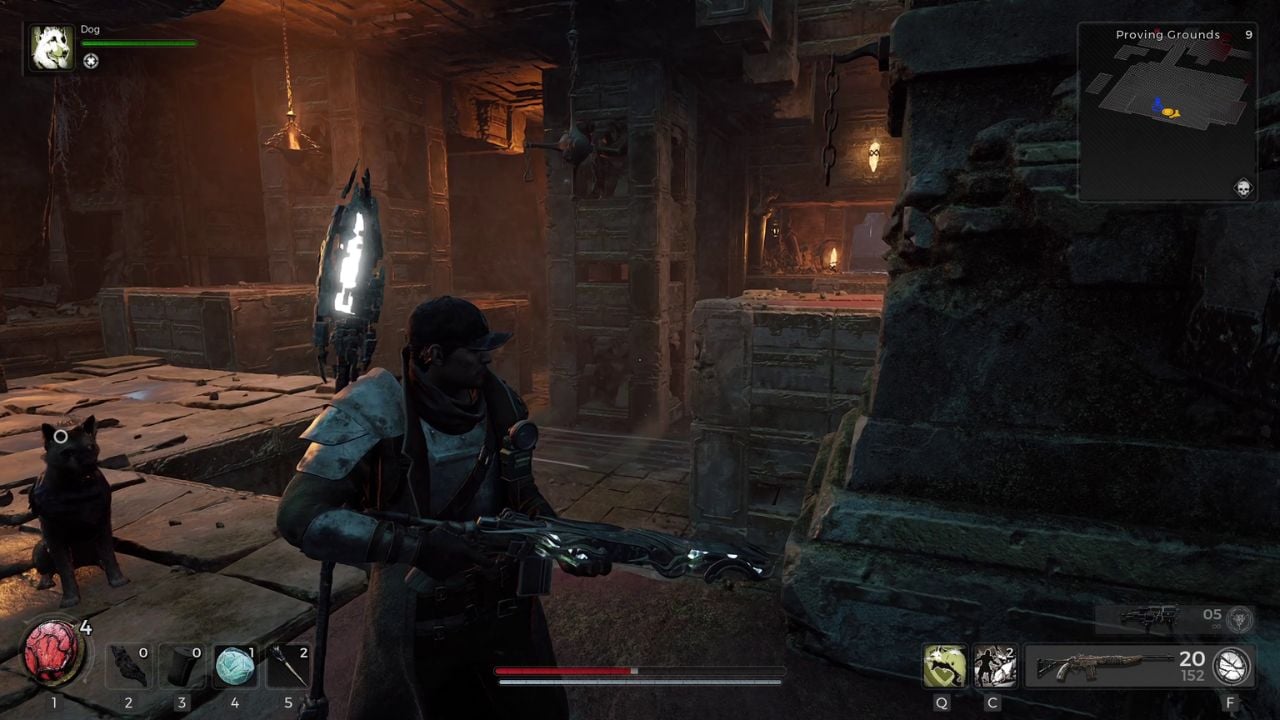
You’ll get to a large room with dart traps, but this time most of them are inactive. You will accidentally trigger them as you walk through the room, though, and once again will have to watch their patterns to move around safely. You’ll have to kill some enemies too, but they’re easy to defeat. Move to the following areas:
- Head left, then straight to the end of the room. Step on the red plate and stay there until the pillar on the right side of the room goes down completely.
- Quickly head to that pillar, stand on top of it, and wait for it to raise again. Jump to the platform close to the back of the room when you can to avoid being crushed.
- Now jump to the back area of the room where you’ll find another red pressure plate. Step on it until a pillar in the center of the room goes down completely.
- Stand on the pillar and wait for it to rise, looking to the platform to its right. Jump to that platform as soon as you get good height.
- Look toward the entrance, then turn around to jump to the back-right side of the room. Step on the red plate there until the pillar leading to the exit is down completely.
- Run toward this final pillar and wait for it to rise. Walk forward and activate the lever to complete the room and proceed to the next puzzle.
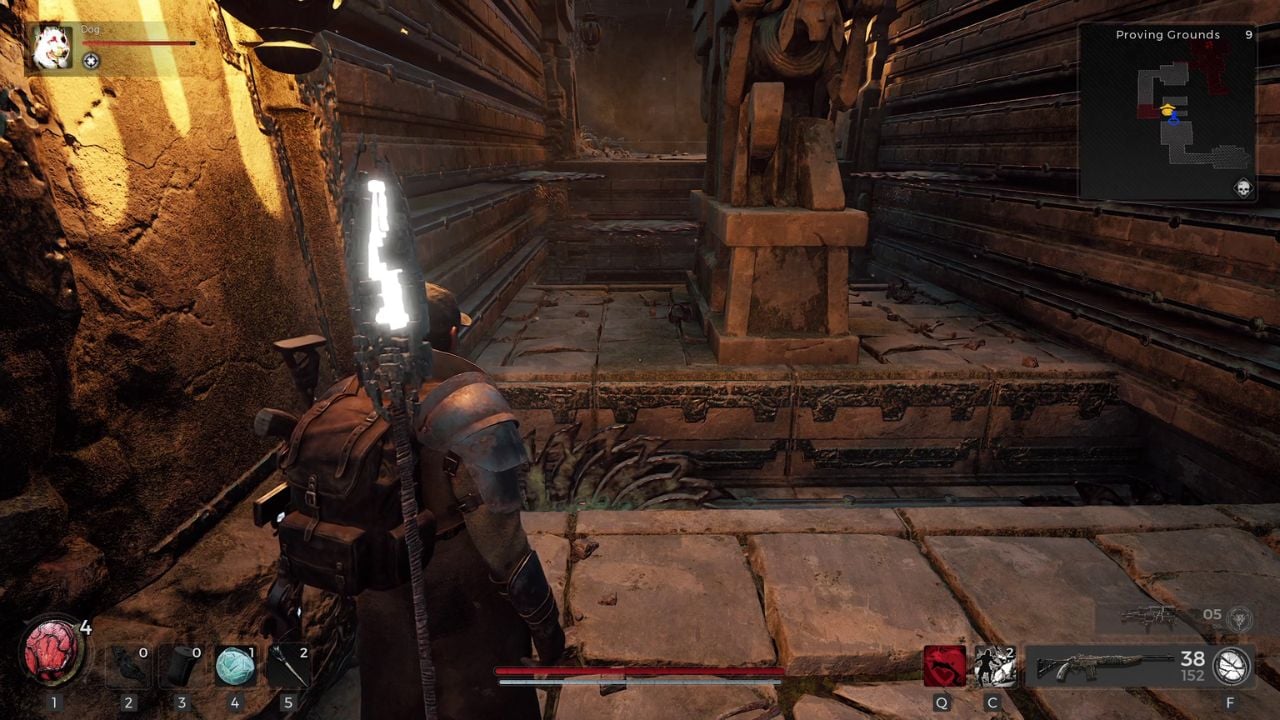
Third Proving Grounds room: Ceiling saws
In this room, you’ll find saws on the ceiling moving back and forth. There are two sets: the first moves from the entrance to the center of the room, and the second moves to the center to the back of the room. There’s a red pressure plate like that of the pillars room right in the center, too, which you have to step on to reveal the exit. To solve this, do the following:
- Watch the left set of saws and wait for them to synchronize moving toward you. When they start moving away together, follow them and quickly roll to the left when you get to the center of the room. This area is safe.
- Wait for the front and back saws to meet in the middle and move forward just a little bit more, staying on your left again and still in the center of the room. You’re now mostly safe from the front saws.
- Crouch and move to the right just enough to step on the center pressure plate. Move back and forth just enough to avoid the saws as the back door opens.
- When the door opens, wait for a gap on the left or right saws path and quickly run toward the door. If you’re too slow, the door will close and you’ll have to step on the pressure plate again.
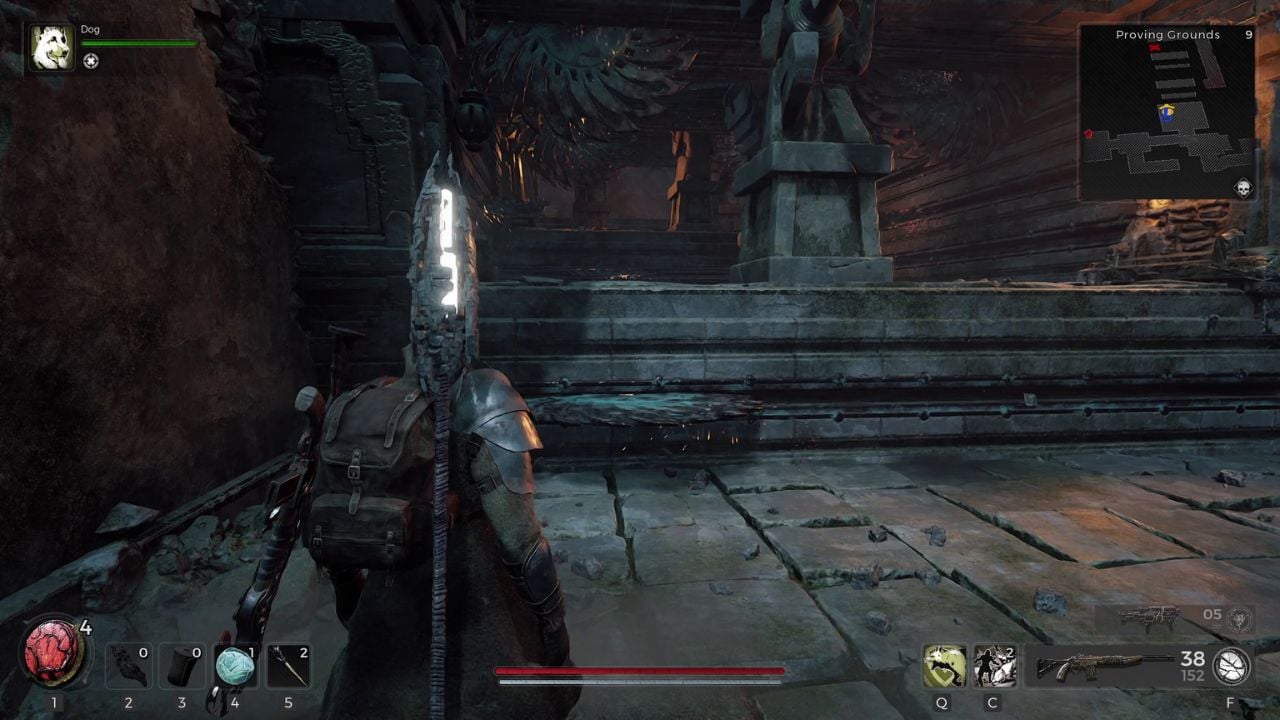
Fourth Proving Grounds room: Saw run
In the fourth Proving Grounds room, you’ll find a parkour saw challenge that blends wall and floor saws. In this room, the side you pick doesn’t matter, so I went for the left. You must:
- Step on the red plate at the entrance to open the back door and pick a side.
- Wait until the first platform’s saw starts moving away from your side to climb the ledge.
- Wait for the wall saws to move away from your jump path, and jump to the other platform. Stick to the opposite wall to avoid them.
- Wait once again until the last saw on the platform moves to the opposite direction from you, and jump to grab the ledge.
- Run to the exit to avoid the door closing on you.
Fifth Proving Grounds room: Extreme saw run
The fifth and final room of Remnant 2’s Proving Grounds is a hard version of the previous saw run. This time, it’s easier if you pick the left side because that’s where the pressure plat is located. To complete it:
- Step on the red plate until the door at the end of the path is fully open.
- Climb the ledge when the saw starts moving away from the side you want to climb.
- Jump across the gap when both ceiling saws have just moved away from the side you’re on.
- Do the same for the next jump, and aim for the center of the platform. The side platforms have saws you can’t avoid.
- Jump to the final ledge when both ceiling and the platform saws move away from the center.
- Run to go through the door.
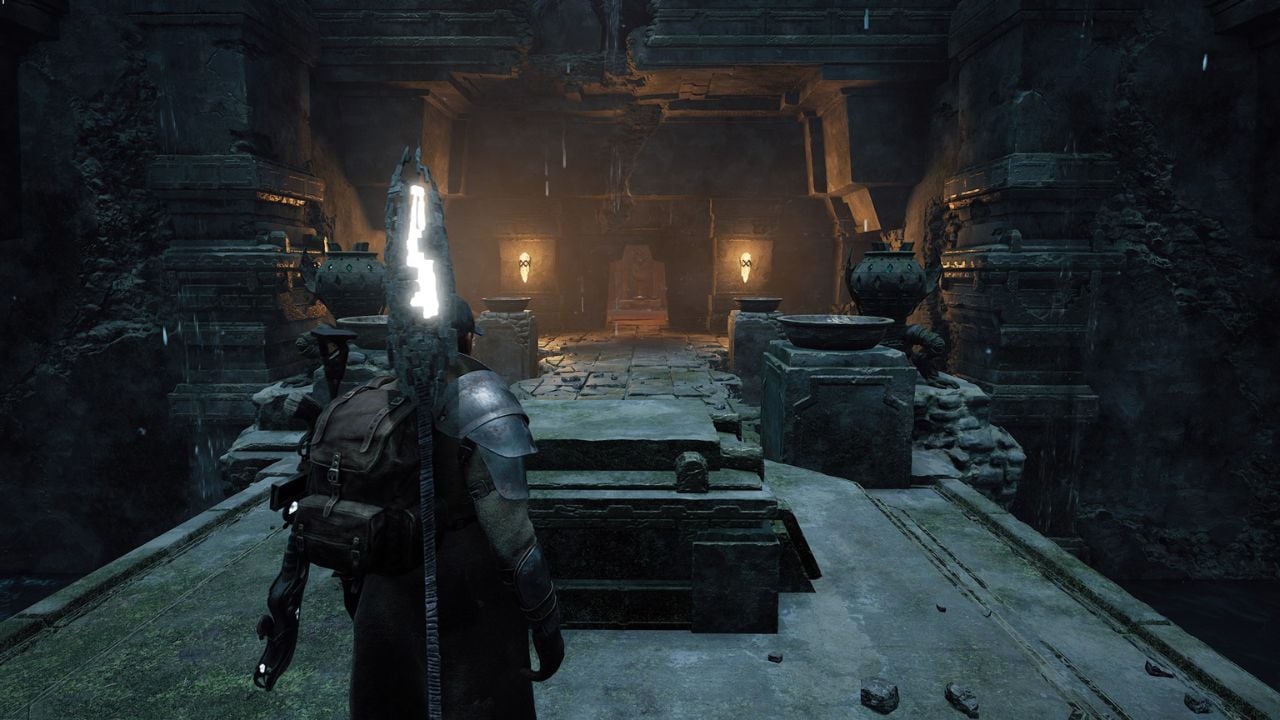
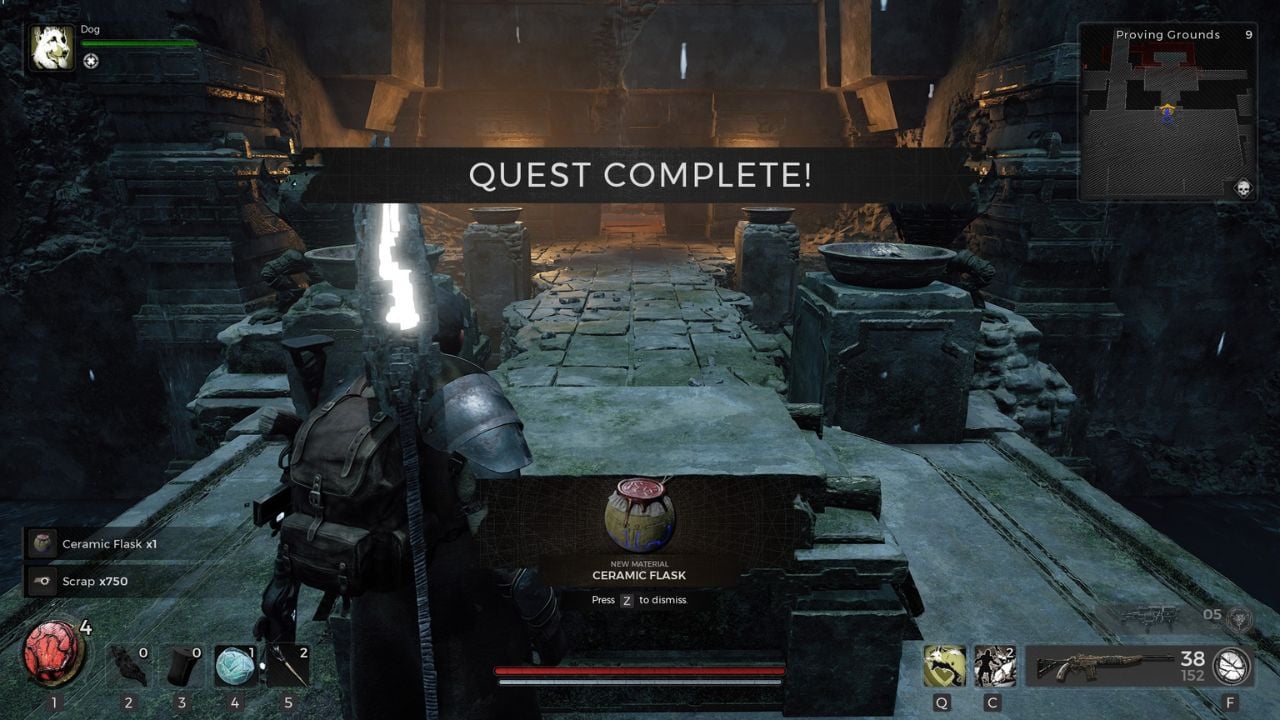
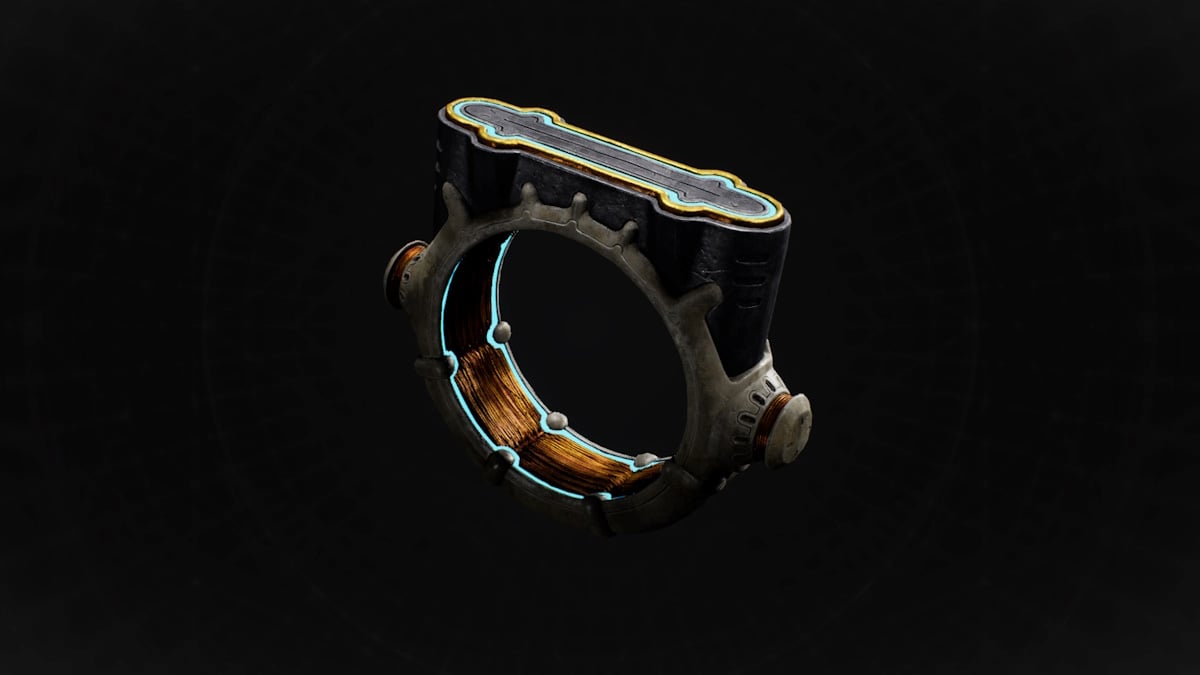
Once you’ve completed the fifth room in Remnant 2’s Proving Grounds, follow the path down to find the Ceramic Flask on the altar.
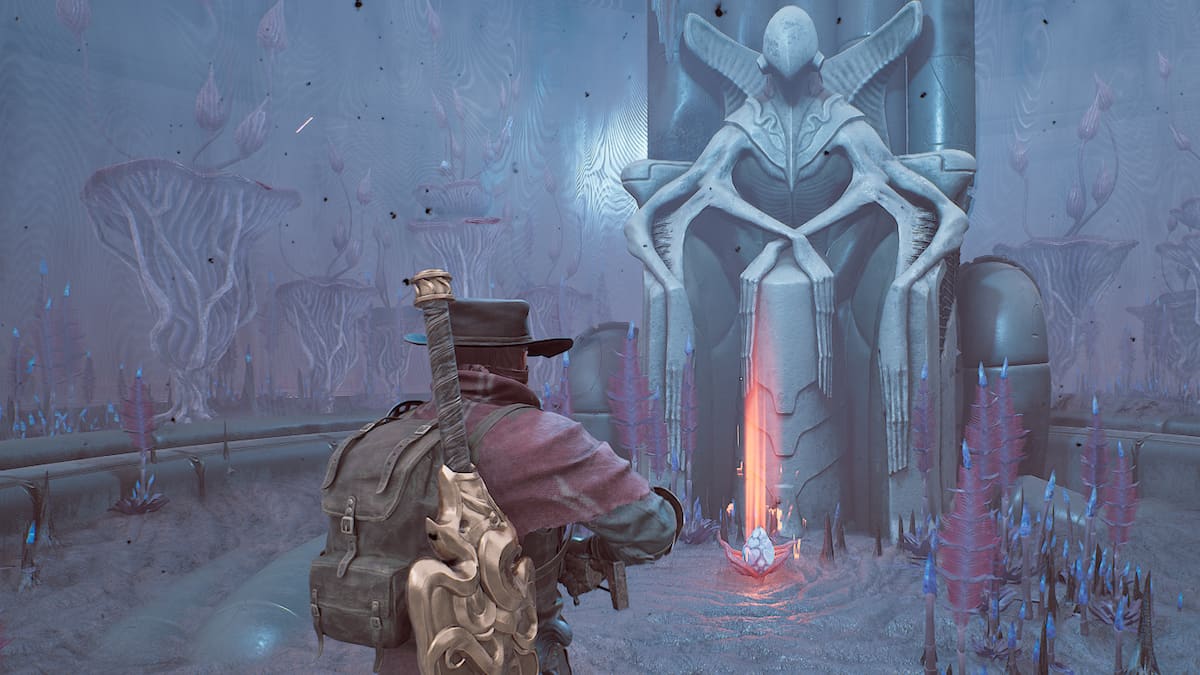
What to do with the Ceramic Flask in Remnant 2
Take the Ceramic Flask to Ava in Ward 13 to craft the Flying Bomb Trap Weapon Mod, which fires a projectile that deploys up to 5 traps after contacting the ground.
- Each trap can launch a flask of deadly liquid up to 15m when an enemy travels above and will rearm once every 3s. Flask detonations release a 7.3m shockwave which deals 50 Damage and splashes targets within 4.2m of the center for 100 ACID Damage, applying CORRODED for 100 damage over 10s. Lasts 20s or 10 total flask launches.


Published: Apr 23, 2024 01:41 pm