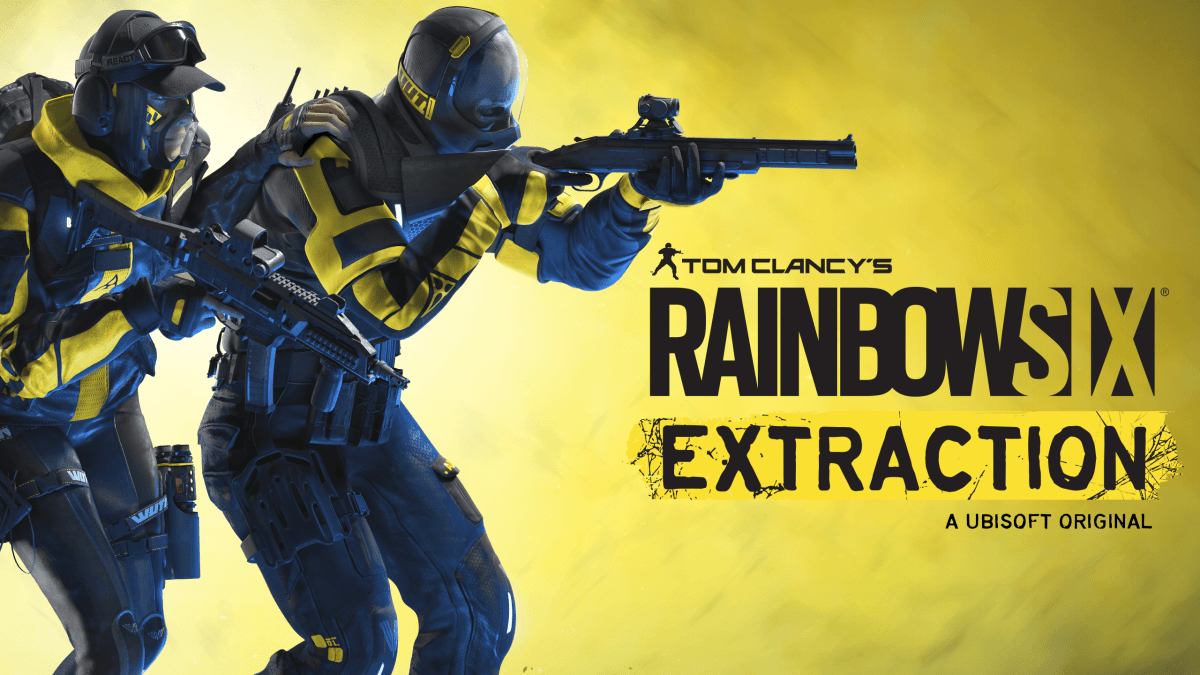
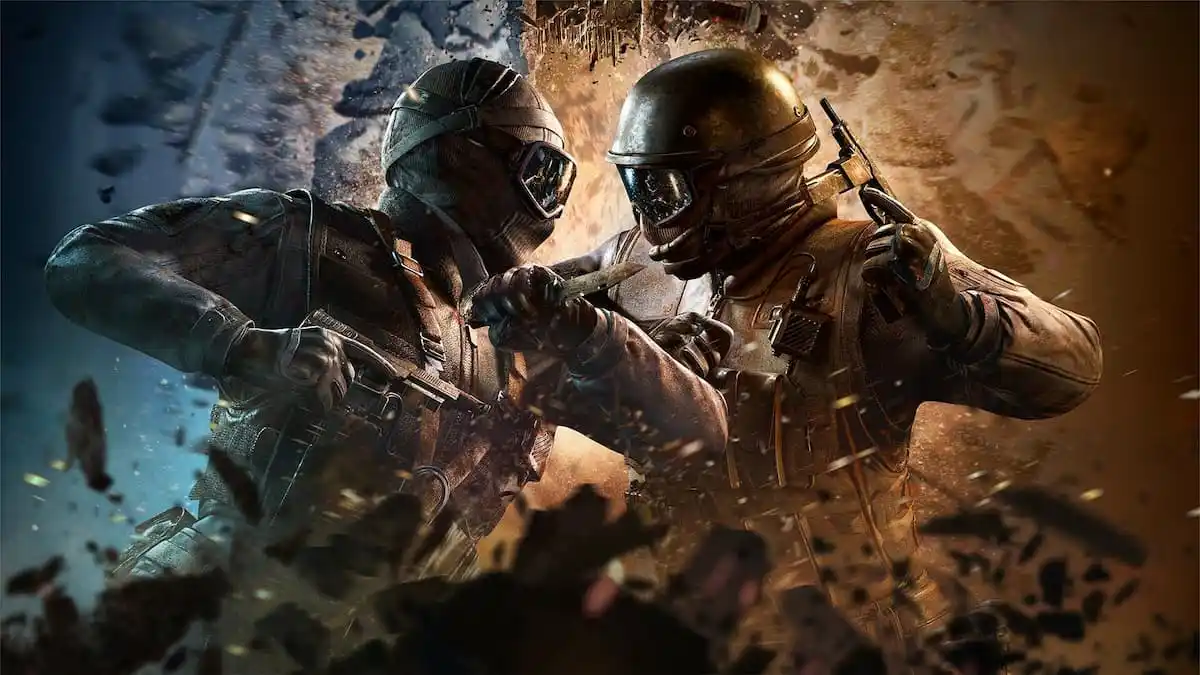
Rainbow Six Extraction combines the classic Siege gameplay with survival horror as teams must complete objectives as they fight waves of Archaen aliens. The gameplay will feel familiar to Siege veterans since it features 18 Siege operators, although Extraction introduces several new challenges.
Understanding how to use the available equipment and tools effectively can help your team run through containment zones like professionals. A few essential tips can help a novice player learn the ropes with fewer headaches and teach seasoned Siege players how to prepare for the new experience. Take a look at our Rainbow Six Extraction tips and tricks before diving headfirst into the terrifying containment zones.
Team composition is important
Just like in Rainbow Six Siege, team composition is essential in Extraction. Each operator has a unique loadout and gadget that can help a team complete objectives with ease. Having a diverse group of operators is critical to ensure your team is prepared for every situation.
Some operators like Hibana and Ela have high mobility and can use their gadgets to damage enemies, but they have a low armor rating. Doc can heal himself and his teammates, but he is significantly slower than other operators. Having a mixed bag of operators can help teams cover for each other and negate any negative traits.
Communicate with your team before the match starts to determine which operator each player is selecting. Being comfortable with multiple operators can make you an asset with any team and able to fill multiple roles.
Don’t forget about your equipment
In addition to operator gadgets and abilities, you can also select a wide arsenal of equipment and gear for your character. REACT Tech is unlocked as you complete milestones and provide significant bonuses. The Scan Mine can highlight enemies in the surrounding area, while the Body Armor allows you to take more damage before going down.
Like the team composition, you should also strive to have a wide array of tech and equipment. Having multiple types of REACT Tech can help secure areas quickly and efficiently and make it easier to maneuver around the map. Just remember these items are at your disposal and should be used frequently.
Don’t worry about running out of equipment. There are supply boxes littered around each map that refill your abilities. Make sure to ping these boxes for teammates to ensure the entire team is constantly stocked.
The REACT Light is also one of the most important tools at your disposal and should be a new player’s best friend. This device highlights enemies through destructible surfaces, allowing players to eliminate them quickly. The light also highlights an enemy’s weak spot, showing the exact spot you should aim at for an easy kill.
Prepare before each objective
Extraction has multiple objective types requiring players to complete specific tasks to move on. For example, the Specimen objective requires you to lure an elite target to an extraction zone, while the Decontamination objective requires a team to destroy multiple Aberrant nests and collect Malignant Neoplasm. Each objective presents unique challenges, and teams should prepare accordingly.
Identify the objective and figure out the best course of action for your team before initiating it. This could mean coordinating which nest each player will destroy or which doorway or entrance they’ll cover while defending a location. Siege players will be familiar with reinforcing walls, which is also an option in Extraction. If your team needs to protect or hold an area, reinforce walls to avoid being surrounded by enemies.
Some operator gadgets excel on defense. Alibi’s decoys distract enemies, while Tachanka can deploy a massive turret that any team member can use. Take full advantage of the available gadgets to help secure whatever objective appears.
Preparation should also involve clearing nearby enemies and Sprawl. Do a quick sweep of the surrounding rooms to help thin the herd before starting a difficult objective. Make sure to take out any nests you come across, and destroy as much of the surrounding Sprawl as possible. The Sprawl slows players and provides a speed boost to enemies, which can be devastating in gunfights. Simply melee or shoot the Sprawl to remove the disgusting black material.
Don’t be a hero
Fighting hordes of Archaen enemies is thrilling, but it can also become overwhelming in an instant. Sprinting through the map might seem feasible at lower difficulties, but this will eventually get you killed. Dying during a mission requires you to go back in with a different operator to rescue the first operator, which is an avoidable chore.
Moving slowly and methodically through a combat zone is often the best bet. Clearing enemies as you move around the map will slowly make the entire zone safer and often makes completing objectives easier. You can also take out most enemies with a takedown if you can sneak up and stab them.
Once you learn a map and are comfortable with objectives, you can move around faster as you quickly take out enemies. Just remember to start slow to save yourself from having to constantly rescue your pperators.
Don’t feel bad about extracting early
Each containment zone has three areas, each getting progressively harder as you progress. Teams must complete an objective before moving to the next area, or they can extract and secure whatever XP they’ve earned so far. Extracting before completing all sub-zones might seem like the easy way out, but don’t scoff at the idea of escaping early.
If your team took a beating in a zone and are not confident about completing the next area, don’t be afraid to extract early. This will secure all of the XP you’ve earned so far and prevent unnecessary deaths. An entire team dying only means each player will have to go back in to rescue their operator or risk losing operator XP while escaping early negates this issue.
Sometimes leaving early is the smart choice, especially in higher-difficulty settings. Don’t let your friends or teammates bully you into continuing a mission that has already taken a turn for the worst.


Published: Jan 20, 2022 06:04 pm