The new PlayStation 5 offers a variety of ways for gamers to share their highlights with friends through built-in sharing technology.
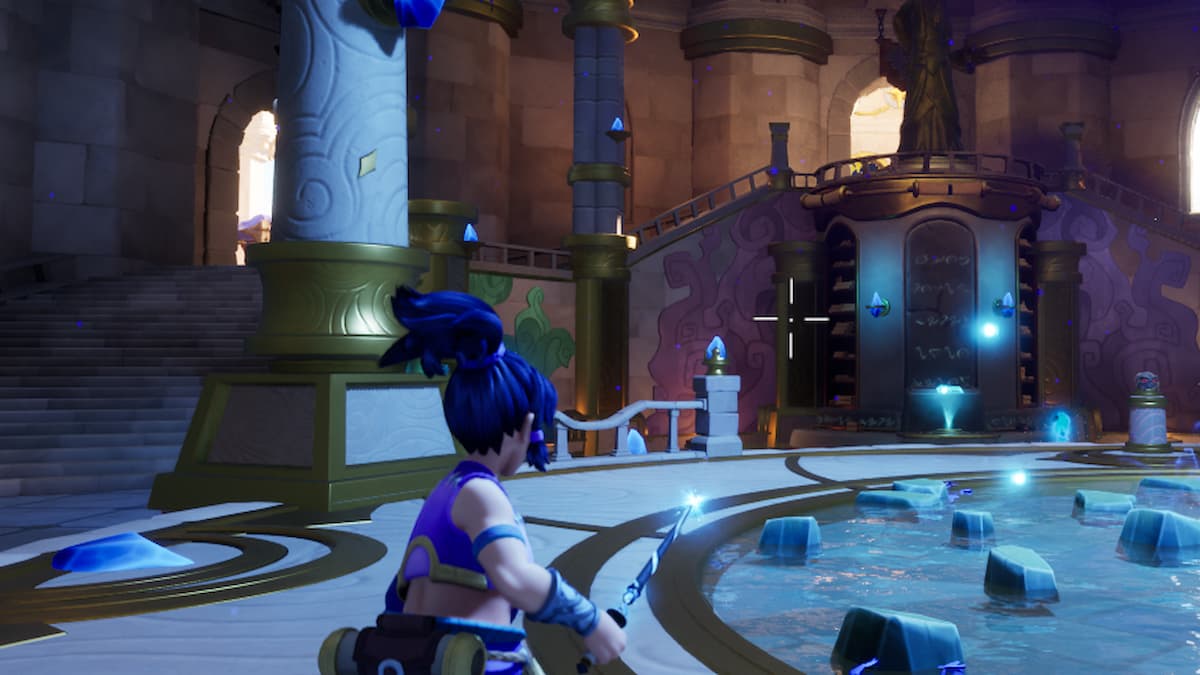
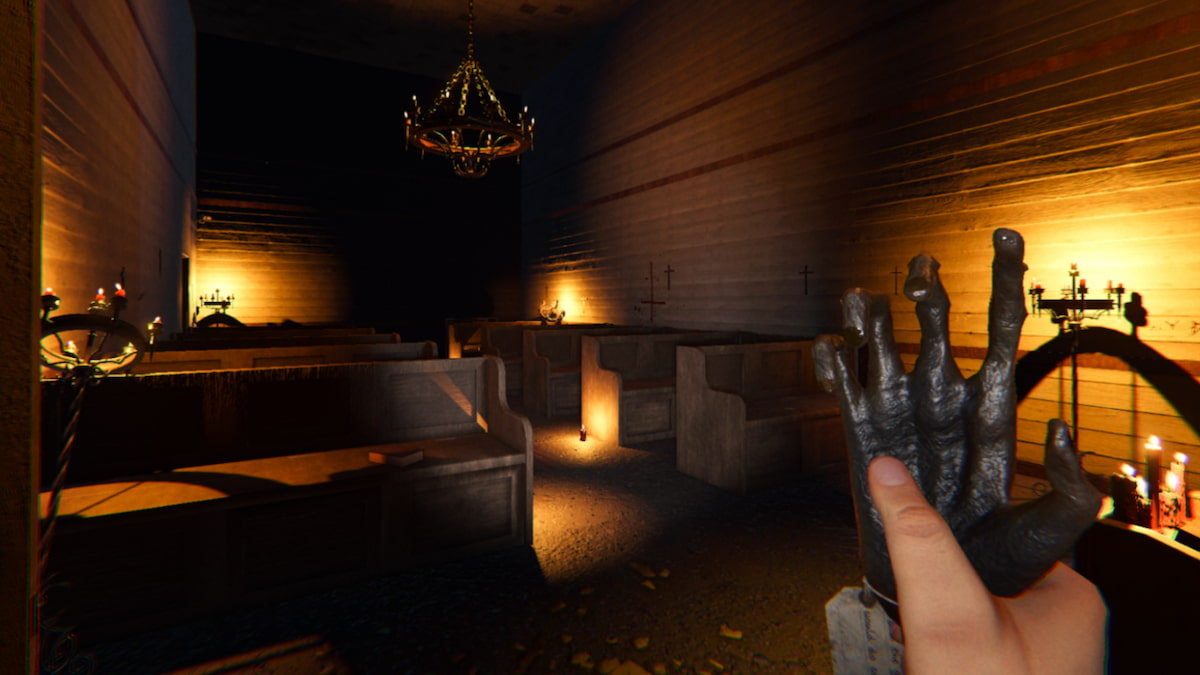
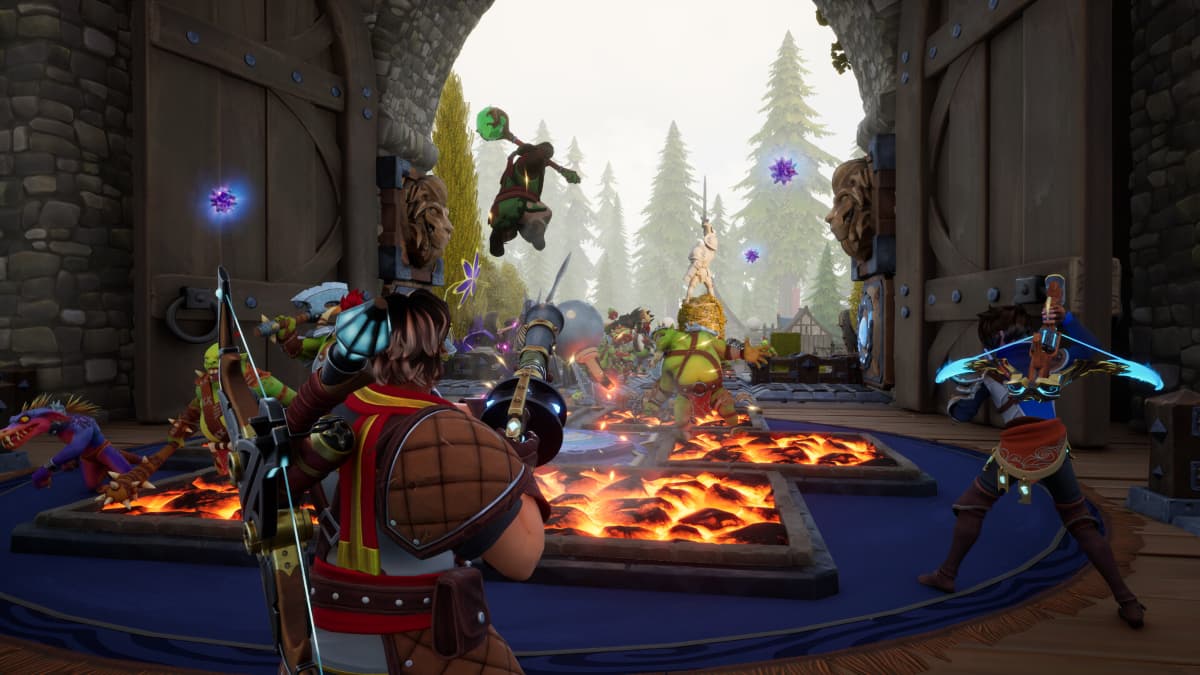
Given the massive upgrade in hardware from the PS4 to the PS5, the quality of captured footage has been taken to an entirely new level. Not only is the console capable of recording crisp high-definition gameplay clips, but it is also even capable of capturing stunning screenshots in 4k.
Utilizing these features is easier than ever. The console boasts a dedicated hub for capturing and sharing the user experience.
How to take screenshots on PS5
To take a screenshot of your game, you must have the game open and running. The PS5 does not allow you to capture an image from a menu screen.
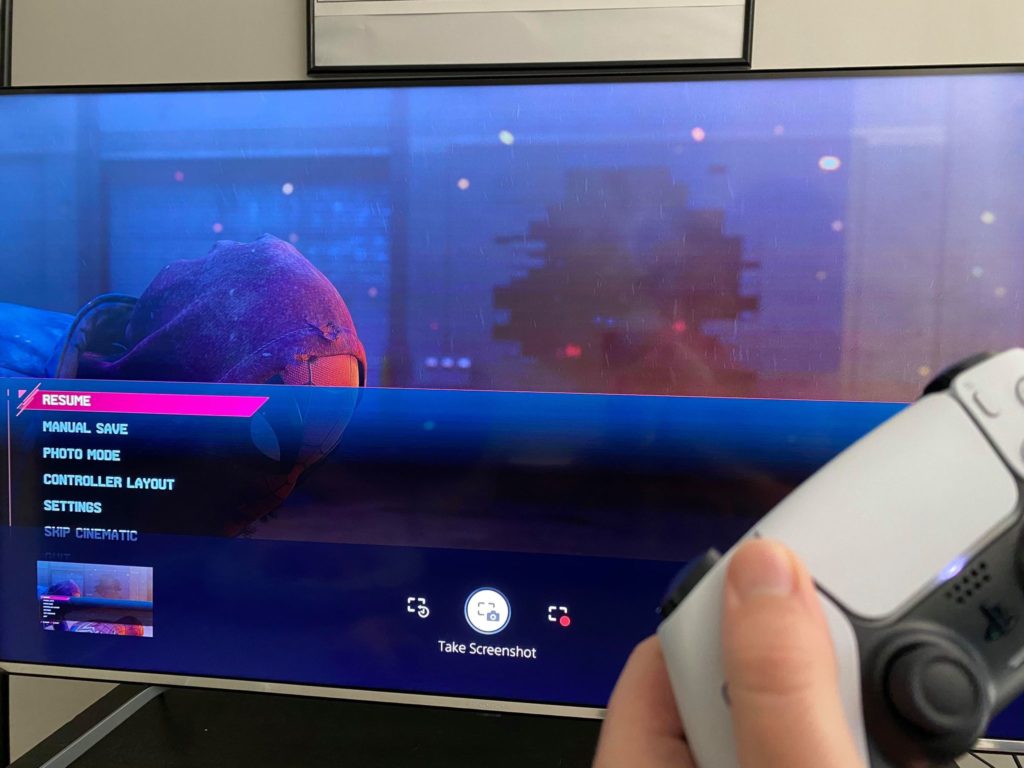
- Once you are in a game and have set up the scene you’d like to capture, simply press the share button on the left side of the DualSense’s touchpad and you will see a menu rise from the bottom of the screen.
- In this menu, you are able to both capture images and video. But for this tutorial, we simply want to use the option in the center titled Take Screenshot.
- Select this option and that’s it! Your screenshot will be saved and you can access this both from the thumbnail at the left-hand corner of this menu as well as from the in-game menu when you press the PlayStation button on your controller.
For the tech-savvy gamer who likes to tinker with outputs, you are able to change the file type of these screenshots in the Capture Options tab.
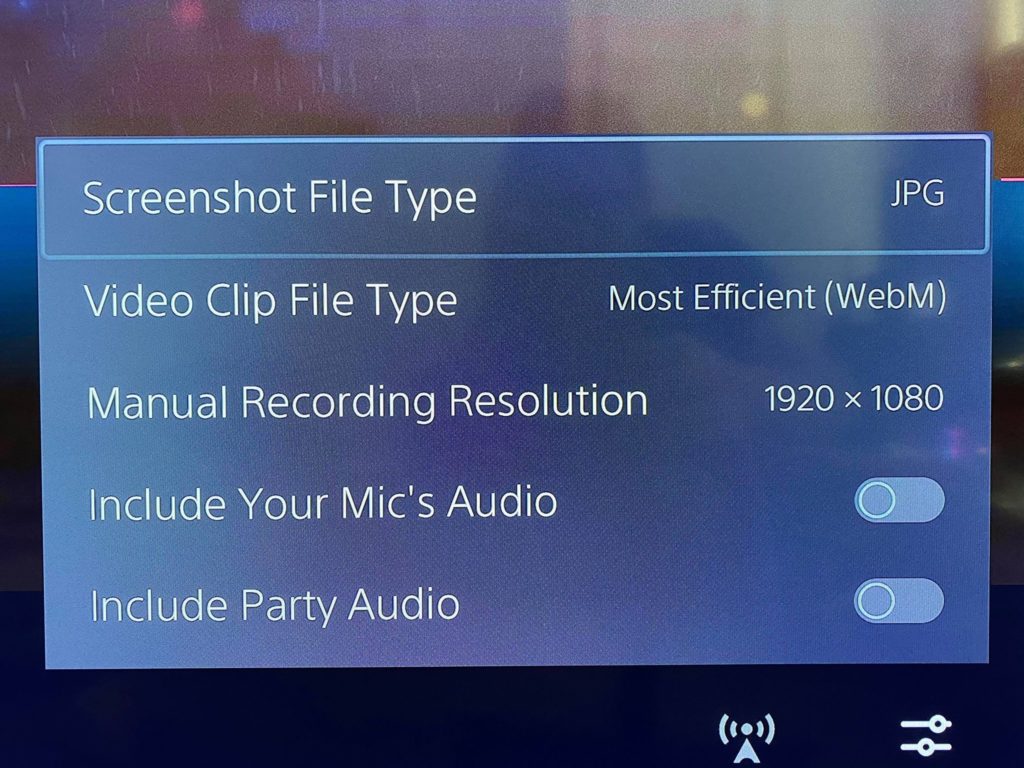
- To locate the Capture Options tab, all you need to do is press the share button to bring up the menu at the bottom of the screen.
- From here on your far right, you’ll see icons of multiple sliders. Select these sliders, and from there you can change the file type from JPEG to PNG.
- With your screenshots, you can upload them directly to social media on your PS5 console as well as send them to your PlayStation friends through the device’s chat function.
The simplest way to bring these screenshots from your console to your computer is through a USB. While you may need a USB-C adapter, you are able to copy these images to a USB drive, allowing you to bring easily bring them to your PC.
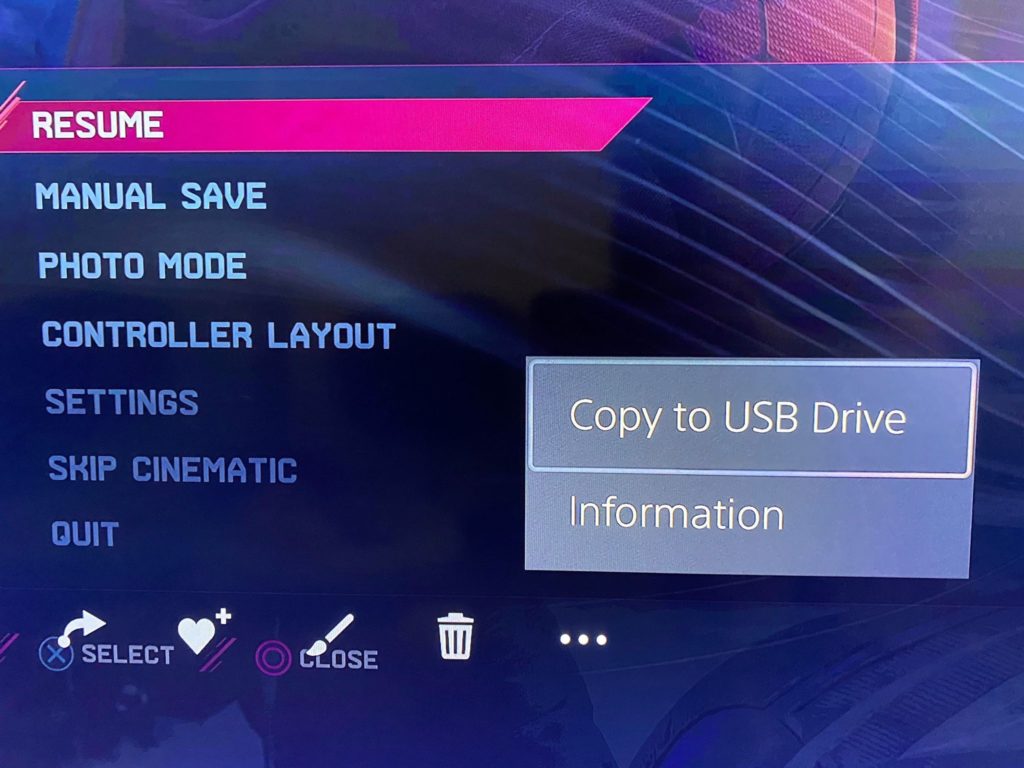
To do this, navigate to the PlayStation’s home menu and select the Media Gallery. From here choose the photo you want to copy. Open the image and scroll right across to the three dots titled more, where you can select Copy to USB.



Published: Nov 12, 2020 02:25 pm