Now you’ve found Crow, your next task in Destiny 2‘s The Final Shape is to reunite the Vanguard fireteam. First up is Ikora, whose crashed ship has been detected by Crow nearby.
Finding Ikora is the key objective of the Exegesis mission, but along the way, you’ll encounter a few trick rooms with some interesting mechanics. Like the earlier missions, this isn’t a simple beat ’em up, you’ll need to think on your feet using Motes, Keys, and a relic of a time long gone to proceed through the Pale Heart.
Here’s how to complete the Exegesis mission in Destiny 2‘s The Final Shape.
How to complete the Exegesis mission in Destiny 2 The Final Shape
1) Using Crystalline Keys and Motes of Darkness
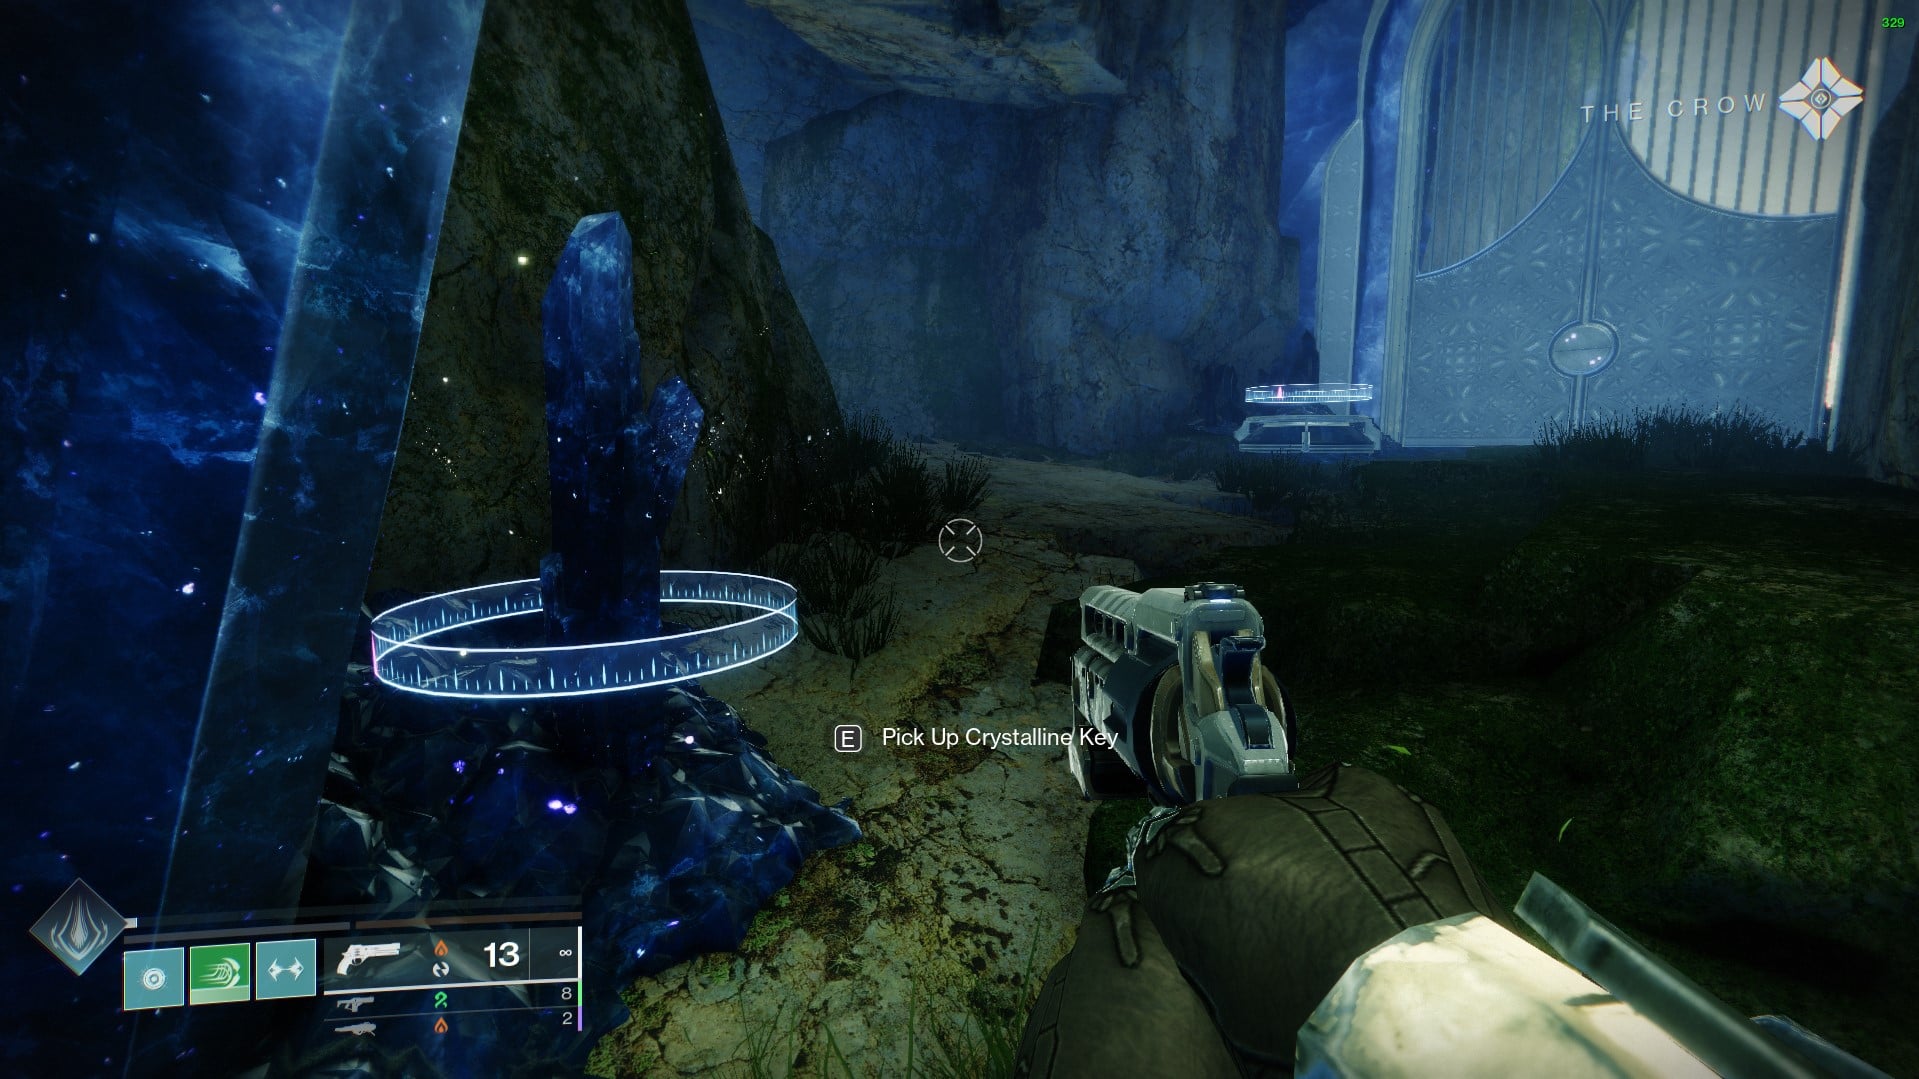
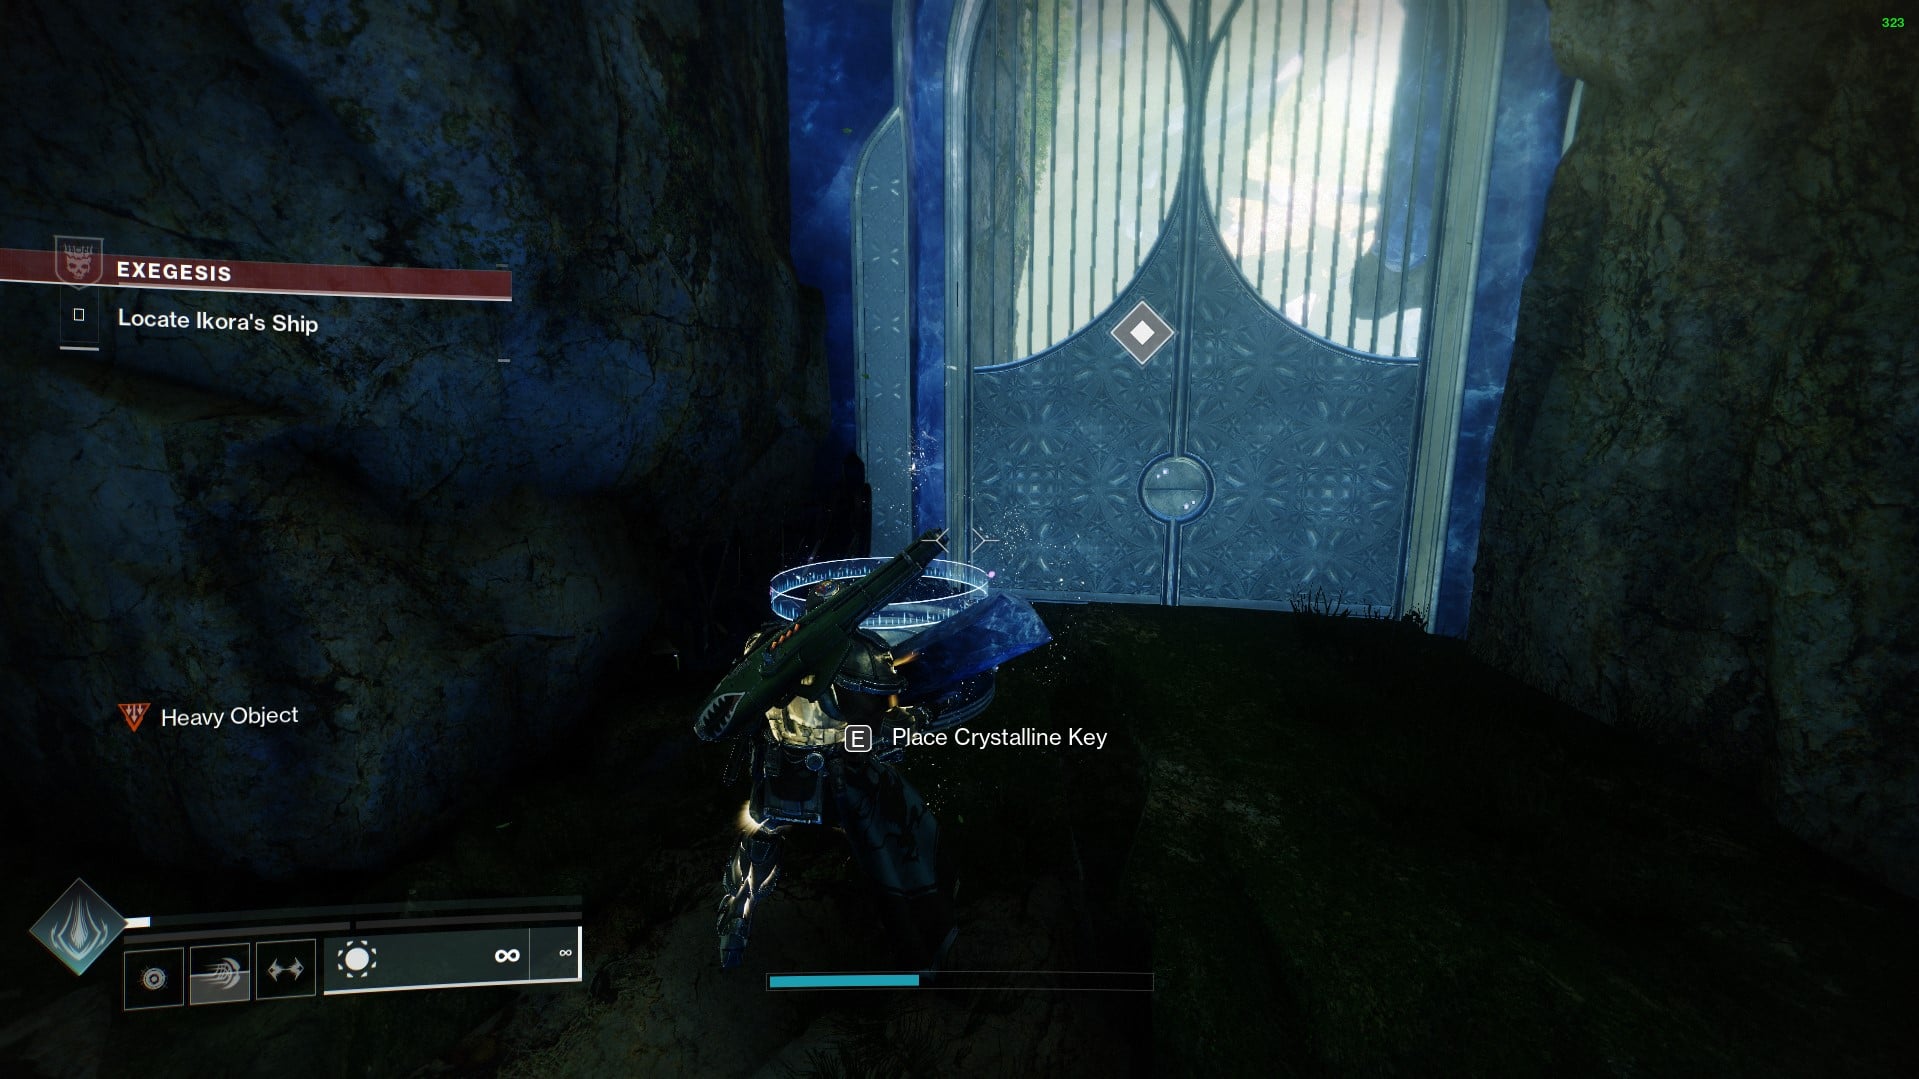
The Exegesis mission begins with you leaving the campfire in The Refraction in the search for Ikora’s ship. You’ll come across a blocked doorway with a Crystalline Key. This is the first of multiple mechanics you’ll need to learn for this mission. Pick up and carry the key to the lock to open the door.
The Key is heavy, so you won’t be able to use weapons or abilities while carrying it. Once inserted, you’ll continue to the next doorway, but this one is blocked by a darkness barrier. To pass it, you’ll need to defeat the Knight who’ll drop three fragments of Darkness.
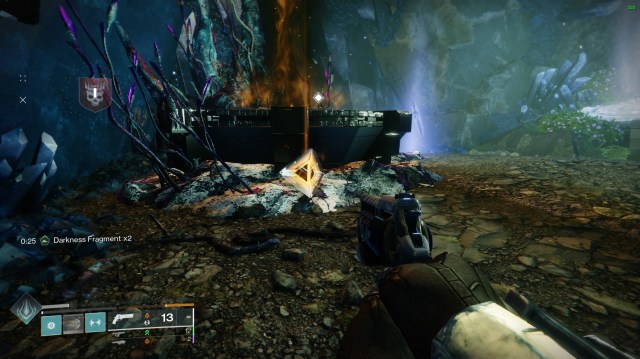
After picking up the fragments, you’ll get the “Dark Motes Max” buff for 30 seconds and will carry a large version of the mote. Take it to the Dark Fount nearby to drop the barrier.
2) How to create Light Motes using the Shield
The next room will have a Prismatic barrier blocking the way with the Dark Fount already filled. You’ll need to fill the Light Fount to progress, but killing the Knight over and over only drops Dark Motes. To get Light Motes instead, you’ll need to kill the Knight using the Aegis Relic in the middle of the room.
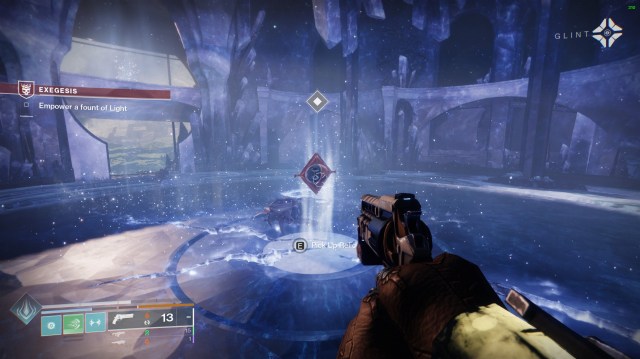
The shield has multiple charge attacks that deal significant damage to the Knight, so it shouldn’t take you long to get the Light Motes. Once you’ve got them, head to the Light Fount and slam it in to bring down the barrier.
3) Combine Light and Dark in the Cave
The next room features a U-shaped cave with both Light and Dark Founts. These must be unlocked in order: You’ll be able to tell the order by the beams of orange light emanating from around each fount. One beam means its the first lock, two means the second, and so on for all four. The first lock will always be a Light Fount, so you’ll need to find the shield again.
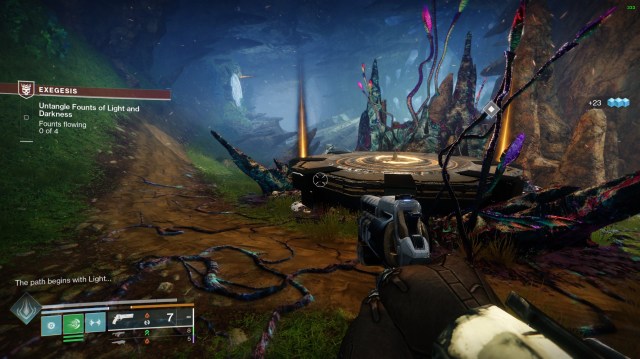
To access the shield, head to the back of the left cave and grab the Crystalline Key up top, then return to the gate. Slam in the key and head down the passageway to grab the shield, then use it to defeat the first Knight and grab the Light Motes.
If you make a mistake, you’ll need to start again from the beginning of the cave.
Repeat until all four founts are open. You will need to alternate between grabbing Light and Dark Motes, so defeat the first Knight with the shield to get Light, then the next with your weapons/abilities to get Dark, then the shield again for Light, and so on until you’ve opened the four counts.
4) Defeating the Pillar of Silence
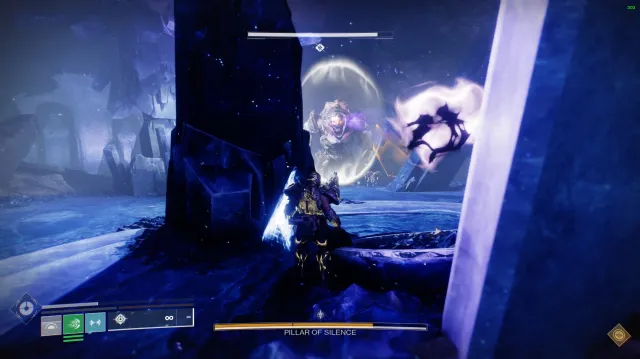
The final stage of the mission will be to defeat the Pillar of Silence, a giant Hive Ogre. The ogre will be shielded; to deal damage to the Pillar of Silence, you must use the relic shield’s super ability (similar to the Vault of Glass). After firing the Aegis shield’s ranged blast, you can bring down the boss.
After chunking down a third of the ogre’s health, it’ll disappear and you’ll need to pursue it into the next cave. It is here where you must combine everything you’ve learned to defeat this Destiny 2 boss. In order, you’ll have to:
- Defeat a Knight and plant the Mote of Dark into its fount.
- Grab the Aegis shield.
- Defeat the next Knight and plant the Mote of Light into its fount.
- Grab the shield again.
- Charge up the shield by defeating enemies or blocking attacks with its bubble.
- Fire the shield’s super at the ogre, bringing down its shield.
- Deal damage to the ogre until the next health gate.
After two rounds of the mechanics, the ogre will be exposed and you’ll finally be able to finish it off. After defeating the ogre, proceed to the Tree of Silver Wings, wipe out any enemies nearby, and meet Ikora on the nearby hill to complete the mission.


Published: Jun 5, 2024 01:13 am