
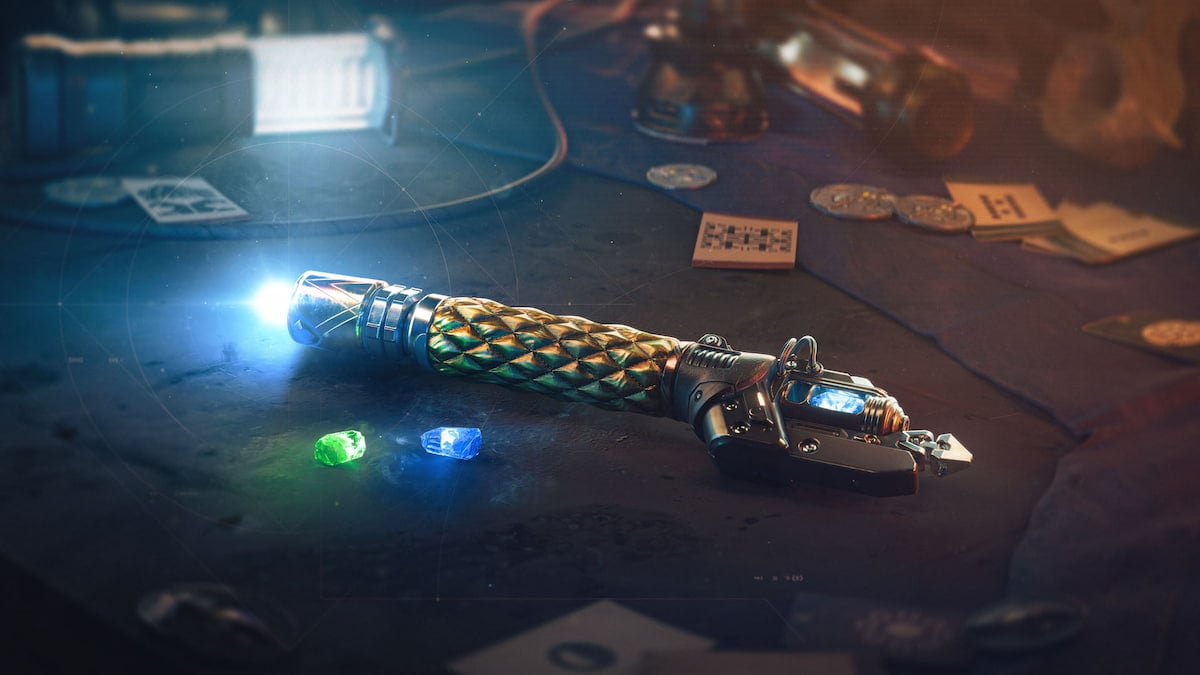
In a variety of content types, Destiny 2 activities may come down to dealing enough damage. And in plenty of those cases, the Lament will be a good choice. Whether you’re damaging Caiatl in the Duality dungeon, trying to cheese Riven in Last Wish, or even damaging Atraks-1 in Deep Stone Crypt, Lament may be a solid option, even after a series of nerfs toned it down from “utterly broken” to just “really good.”
The Lament still has a highly damaging combo that involves mixing in both light and heavy attacks, which works thanks to its unique mechanics.
Its intrinsic, Banshee’s Wail, allows you to rev the blade by holding block. Dealing damage while the Lament is revved will grant stacks of Banshee’s Wail, while using a heavy attack will consume those stacks and deal a fair bit of damage.
Damaging a combatant with Lament will also heal you by a bit.
The icing on the cake is that revved attacks also have intrinsic anti-barrier capabilities, meaning you can take down champs with ease (though bringing a sword to a Grandmaster Nightfall may not always be the best idea).
In addition to its combat capabilities, however, the Lament also comes with a unique backstory involving a certain forgetful gunsmith. The Lament is only available for Beyond Light holders, so if you have access to the expansion and need a hard-hitting sword to go with your shiny new Stasis subclass, here’s how to get the Lament.
How to get the Lament in Destiny 2
Find three Dead Exos
To get the Lament, you’ll first need to get the Lost Lament quest from Banshee-44, who is located in the Tower. Once you have it, you’ll need to find three Dead Exos—collectibles spread out all over Europa. There are nine Dead Exos in total, and if you’re looking for a quick way to go about it, we recommend taking the one at the end of each Lost Sector.
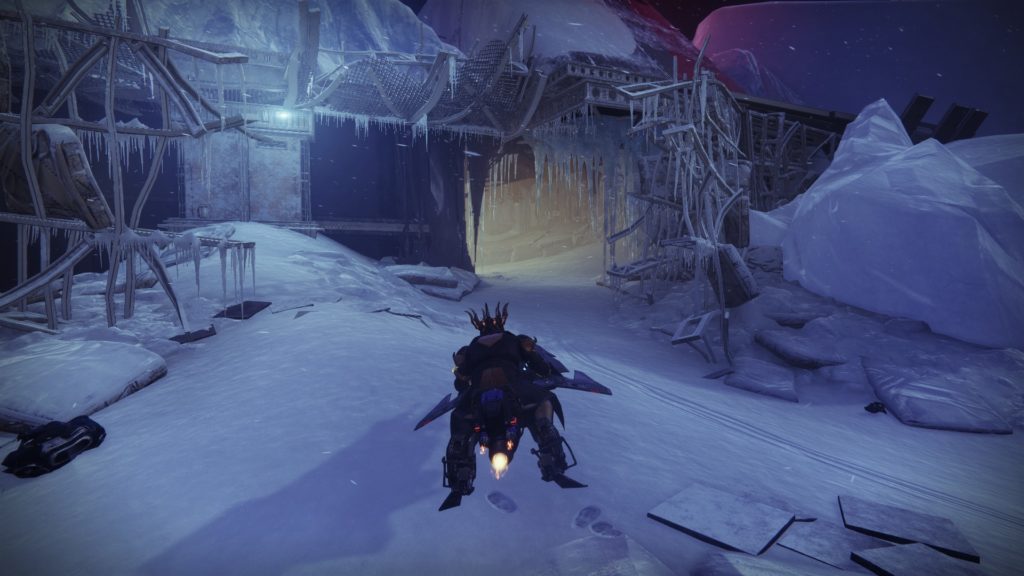
The final room of Perdition (Cadmus Ridge) has one on the right side, close to the entrance. The boss room in Concealed Void also has one next to the chest, and there’s one below a set of stairs in the large room in Bunker E15 (Eventide Ruins). If you’re struggling to find three Dead Exos (or just want to get them all done and nab a triumph in the process), content creator Esoterickk’s video is a solid choice.
Locate the Giant Exo hidden in the Exo Facility
For a large, colossal, disembodied Exo head, the Giant Exo is shockingly hard to find. You’ll need to head to Bray Exoscience, located on the western part of Cadmus Ridge, so mark the quest on your HUD for easier access. Land on Charon’s Crossing, then ride your sparrow into Cadmus Ridge and make a left to look for the entrance.
Once you’re inside, go into the room on the right side, then make a right after the door. This will lead you on a long walk towards Creation, a newly opened area in Bray Exoscience. Follow the destroyed path, then make a right towards a balcony. Look down until you can find a series of platforms, then jump to them carefully. It’s easier to jump down from the walkway above the ledge.


Jump down to the lowermost ledge, then follow the path to the end and look for a path at the end. This will lead you straight into the location where the Bray AI is. After a little bit of storytelling, you’ll come to the largest, most troublesome step of the quest.
Kill Vex in Europa with swords
Few things are as Clovis Bray as tasking the Guardian to “prove” their worth by killing a ton of Vex in Europa, and that’s exactly what the Clovis AI asks you to do in the next step of the quest. You will need to kill 100 Vex with swords, as well as 20 Minotaur, Hydra, or Cyclops with swords. Though guardians will likely finish that over time, the quickest way to kill that many Vex in Europa is by heading into the Perdition Lost Sector off Cadmus Ridge. Equip your Sword Scavenger/Ammo Finder mods and go to town on the dozens of Vex that appear every run of the Lost Sector. Once that arduous task is done, the Clovis AI has another test for you.
Complete an Exo Challenge
Exo Challenges are a post-campaign activity in Europa, and though they no longer drop Pinnacles, they can still be a requirement for specific quests—including Lost Lament. You can launch Exo Challenges from the map menu, so rush there and finish it to advance the quest. Exo Challenges require you to finish all of Variks post-campaign quests to reclaim Europa, so if you haven’t done that, you’ll need to get that ahead of time.
Defeat Vex with finishers in Europa
Clovis seemingly isn’t happy enough with you, so he wants you to kill Vex with finishers in Europa. Head back to the good old-fashioned Perdition Lost Sector and use a weaker weapon to get the Vex finishable, then use your finisher on them. Again, it’s likely a step most players will complete over time, but there is a quicker way to go about it with a lot of help from the Lost Sector.
Find blade pieces in The Glassway Strike
Though this objective may seem like it’s going to be a hassle, it’s actually among the most straightforward ones. There’s no hunting or looking around required: you’ll find the blade pieces at the end of the Glassway Strike. Launch it from the Director tab, make it to the end, and enjoy your blade pieces.
Talk to Banshee-44 to acquire the Broken Blade
After doing all that work, you’ll get a barely working version of the Lament. Take it to the gunsmith, who will task you with finding a bunker in Eventide Ruins. Again, this may sound complicated, but the game just wants you to do the Bunker E15 Lost Sector in Eventide Ruins, then loot the chest at the end.
Reforging the Past
After doing all of these steps, the game will point you to a quest called Reforging the Past. To start it, head to Eventide Ruins and look for the flagpole. The mission itself is fairly simple: use a Drake to destroy the Vex enemies outside, then head inside Bray Exoscience and visit the Clovis AI. He will give you the Lament and there will be no shortage of targets if you want to use it: a horde of Vex will swarm in, and the mission will ask you to protect the Clovis AI.
After fighting off waves of Vex with the Lament, the game will send you to the Tower again, where you can talk to Banshee-44 and finish the quest—discovering a shocking revelation about the gunsmith in the process.


Published: Aug 23, 2022 10:27 pm