Destiny 2‘s Season of the Lost gave players two new activities to try out during the lengthy season. Shattered Realm is a maze-like trip through the Ascendant Plane, a blend of Expunge and Shattered Throne. Astral Alignment, on the other hand, is a much more fast-paced activity that players can farm for hours on end.
Astral Alignment’s six-man roster and mechanics that depend on cooperation make it similar to last season’s Overrides, but with its own unique twists (and a scenic view to the Dreaming City). Here’s what you need to know about the new activity.
Charge the Compass
Players will need to charge the Wayfinder’s Compass for the first part of the activity, and the only way to do it is to take out the nearby enemies. It’s a recurring theme in Astral Alignment, so get your guns ready. This part usually kicks off in the Blind Well, but players will soon move further into the Dreaming City and progress to the next objective. Don’t forget to bring Champion mods in case they’re necessary.
There are three possible objectives for Astral Alignment, and each mission is comprised of two of them. They follow the same structure: charging the Compass, objective one, objective two, and retrieving the Compass, ending with a boss battle. Here are the possible objectives.
Activate the Beacon
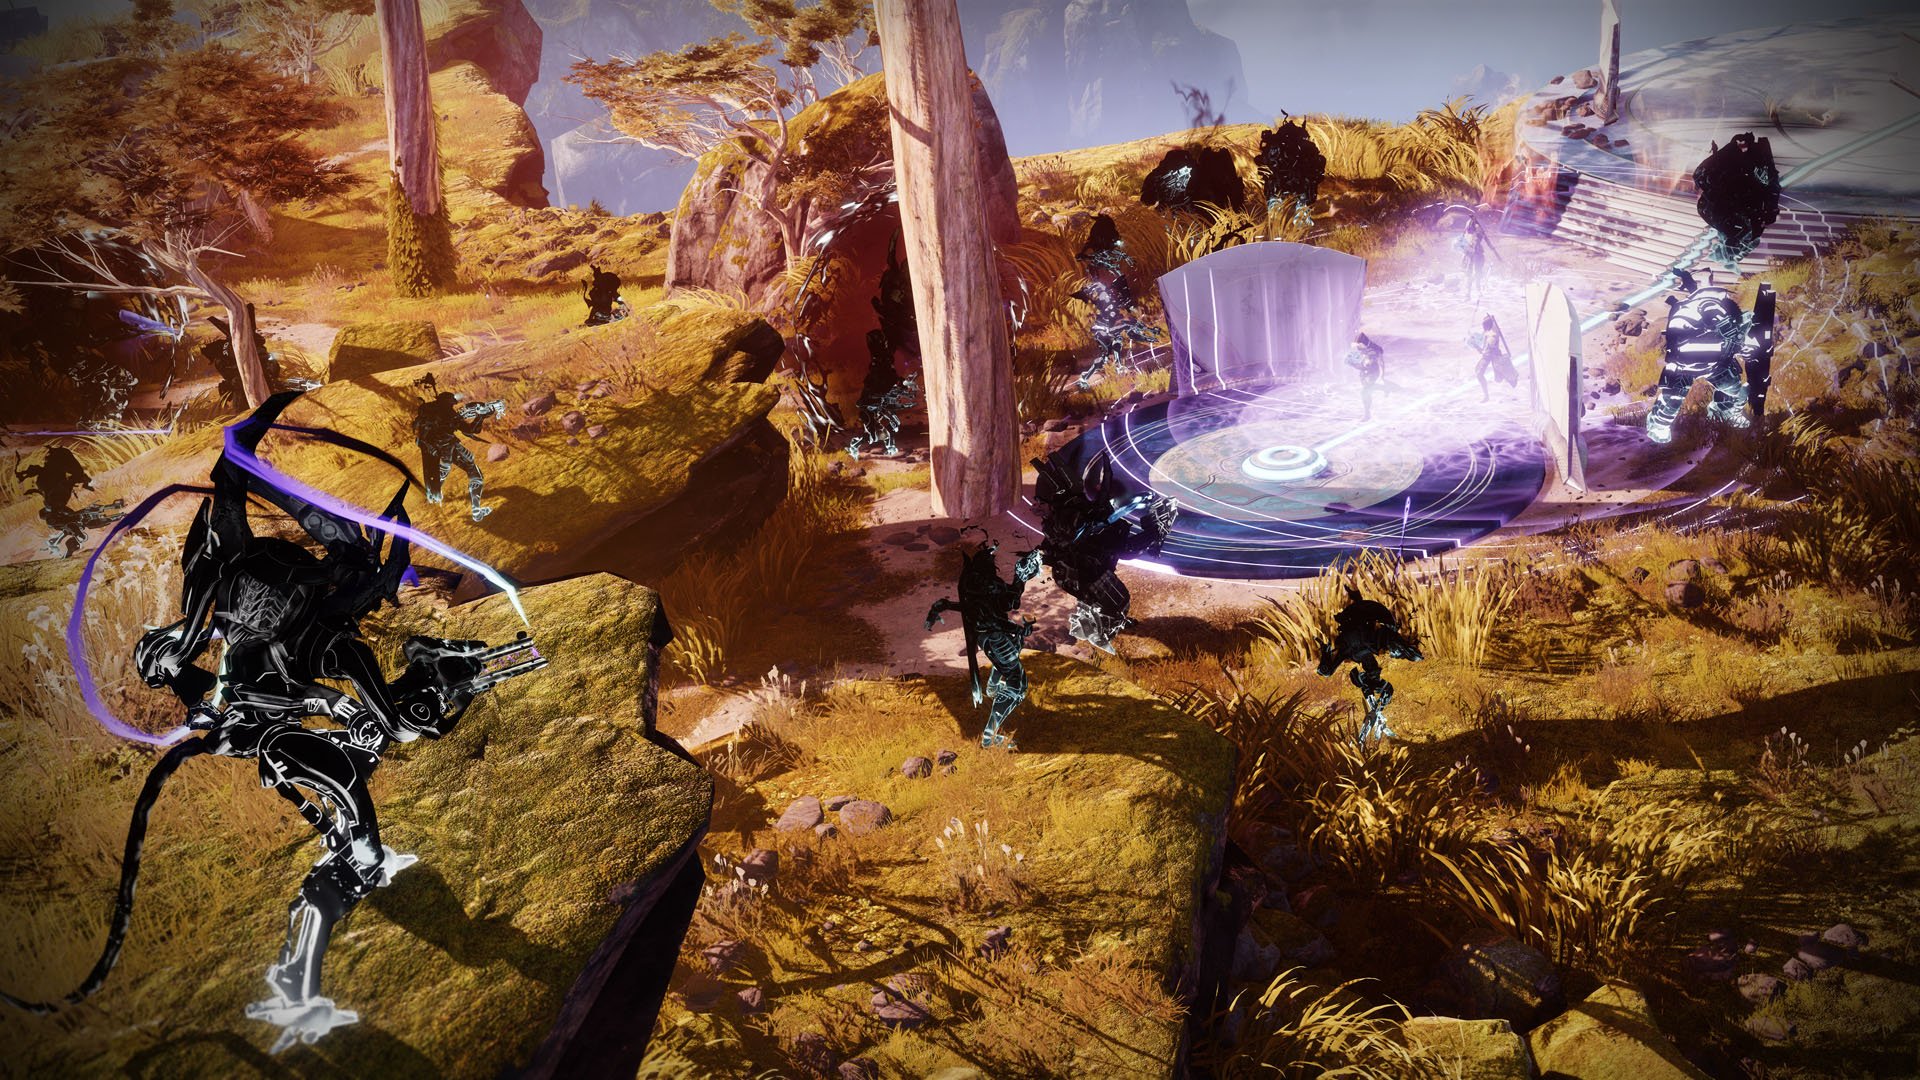
This section borrows a few mechanics from Forsaken‘s Last Wish raid. Players will have to collapse several Taken rifts that appear in the area by dropping a Taken Essence into the correct locations. These will drop from orange bars called Eye of Xivu Arath—equivalent to Last Wish’s Eye of Riven.
When a Taken Essence drops, it will appear on your HUD with a 45-second countdown. Pick it up and dunk it in one of the spots indicated on your screen, either in the middle or on the edge of the area. While you’re holding the Taken Essence, you will get a Taken-like effect, and you can use the item to shoot at enemies. When the team dunks the necessary amount of essence, the team will move to the next stage of Astral Alignment.
Prevent the Ether Harvest
Preventing the Ether Harvest is like an all-out version of the Ether Ritual public event in the Dreaming City. Guardians must prevent the Scorn from absorbing Ether by guarding the Servitors and shooting the Ether balls that come flying around. There will be Majors spread out in this area, but it’s a fairly uneventful part of the mission.
Install the Batteries
If Petra tasked you with charging the batteries, you will again need to bring out Paracausal Batteries to fuel your next trip. Carrying them slows you down for 18 seconds, making you move nearly at a crawl. After your time’s up, you’ll get a debuff called Exhausted, which makes you drop what you’re holding and prevents you from picking up more batteries for 10 seconds.
The key to this part is patience, cooperation, a bit of relaying the batteries back and forth. If you see someone carrying a battery, stand by to pick it up when the timer ends. If you have the battery, try to get as far as you can, preferably with a teammate, before relaying the ball to an ally.
Retrieve the Compass
In line with the Dreaming City’s curse loop motif, this activity ends where you began: on the Blind Well. Much like normal Blind Well activities, players will have to take down a sturdy final boss with Taken shields. To destroy the shields, keep an eye out for the “a Taken pylon has spawned” warning, then rush to the pylon and kill the enemies there. They will drop Taken Essence, just like in the second part of the mission, and players must use it to shoot the shields off the boss.
After the barriers drop, go for big-damage moves like Supers or heavy weapons, and bring his health down as much as possible. The invincibility phase will resume shortly, so rinse and repeat until the boss is down.








Published: Aug 24, 2021 06:16 pm