Destiny 2 introduced a lot of new features with the addition of King’s Fall. This massive Raid goes through a multitude of enemies and bosses till it finally ends when you defeat Oryx, the Taken King himself.
How to beat Oryx in King’s Fall
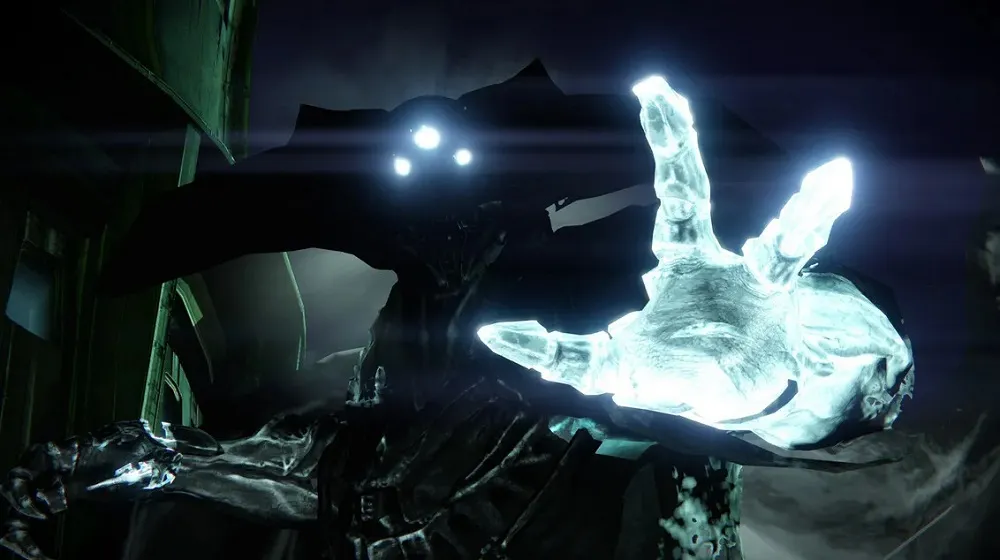
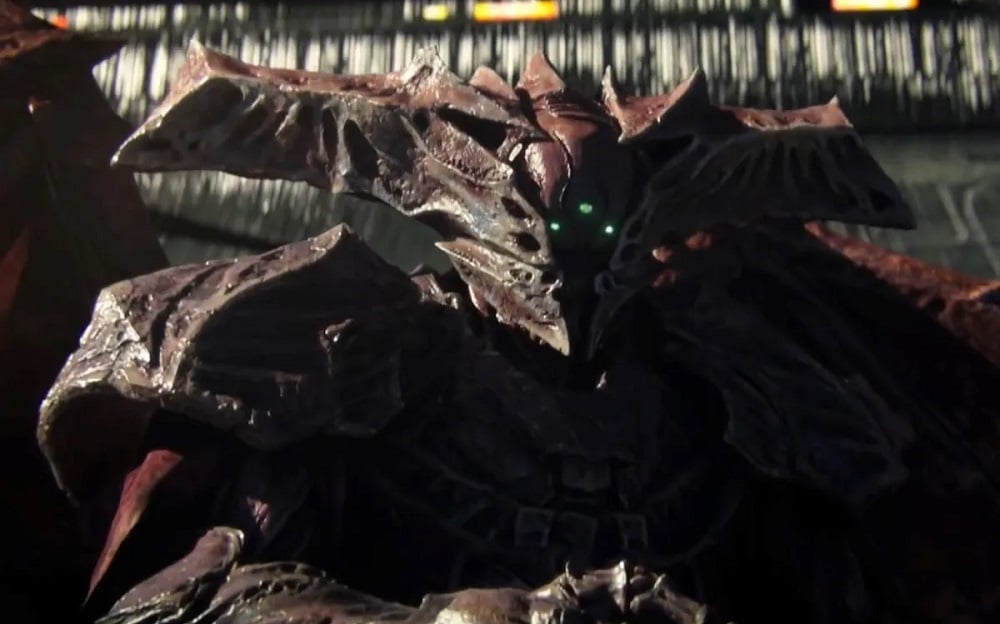
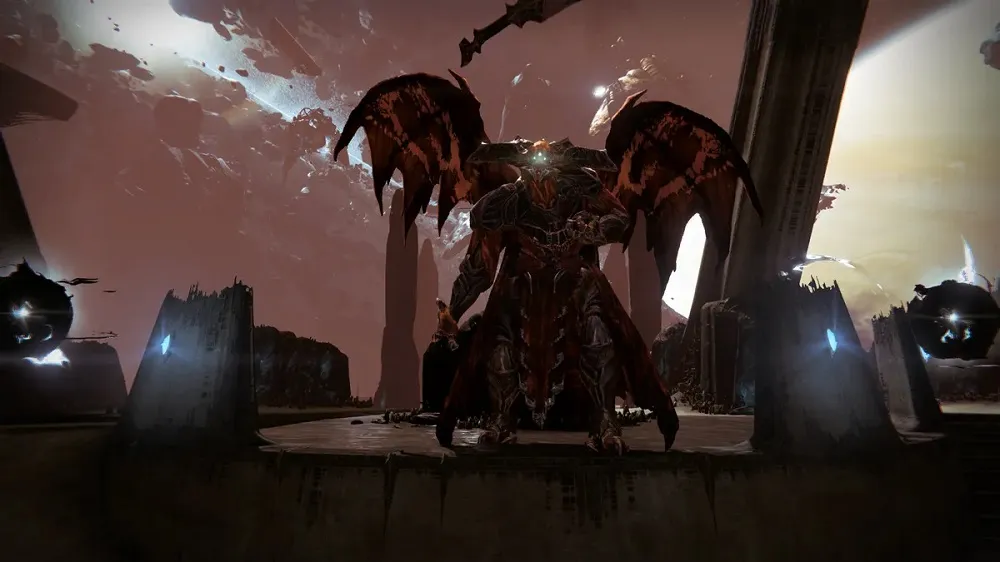
Oryx, the Taken King was the King of the Osmium Throne, the God-King of the Hive, and the Master of the Taken. With such astounding accolades tied to his name, it is not unlikely that players would be a little intimidated to go up against him in battle. As the final challenge in King’s Fall, he is definitely no pushover and is quite the powerhouse. But like any boss in Destiny 2, he has his weaknesses.
Starting out
To start off, you will want to assign one player to each of the four plates in the area. The remaining two should stay in the middle to balance it out. In terms of offensive capabilities, it makes sense to run a combination of any of these weapons and abilities for maximum effect.
- Sniper Rifle
- Linear Fusion Rifle
- Divinity, the Exotic Trace Rifle
- Golden Gun
- Well of Radiance (Warlock Super ability)
- Ward of Dawn (Guardian Super ability)
Apart from these weapons and abilities, if you happen to have additional burst damage capabilities, they are more than welcome in this lineup. Once everything is set up, it’s time to tackle this beast.
Initial setup strategy

When you’re all set with weapons, abilities, and lineup, the battle will begin. At the beginning of the battle, a mix of enemies will spawn on each of the four plates. This is where the four players need to hold their ground and take out as many of them as possible. This won’t be easy though, since Taken Knights will also spawn.
Killing the Taken Knights in each location will prompt Oryx himself to move to different sides of the arena. He will randomly choose a side first before slamming his fist down onto a plate on that side. Any player standing on the plate during the attack will almost certainly die.
After Oryx lifts his fist back up, the plate that was impacted will glow green. This is when you assign one of the players to stand on that plate. The best decision here would be to choose the player that has become Taken and send them to the plate.
After stepping on it, a ball of light will appear over one of the other three plates. Another player can stand on that plate, forming platforms that the Taken player can use to traverse between locations.
Finishing setup strategy
There are a few more things to do before you begin the counter-attack against Oryx. First off, while the plate traversal is going on, more enemies will spawn next to each plate. It is up to the remaining members of the team to hold them off.
The first enemies to take out will be the Light-Eater Ogres that spawn next to each plate. Work together to take them down because they pack a punch. Focusing on them one at a time is the optimal strategy here. Killing them all will spawn a large Taken Orb that should be ignored for now.
The next enemies to be wary of are the Hive Knights that spawn diagonally across from each plate. These enemies will focus entirely on the Taken Orb that spawned and will rush toward it. Your team will have to stop them and kill them before they manage to get to the Orb. If they consume the Taken Orb, the counter-attack phase will be shorter.
After killing all of these enemies, the Taken player needs to grab the ball of light that spawned earlier and another platform will turn green. Once this happens, the entire platforming process has to be repeated to turn another player Taken.
More enemies will spawn after this, except the waves will not consist of any Light-Eater Ogres or Hive Knights, so it should be easier. Repeat this process twice more to turn more of your team into Taken and spawn an additional Hive Knight. This Hive Knight will have an immunity bubble around it.
To get rid of this, one of the Taken players needs to get the Brand Claimer buff and remove the shield from the Hive Knight. This will take away the immunity and the Knight can be killed. After killing the Knight, you have one final thing to do before counter-attacking Oryx
Each of the four players that were initially assigned a plate needs to stand next to the Taken Orb and step into it simultaneously. Stand in it till a text prompt appears stating that you have detonated the bomb. Once this happens, run out because it’s time to take out the Taken King.
Damage phase strategy
Once the bomb detonates, Oryx will be stunned and this is the time to pile on the damage. Start off by shooting his chest constantly to push him back. Keep doing this till Oryx moves to the back of the arena.
Once his back is quite literally against the wall, Oryx will launch either one of two attacks.
- The first attack will cause Oryx to spawn multiple bombs that appear right on top of each player and detonates almost immediately. This can be avoided by constantly running around the platforms. Standing still will be the death of you.
- The second attack will make Oryx send you and each of your teammates into an alternate dimension with a weaker copy of Oryx looming above. This copy of Oryx will keep attacking everyone and he needs to be killed quickly to escape this realm.
These attacks will be repeated by Oryx till his health drops enough to enter the final phase of the Raid.
Final phase strategy
The harder parts of the fight are finally over and this phase of the battle finishes off Oryx once and for all.
When the final phase begins, Oryx will once again move to the back of the room. This time, he will spawn two Light-Eater Ogres that need to be killed. Killing each of them will spawn a Taken Bomb that can be used against Oryx.
Once the Light-Eater Ogres and dead and Taken Bombs are picked up, Oryx will channel a massive attack from his chest. Do not let him fire this off or things will go extremely bad real quick. Stepping into the bomb will detonate it and stun Oryx once more, which leaves a huge opening to deal massive damage to him.
After he recovers from the stun, he will have a small amount of HP left. This will prompt him to channel the attack from his chest again. Use the other Taken Bomb in the same way as last time to stun him and finish the Taken King off for good this time, ending the Raid.

Published: Aug 30, 2022 07:40 am