The kill-farming formula in Call of Duty, despite being around for ages, can still be a pain to figure out.
In Modern Warfare 2, the art of going for kills often remains a battle of attrition. Players spawn in on opposite sides of the map, take on fights, and make adjustments to their play on the fly as they learn their opponents’ weaponry and tendencies. But, respectable or not, it’s easy to argue that the most efficient way to consistently drop high-kill games is simply hunkering down and beaming enemies under advantageous conditions.
Here are the best spots to farm kills on every six-vs-six map in MW2.
Best MW2 spots for farming kills
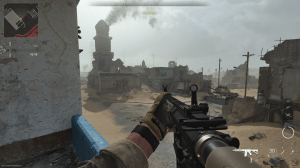
Al Bagra Fortress


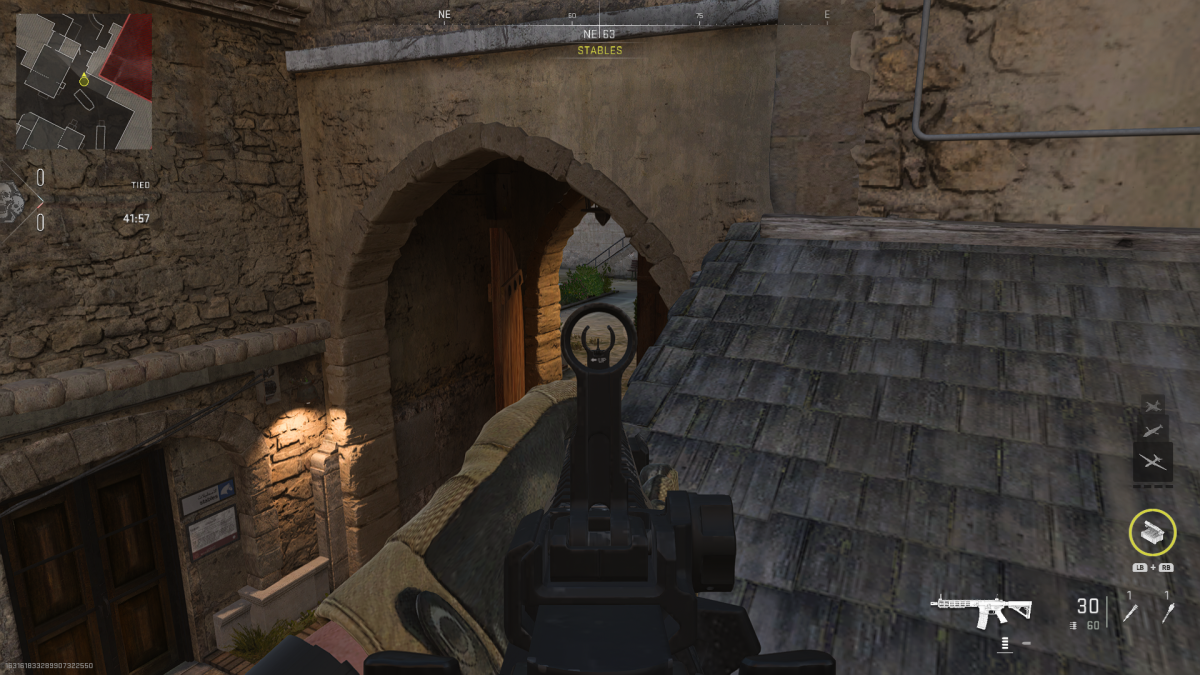
On Al Bagra Fortress, the strongest position on the map is fairly obvious to all those who’ve gone against players camping there but remains deserving of recognition nonetheless—the second floor of the Munitions Storage building. Outside of a well-placed Drill Charge, it’s tough to counter players playing in these windows without committing time to a full-on flank. Another cheesy spot to play is the roof of the Stables, which puts you in a prime position to catch enemies off guard.
Breenbergh Hotel

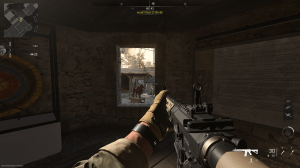
Up next on our list of shameless spots to exploit is the Chandelier on Breenbergh Hotel. If putting in minimal effort for maximized results is your thing, this spot is hard to top if you find the opposition spawning out of the C point. By plopping yourself right onto the Chandelier, you have quite the advantage in both elevation and cover.
Crown Raceway


Crown Raceway is tricky because it is generally a “ratty” map overall, with players naturally being encouraged to camp doorways and other high-traffic areas thanks to the number of lanes and entrances present. Although it may seem rudimentary, propping up right next to the center column in the middle of Garages is a great spot since it allows you to rapidly isolate one-vs-one fights unexpectedly. Since there are eight angles that enemies can pop out from, playing here will require you to make reads on where to pre-aim and be comfortable with being in the center of the action.
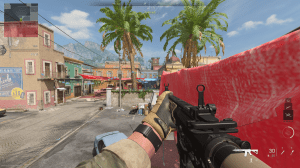
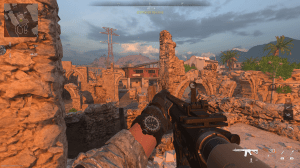
El Asilo


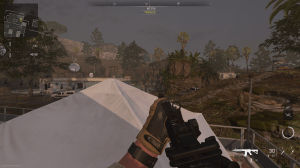
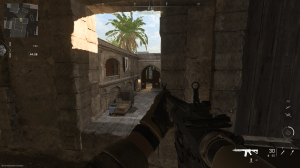
El Asilo offers players several key spots worth committing to. The Bar on the second floor of the main building is the best place to be for those looking to challenge the popular point of the map. To be expected, the Radio Tower is a pain to deal with for those on the balcony. Lastly, the white tent on the Terrace gives creative players several options to take out unsuspecting enemies.
Embassy


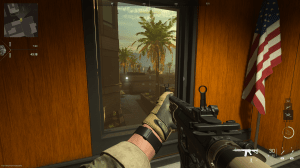
Embassy is another map that has a variety of commonly-used spots that are too optimal not to use. The second floor of the Administration building has four windows that give you perfect views of high-traffic areas with little cover for opposing players. On the opposite end, however, players also can use both the second floor of the Servers and Courtyard areas to counter back.
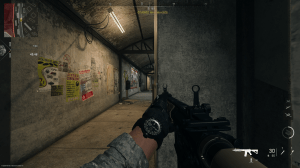
Farm 18


Aside from camping the entryways of the Shoot House, the Operations Building’s “red roof of death” is the place to be on Farm 18. Admittedly, there are many ways to get access to the spot, as well as several sneaky angles to counter players playing here, but it’s yet another pesky place for most enemies to deal with.
Mercado Las Almas

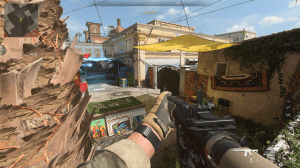
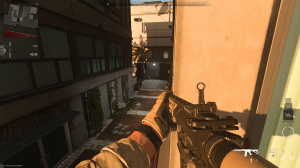
Mercado Las Almas presents some of the most prime positions in the game for those looking to turn their brains off and farm kills. The Elephant Room of the banana factory has two windows for players to control mid and parts of the C-point spawn. Of course, there is also the main middle market, which has the Main Street head glitch, the Red Tarps tree spot, and the far-back Parking angle.
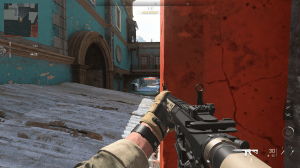
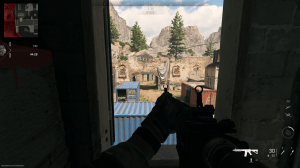
Santa Seña Border Crossing


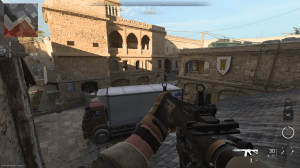
When you have a map designed like Santa Seña Border Crossing, you have to take advantage of its cheesy spots. For those coming from the C-side spawn, there are two strong spots in Truck Lane: on the back of the bobtail track and going prone behind the yellow and brown truck. On the A side, the Covered Walkway’s pillar by the $279 poster offers ample cover for those looking to dominate the roofed lane.
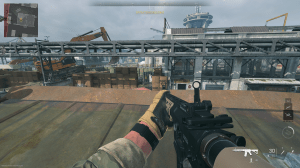
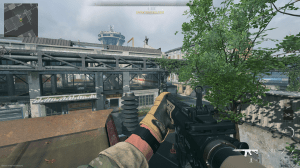
Shipment

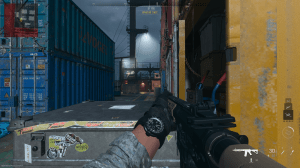
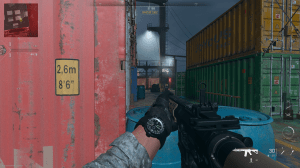
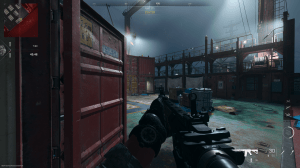

As one might expect, there’s not much strategy involved with Shipment considering you are constantly being bombarded from all angles at all times. Aside from keeping your head on a swivel and not staying in the same spot for too long, however, the two extended pieces of cover on the corners of Bridge Side and the two one-way cargo boxes of the Center areas could set players up for the multi-kill moments that they’re looking for.
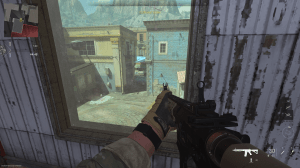
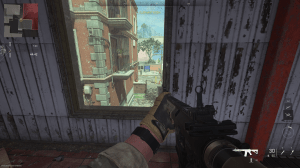
Shoot House

Another reimagined CoD classic in MW2, the power positions on Shoot House that players may be familiar with are the second-story Office windows, the Forklift head glitch, and the Junkyard corner. For the most part, however, there aren’t many spots that players can repeatedly use to farm multiple kills.
Taraq

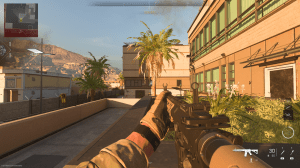
On Taraq, there are two main culprits that players will want to target before things get out of hand. The first is the big, green Electronics Shop, which has an easily campable stairway and a patio that oversees a great portion of the map. The other is the back balcony of the Nursery building, which is angled right toward the popular walkways of the middle of the map.
Zarqwa Hydroelectric


Zarqwa Hydroelectric puts those pushing out severely at risk of getting picked off and presents patient players with several spots to do just that. In the Dome POI, playing on and around the spherical, broken roof sets players up perfectly to beam those coming out of the A spawn. Near the popular window of the Control Room, there is just enough space for players to stand right on top of the staircase and snag effortless kills. Lastly, the commonly contested B-point area has strong spots for players on both sides of the map: one on the Destroyed Building and the other on the rarely used rocks on the Dirt Path.


Published: Feb 7, 2023 05:45 pm