Cult stashes can be found dotted here, there, and everywhere in Alan Wake 2 as you play as Saga. One particularly thorough cult stash puzzle that I came across can be found in Bright Falls, known as the Painter’s Work Log Cult Stash.
Stashes contain useful items to help you on your way as you fight the Darkness, so it is thoroughly recommended that you try and nab each one that you come across. Opening them isn’t always a simple task, though, as there is usually some kind of puzzle to solve or a key that needs to be located to do so.
To do the Painter’s Work Log Cult Stash, you will need to have progressed enough in the game to have unlocked the boltcutters. With this in mind, we are going to be looking at how to solve this cult stash puzzle, as well as what rewards you get from opening it.
Where is the Painter’s Work Log Cult Stash in Bright Falls in Alan Wake 2?
To find the Painter’s Work Log Cult Stash, you will need to veer off the path a little bit when you are exploring the town of Bright Falls. As you go down the main road of the town, you will see the Oh Deer Diner on the right. Take a left just before you get to the diner to go into an alleyway. Keep walking down the alley, and you will come to a wooden gate on the left that is locked with a padlock.
As I mentioned, you will need to have advanced enough in the story to have unlocked the bolt cutters, as the gate that you need to get into can only be accessed if you cut the lock off with the tool.
Make a note of the location of the gate for later if you don’t have the boltcutters, but if you do, use them to cut open the padlock by interacting with the lock and then selecting the boltcutters in Saga’s inventory. Once the gate is open, head into the sealed-off area, and you will find the cult stash on the left, near a group of cult stash symbols made with twigs.
What is the Painter’s Work Log Cult Stash puzzle in Bright Falls in Alan Wake 2?
When you approach the cult stash behind the gate, read the note that is attached to the top. It contains a list of dates and tasks accomplished by the painter who hid the stash. This list is crucial to figuring out the lock combination. The combination consists of three different triangle patterns, and to find them—and to put them in the right order—you will need to decipher the clues from the note.
The note is a series of short, journal-like work log entries with dates attached. The entries are clues as to where to find the symbols, whilst the dates will point you in the right direction regarding what order the symbols need to go in.
How to solve the Painter’s Work Log Cult Stash in Bright Falls in Alan Wake 2
To sum up, the clues that you can get from the work log, the general area that you will need to search for the symbols in is the Founder’s Park in Bright Falls. The first symbol to be found is close to a satellite on the side of a building, as per the painter’s first work log entry. The next symbol is near the flower bed in the center of the park, whilst the third is inside the gazebo.
Head over to Founder’s Park, which can be found just off Biltmore Avenue and past the Oh Deer Diner, as per the image on the map above. You can find the symbols in any order, but to make things simpler, I will list them in the order that they need to be put into the combination lock on the stash.
The first symbol on the lock is found on the satellite attached to the building right next to the park. The building can be found to the left as you enter the park. Shine your flashlight up and direct it at the satellite to find the first symbol, which is two triangles connected and pointing to the sky.
The next symbol can be found near the flower bed centerpiece in the park. The flower bed is directly in front of you as you enter the park, but the symbol itself is on the other side. Walk around the flower bed and shine your flashlight on the ground to illuminate the symbols. The next one that you will need for the padlock is two triangles connected by their base, with both of them pointing outward.
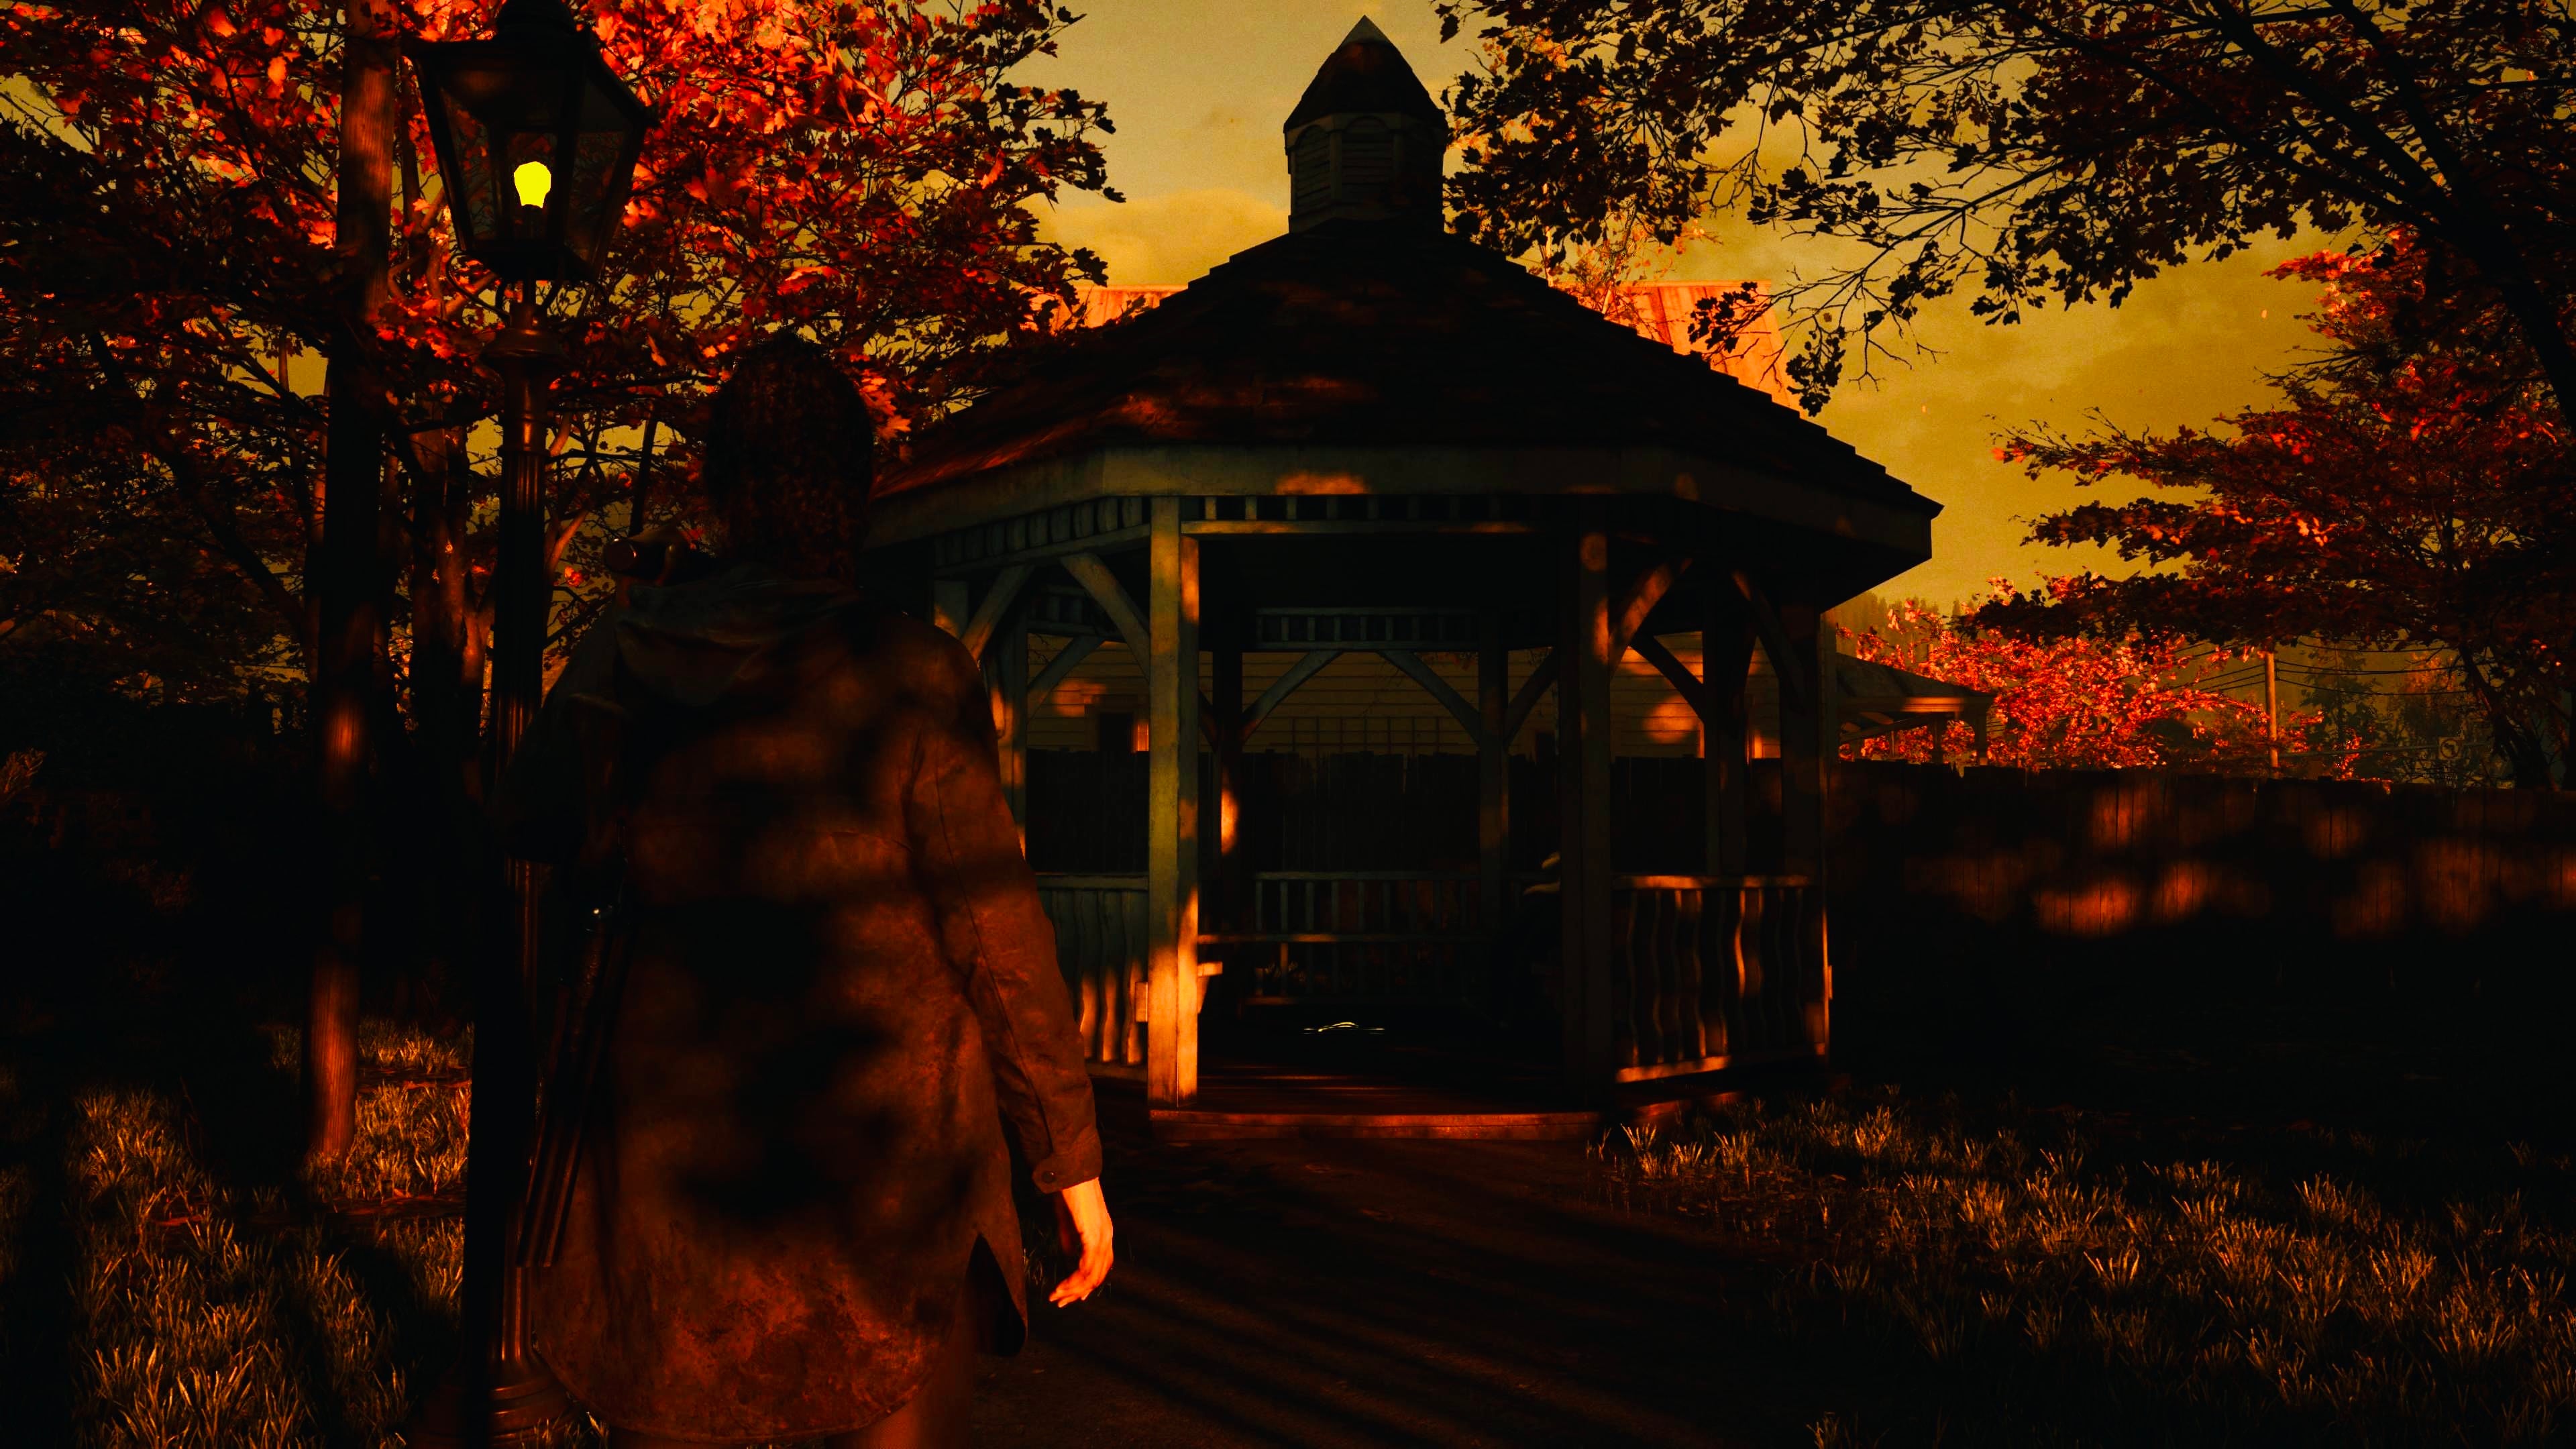
The final symbol can be found inside the gazebo in the park. It is pretty easy to find, as the gazebo itself stands out when you are exploring the park. Go inside the gazebo and light up the floor with your flashlight and the symbols will appear. This one is also two triangles pointing upward, but they are depicted as layered on top of one another and pointing upward rather than being side by side.
With the three symbols in hand and the knowledge as to what order they need to go in, head back to the cult stash and input the symbols into the combination lock. If you are struggling to remember the order in which the symbols need to go, try and think of the sequence in terms of the items associated with them rather than the patterns themselves. Just remember: satellite, flower bed, then gazebo.
What is in the Painter’s Work Log Cult Stash in Bright Falls in Alan Wake 2?
Along with a cryptic note about monsters living in the woods, the painter’s cult stash also contains a flashbang grenade and a rocket flare, both of which are highly useful tools in your fight against the Taken.
Rocket flares are more powerful than the average flares found in the game, so they are well worth stocking up on where you can. Flashbangs are also another super handy tool when it comes to fighting the Darkness in Alan Wake 2, as they emit a blinding flash of light that can significantly stun the Taken and give you ample opportunity to retaliate.
Make some room in your inventory if you need to, as these items are particularly helpful due to how much light they create. Light is your best friend when it comes to the combat in Alan Wake 2 (as well as throughout the game in general), so make use of any items—such as the flares and flashbangs—that emit a lot of it to give you the best chance at gaining the upper hand.
Final thoughts on the Painter’s Work Log Cult Stash in Bright Falls
This is one of the trickier cult stashes to figure out in the game, due to the cryptic clues that you are given from the painter’s work log. There is a lot of dot connecting required to even know where to go to find the illuminated symbols. Once the pieces of the puzzle start coming together, however, it isn’t too difficult to figure out the combination for the padlock.
The contents of the stash are definitely worth the puzzle, as both the rocket flares and the flashbangs are excellent sources of bright light that can make a huge difference when facing the Taken in combat.





Published: Nov 20, 2023 12:38 pm